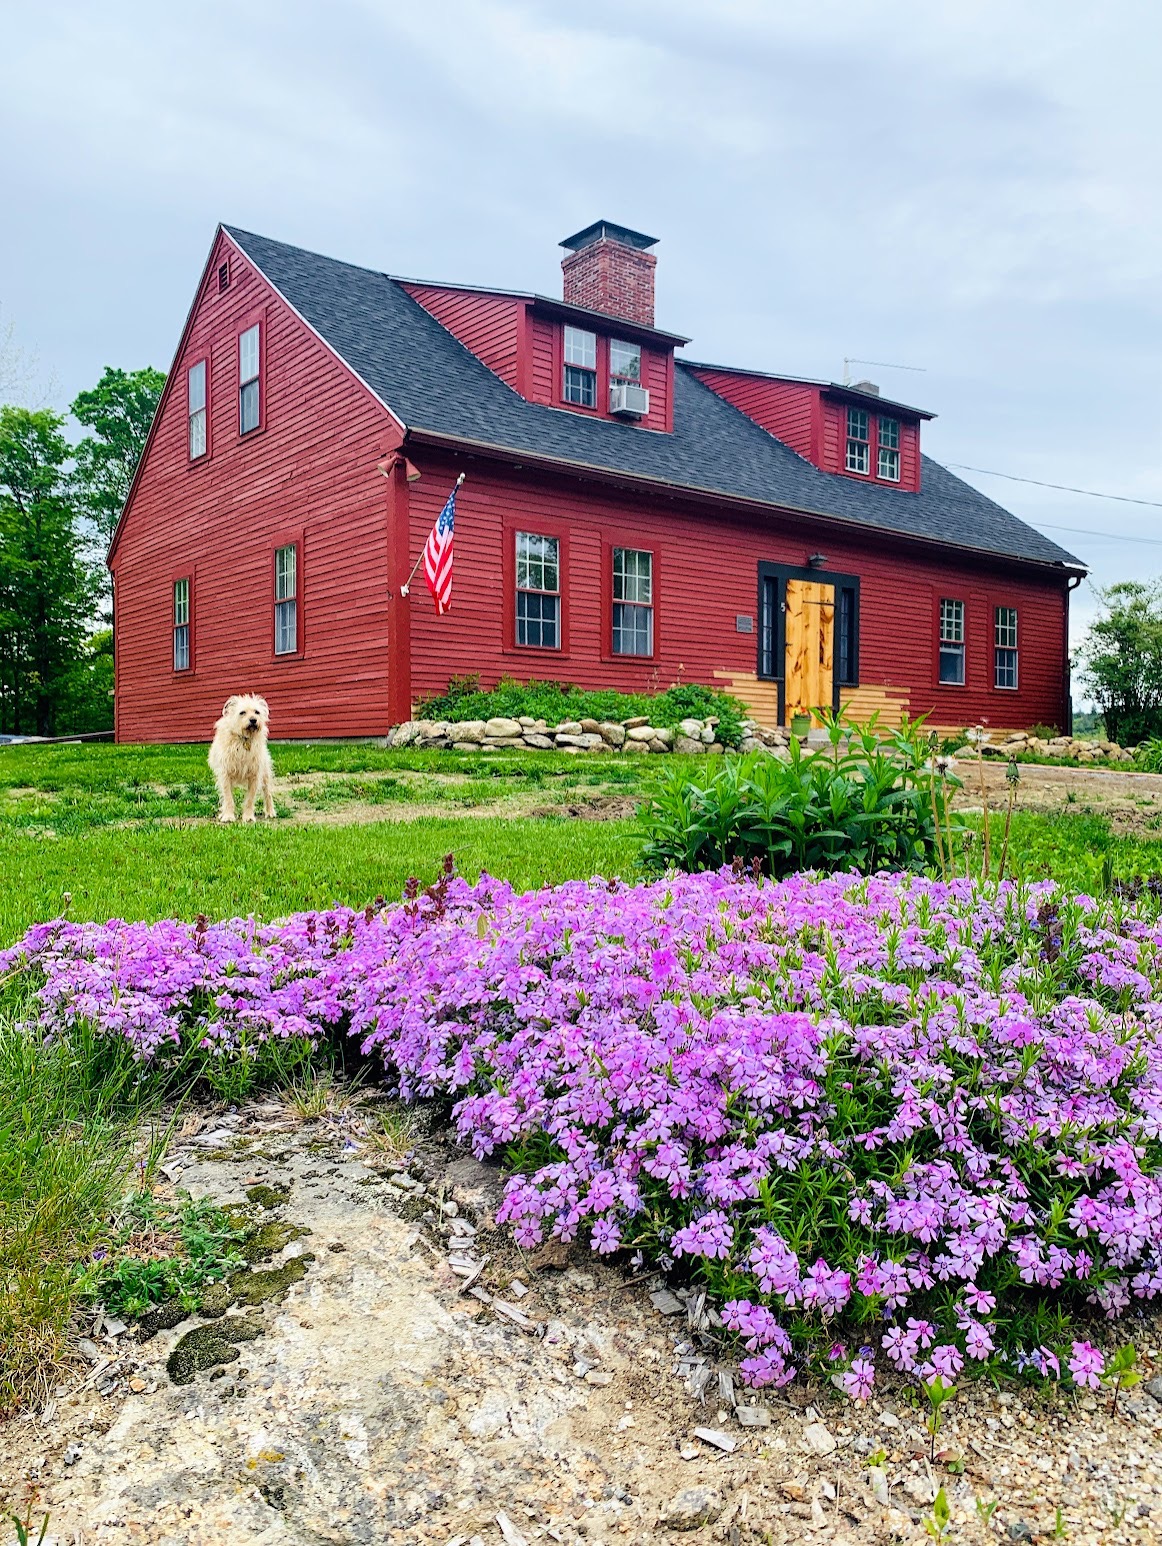
There is so much to catch up on, as it’s been very busy here on the farm, that this will be a two-part update. When you last stopped by, we had put together a new front storm door, and we were waiting for the contractors to come back to finish up the barn. Then we got distracted with other projects, and our front storm door languished on the sawhorses in the ell, but we did get around to hanging it- more about that in a bit…
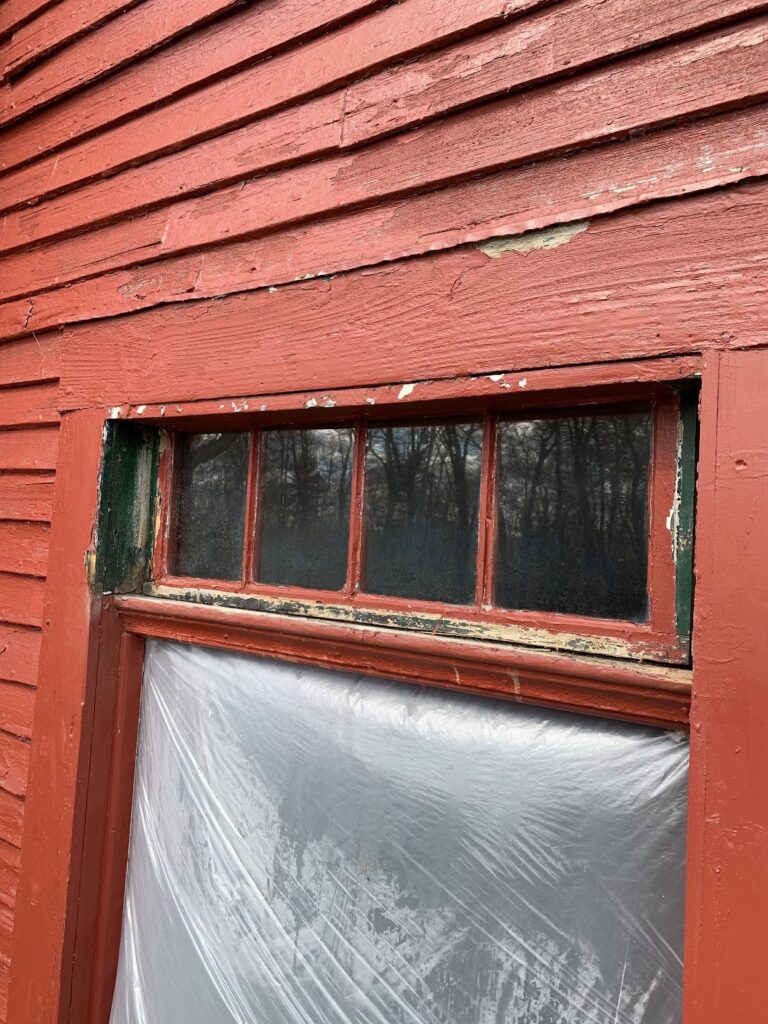
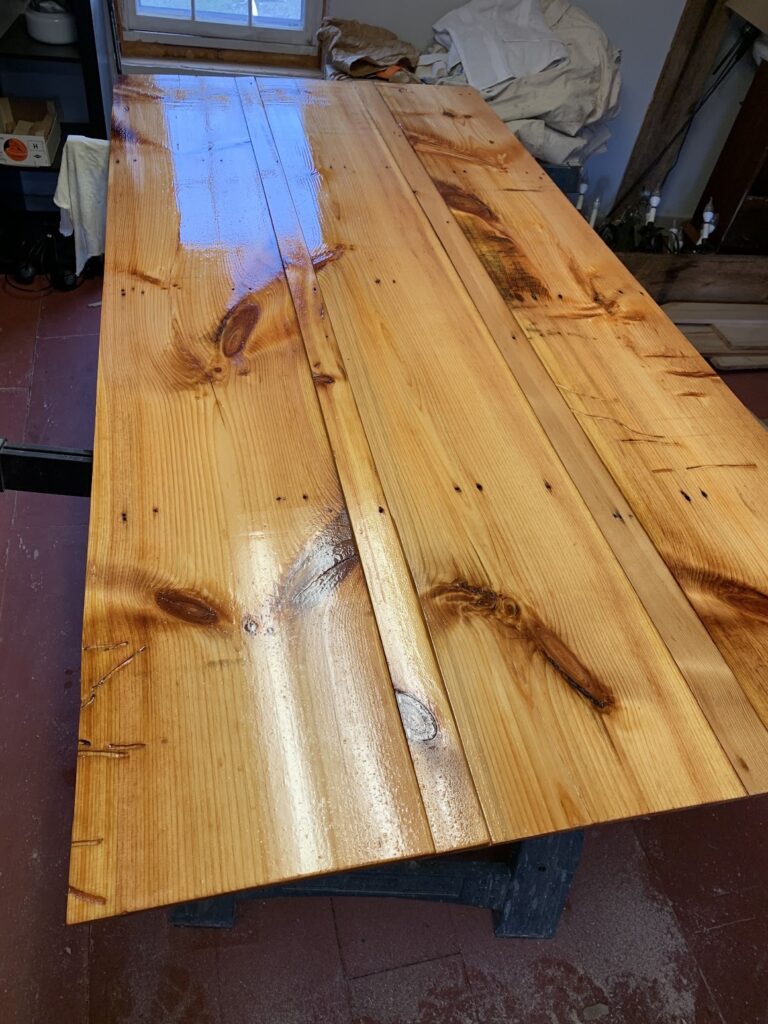
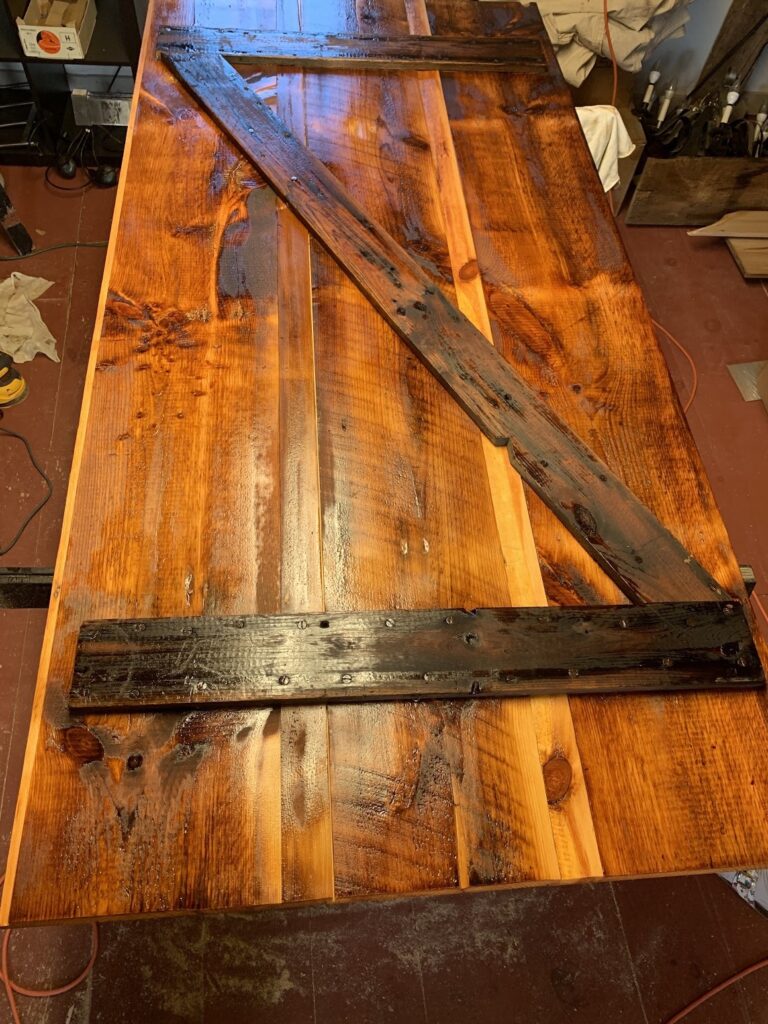
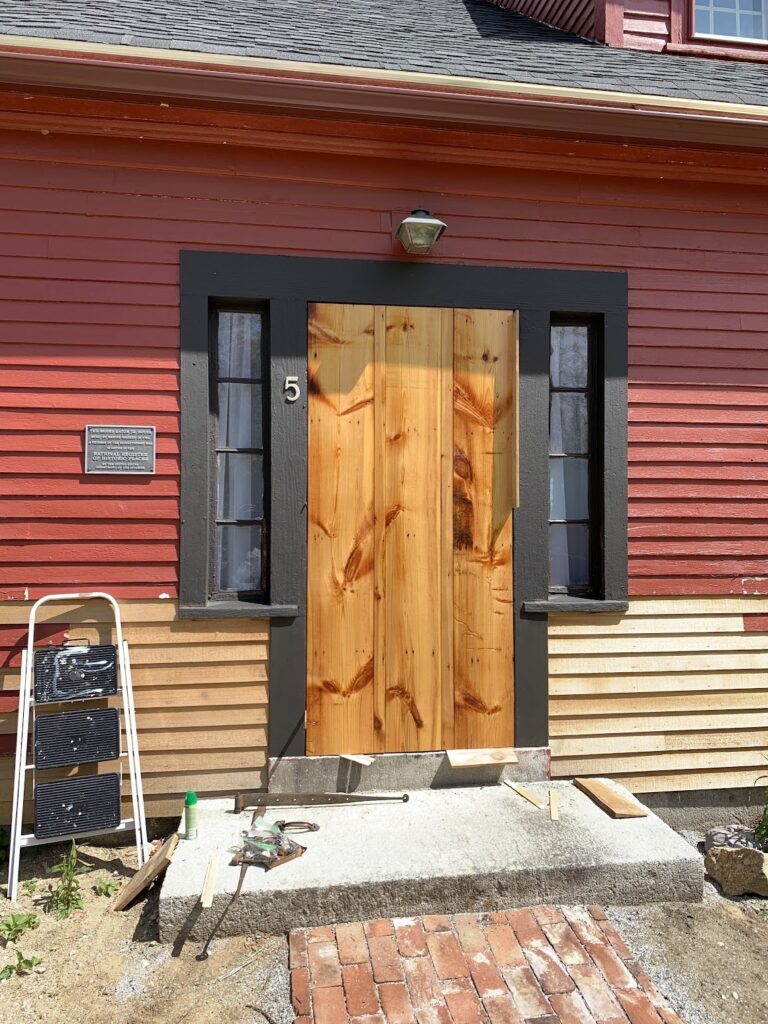
We often find ourselves planning to work on a specific project, but get pulled into something else by necessity, such as the side door which started seeping water when it rained. We did a quick repair by replacing and then caulking the rotted decorative trim around the recessed panels, but we really needed a storm door. Since we now have confidence in building shiplap doors, we took some barn scraps and built one for the side door. Of course, that led to other repairs, as we needed to replace the rotted trim around the floating transom window above the door first. Step one (first image) was to remove all the old rotted trim. Step two is to cut new trim, including a sash/overhang to keep rain from dripping behind the storm door, then prime and paint. Step three is set the door into the opening, using shims to keep it centered and square in the opening. “Square” is a relative term in an antique home, as nothing is square, and if you try to make it perfect, you’ll go crazy. So you just eyeball it best you can. With the door shimmed in place, we can install the hinges, then the handle. We wanted to use the same thumb latch-style handles as in the rest of the house, which would be appropriate for the late 18th century, but they’re hard to come by, and the few we’ve found, we’re saving to use inside as we restore the interior doors. We found this set at Home Depot- made for a garden gate, but it works great!

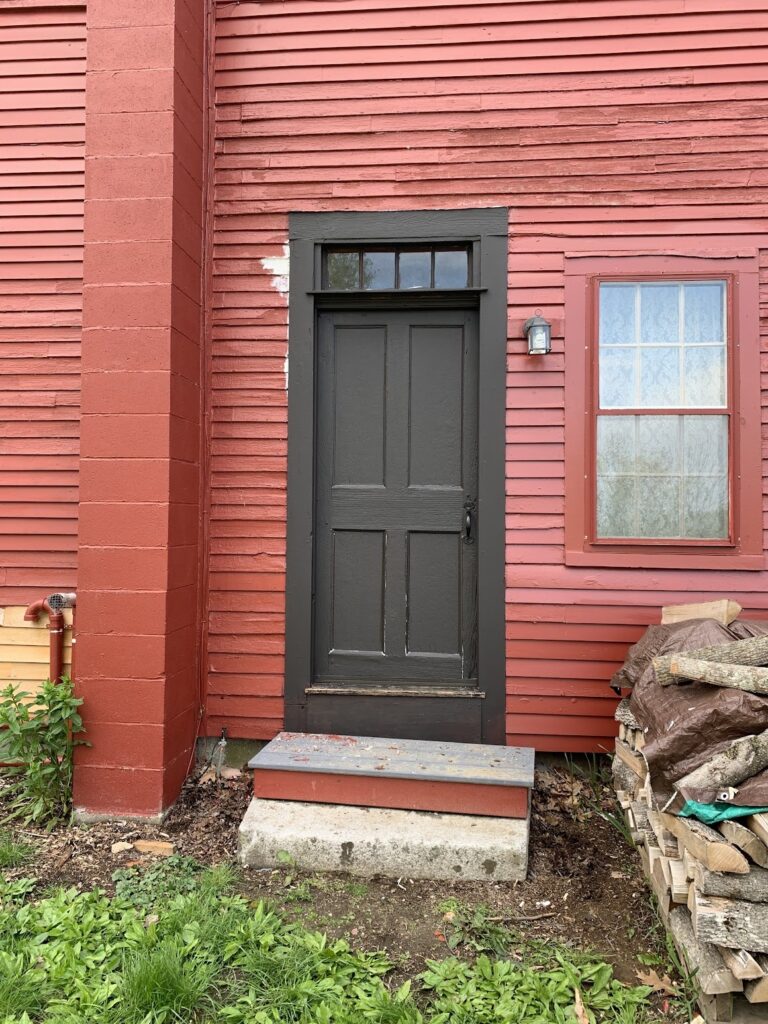


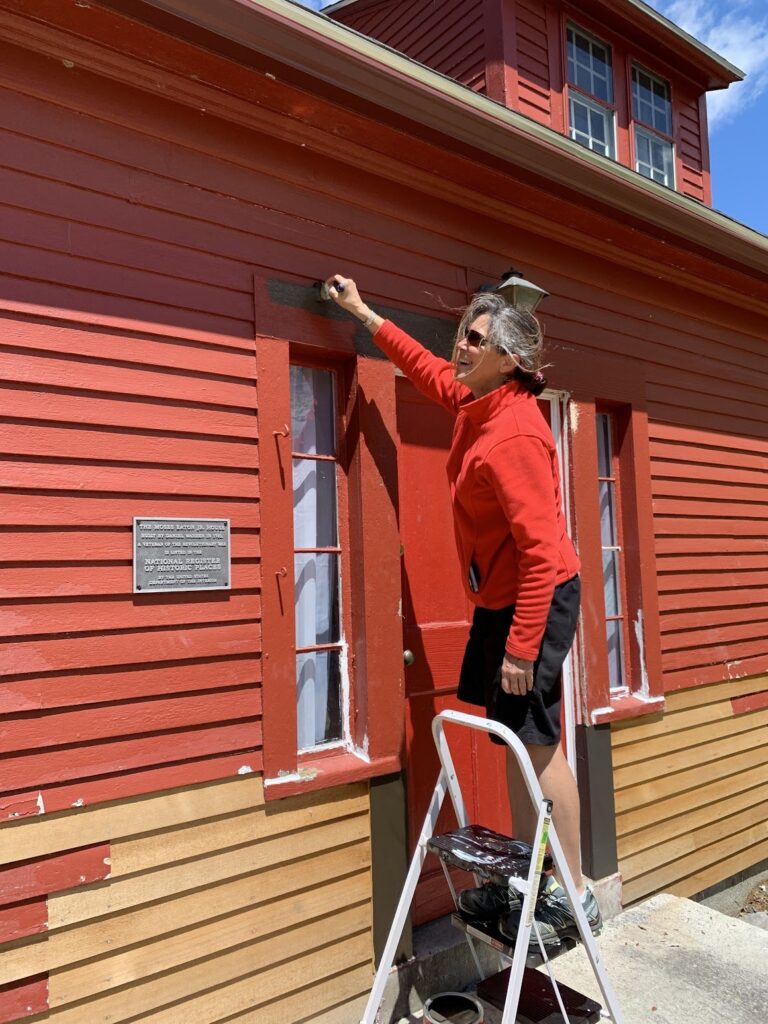
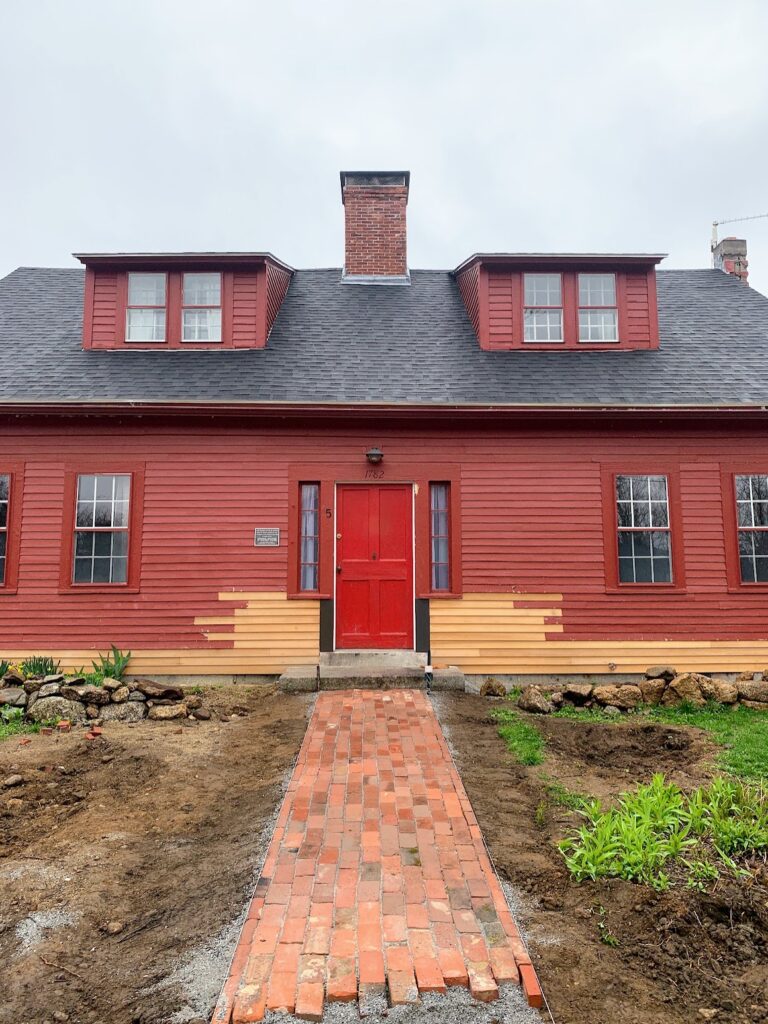
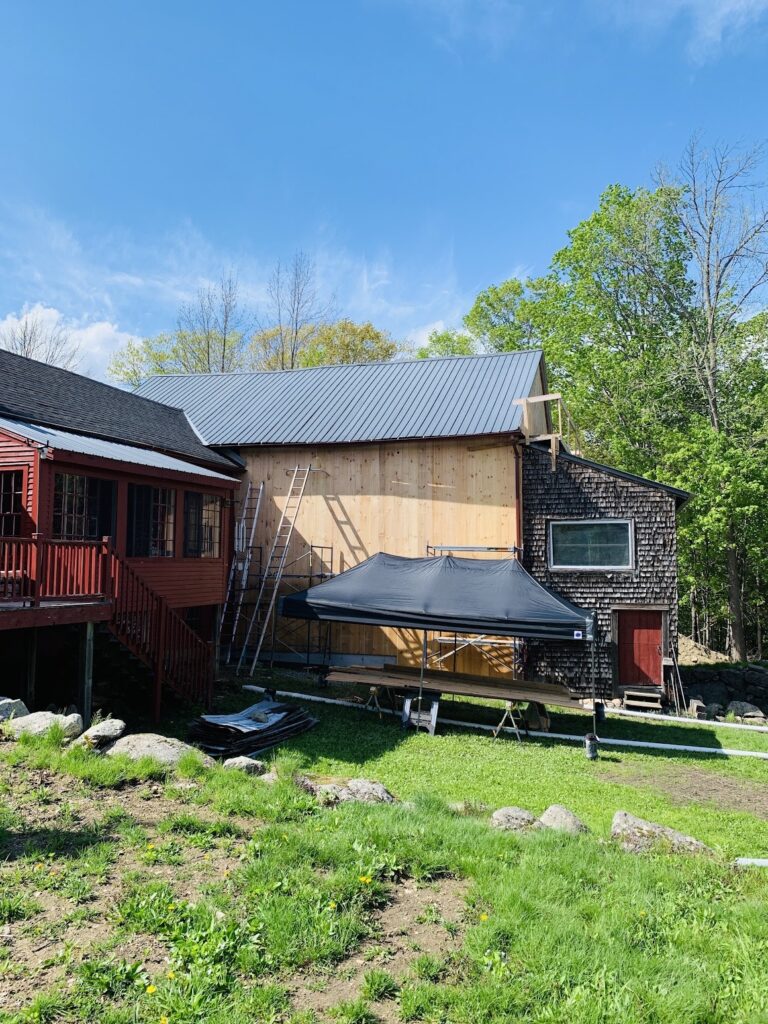
Loving how the side door looked, we went ahead and hung the front storm door we built from leftover boards from the hearth room. We used the same process, but used period hardware – strap hinges hung on pintles, and an antique thumb latch handle. We also went ahead and painted the trim around the front door with the same “Warm Onyx” that we’ll be using on the entire exterior of the house when we re-side later this summer. It really makes the door “pop”!

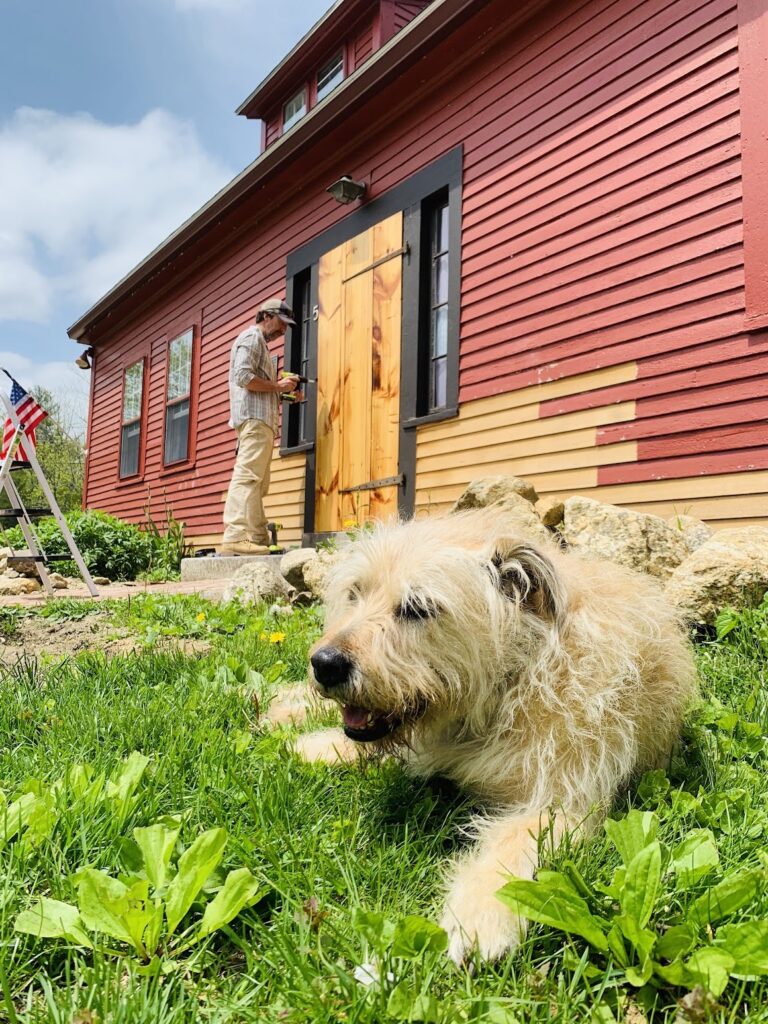

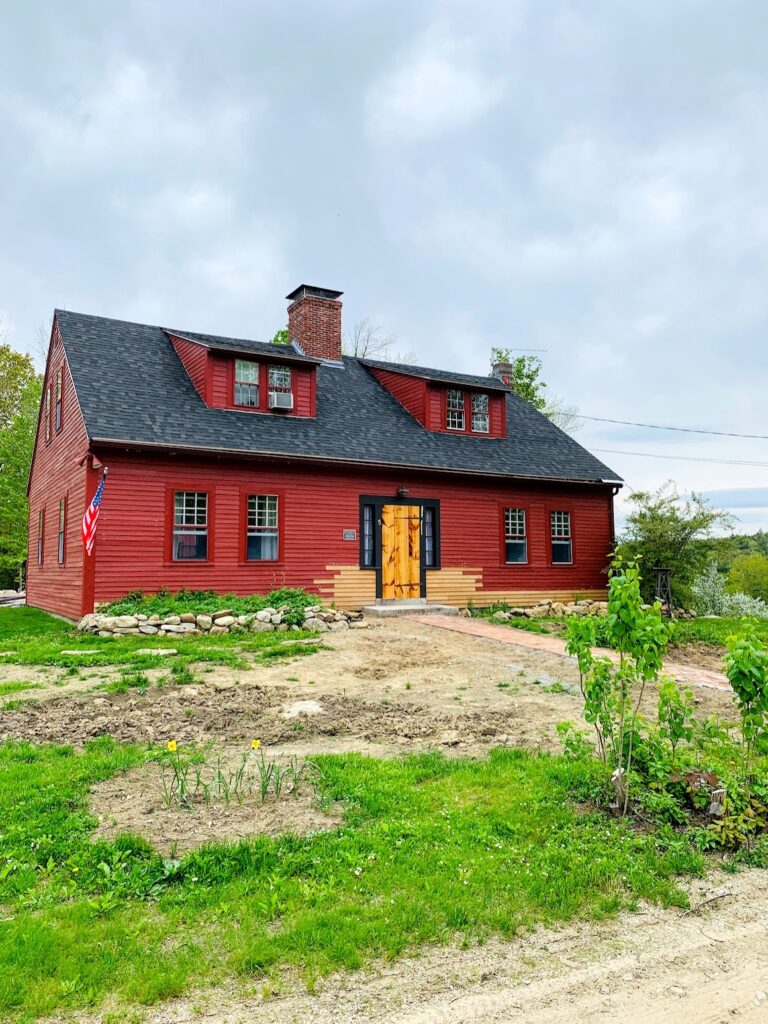
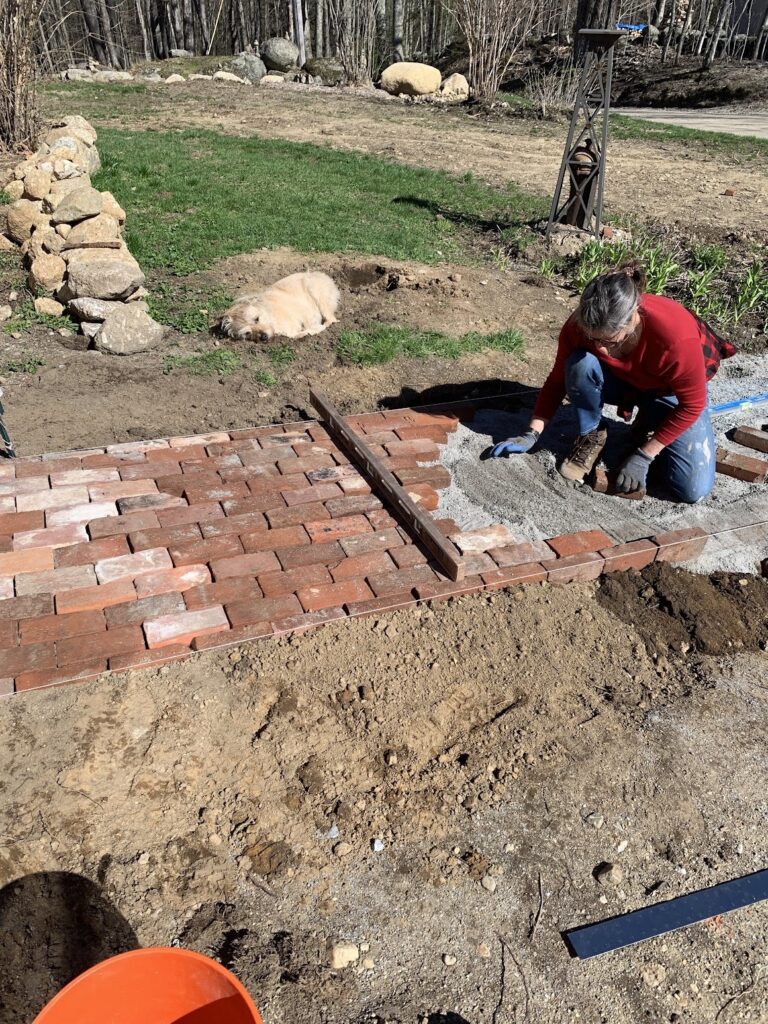
As you can see from the pics above, we also finished up the front sidewalk. There were stacks of antique bricks squirreled everywhere around here, so we gathered up enough to complete the walk, then began laying on the crushed stone dust base we laid last fall. Being handmade antique bricks, we quickly found out how much variability there is from one to the next, so you can’t just screed the base and begin laying bricks- each must be fit by hand. It ended up taking about five full days, but we couldn’t be happier with the results.


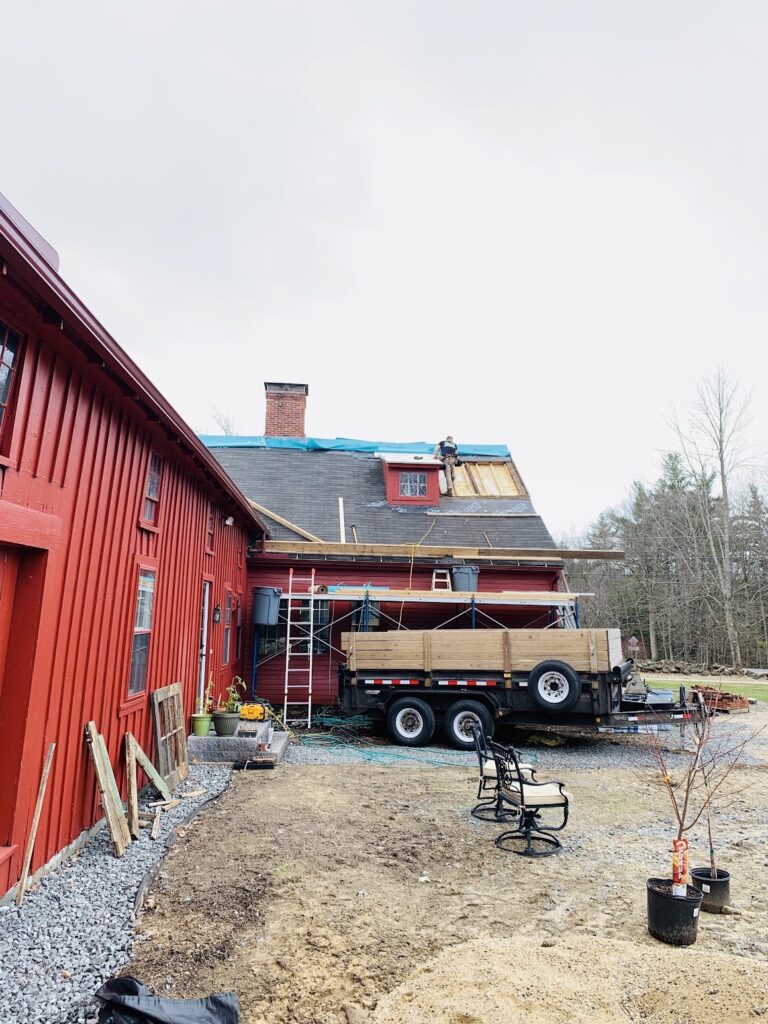
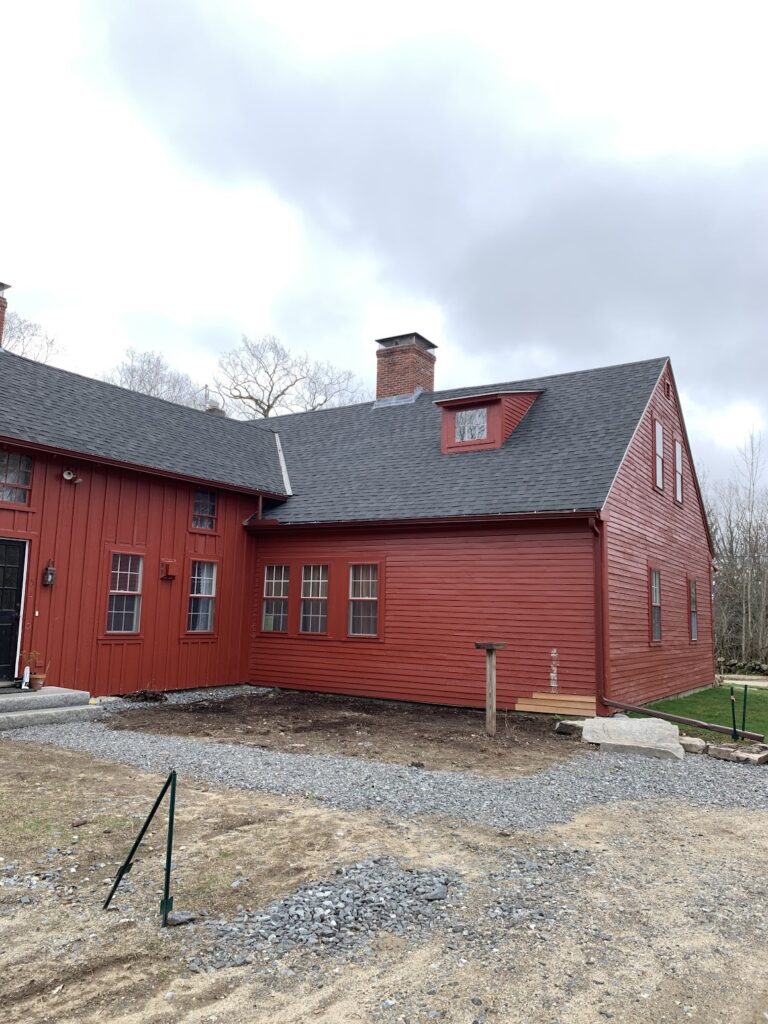
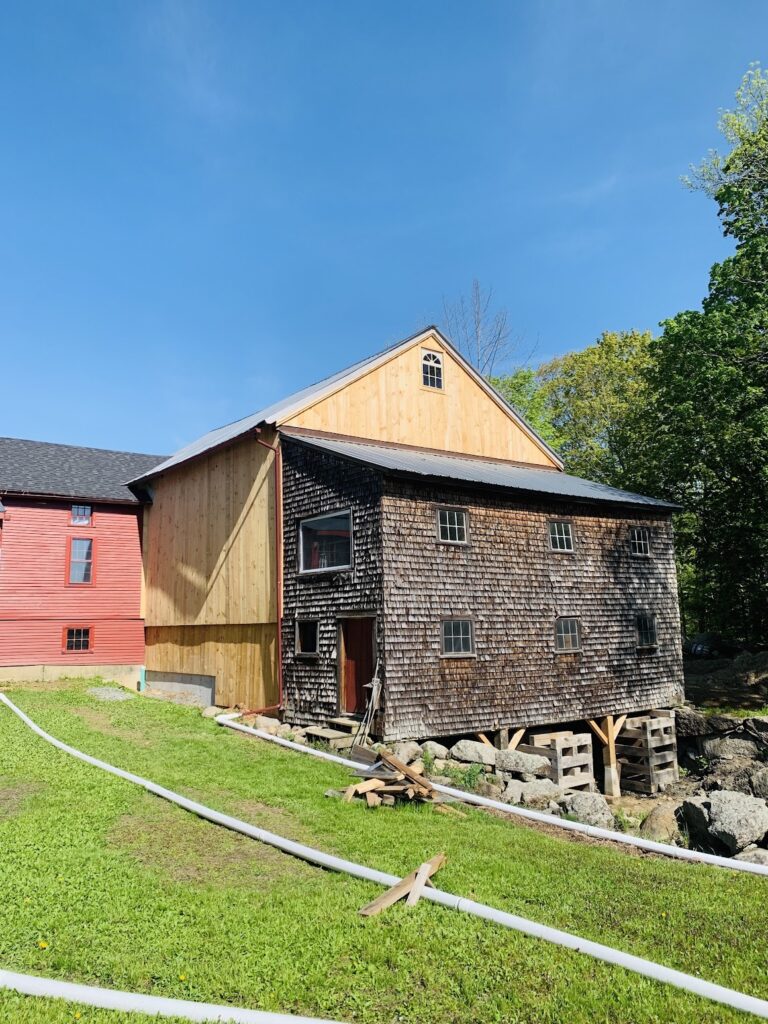
Another thing that came up the priority list was replacing the shingles on the back side of the house. For some reason, this side was never replaced with the rest of the house and ell a few years ago, and the old shingles kept breaking and blowing off in storms. Once the old shingles were removed, we found the reason for why the back side was so wavy- rotted sheathing boards and poorly installed patches. Our contractor cut out the bad boards, replaced the insulation beneath, laid new sheathing and waterproof/ice shield, then installed new architectural (layered) shingles to match the rest of the house.


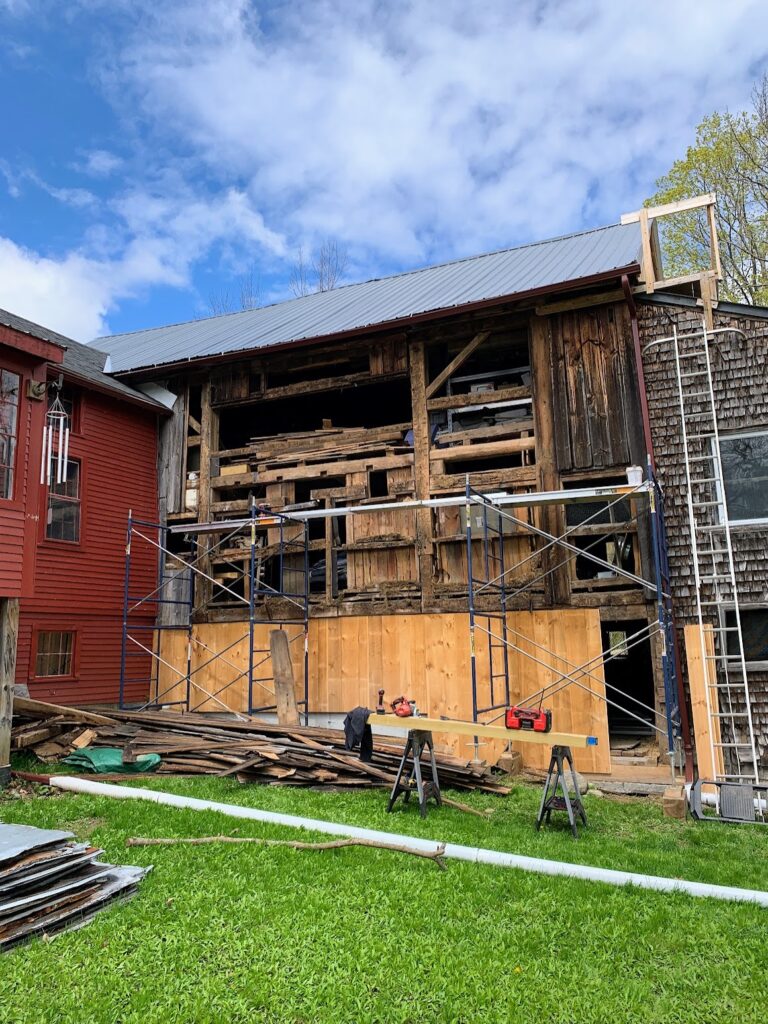
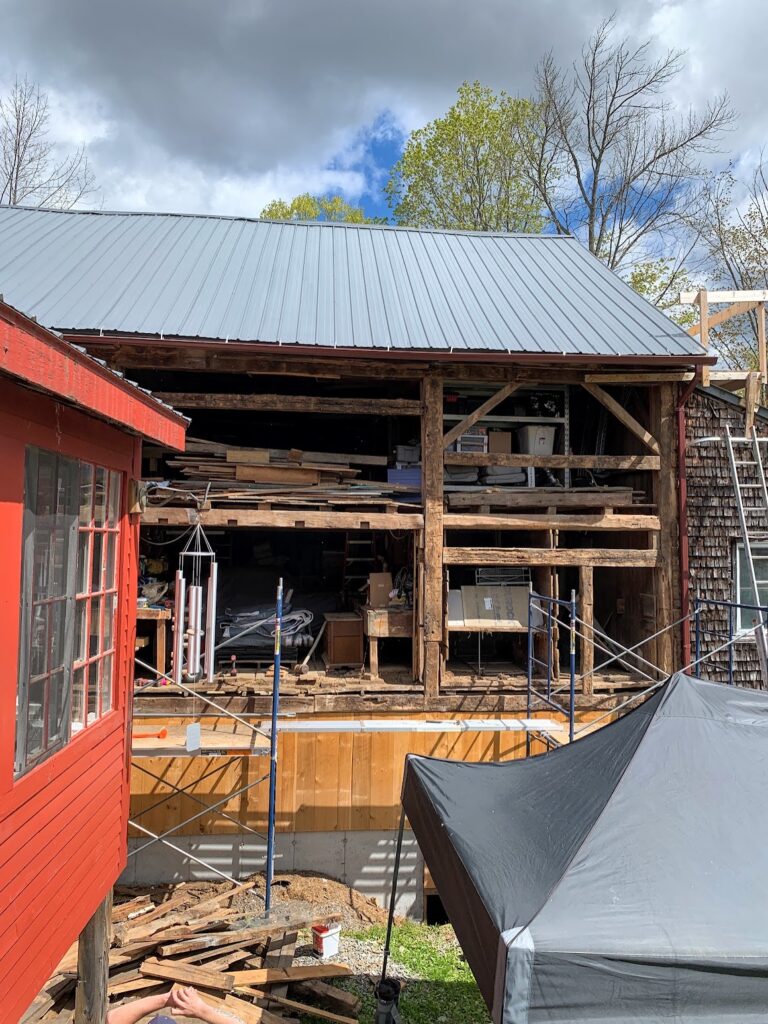
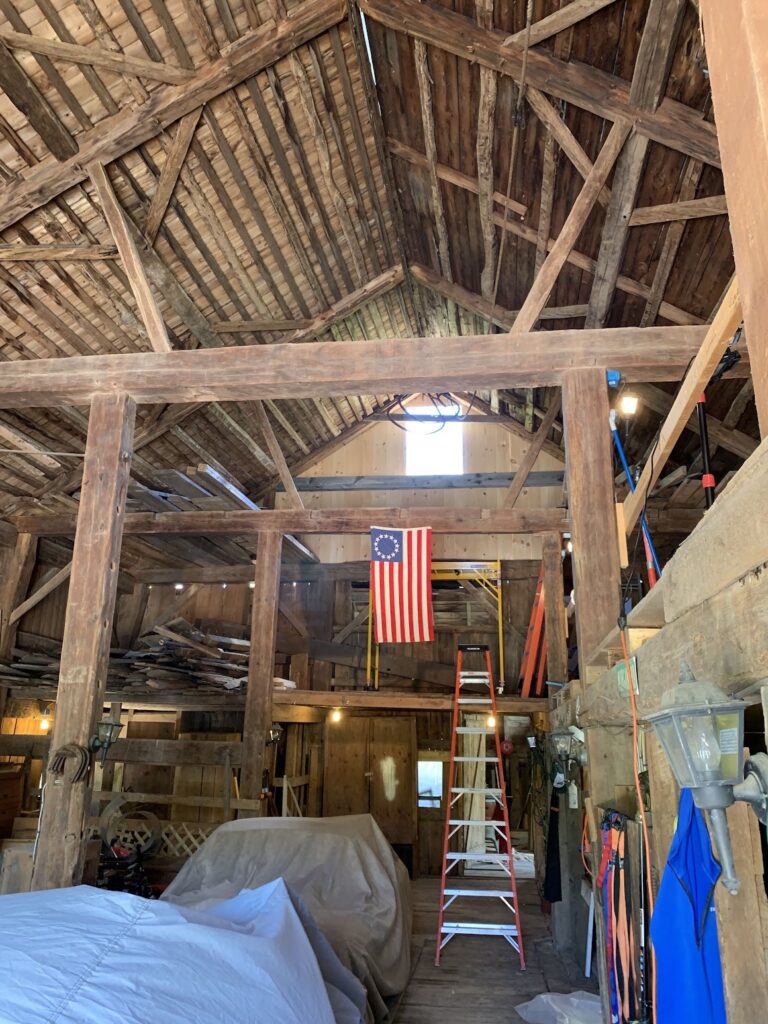
The timber framers came back to finish up replacing the siding on the south side. When the old siding was removed, not only did we get a really good look at the timber frame, but all the marriage marks on each piece of the frame. Back when this barn was first built in the late 18th century, each joint was hand-scribed and cut to fit its location. This was often done on the ground, then pulled apart, and pinned in place once assembled on site. To mark each component, the builders used their chisels to mark Roman numerals into each part. We could also see how the barn was originally built as an English drive-through barn, but was converted to a bank barn when it was moved in 1858. They also installed the gable window (hinged so we can open it from the inside) and flashed above the back barn roof.
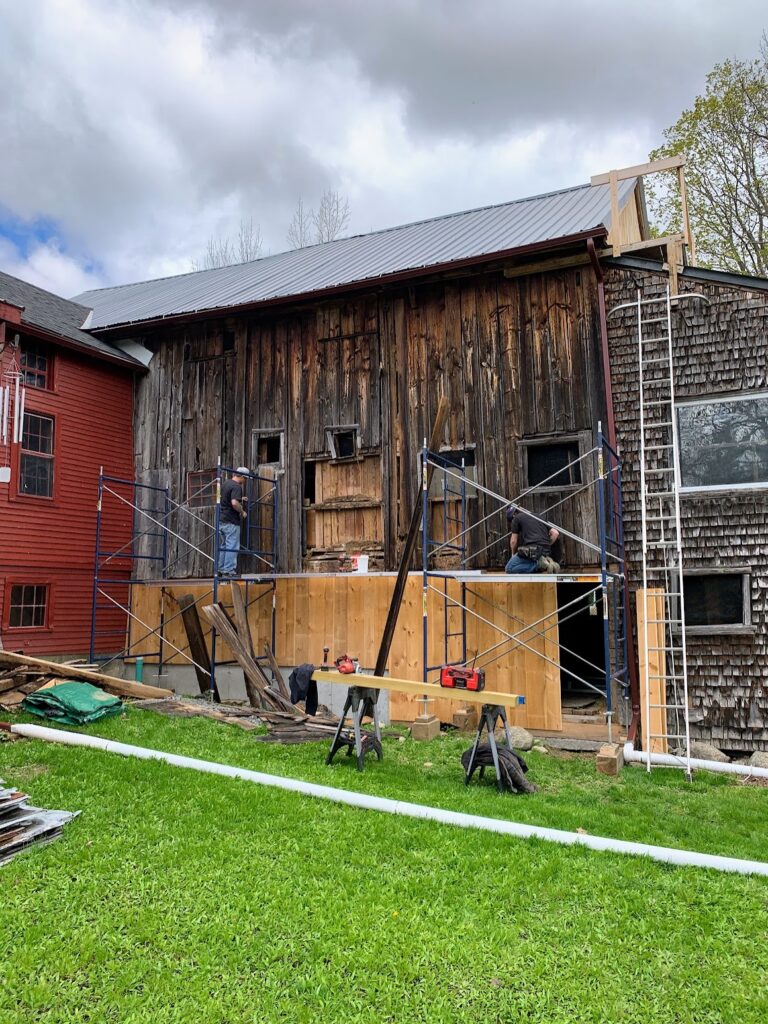
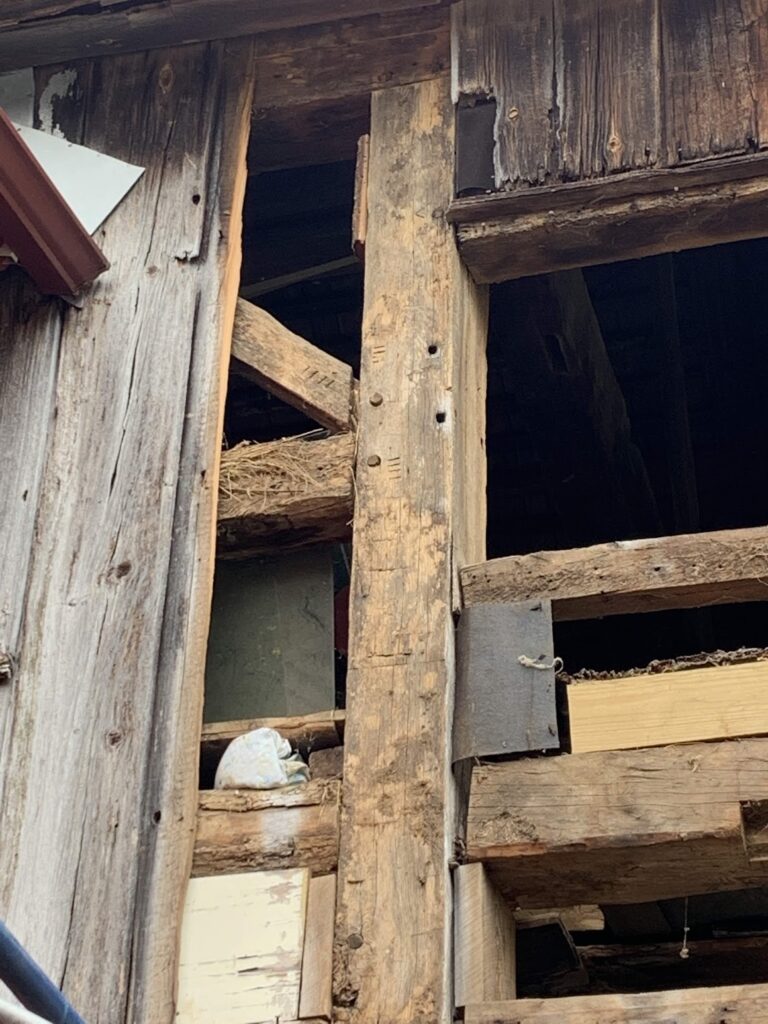
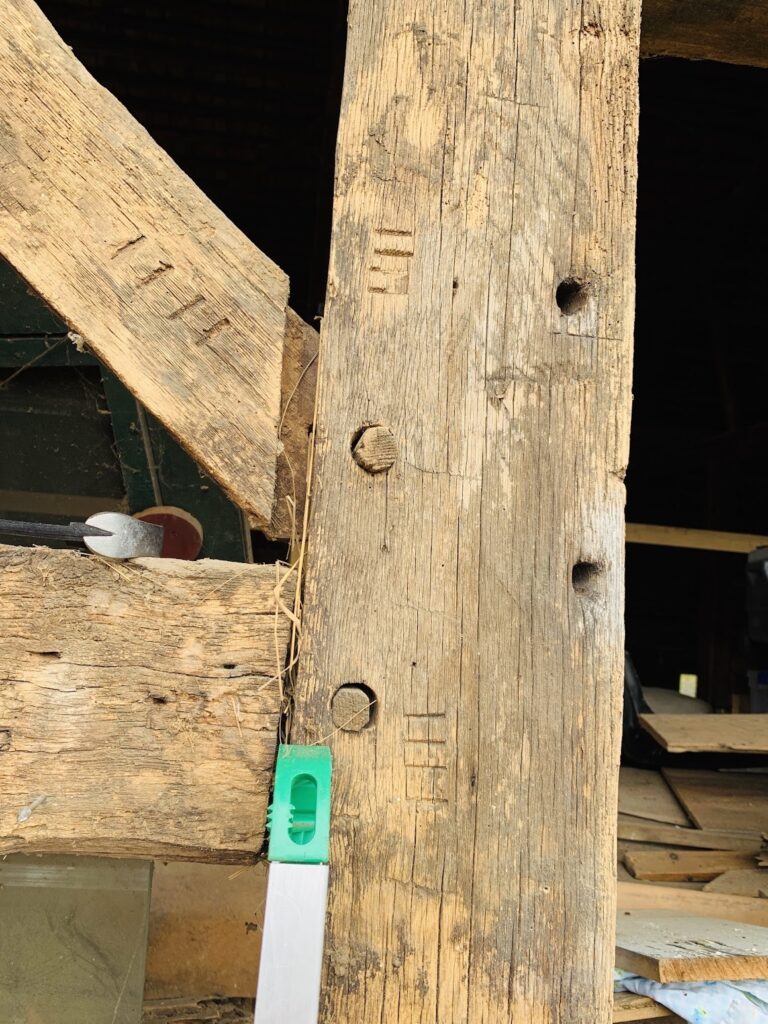


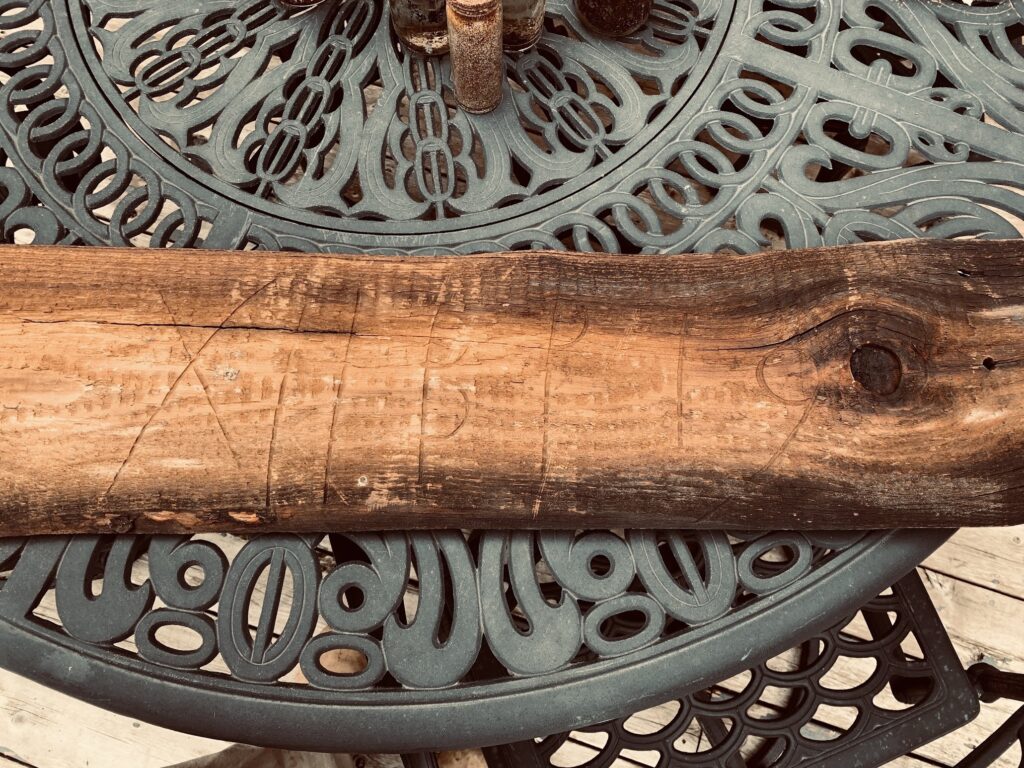
On one of the boards we pulled off, we found the original builder had scribed some hand notations- we think to mark a location within the barn. These notes were carved almost 240 years ago!
The timber framers also finished the structure under the back barn, which was full of “beams” made from layers of 2 x 8’s sistered (nailed) together, and old footings that were just poured into forms on the ground. Because the soil under the back barn was so rich with “organic matter” from centuries of animal waste being dumped down there, it would hold enough water to cause up to 20″ of heaving when it would freeze. This caused so much damage to the back barn that all the other timber framers and contractors we talked to recommended taking the addition off altogether. Only John felt it could be saved, and we’re thankful he was able to do so! Once the sistered beams were removed (after jacking the weight off using temporary beams placed on either side, our excavator dug out four feet of very wet, heavy clay soil so that precast piers could be placed. Once back-filled, John was able to slide in a new 8 x 8 beam (into the notch you see in the sixth picture below), then place posts on the new piers to support the beams. Being below frost line, and due to the shape of these piers, frost cannot heave them, so the back barn’s support is now as solid as the barn itself. You can see in the last image how wet this soil is back here- the reason we’re installing such a robust drainage system, and why we almost lost this old barn.
While the timber framers were working on the siding and structure, Jenny and I were working on cleaning the loft and lower back barn areas, patching the floors, replacing rotted joists, and figuring out how to configure the barn best for our lives here. There is still a lot of work to do, but at least as far as the back barn goes, we will need to take up all FIVE layers of rotted floorboards at some point, and lay down new floorboards- that’ll be a project once the under barn grading is finished, so we can move our hoard of lumber back under there, having room to work. The first image below is the barn loft, which will just be storage. The second image is in the lower back barn, adjacent to the new garage bay we’re putting in under the barn, and will be a tool room. The area to the left in that pic, and in the last four images will be the potting shed area, as the back yard is right through that door you see, and we’ll have our garden there as soon as all the excavation is finished, and drainage installed.
Well, that’s a good chunk of what’s been going on here since your last visit. We’ll put together another post within the next week or so (hopefully!) catching you up to present-day. Until then, leave us a comment if you have any questions, and feel free to share this post with your friends. Thanks for following along! Take care!
Leave a Reply