Actually, since it’s so miserable outside (light snow with 40-50 mph wind gusts), we’re just watching the urethane on the hearth room floor cure- but I’m getting ahead of myself….
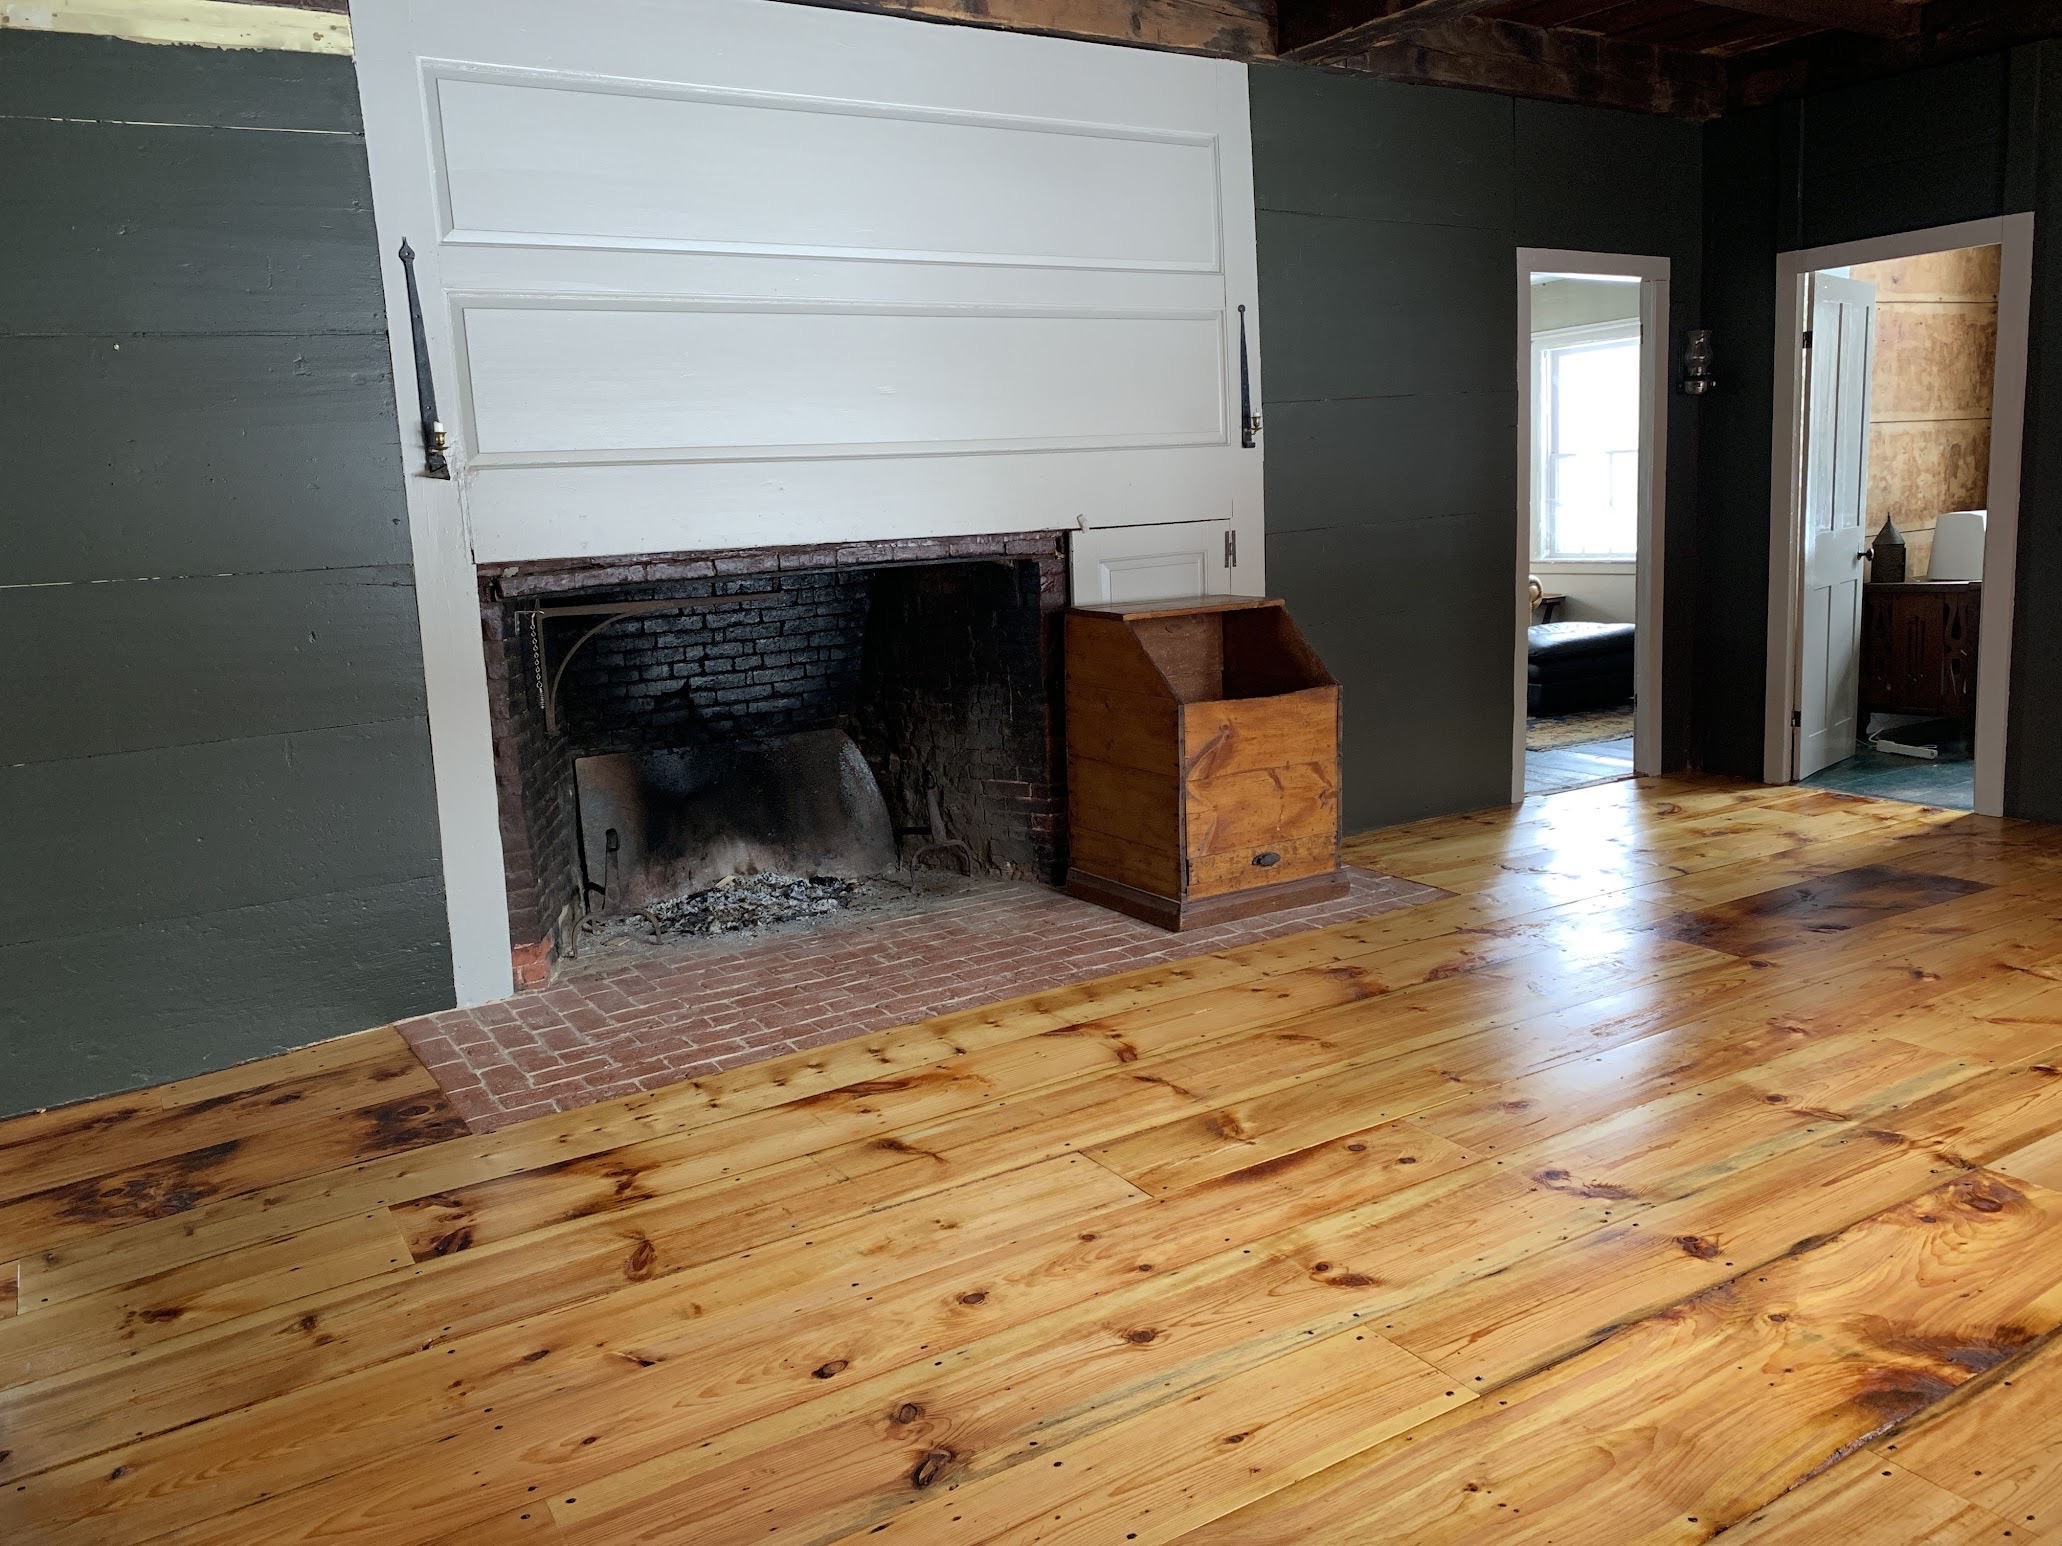
Ever since we decided to follow our hearts and restore an antique home, one of the “must-haves” in our search was a hearth room with exposed timbers/beams, antique wide-plank floors, and an open hearth with a crane for hanging cooking pots over the fire. When we saw this house for the first time, it did have the hearth, but no crane, no original wide floors, and no exposed beams. The ceiling was sheet rock, with the dining area dropped nearly a foot lower than the rest, and we saw no hint of any beams. The floor was a mixture of punky, worn, narrow and even “bouncy” boards and new Home Depot planks, due to its re-remodeling from a kitchen and bathroom back to a hearth room. But, we fell in love with the house, with its history, and we decided to call it home regardless.
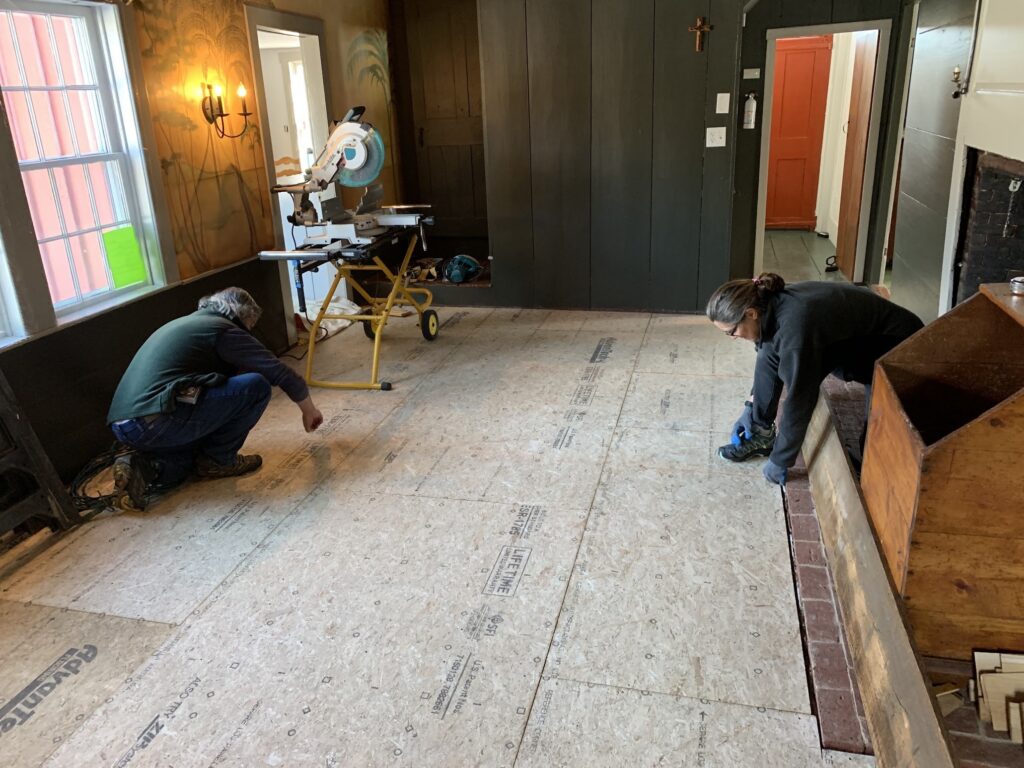
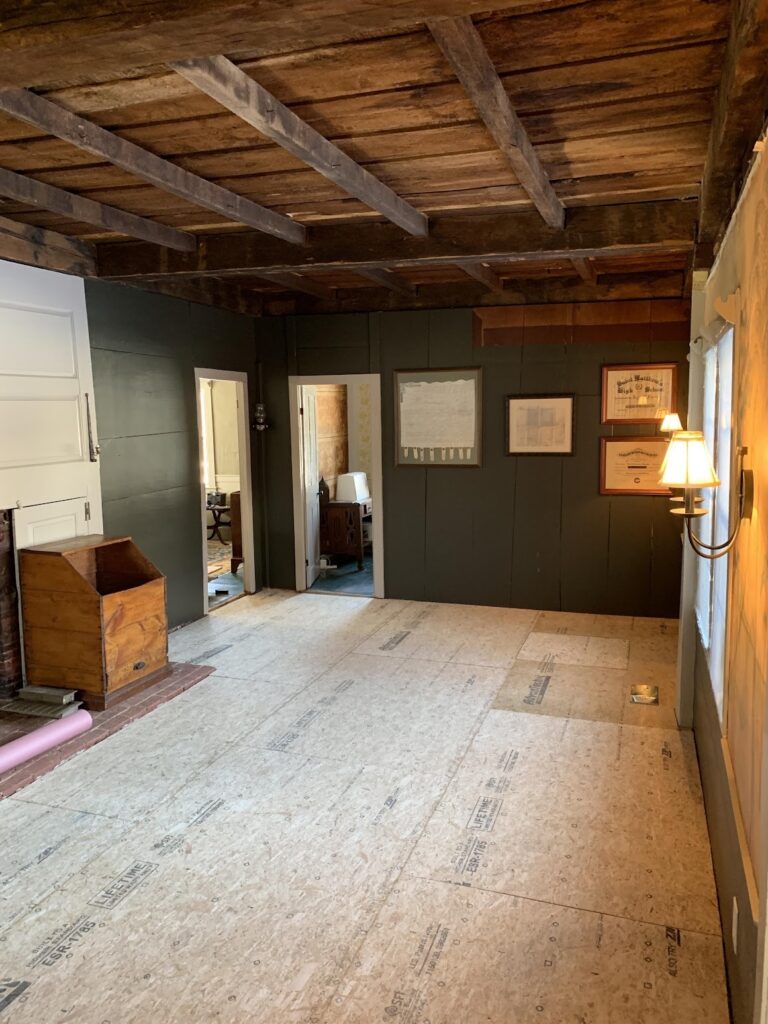
Fast forward to December, when Jenny and I finally pulled down the drop ceiling to reveal the glorious, mostly-unmolested beams, 10-1/2 foot high antique wood ceilings, covered in soot from being exposed for the first 50ish years of this home’s life before the drop ceiling was added (likely by the second owner around 1835-1840). For more about that project, see the post “So Where Do We Begin”. One of our contractors (thanks again Joel!) then dropped off a period fireplace crane that he had found in VT, that just happened to fit our unusually-large-gapped pintles (the forged “holes” that are mortared into the brick to receive the pins on the crane, from which it swivels). Since we had so much structural work that needed to be done UNDER the hearth room, and we had to take up the old floor to do so, we decided we’d source some period boards to replace it. Thus fulfilling the three items on our “wish list”.
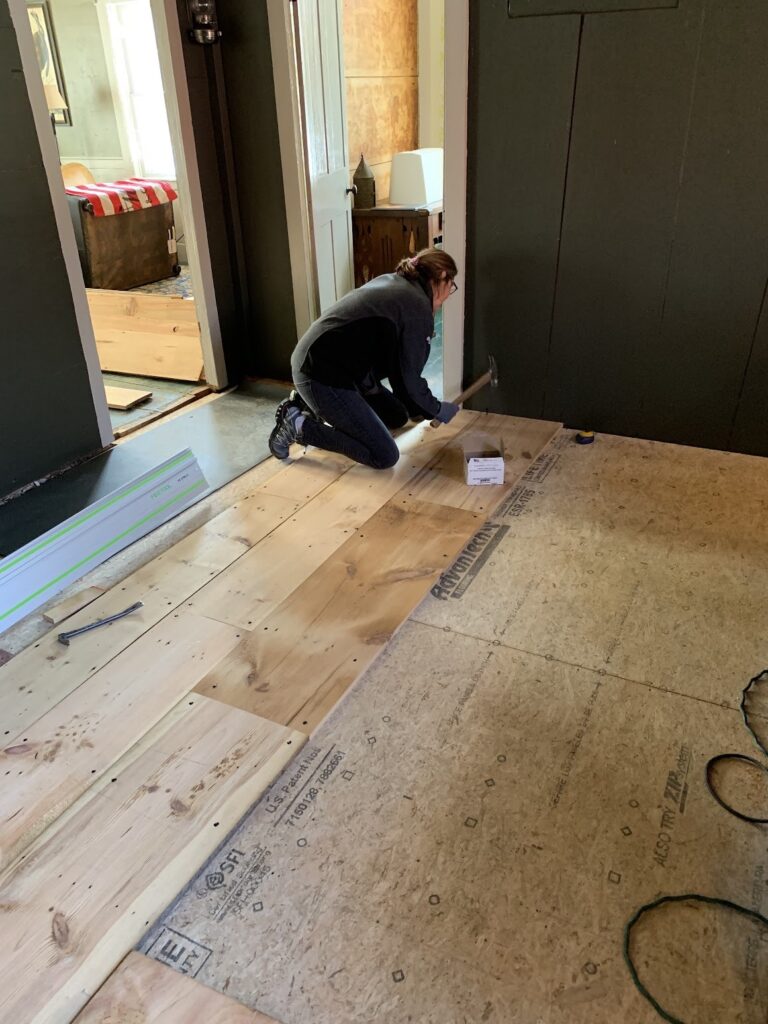
After looking for a while, our structural contractor Tom was able to source the appropriate boards: attic boards salvaged from a 1790 home over on the seacoast that was being taken down (sadly); boards that had never seen oil or paint. We had them de-nailed, cleaned, and skimmed through a planer, then they were delivered to our house, where they could acclimate before being laid down on our new subfloor. The boards ranged from 5′ to over 17′ long, and from about 6″ to 21″ wide. We were able to secure enough board length to finish the hearth room, and the adjoining hallway by the bathroom, with enough left over to build a new front storm door.

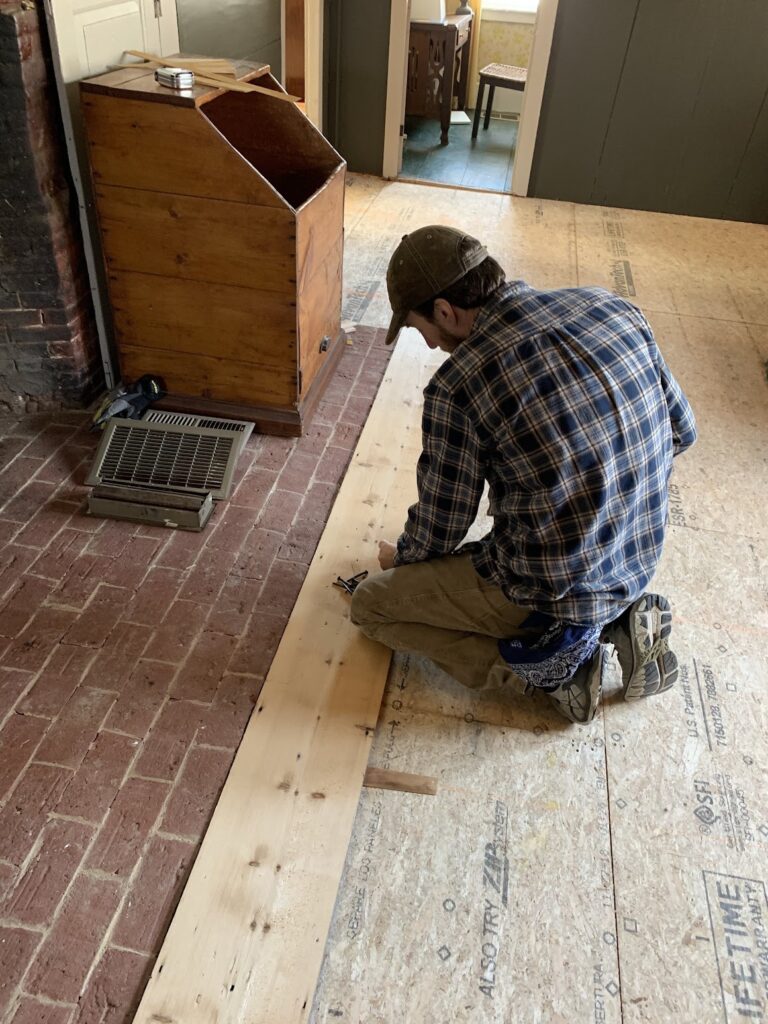
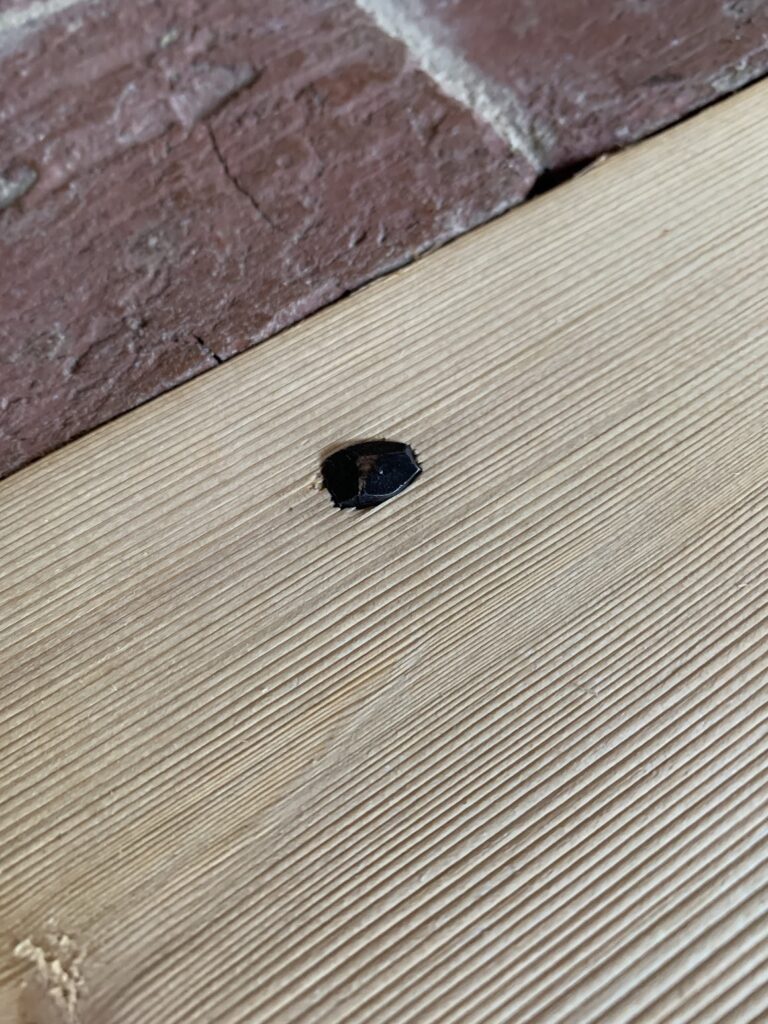
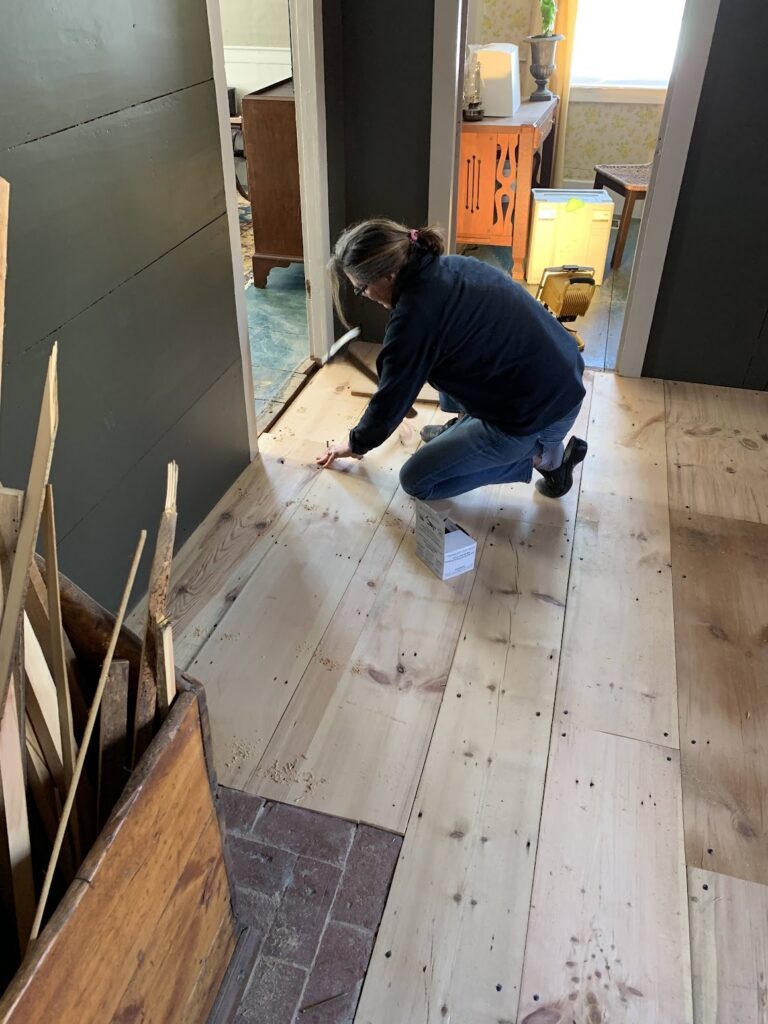
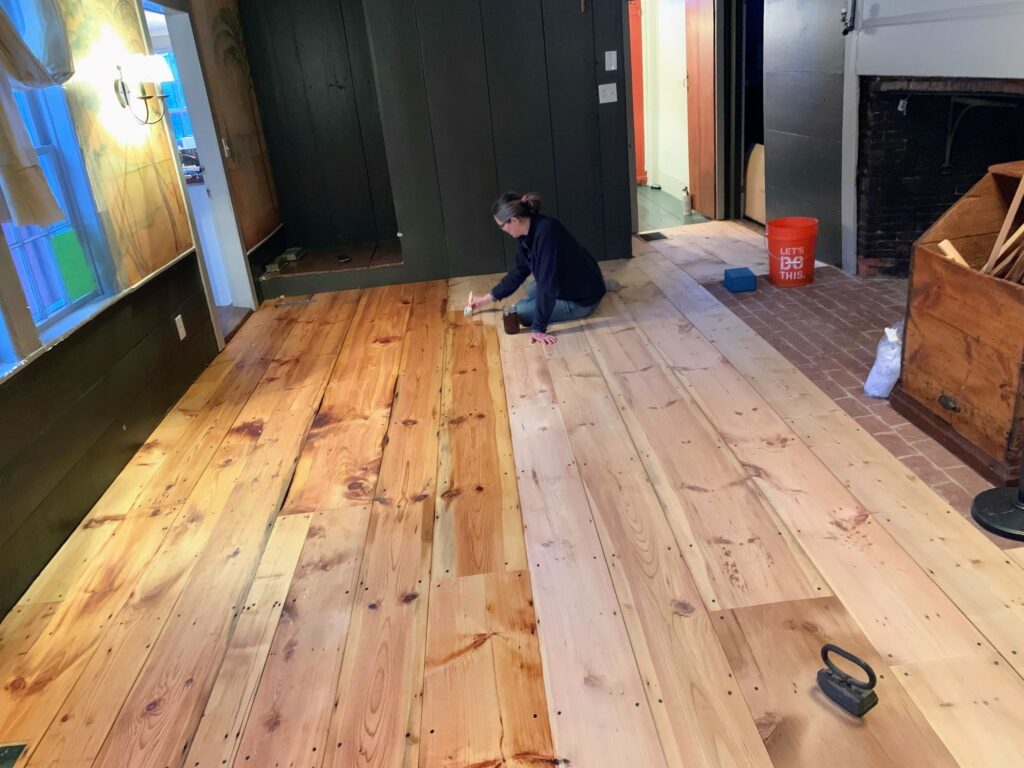
Not having ever laid an antique plank floor before, and not wanting to screw up irreplaceable lumber, we hired one of our contractors to help us out with the cutting. Wayne was patient with us as we tried different layouts in order to highlight as many of the most beautiful boards (all of them!) as possible. We began by laying chalk lines that would be our “nail rows” so that the nails would look somewhat uniform. Then we began laying the boards beginning with our longest board (17′) in front of the brick of the hearth. Since the boards were tapered (wider at one end), and not wanting to waste anything we didn’t have to, we would lay a row end-to-end, then lay the next row with the taper going the opposite way, occasionally checking to keep the taper more or less even. We used reproduction wrought nails (forged) to keep an authentic look.

Since there is just a crawl space (no basement) under the hearth room, we wanted to have access once the floor was finished, so we built in a trap door, which we will finish once we find some antique hinges and a recessed iron-ring handle. For now, we’ll use the tacked-in lanyard that Jenny fashioned together (being the resourceful Yankee that she is).
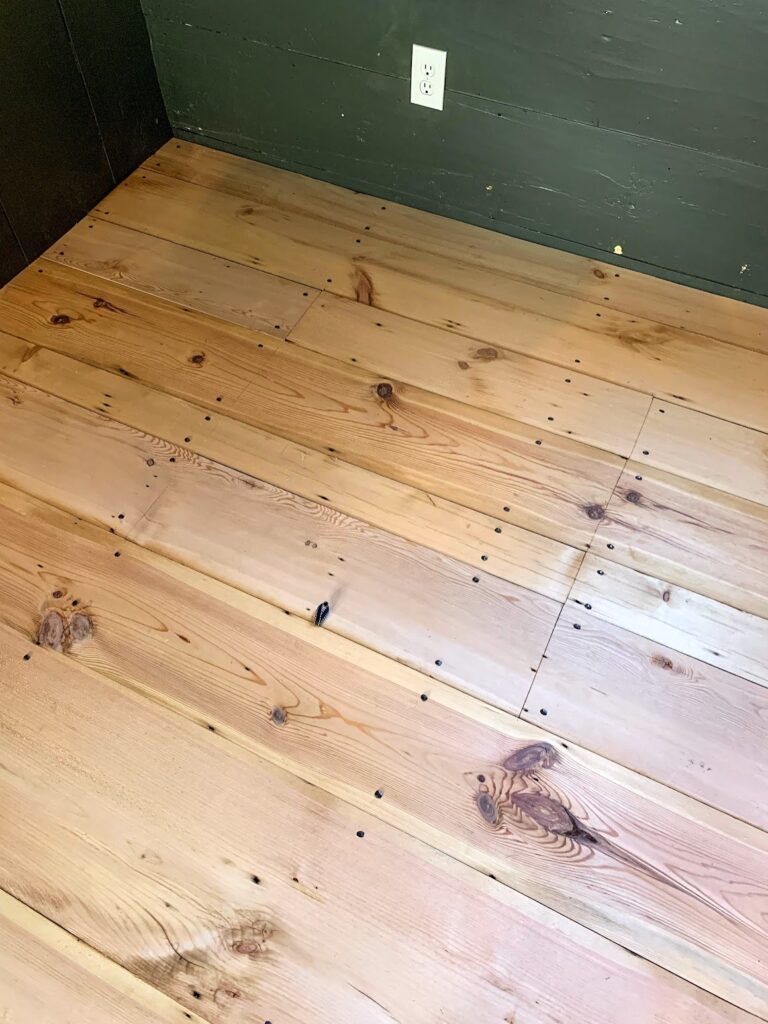

Having researched appropriate finishes for the late 18th century, we knew we wanted to use a mixture of boiled linseed oil (BLO) and turpentine (4:1 ratio), but having practiced on our kitchen floor, we found it to not be as water-stain resistant as we’d like. We then decided to apply at least three coats of B.L.O./turpentine for the rich color it provides, then top with a coat or two of a satin urethane. We thought this would give us just the right amount of sheen and water-resistance, yet allow the wood to warm and highlight as only linseed oil does.
We could not be happier with the results-


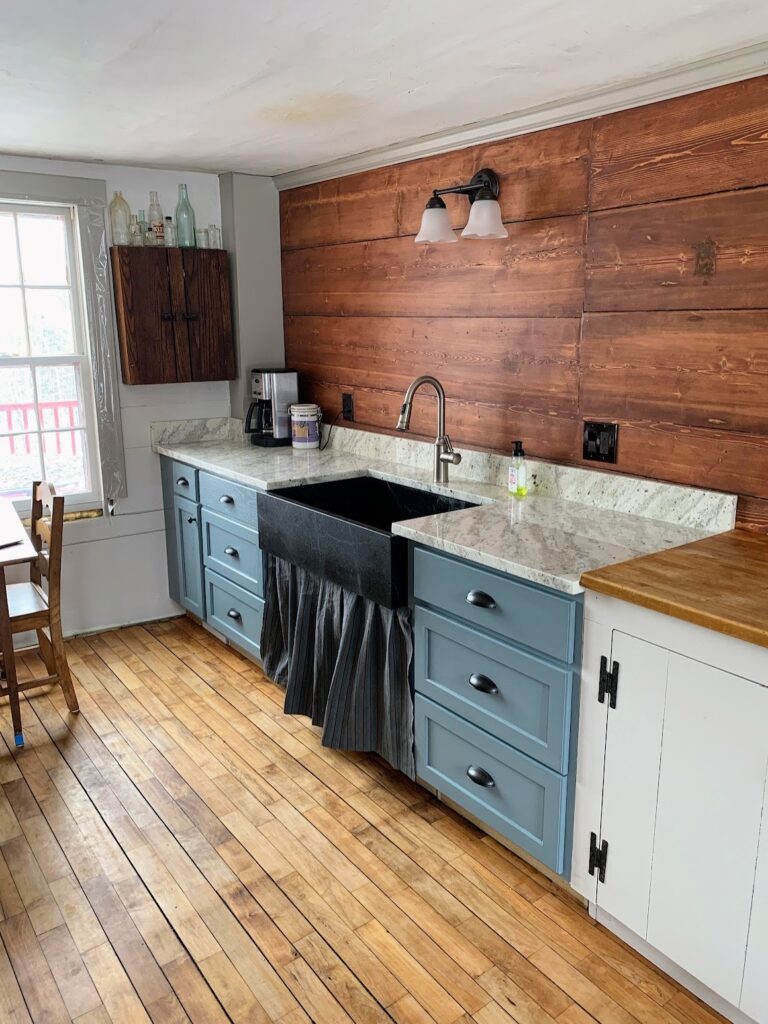
In other news, our replacement countertop arrived last week. We had selected a different granite originally, but due to a cutting error, a replacement was selected, but we’re very happy with the end result. Next, we’ll make some small, rounded shelves to fit in the corner to hold some pretty things, as there would have been in an old farmhouse. We’ll also cut a couple of plank shelves to hang to the right of the sink to hold glassware and such, with cup hooks to hang mugs. Again, like an old farmhouse would have. To follow the farmhouse aesthetic, Jenny made up a curtain to hang below the sink.


We’re also keeping busy boiling maple sap into syrup. We tapped three trees this year, and may add to that next, but it’s enough to make it fun for us rookies. We start by collecting the sap, boiling down as much as we can outside over a fire, then finishing on the stove. We boil until the sap reaches 7-7.5 degrees above boiling, which varies with altitude and atmospheric pressure, so we first boil water and measure the boiling point. Once the sap reaches about 7 degrees over that, it’s pretty much ready for breakfast! It’s still a little early in the season, so it’s light in color, but it’s sweet and tastes amazing.


Next on our to-do list is to:
-Finish sanding the plaster so we can wallpaper the front entry hall.
-Make and hang shelves for the kitchen wall.
-Finish patching the paneling in the hearth room, where the drop ceiling was, and where holes were cut for electrical wiring.
As always, thanks for following along, and let us know if you have any questions, comments, etc. Also, feel free to share, especially with those undergoing historic renovations, as we love to share ideas and successes/fails.
Until next time, thanks for stopping by the farm, and God bless!
Leave a Reply