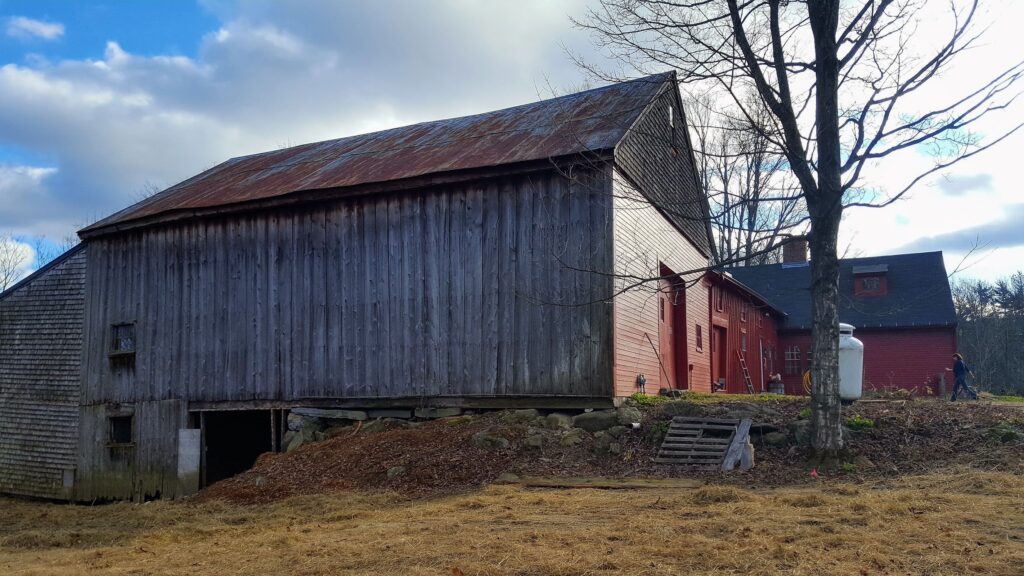
Since we bought this property (a year ago yesterday), everyone has told us that our barn would stand another 100 years, and not to worry. Then we had professionals actually begin the process of rebuilding the structure and restacking the foundation, and they told us, and showed us, that the barn would not likely have stood through this winter. It was failing. Actively. Water is the insidious evil here. If it’s not washing out the foundation, it’s seeping into and rotting the wood structure. It’s pushing on the delicate balance underneath with the incredible force of freezing and heaving.
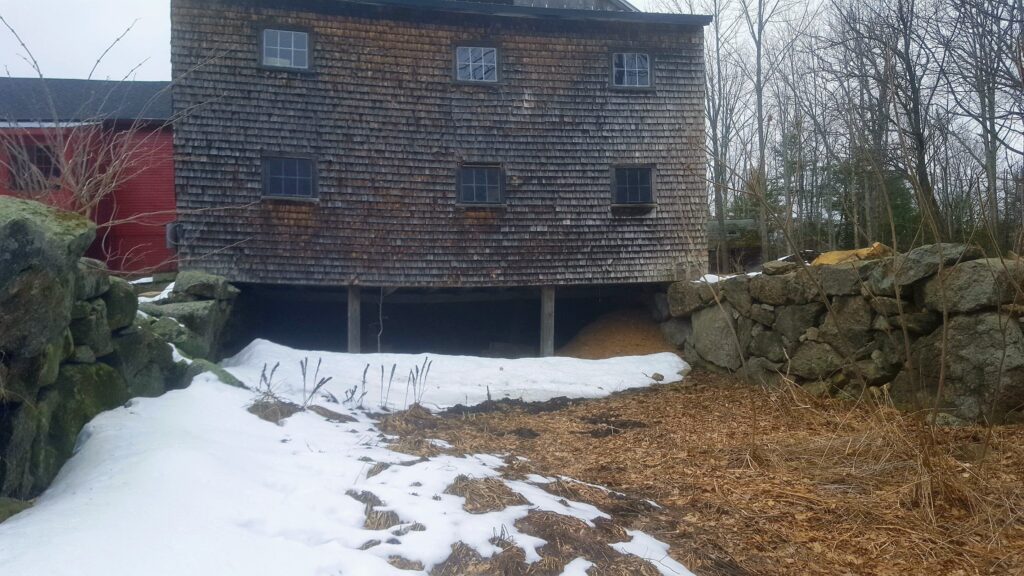
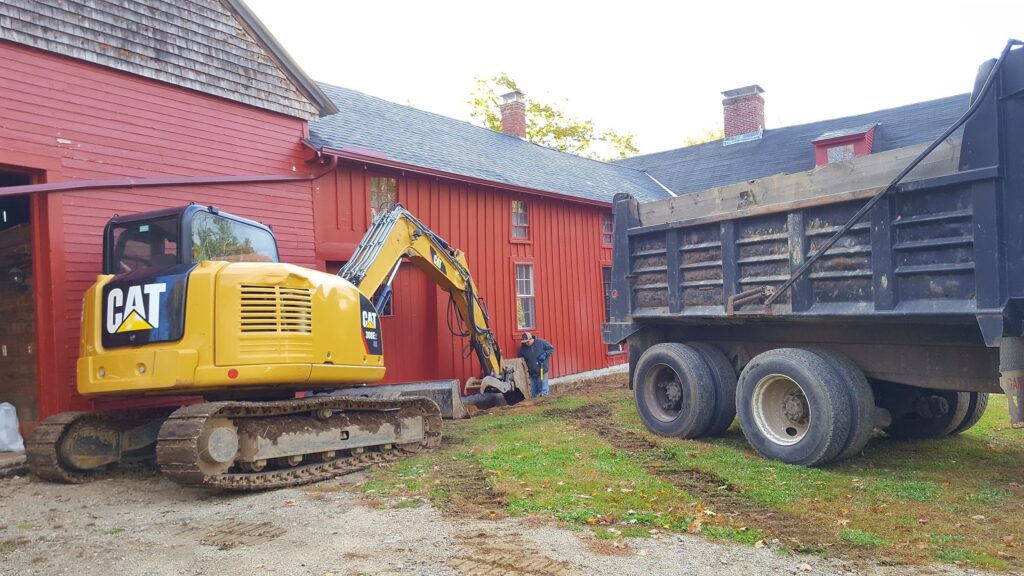
The crew has made good progress on the barn’s stone foundation this past week. They showed up last Thursday, expecting to work 14 days, but at the pace they’re going, they’ll finish up in 9 or 10. Which is great, as it has since been revealed that the barn needs even more foundation work that cannot wait, so they’ll also be taking out the wall below the back barn that runs across the barn (the barn kinda cantilevers on this wall), and replace it with a poured concrete wall. We decided to go with poured concrete because of the difficulty in getting machinery under that part of the barn, and because no one can see this wall anyway, we don’t need to try to keep the stone. Keep in mind that this barn was originally built on flat ground across the road, and was moved to its current location in 1858, and placed on a timber frame truss-beam and post foundation set into the bank of the hill, making it now a bank barn.
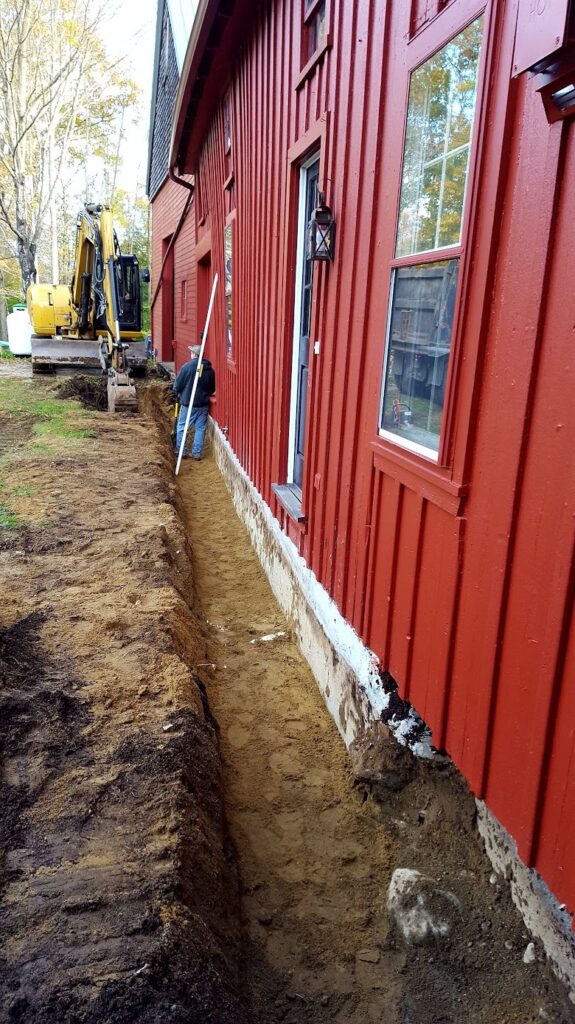
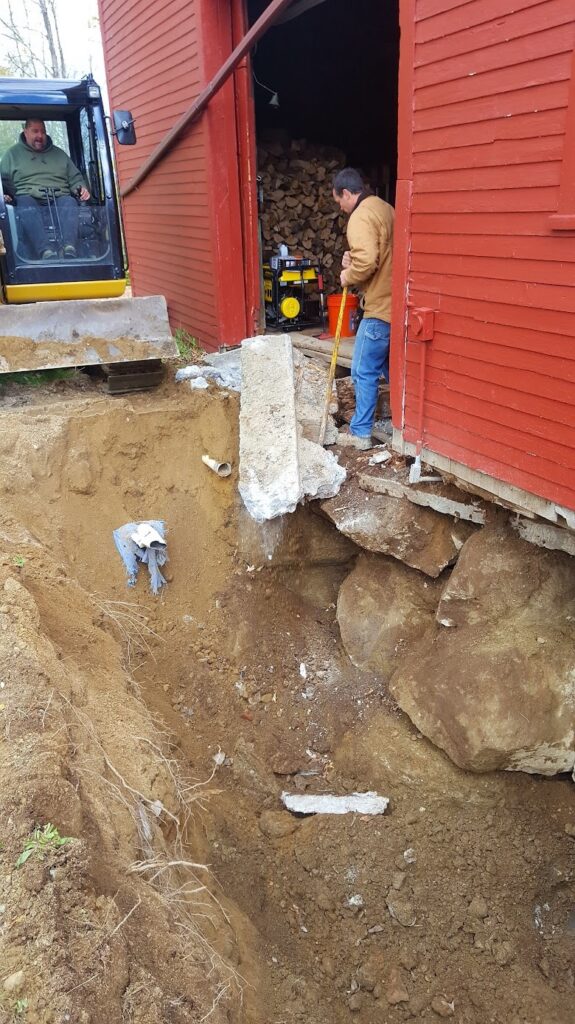
The guys began by digging a trench along the front of the ell to add drainage:

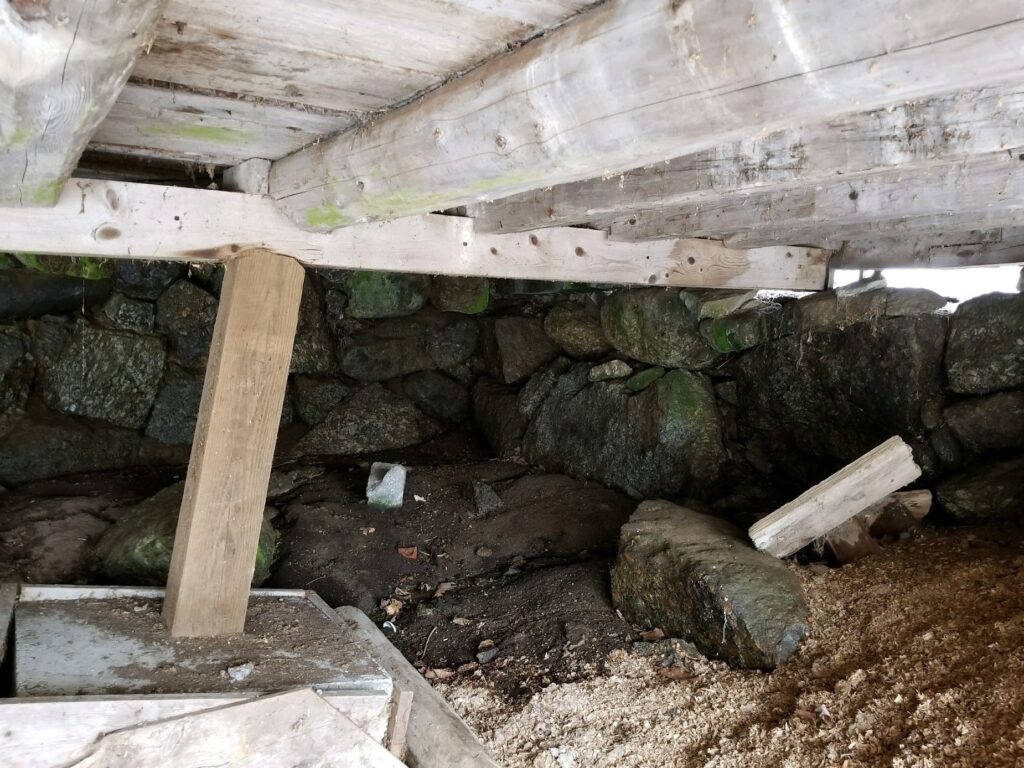
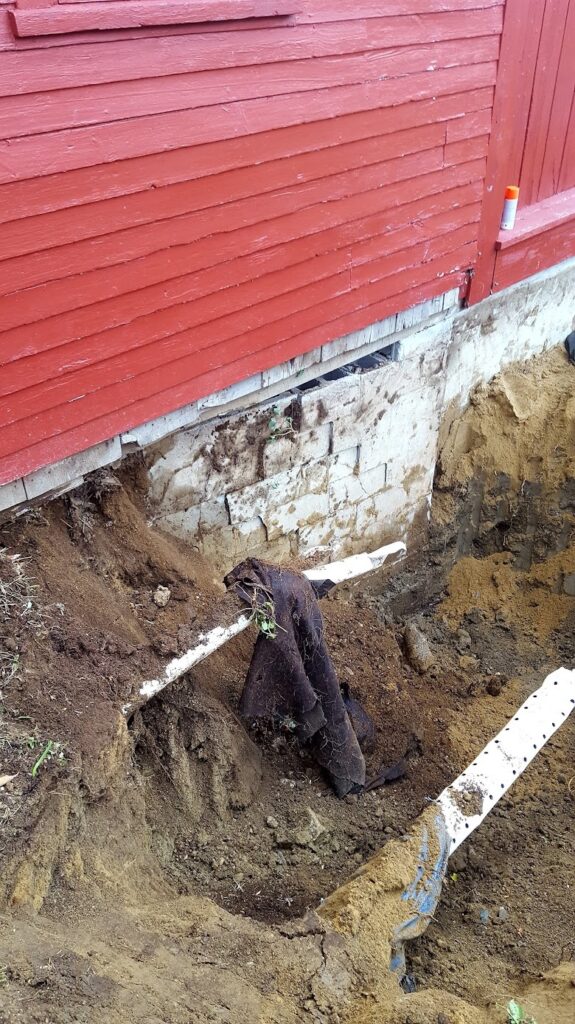
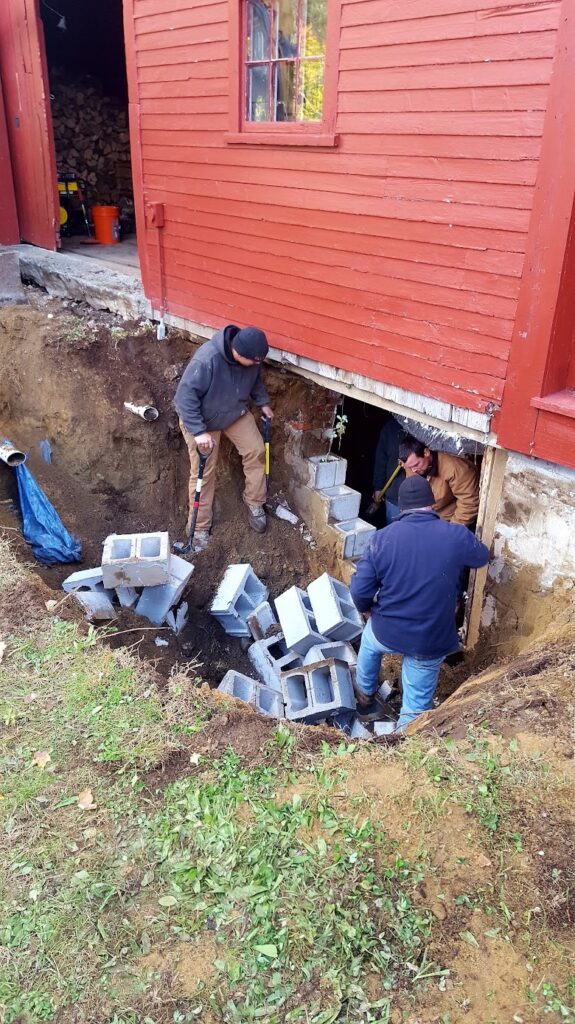
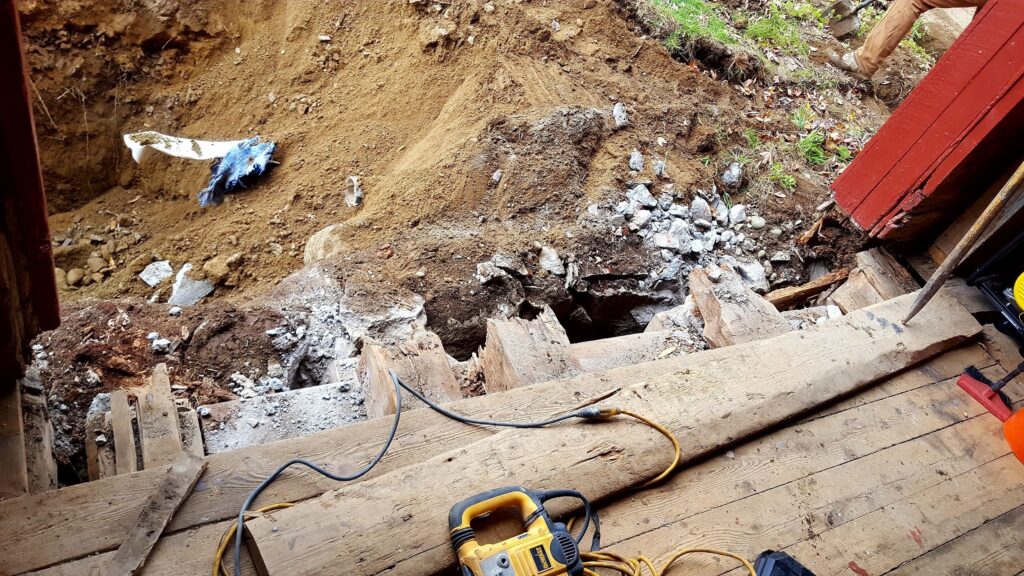
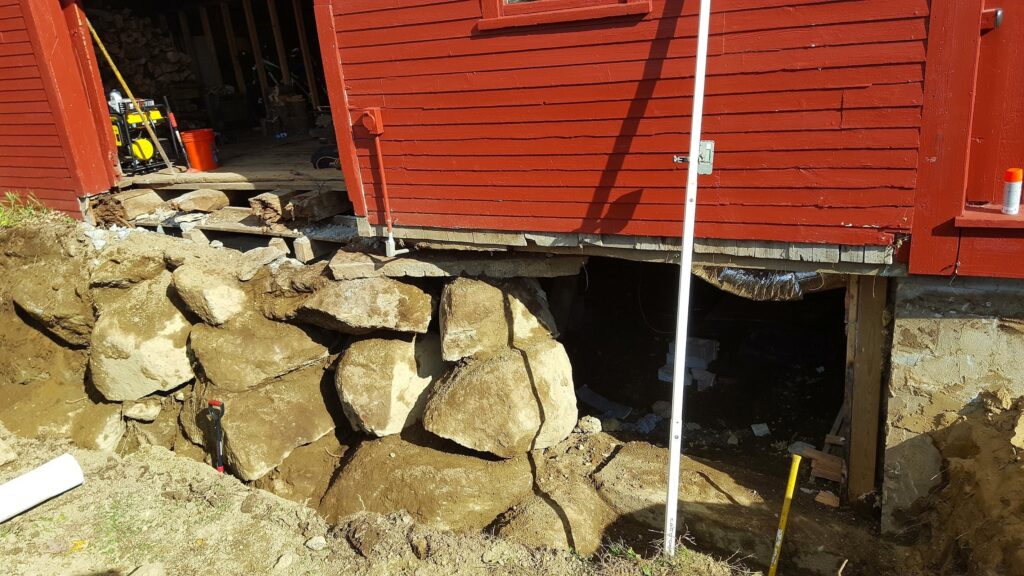
Once they got to the part of the foundation leading under the barn, we realized how fragile the foundation was, as there was a 6-8′ section of concrete block that literally crumbled as they touched it. They pulled it down with their bare hands, as it did not have re-bar or even concrete-filled support; it was just a wet, stack of hollow blocks, holding up this whole corner of this heavy old barn. Some of the boulders nearby rolled under the barn as they opened up the ground outside. They also hammered out the concrete that had been poured to fill in the barn door opening in lieu of a sill beam. The nature of concrete to sweat with temperature changes, further rotted the beams. You can see in the image below how wonky the concrete was due to frost heaving, and the extent of decay to the beams:
They begin by digging out behind the stone, clearing away any dirt and smaller rocks, revealing the boulders:
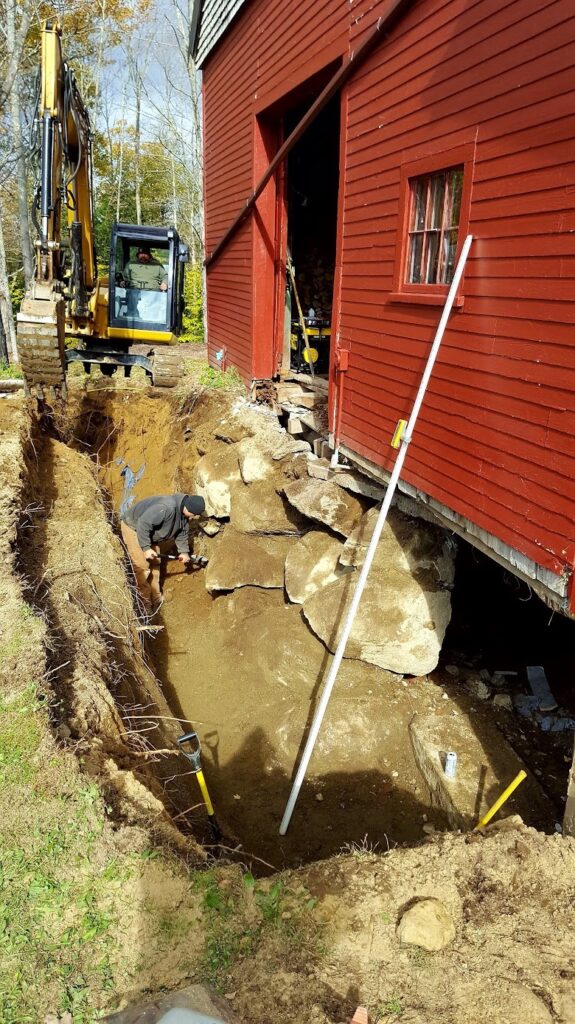
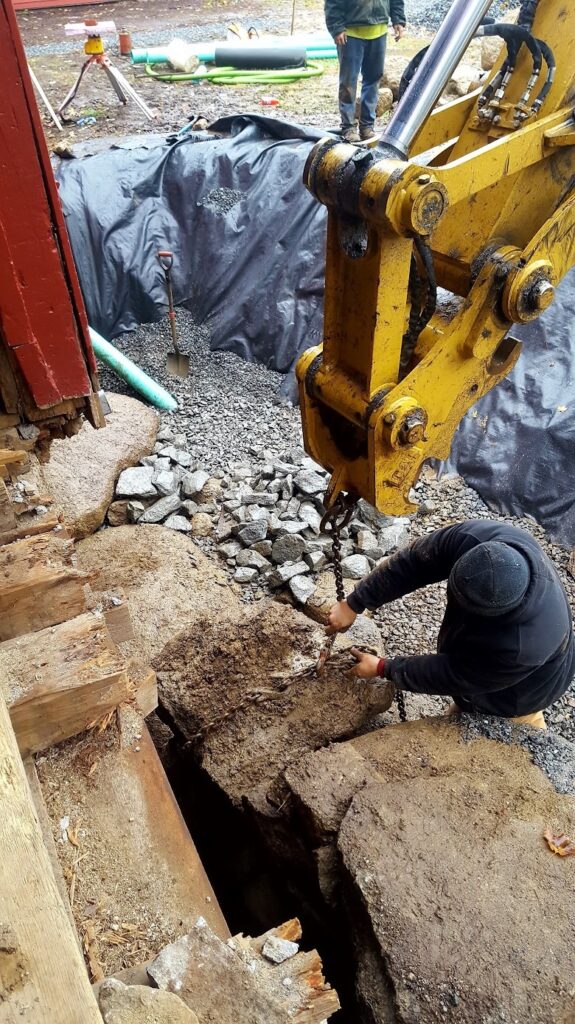
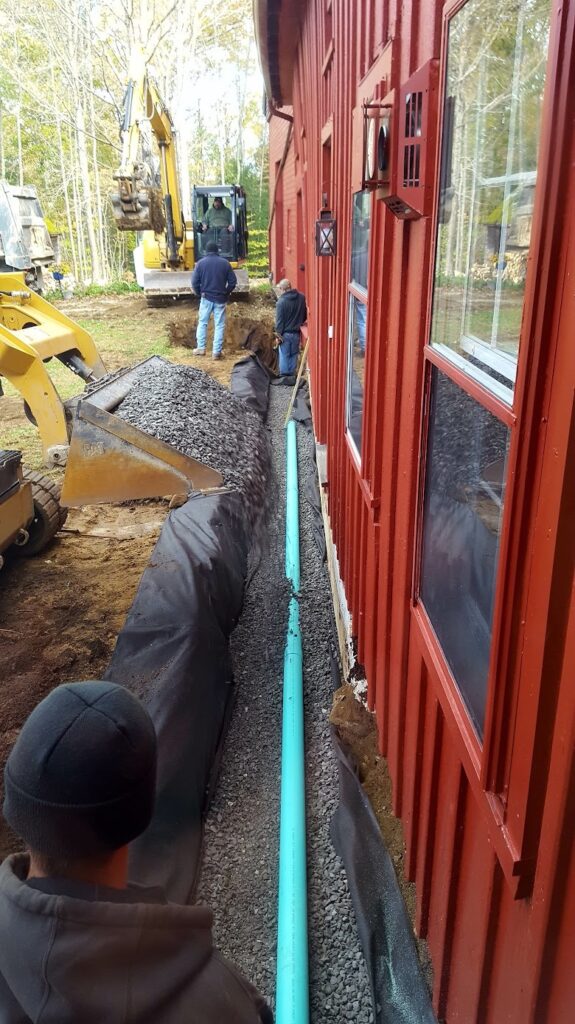
Then they install the drainage at the bottom of the trench, starting with a membrane to keep soil from infiltrating the drainage, a layer of stone, the perforated drain line, then cover with more stone. Then they pull out the boulders, lay them out in the clearing alongside the barn, and sort them by size, shape, and quality. Note they also pulled out the boulders that had collapsed under the barn:
Once they have the boulders cleared under the barn, they can begin restacking:
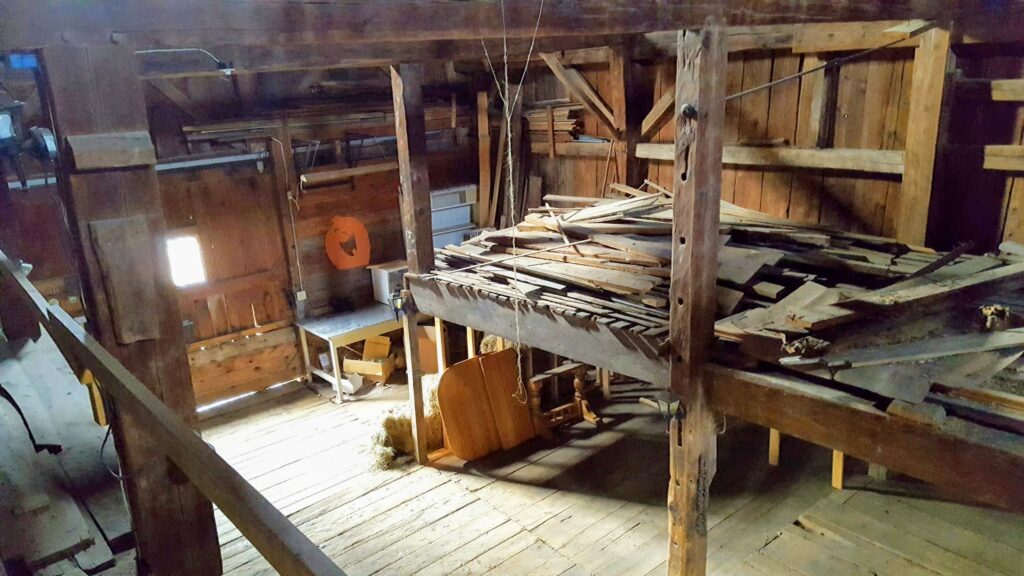
While the guys were working on the foundation, Jenny and I turned our attention to our little shed. A tree had come crashing through the roof of the shed many years ago, taking out both sides of the roof, much of the gable, and breaking a couple of rafters and some other structure inside. Since this shed is so old and weathered, we’d love to fix it up and have it live another life as a garage for Jenny’s MG. We began by pulling off the old layers of shingles and tar paper- four layers! Then we copied and hand-cut a new rafter to replace the one that was completely broken, sistered another, and then cut out the damaged roof sheathing, and patched it in using boards we pulled from our lumber stock in the back barn (we’re not “hoarders”, you just never know when you may need something :-)) We were able to lay down new builder’s felt (tar paper) before more rain moved in, shutting down any outside work for a couple of days.
Here is what it looks like on Google Earth (you can see the tree still sticking out):
We were able to find a place just across the border in Mass. that sells new shingles at a deep discount that are classified as “seconds”, meaning the coloration may not be perfect, but since it’s just for our shed, we’re fine with it. Once the weather clears, we’ll strip and repair the other side, then put up the new shingles and finish up the trim, drip edge and soffit.
This past week, we also received a visit from our dear friends/family from Charlotte, Doug and Tonia. We spent a few days with them exploring the area, including climbing Mount Monadnock. It was a beautify clear day, but a bit chilly and icy at the top. The views were incredible, including the Boston skyline, Mount Washington and the White Mountains, the Green Mountains of Vermont, Mount Sunapee and Mount Kearsarge just north of us. You can also see some early 19th century chiseled graffiti. 🙂
They brought their dog, Riley, who is good buds with Tennessee, so we also spent some time on the local trails, where the dogs very much enjoyed being dogs:
It was on one of our morning walks with the dogs that Jenny found a giant Hen-of-the-Woods (mushroom) near the house. We brought it home and sautéed it up, ate some and froze the rest, so we can add it to eggs or burgers as we need. Delicious.
So you can see it’s been a busy week, but it’s been exciting to see the barn coming together, and it’s such a relief that we’re able to make sure it stands another 236 years. We’re also hoping the rain goes away for a while, as we’ve noticed that we’ve received a full 21″ of rain since we installed our weather station in mid-August.
We’ll keep plugging away here, so we hope you stay in touch, and we’ll be back soon with another update. Leave us a comment, or let us know if you have any questions.