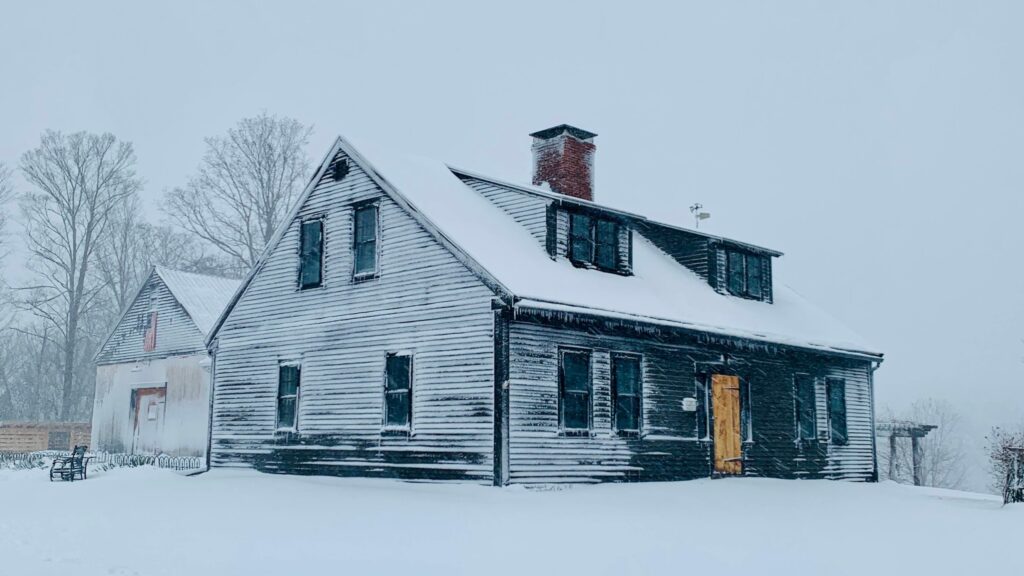
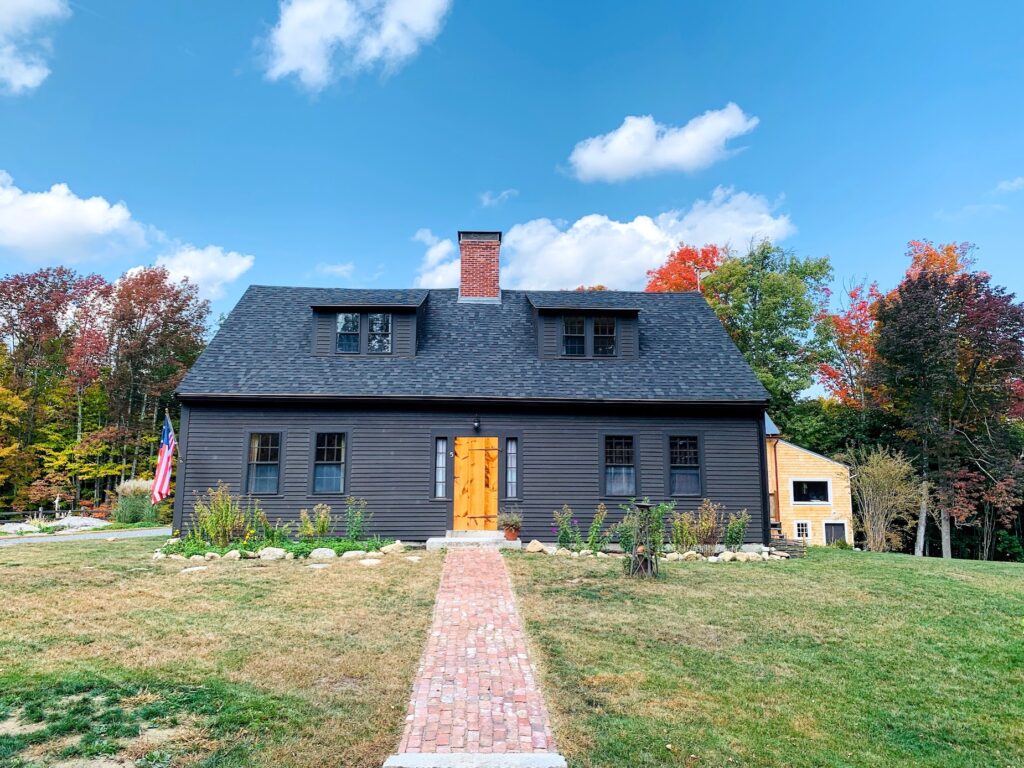
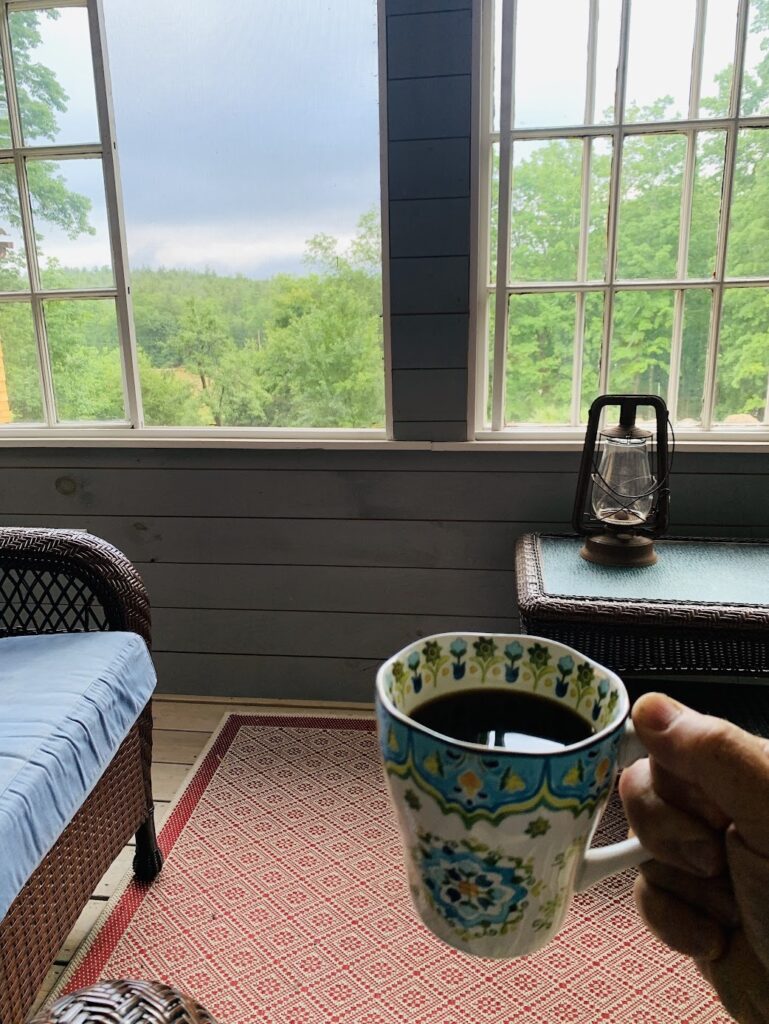
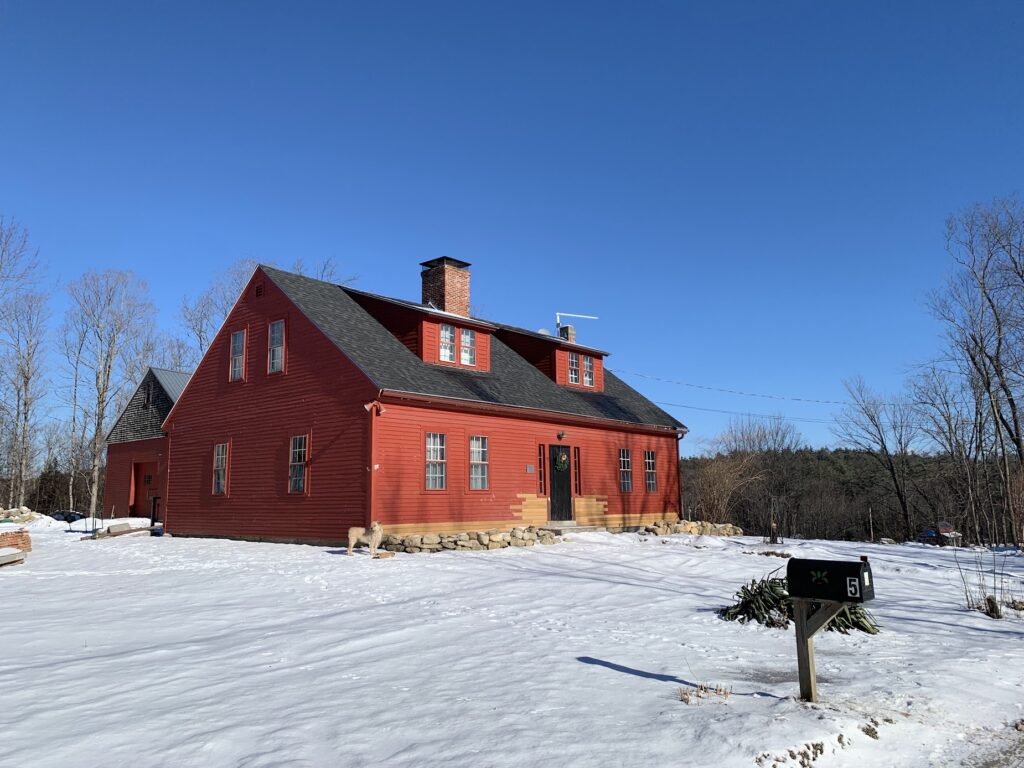
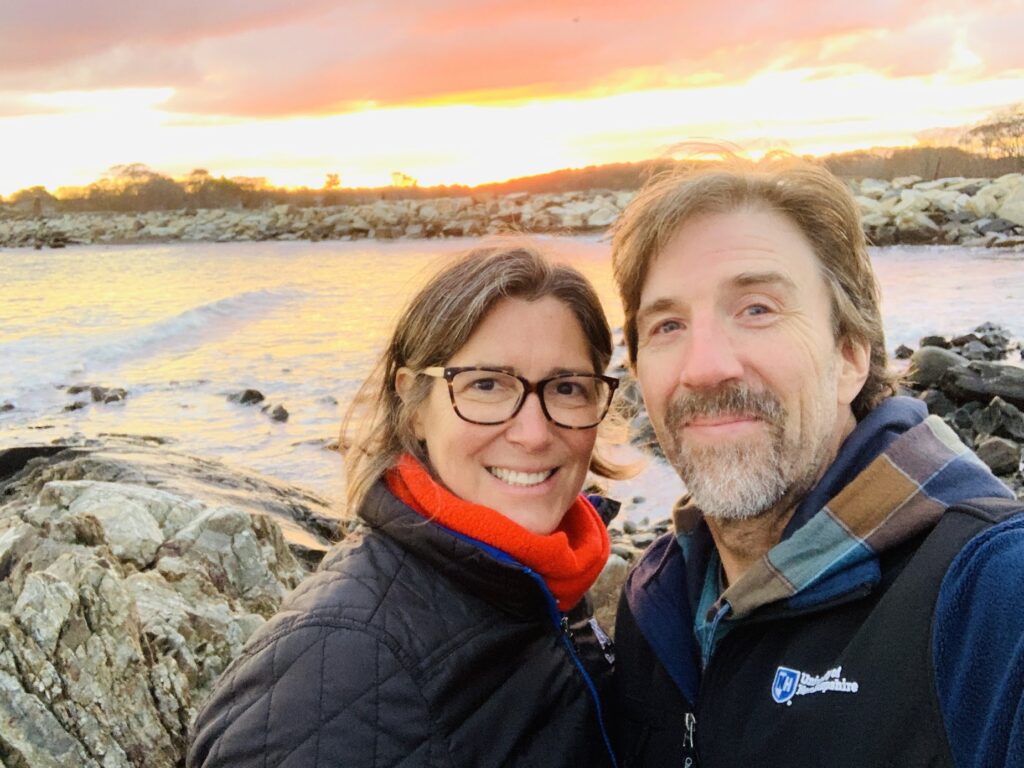
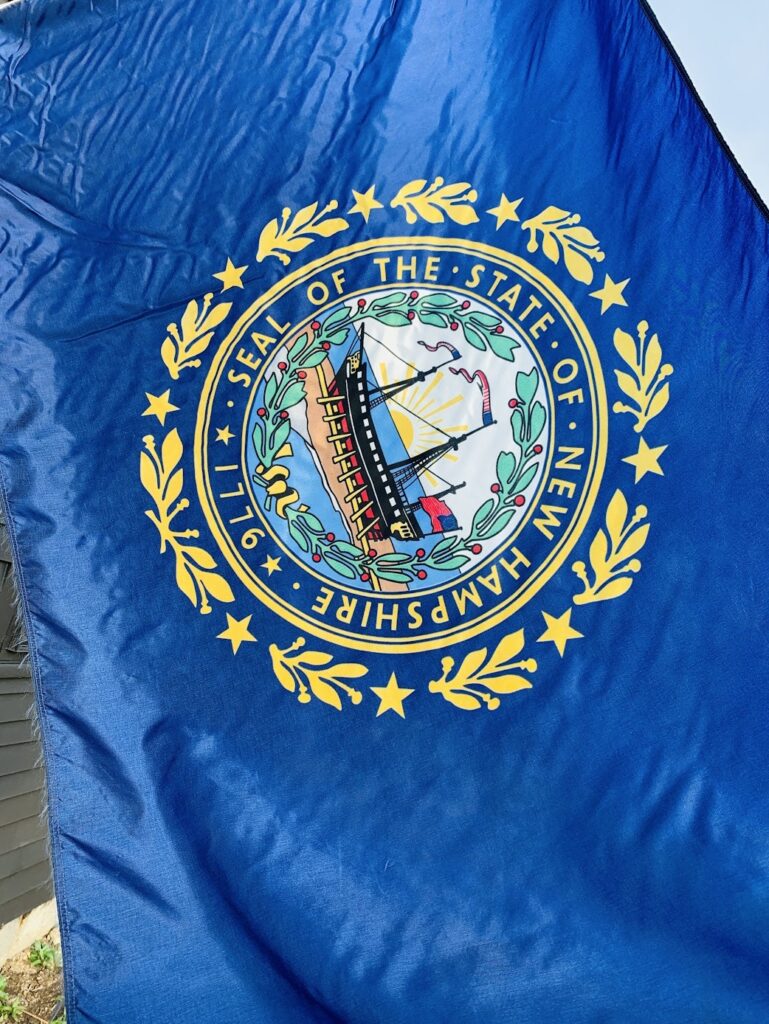
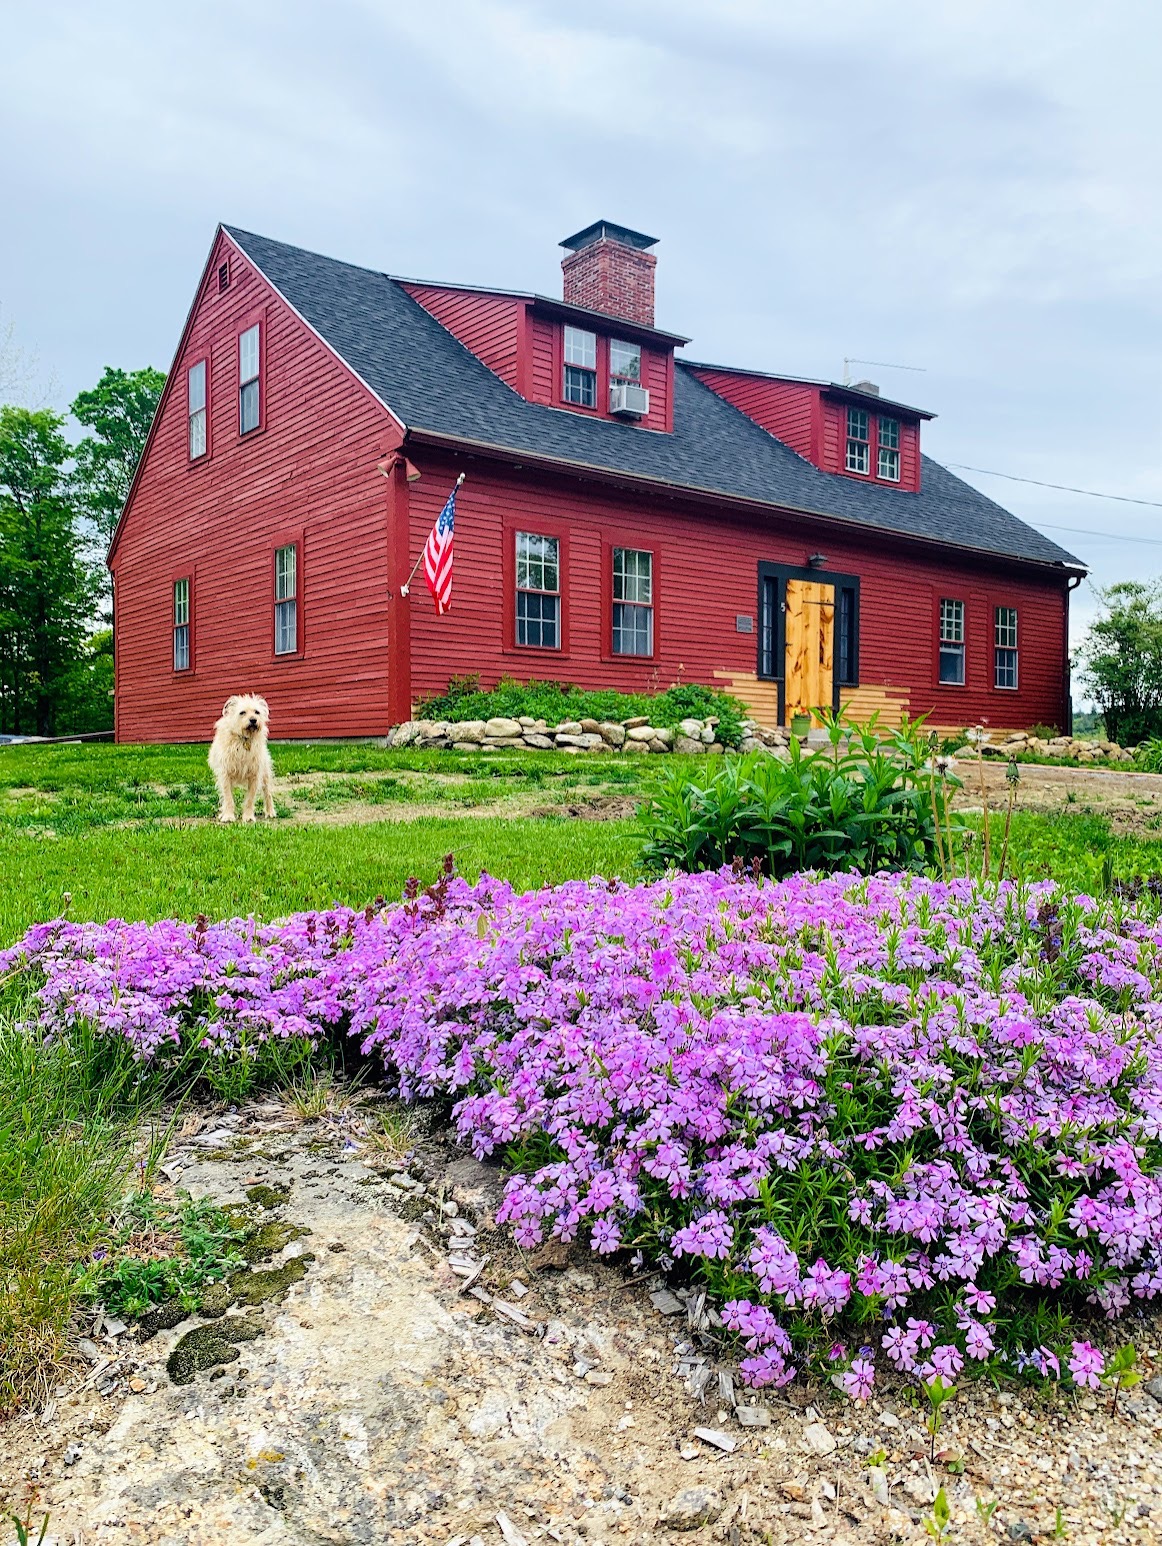
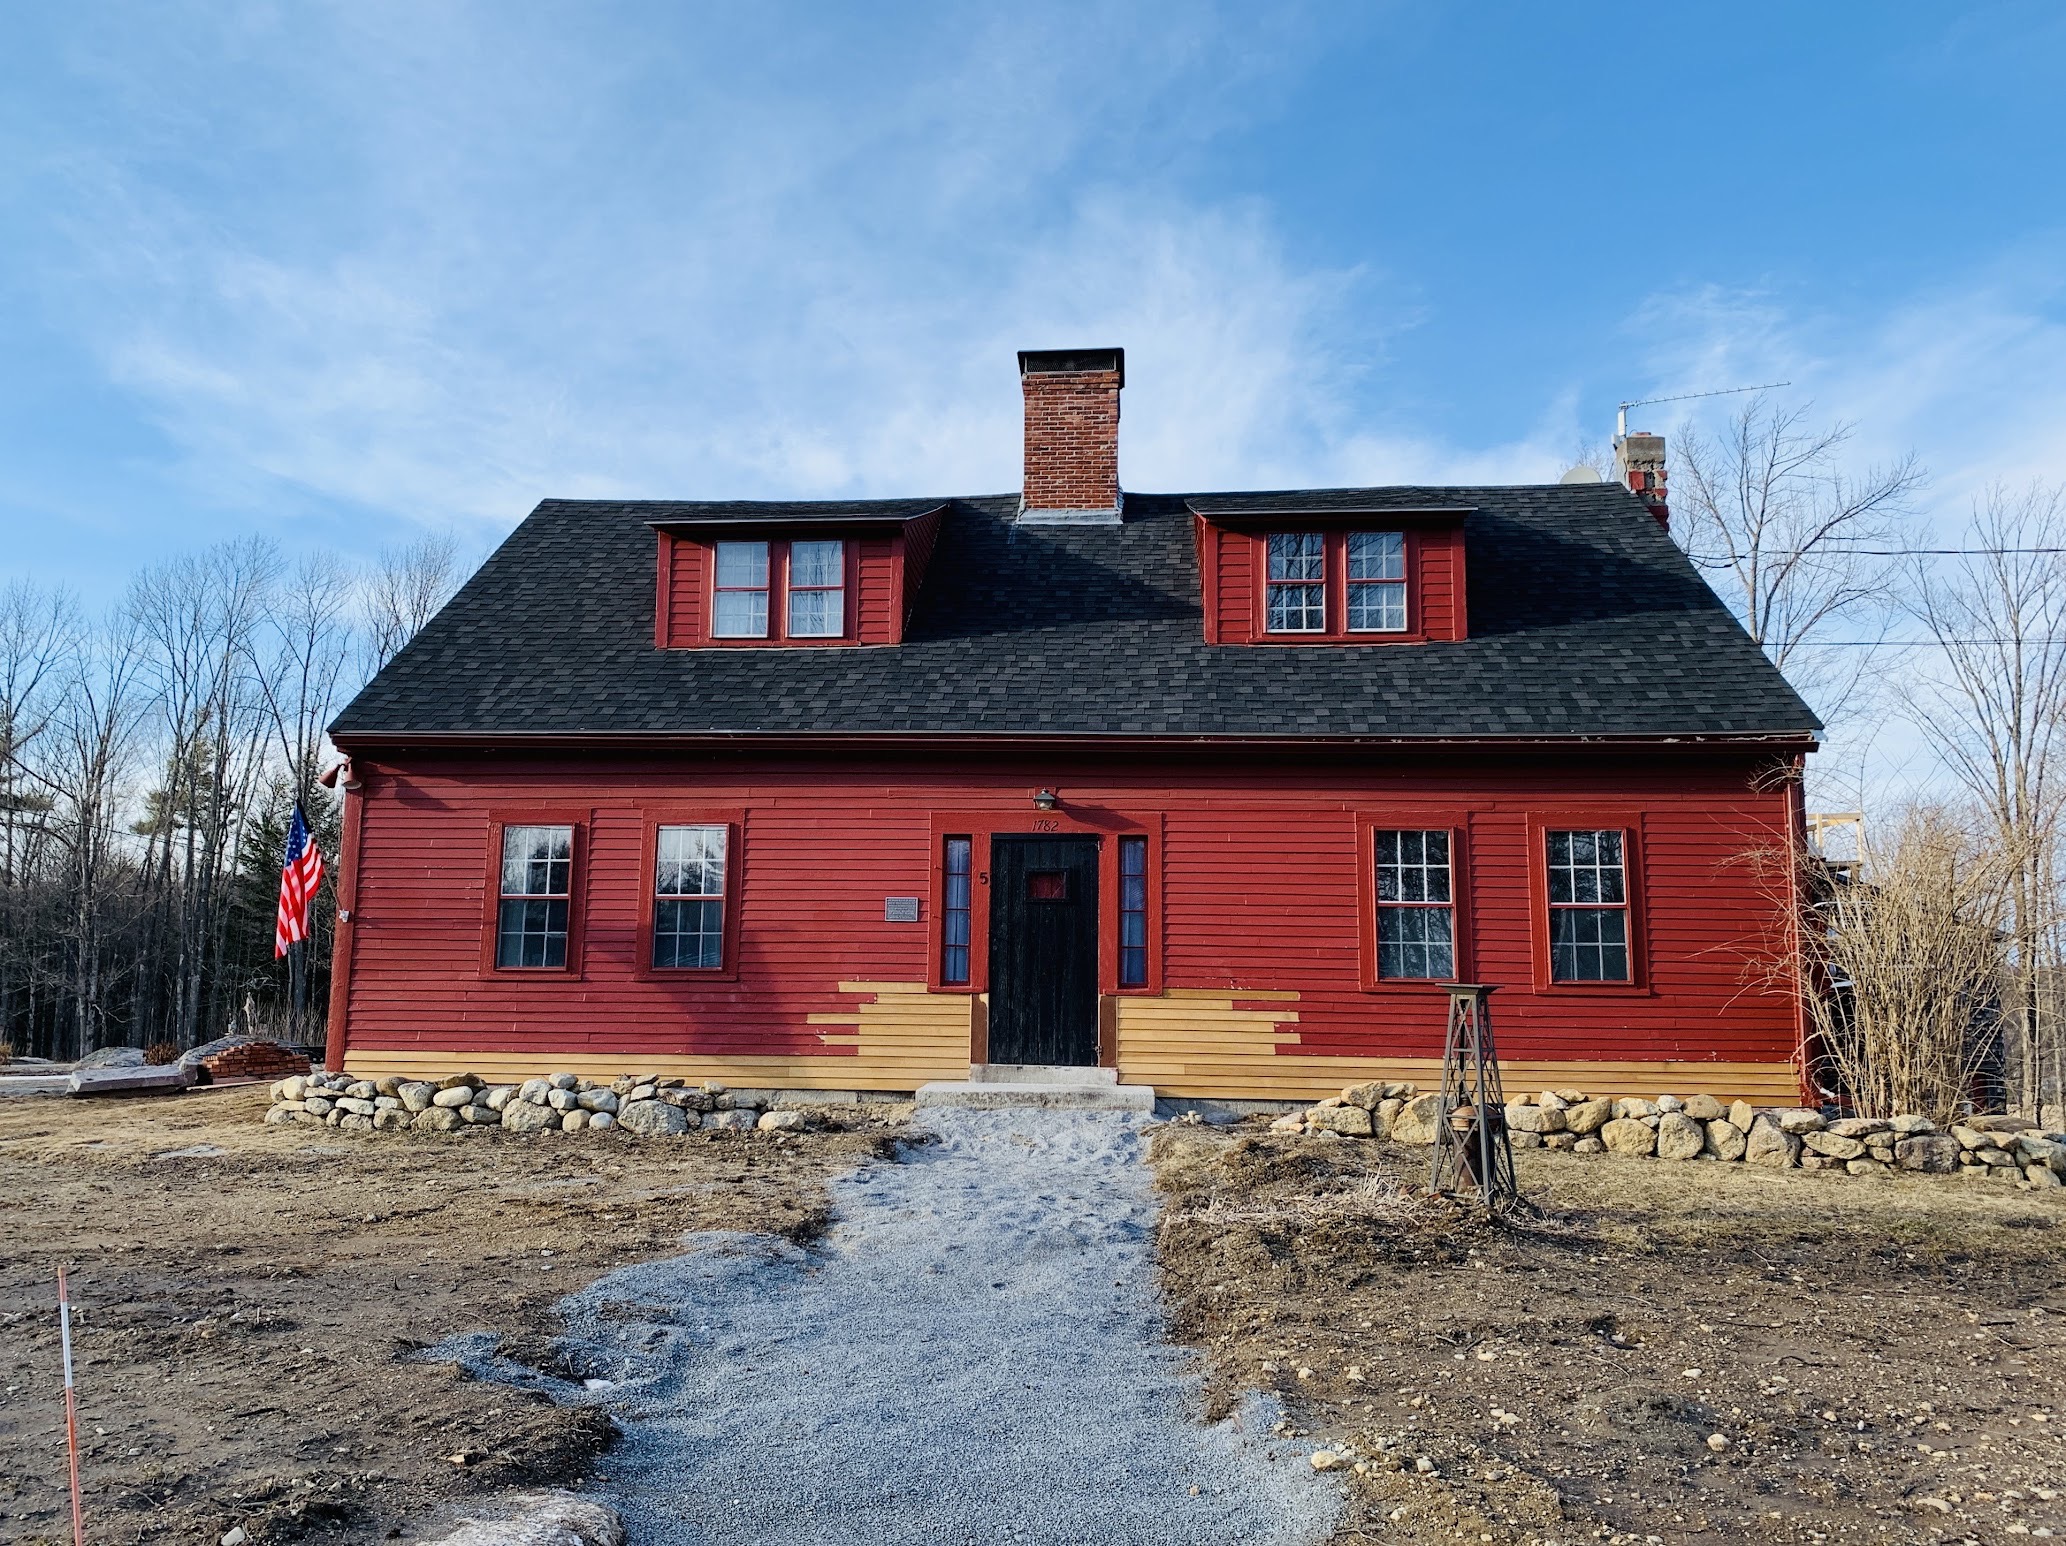
Welcome back to the farm! Since our last visit, much has happened, and much has changed, so pour yourself a cup, and let’s catch up….
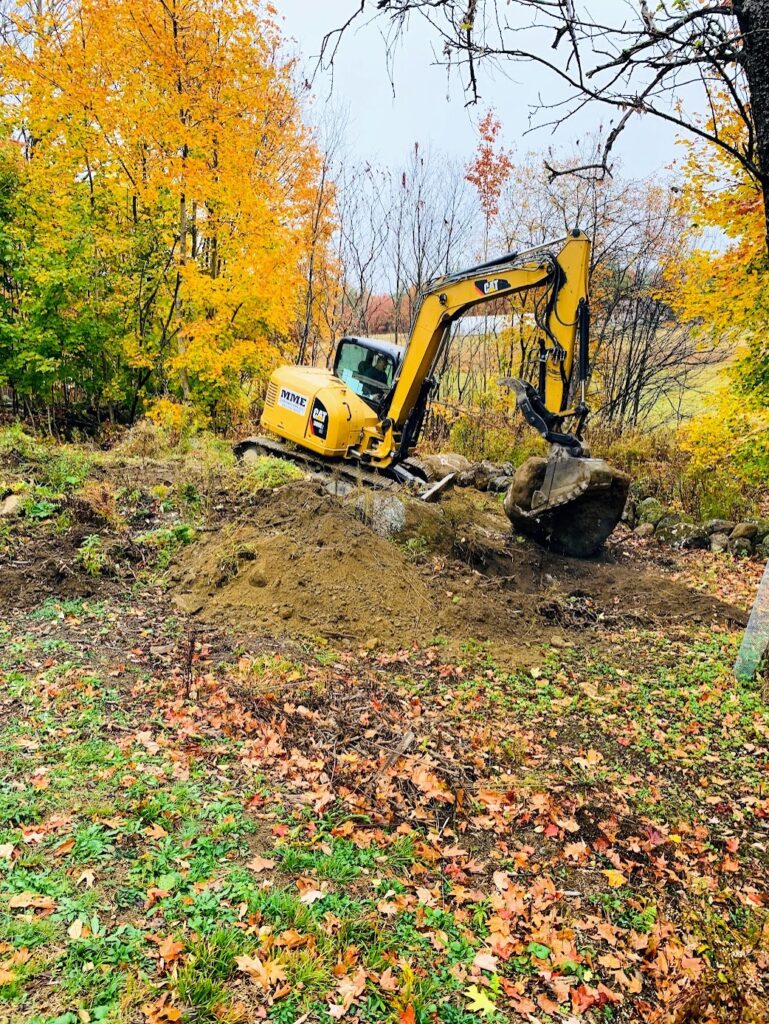
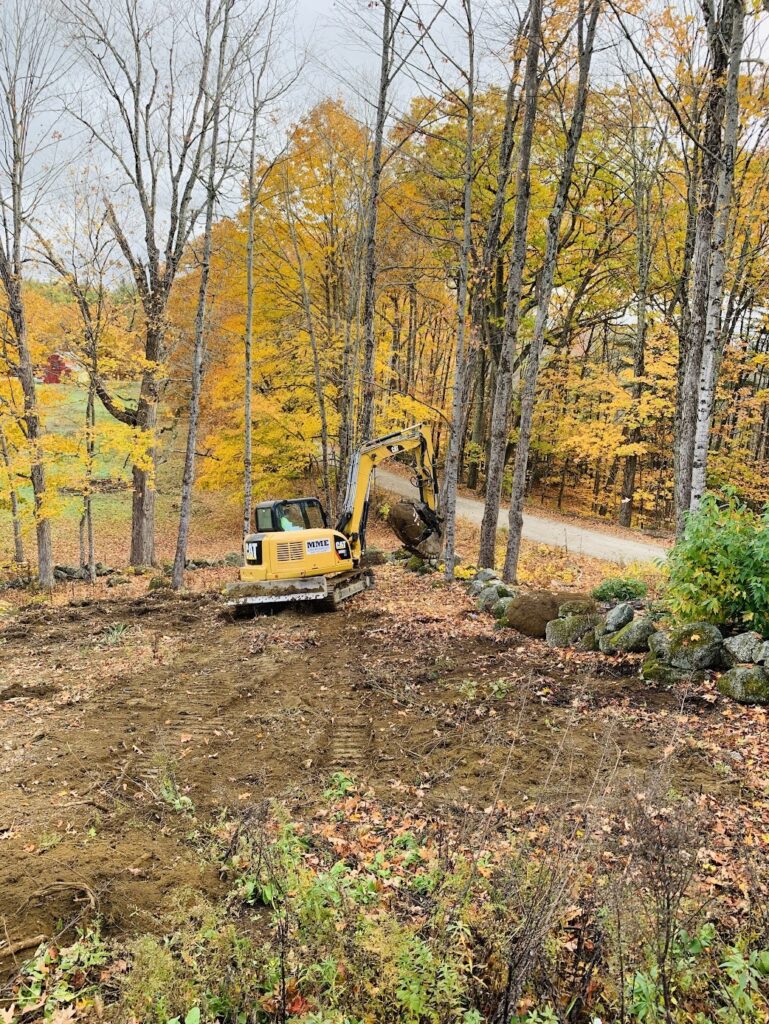
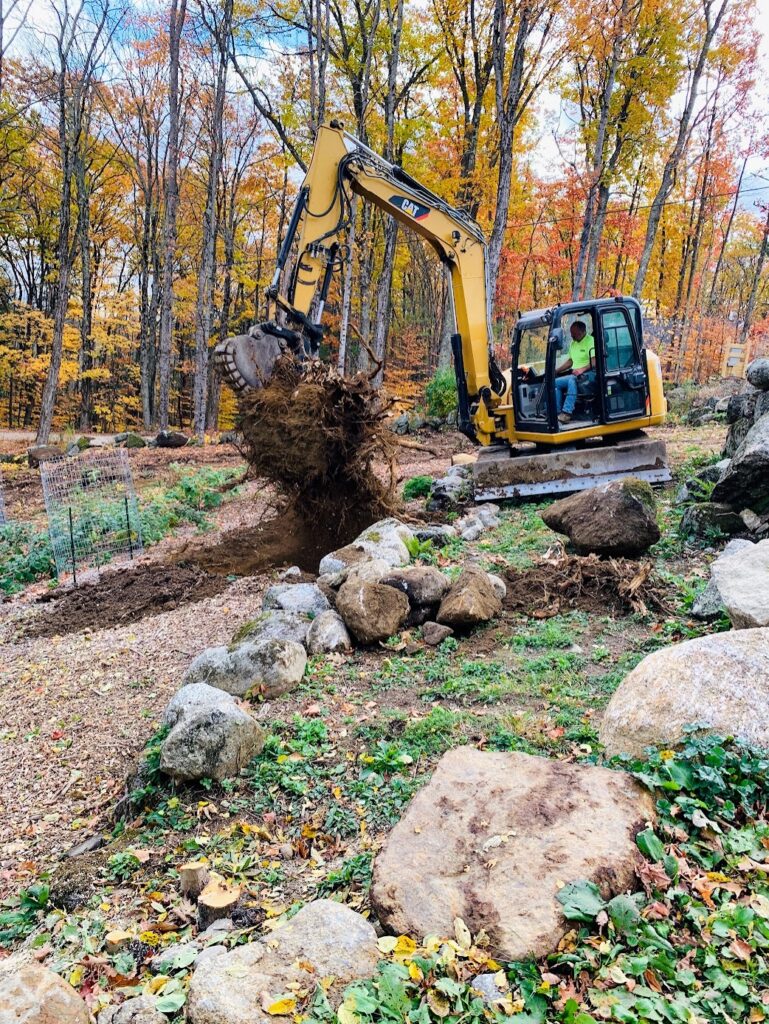
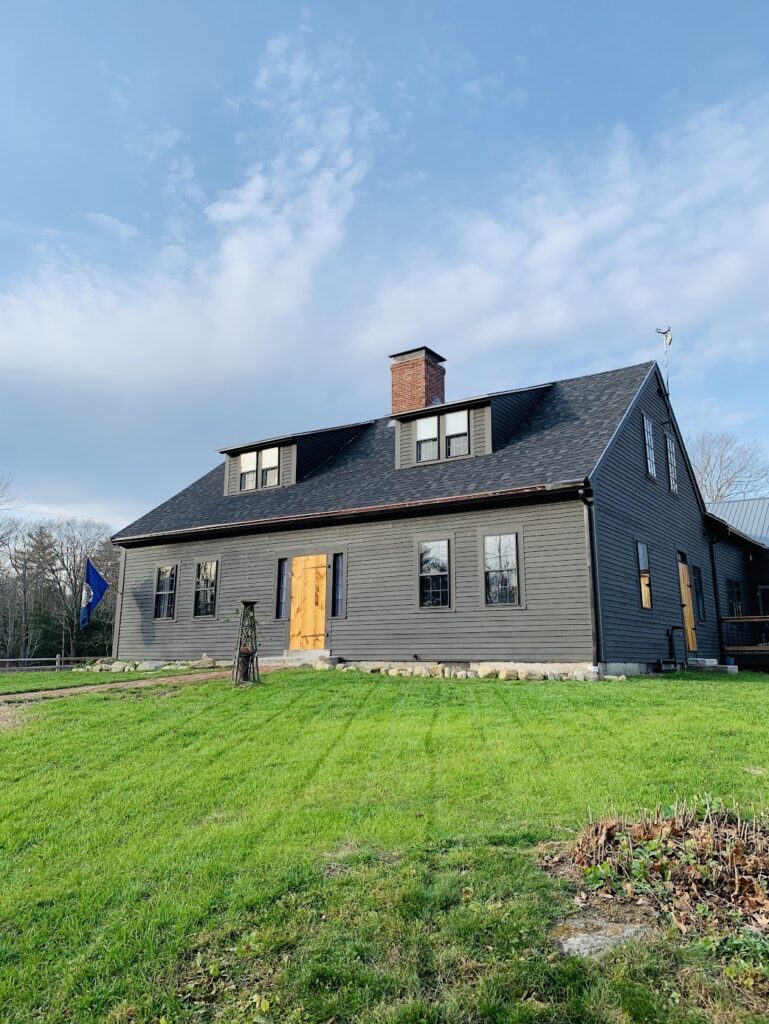
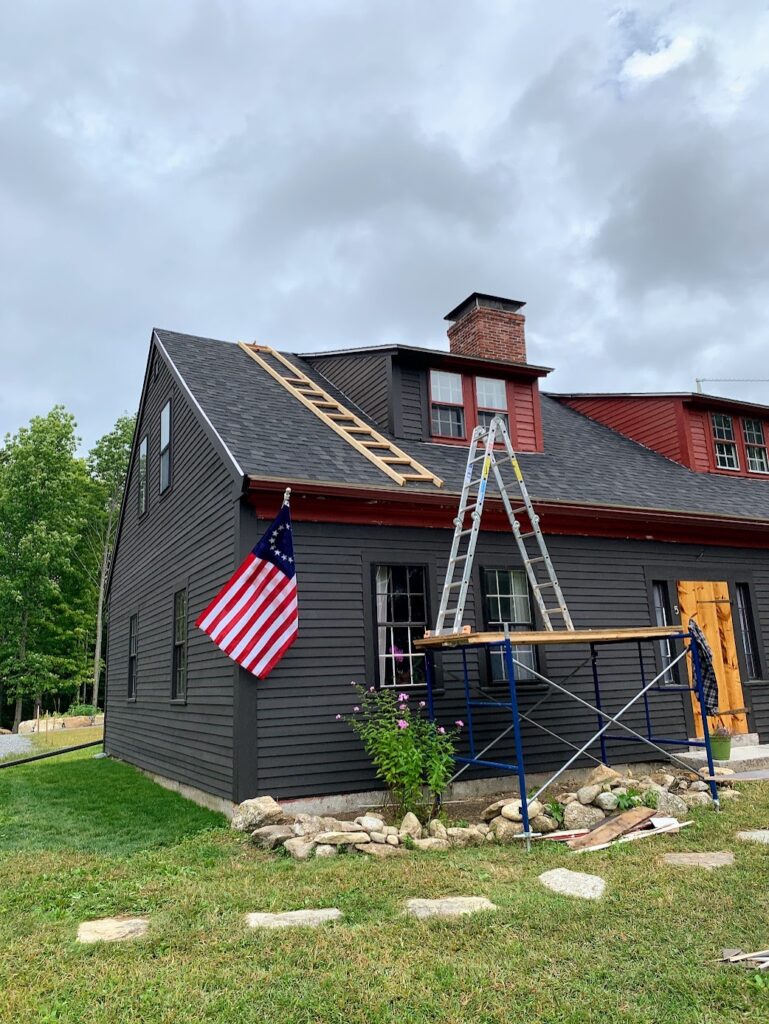
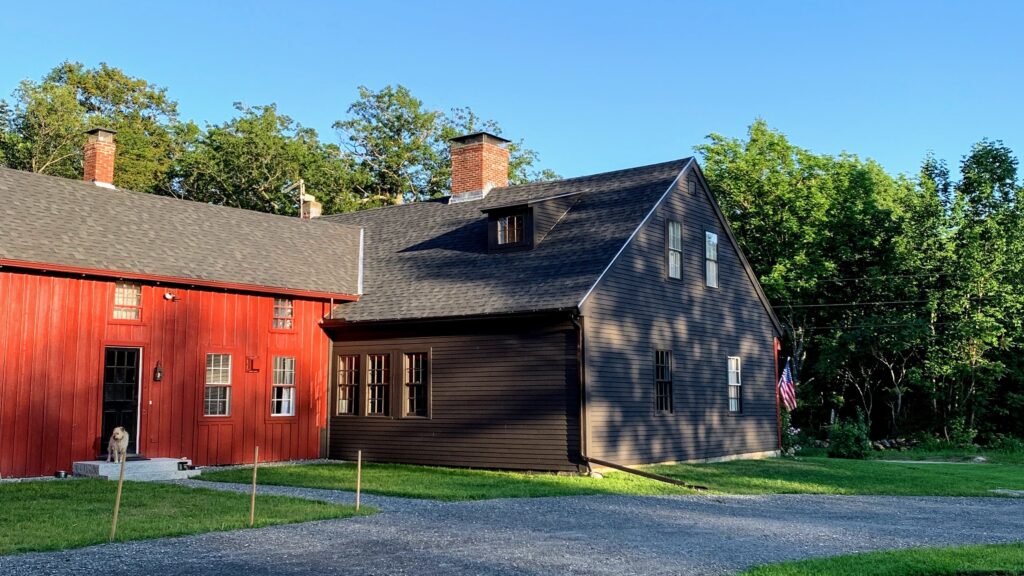
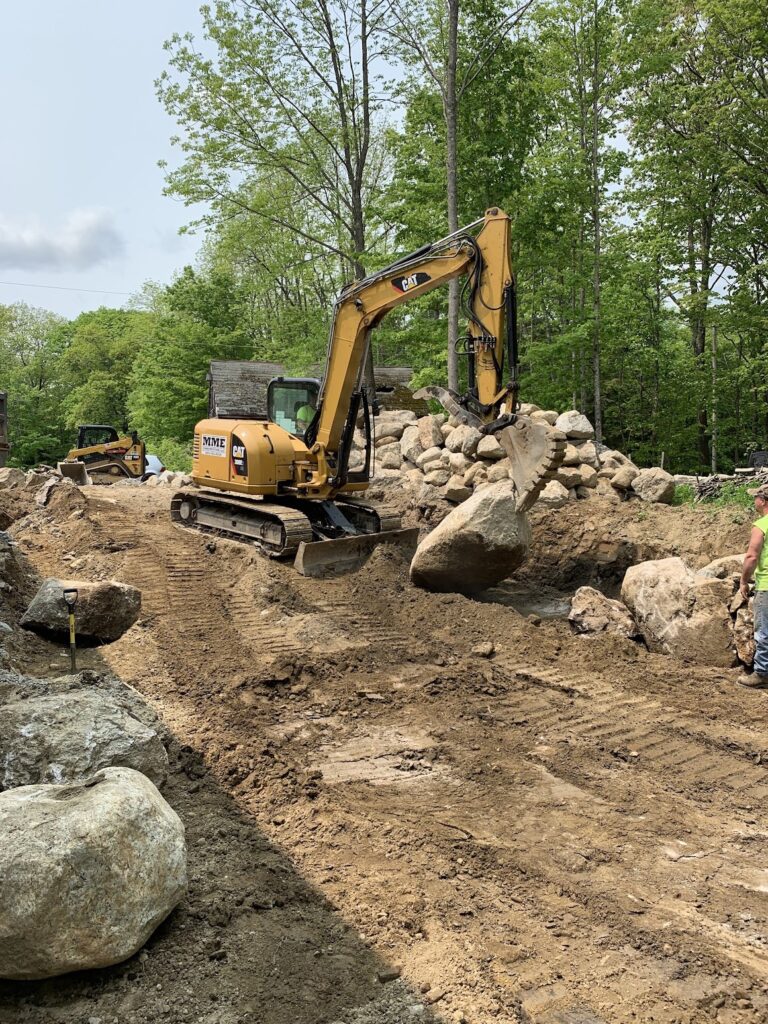
Last time we were together, we had just wrapped up restoring our garage, and the barn and house were structurally stable and sound, for the most part. We needed to take a break from posting to IG or this blog, as we were just crazy busy with projects, and due to the more-than-anticipated costs of saving this home, I needed to take outside work. I’m taking my carpentry to the outside world, as well as helping a buddy with his excavation/land work business. (If you’re going to do something for income, driving an excavator through the woods is a pretty good gig.) While we fully intend to continue restoring this house to the extent we believe it deserves, we needed to focus on just that, rather than keeping up with the algorithm. We began to feel like IG was telling us what and how to post, so we decided to not play the game. We moved this blog to a more cost-effective hosting platform, and will concentrate our sharing through this site. This is also becoming a digital archive/photo album documenting the restoration of this historic home. IG also became such a different place due to the negativity of late. Not everything is as clear-cut and obvious as one would think. Some decisions are difficult enough without having someone tell you how you were wrong for having made a decision you had little choice in making. WE did not let this house fall into the state of disrepair it was in. WE are now the ones left to do what should have been done generations ago, but are now so much bigger (and so much more expensive) projects than they should have been. The thought of sharing something on Instagram that we were proud of only to be told that decision was stupid, or that we should have done something else, prevented us from sharing with folks that either could use our experiences to further their own restorations, or with folks that truly appreciated what we were doing here.
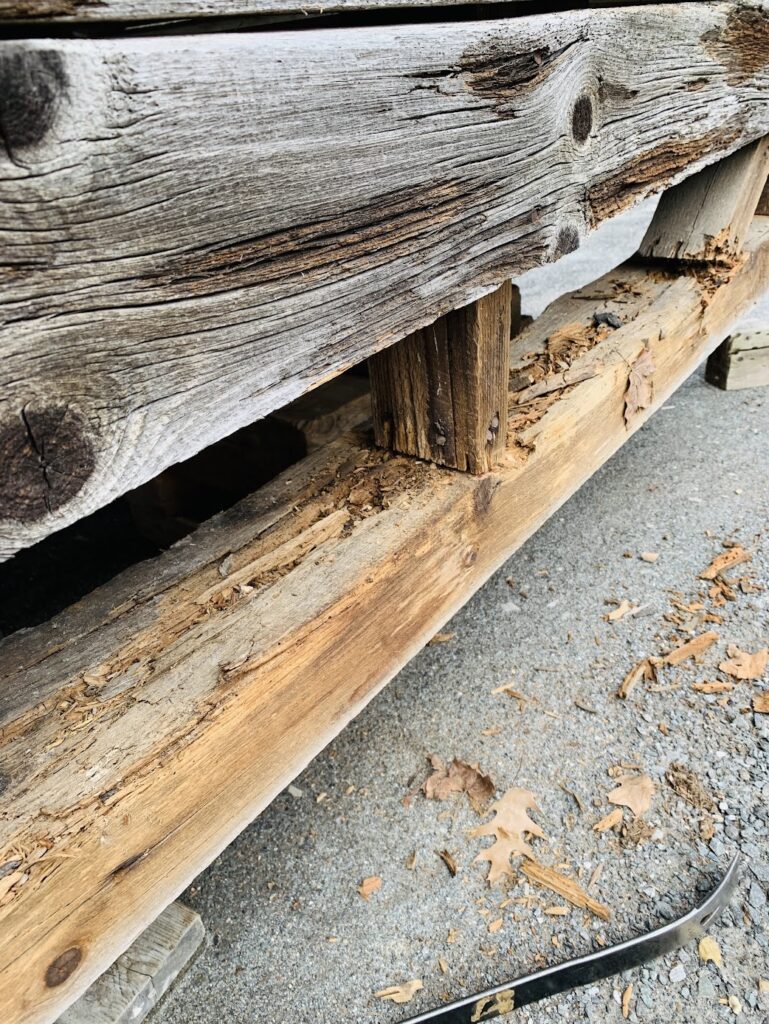
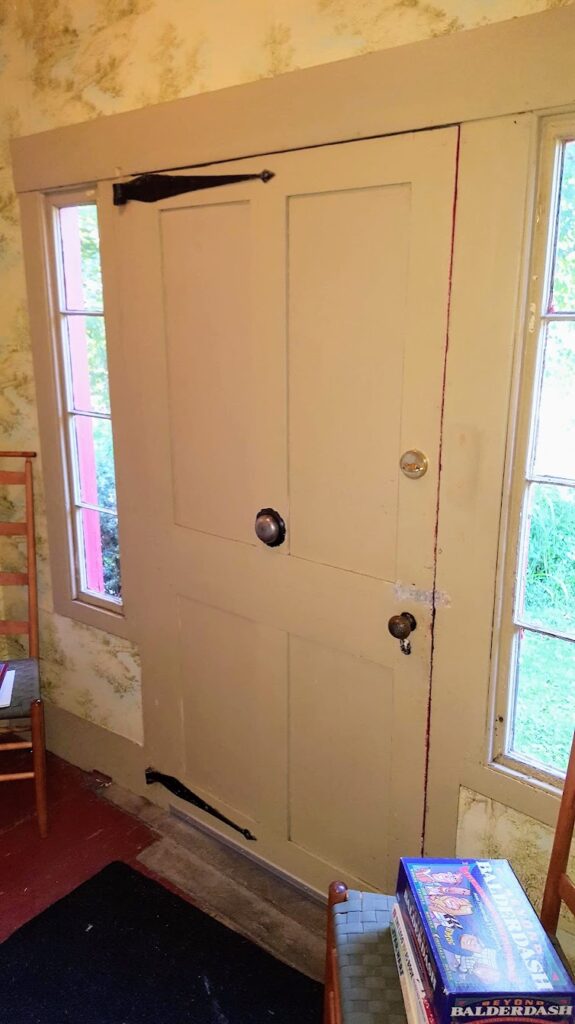
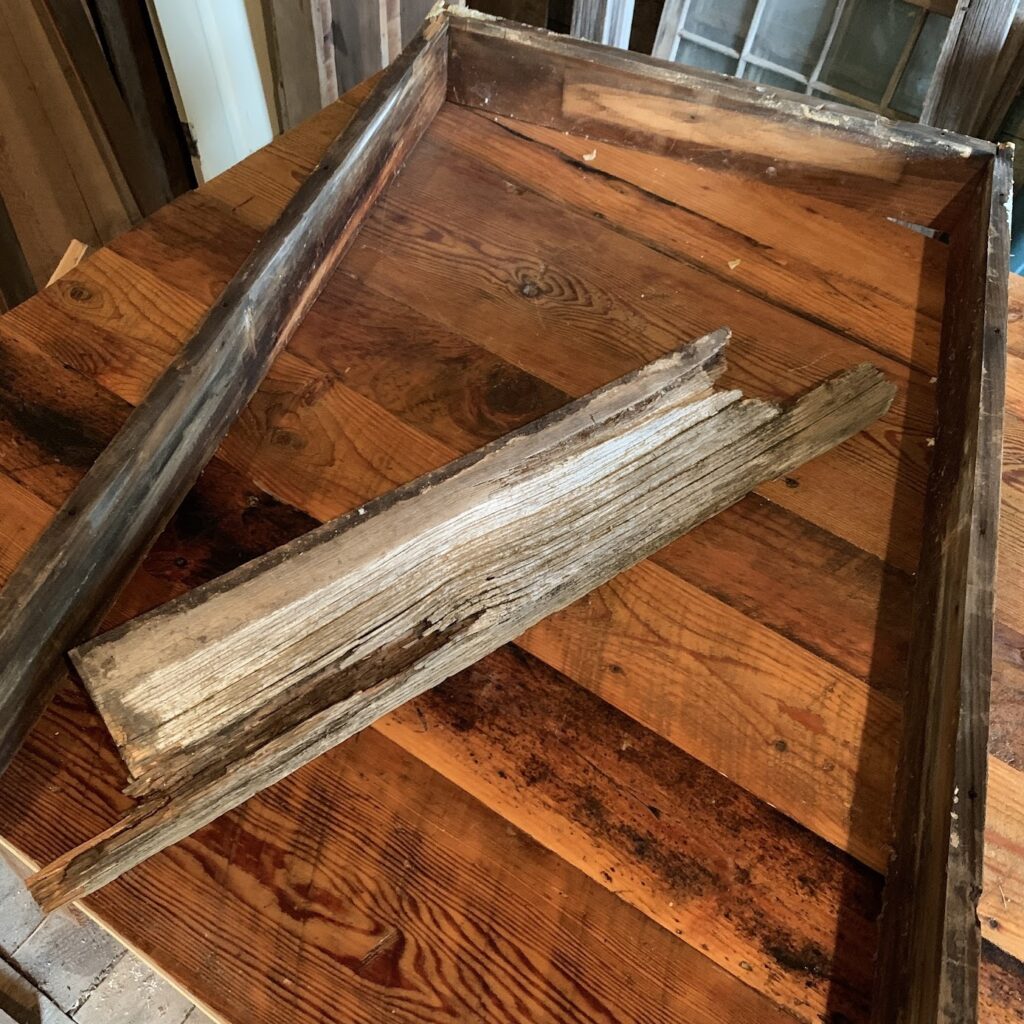
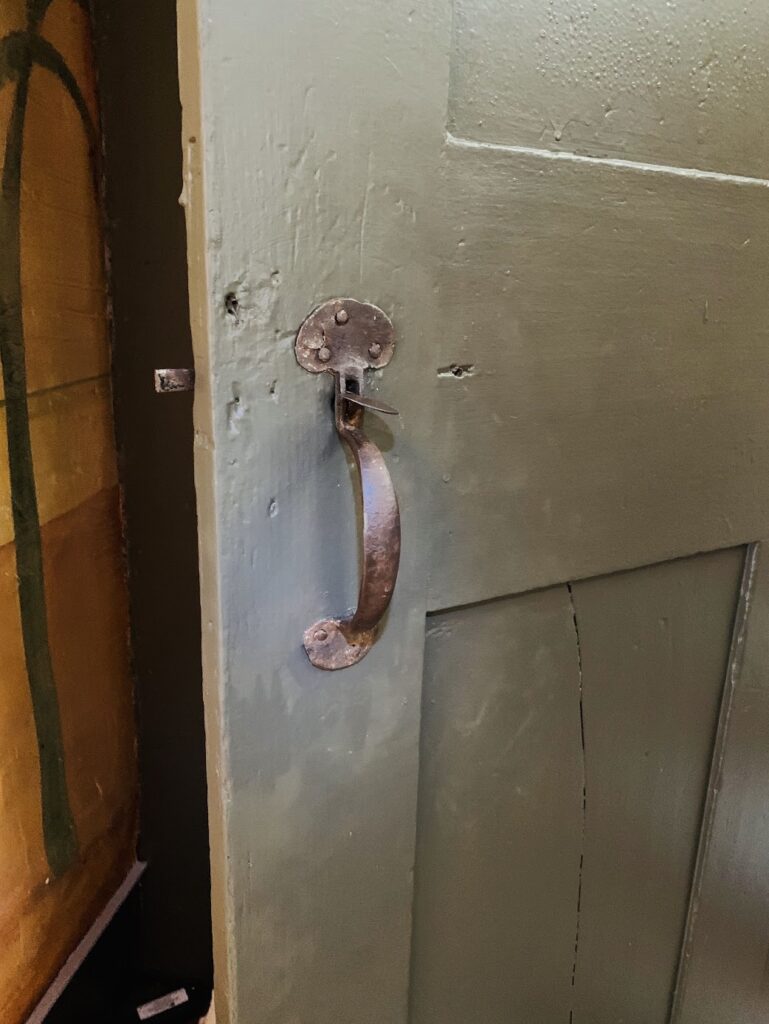
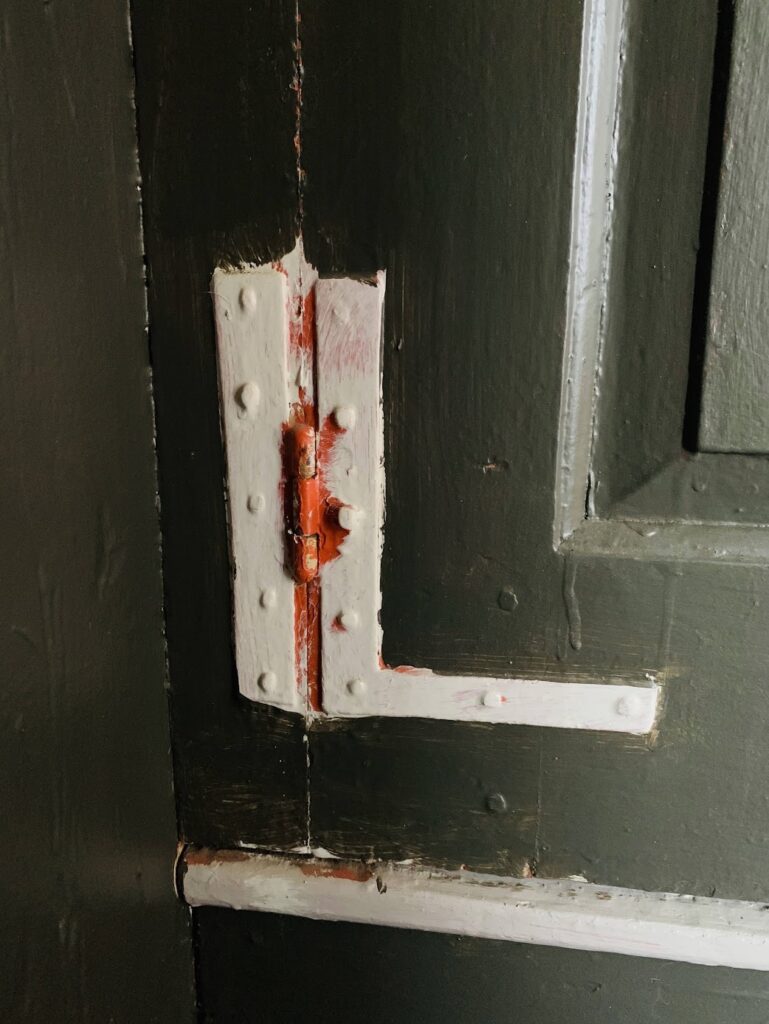
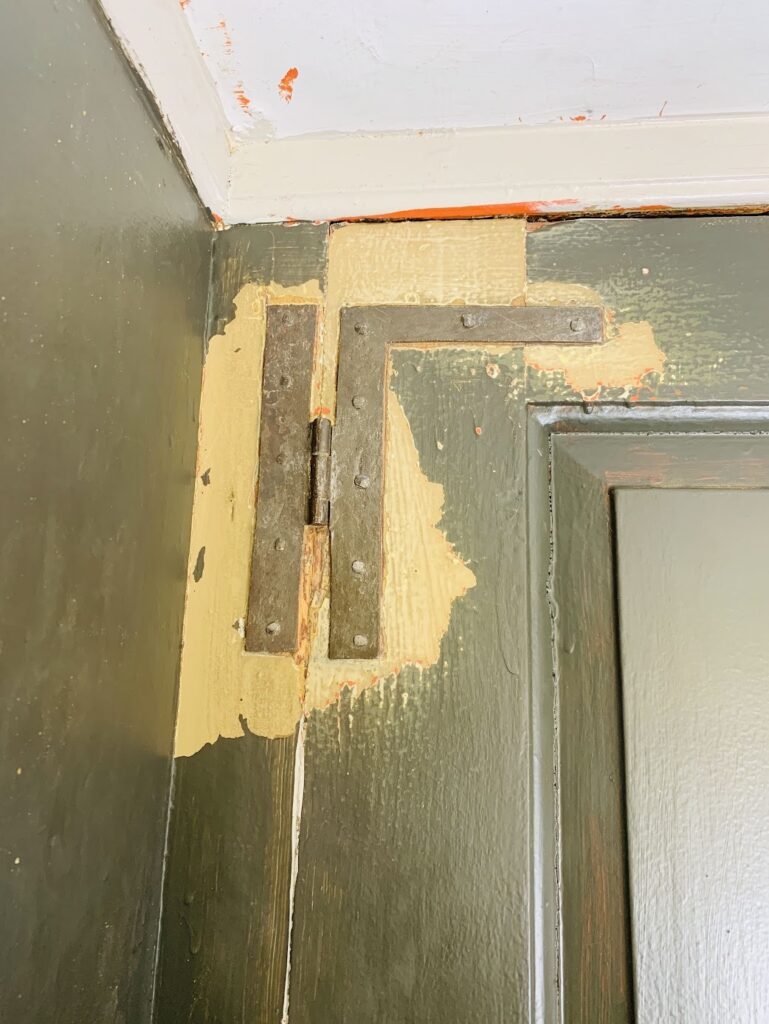
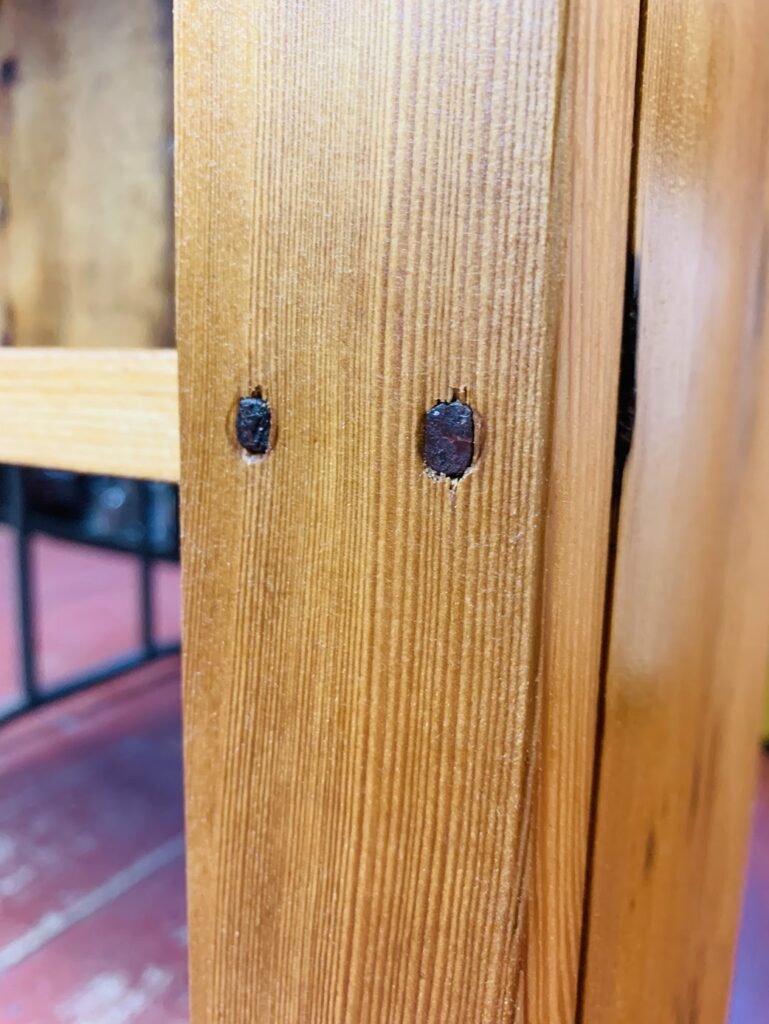
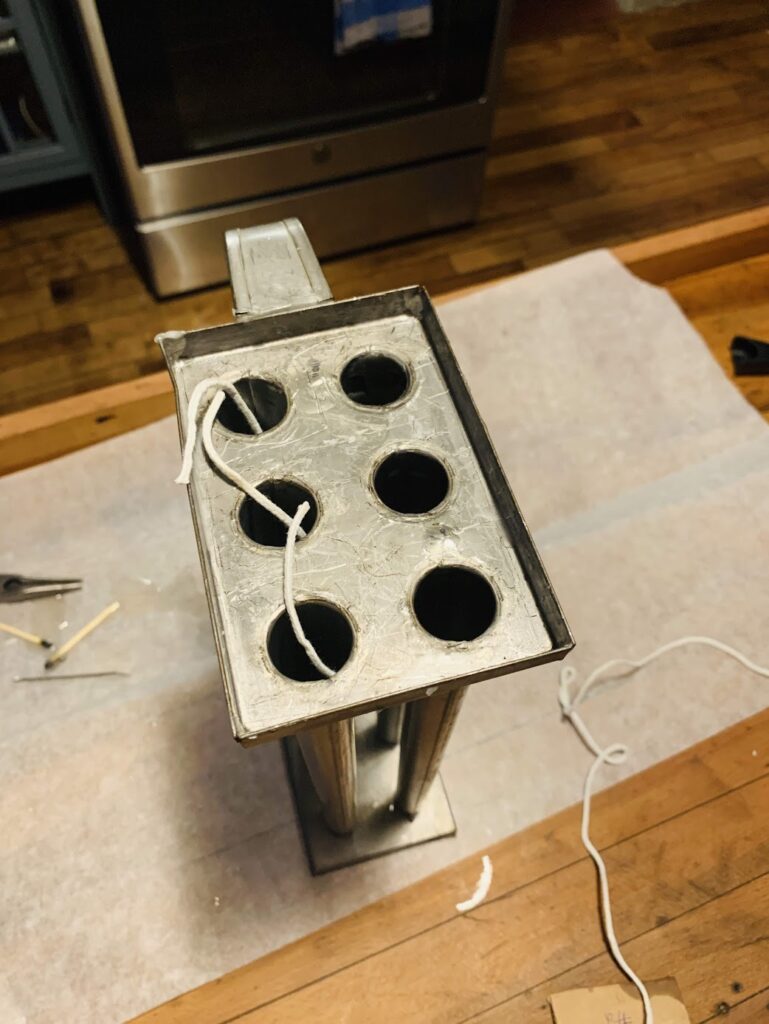
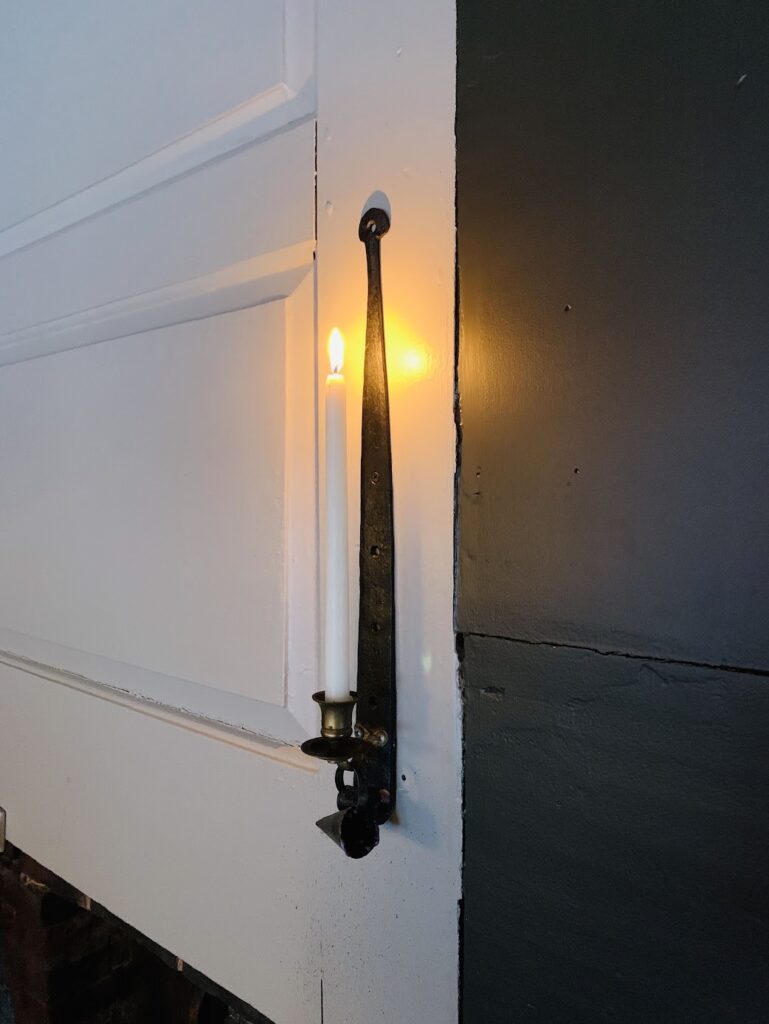
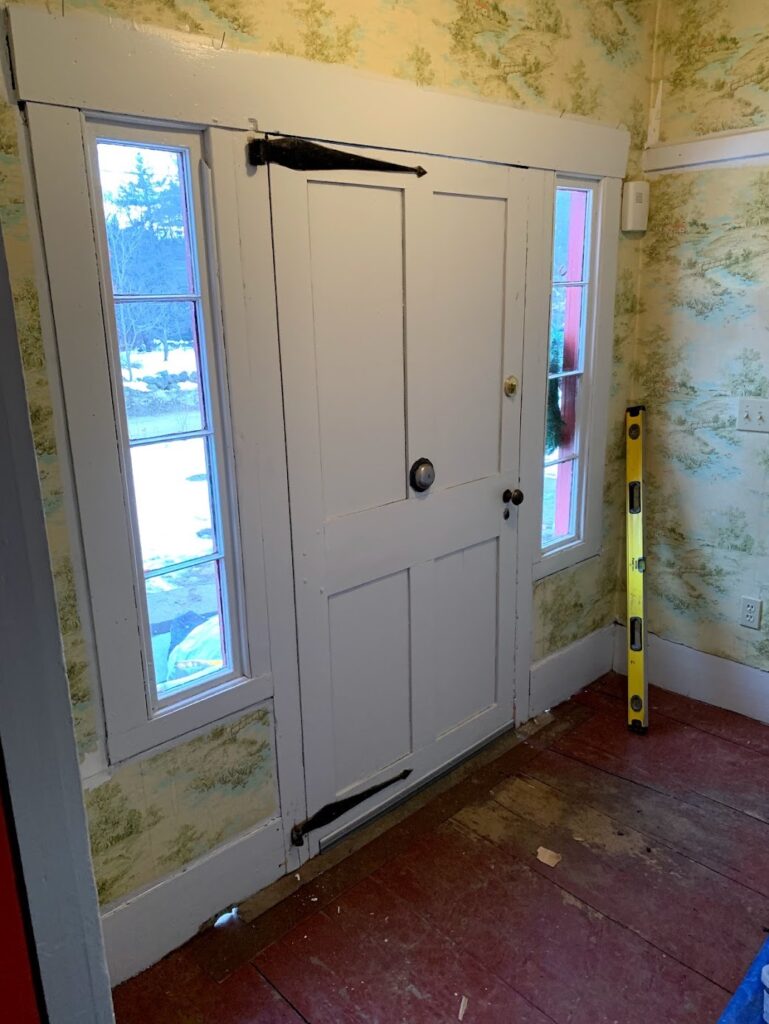
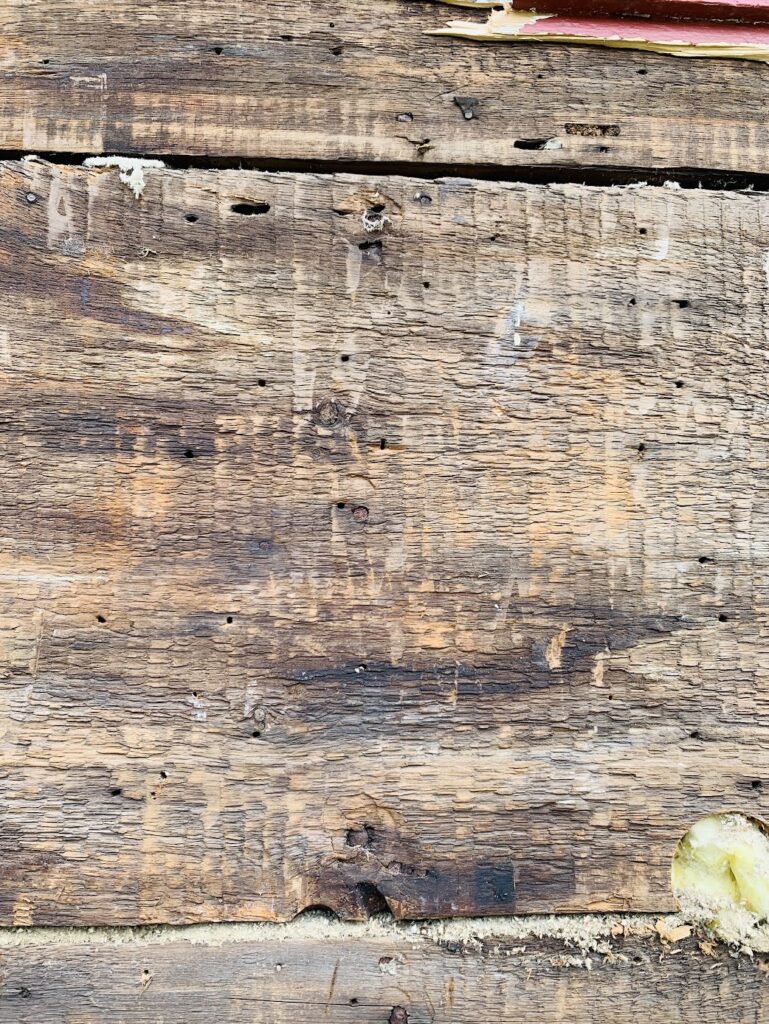
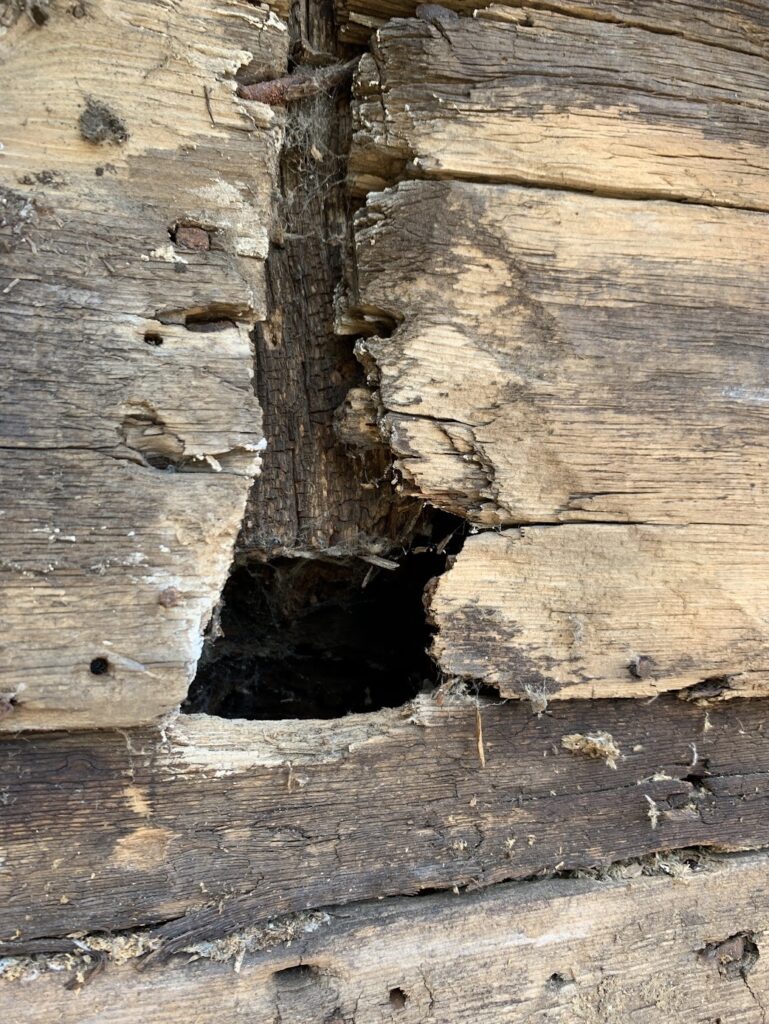
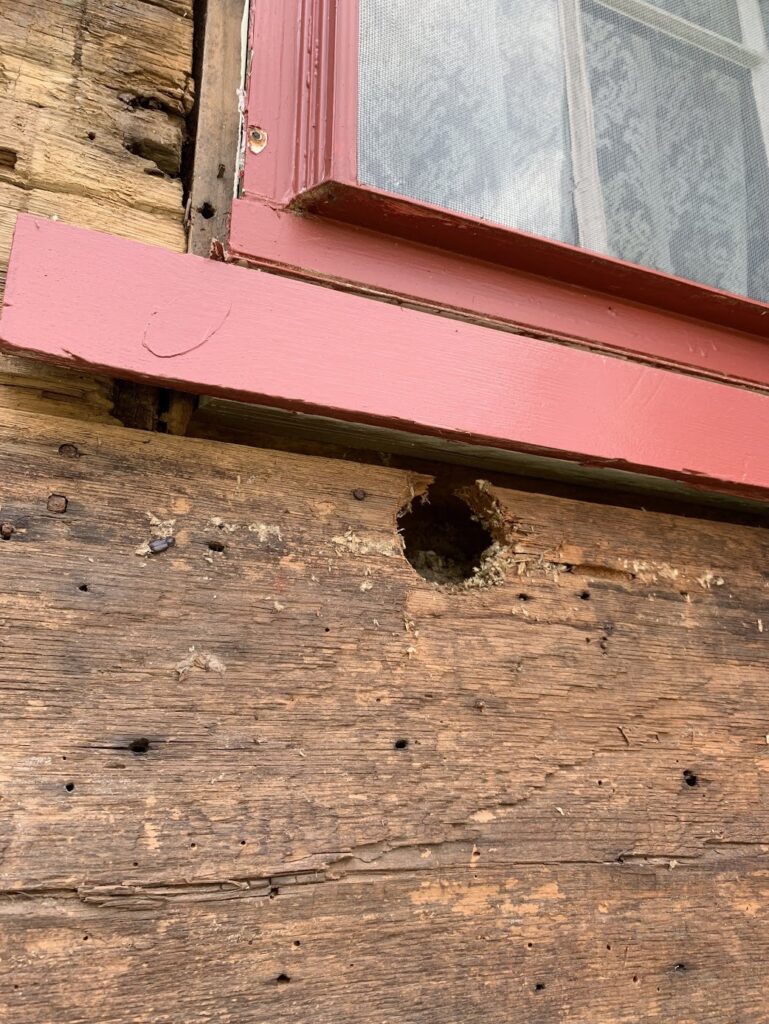
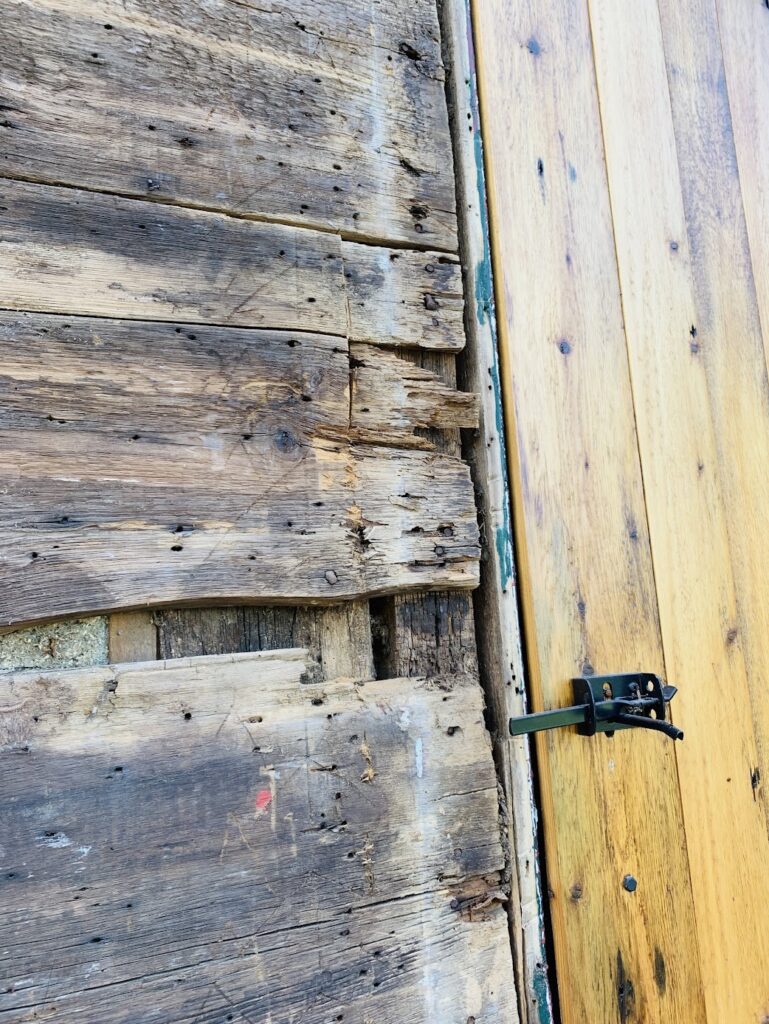
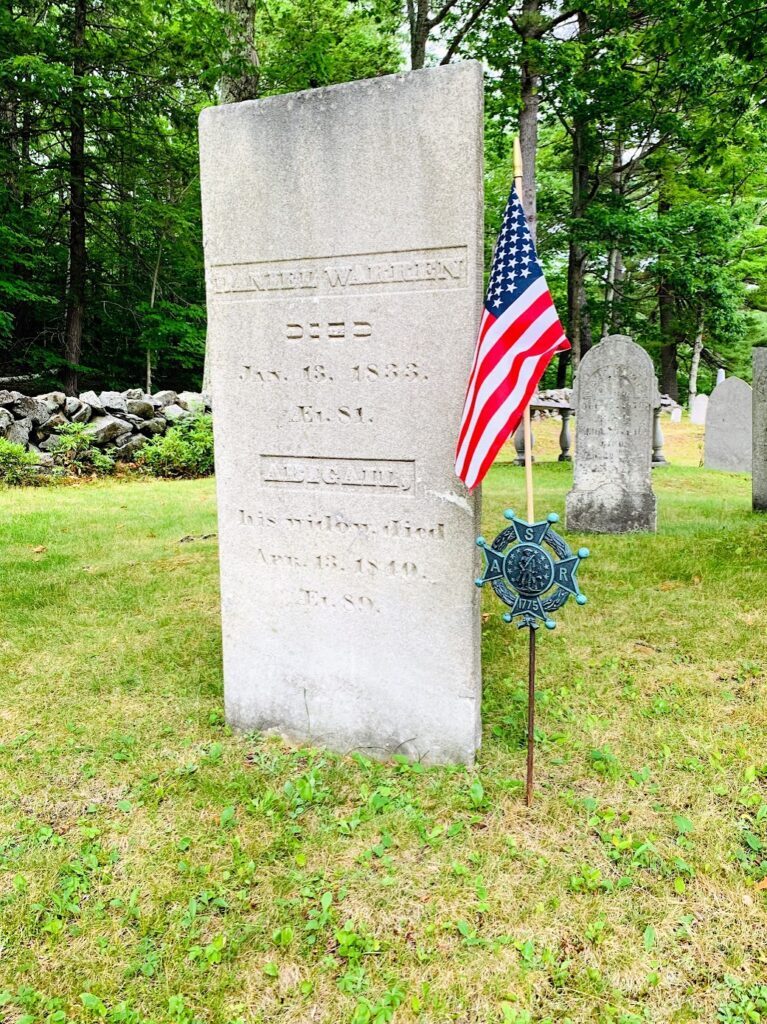
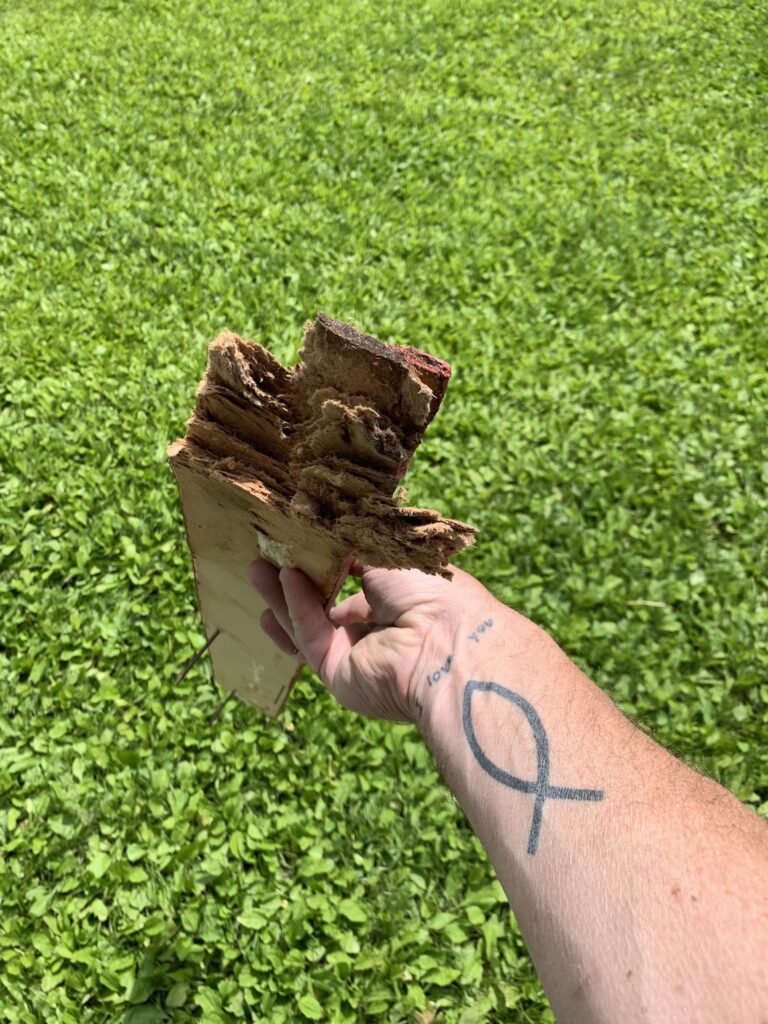
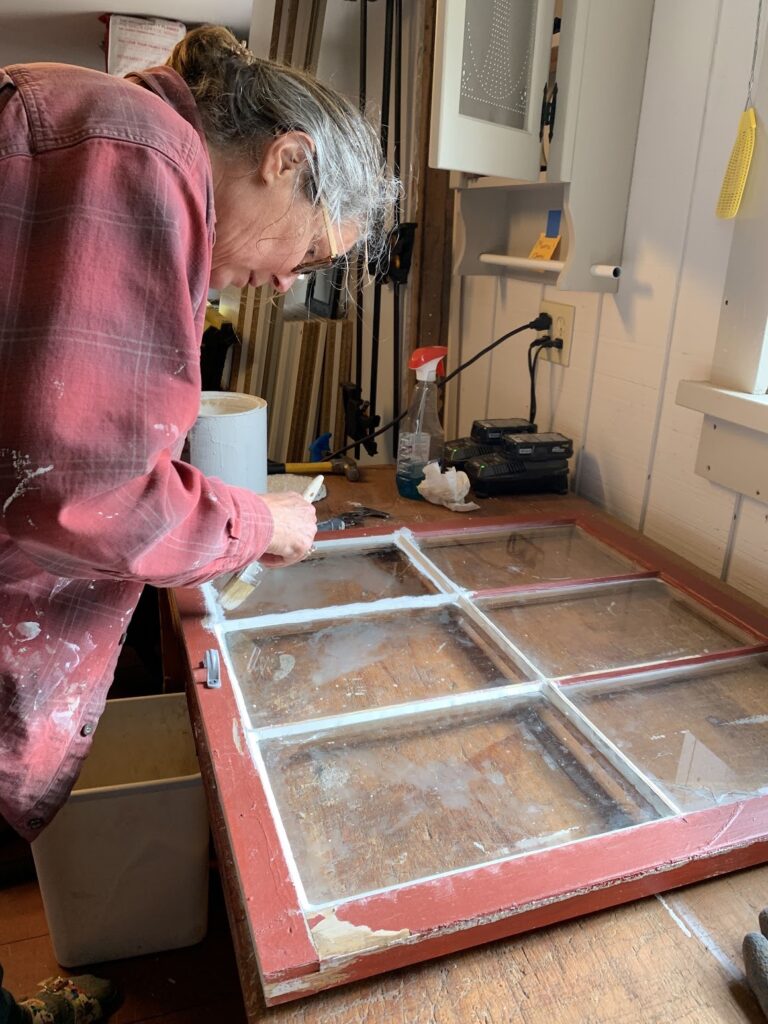
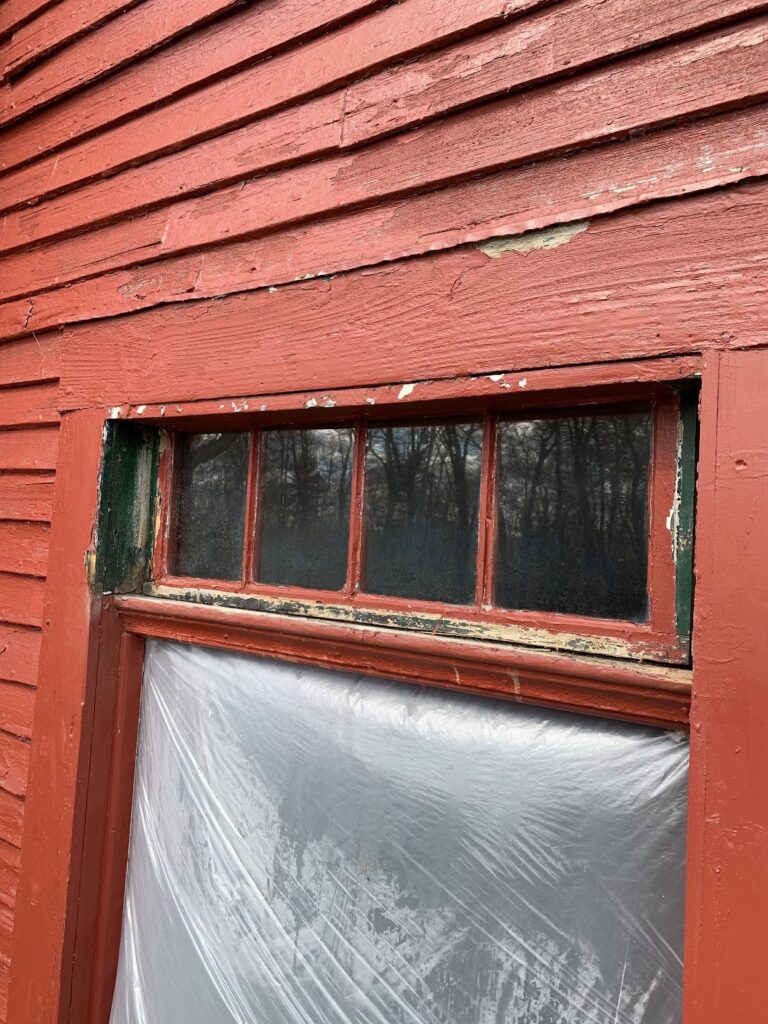
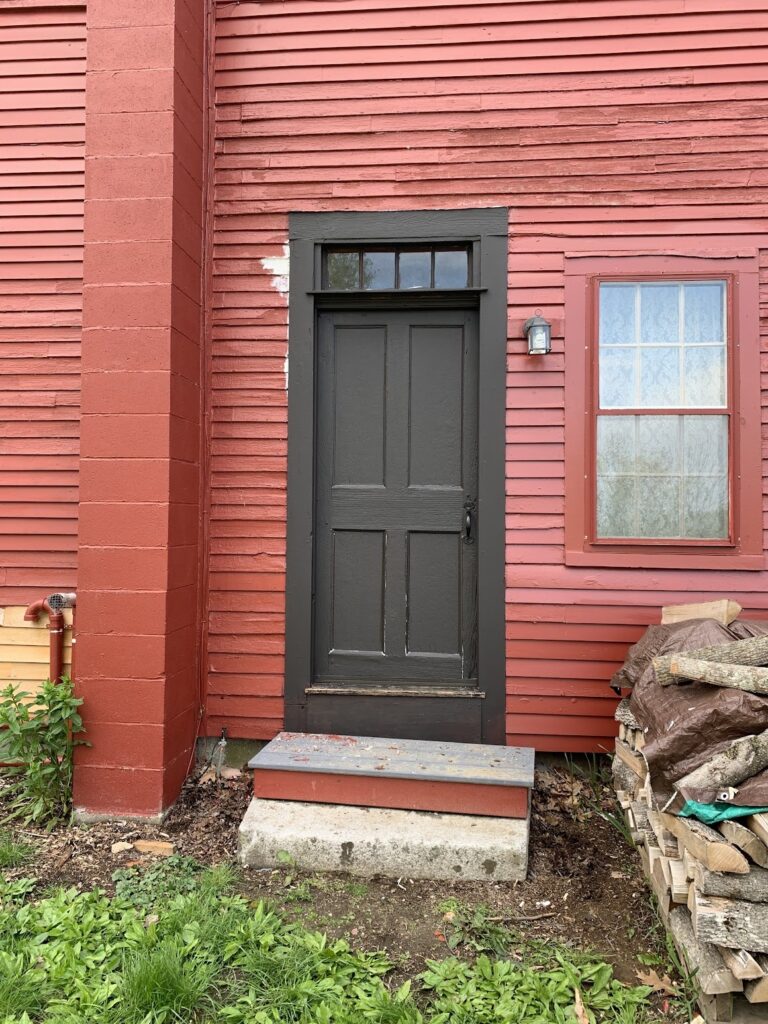
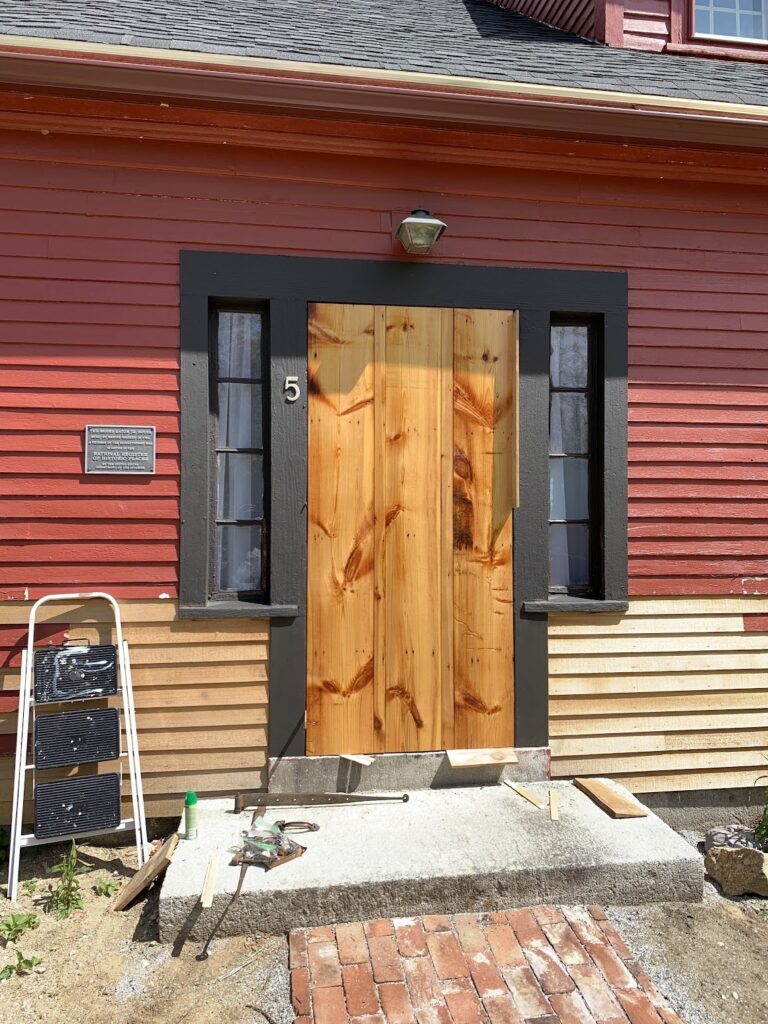
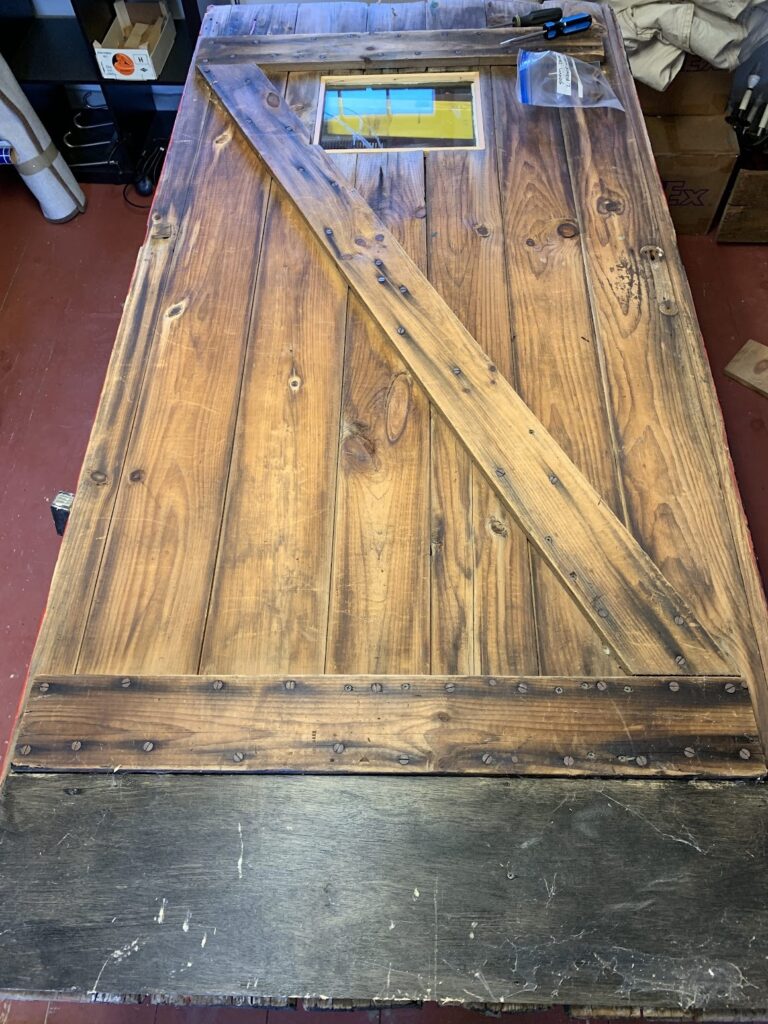
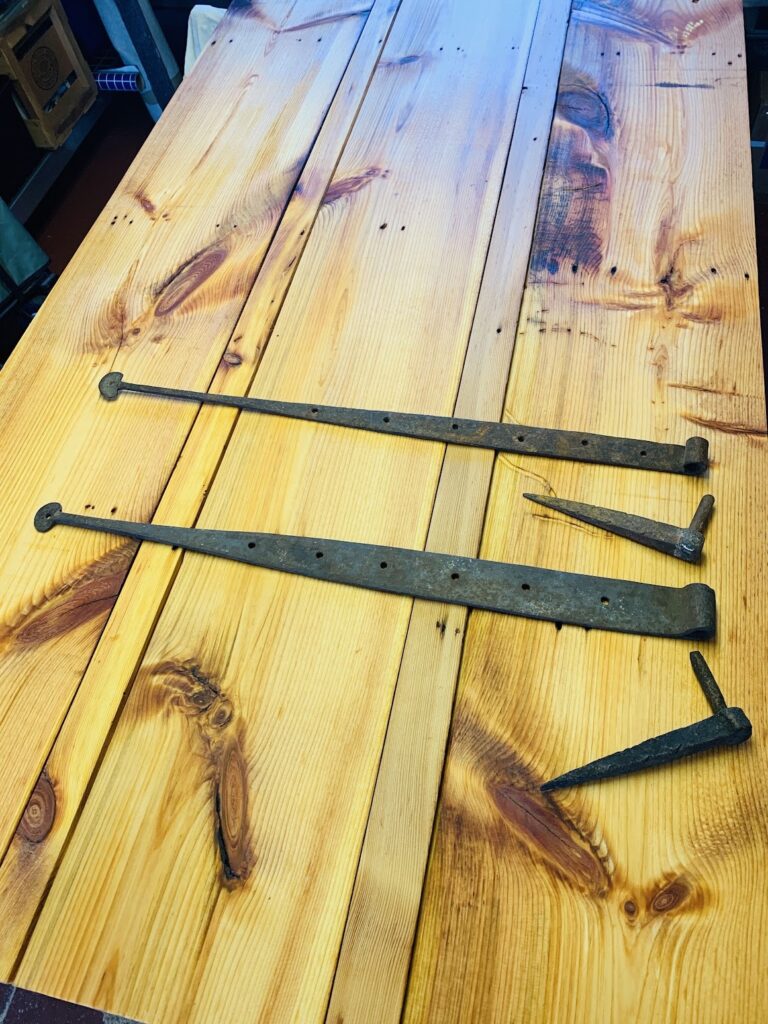
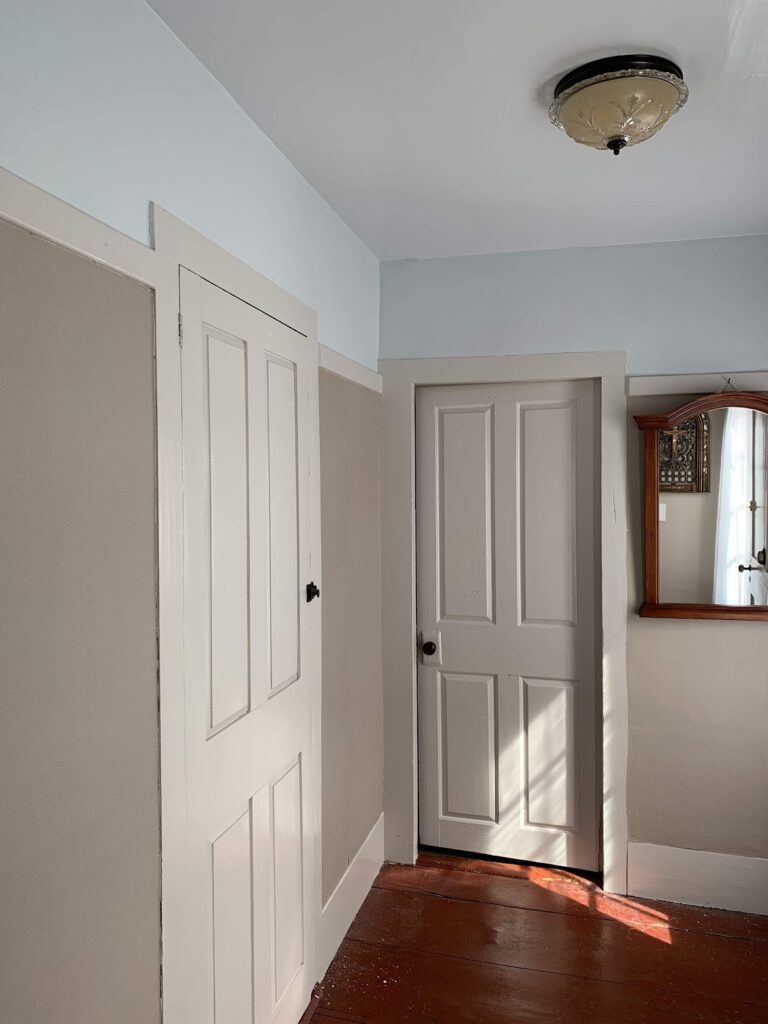
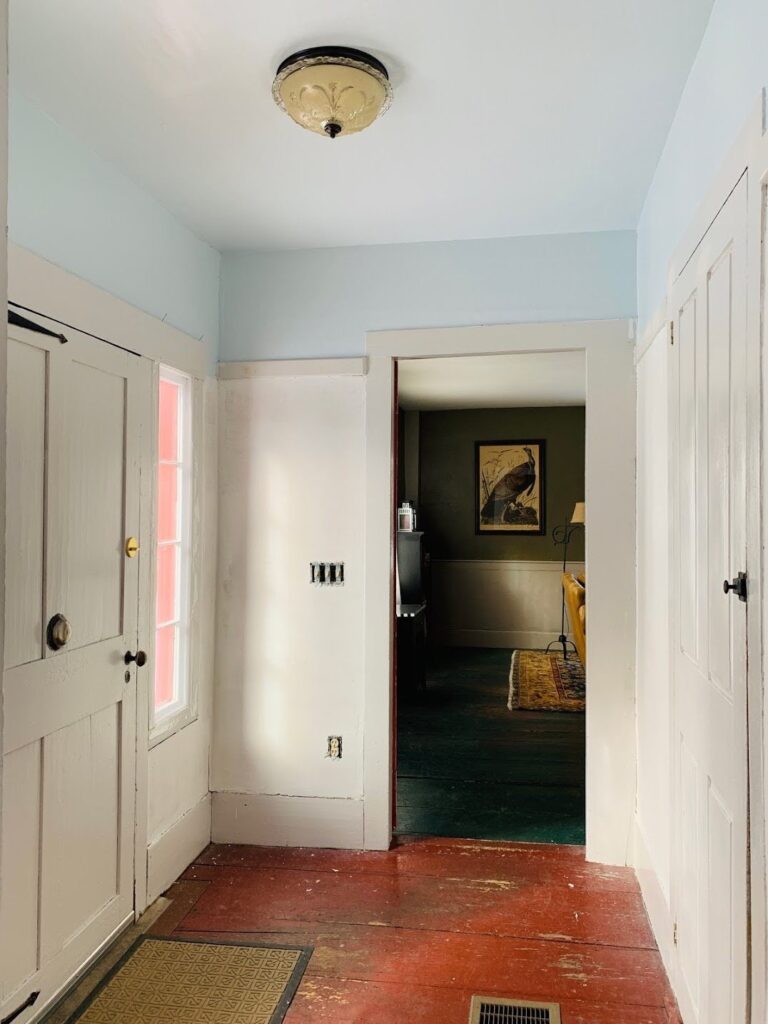
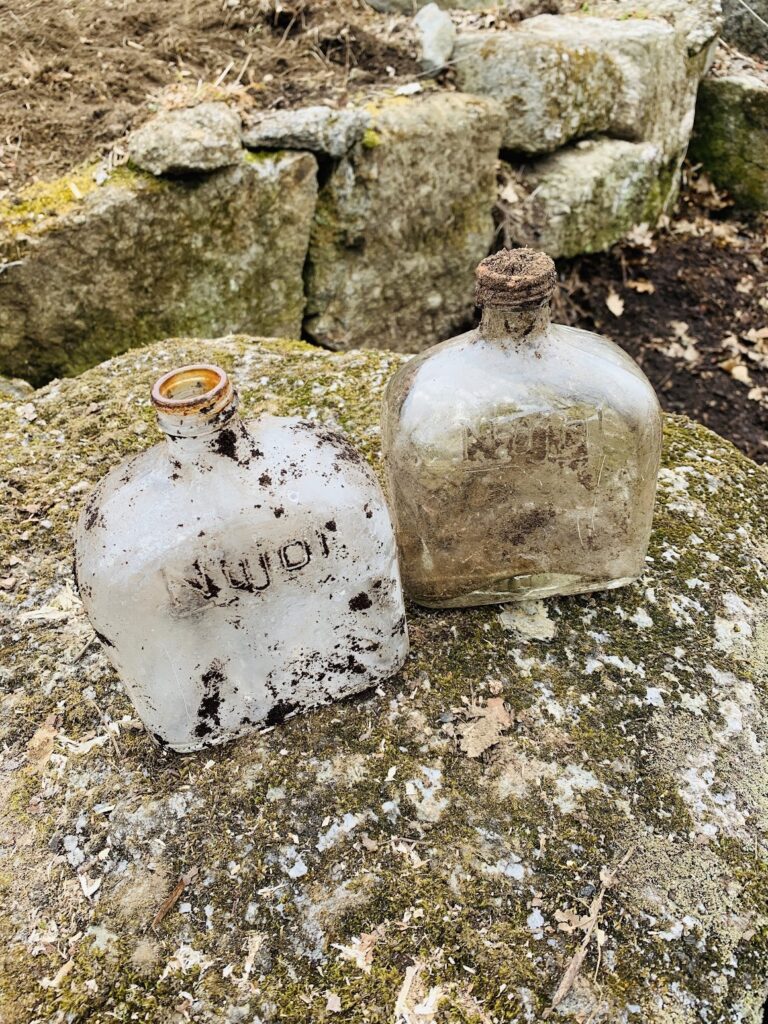
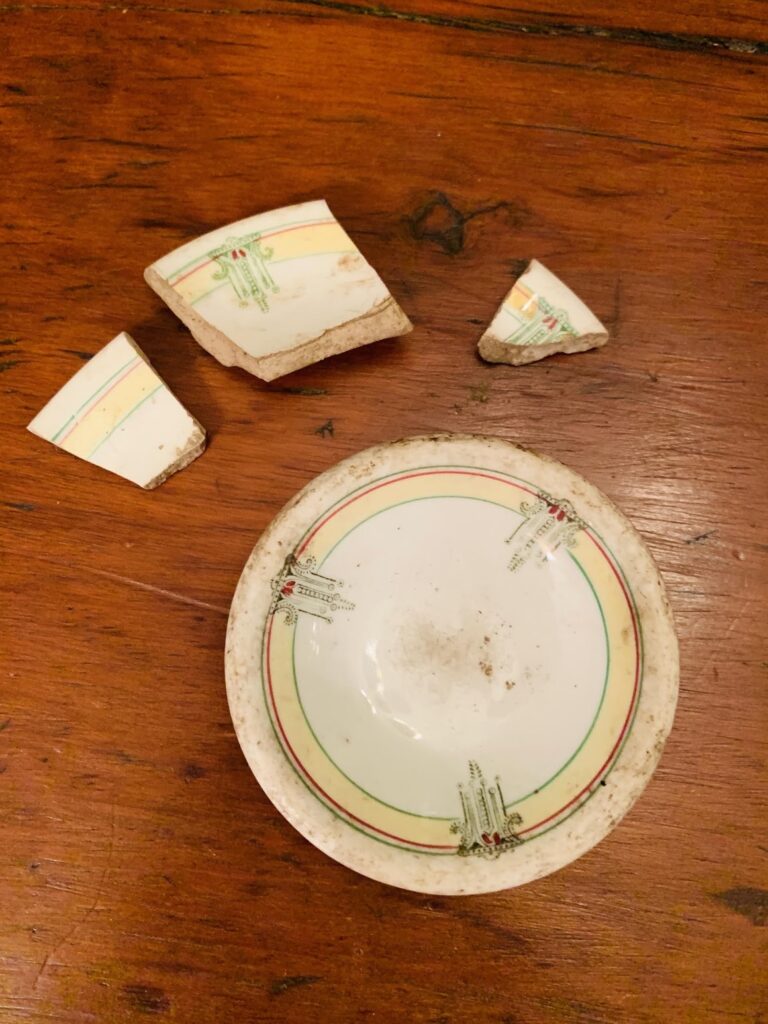
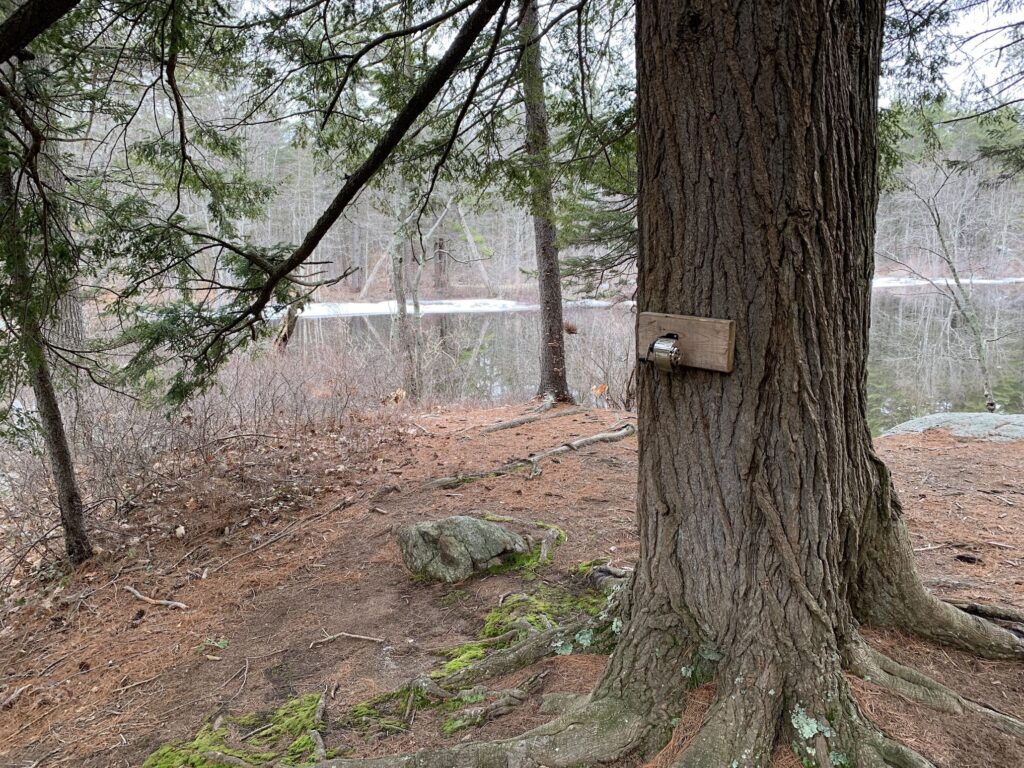
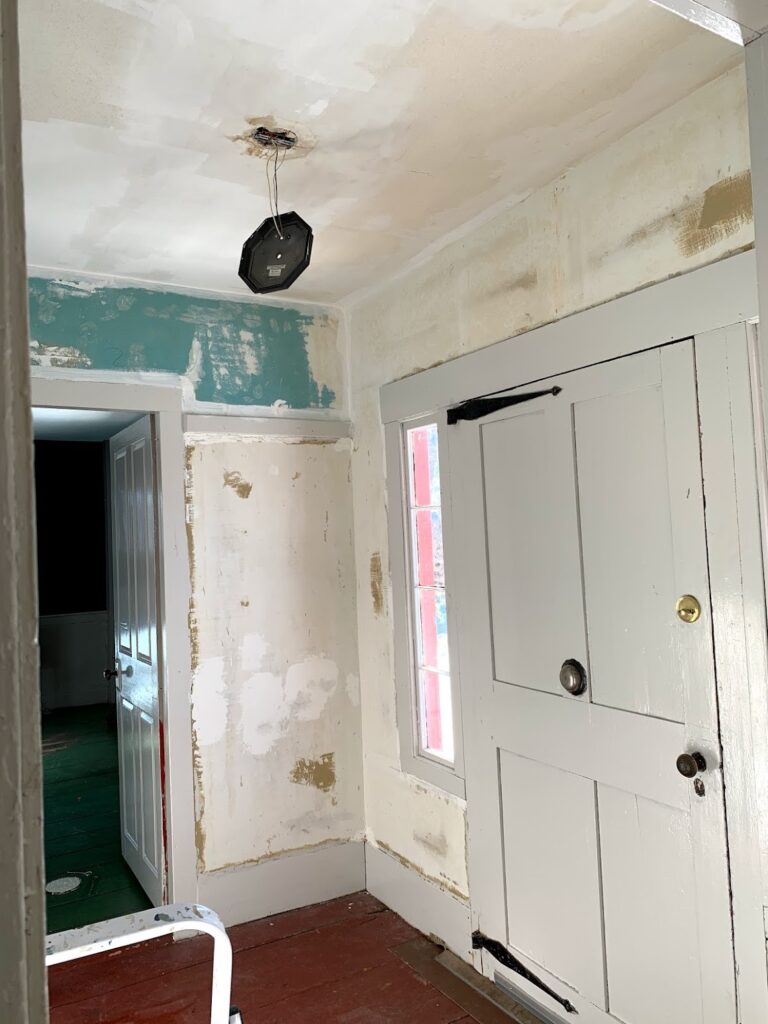
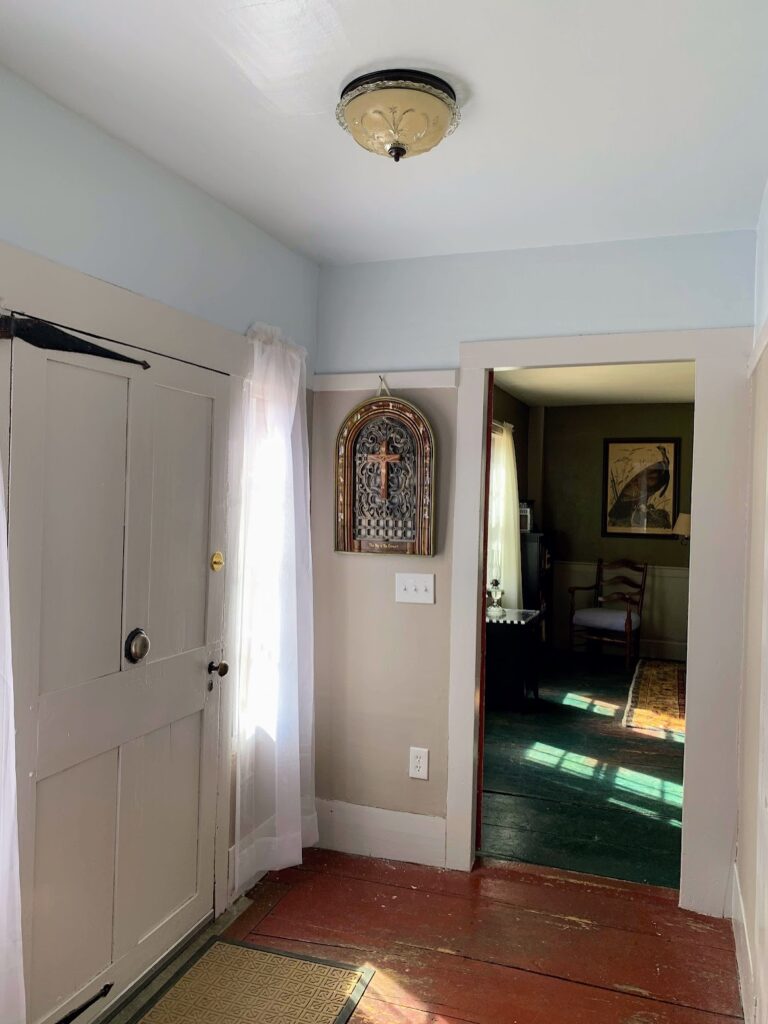
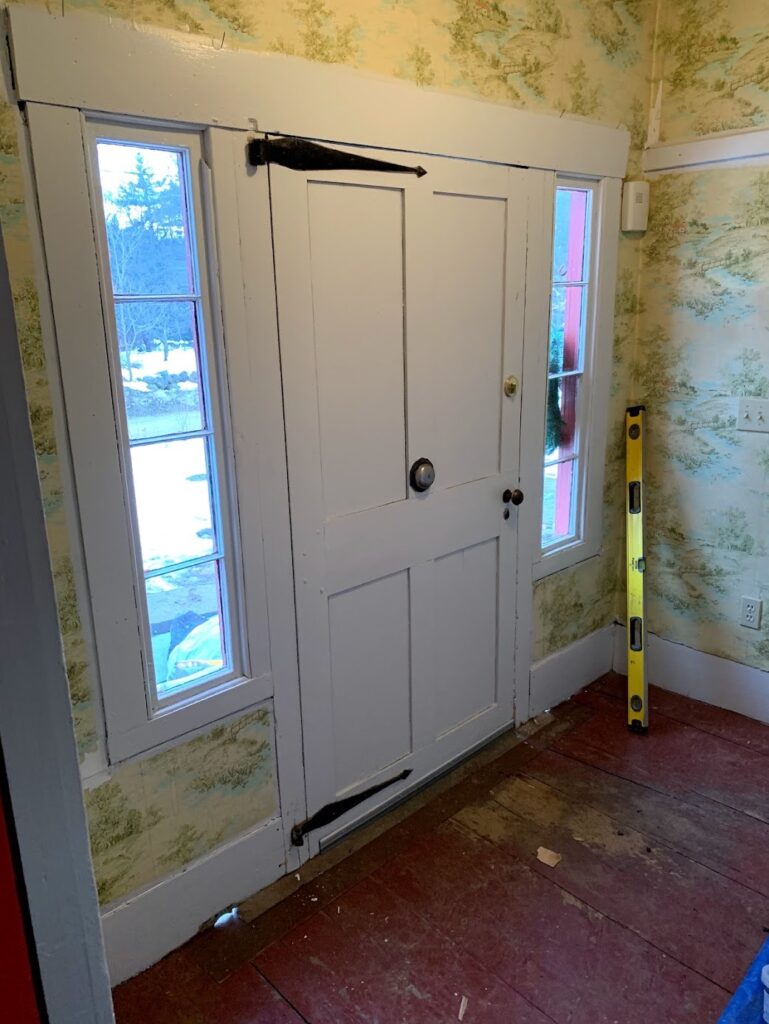
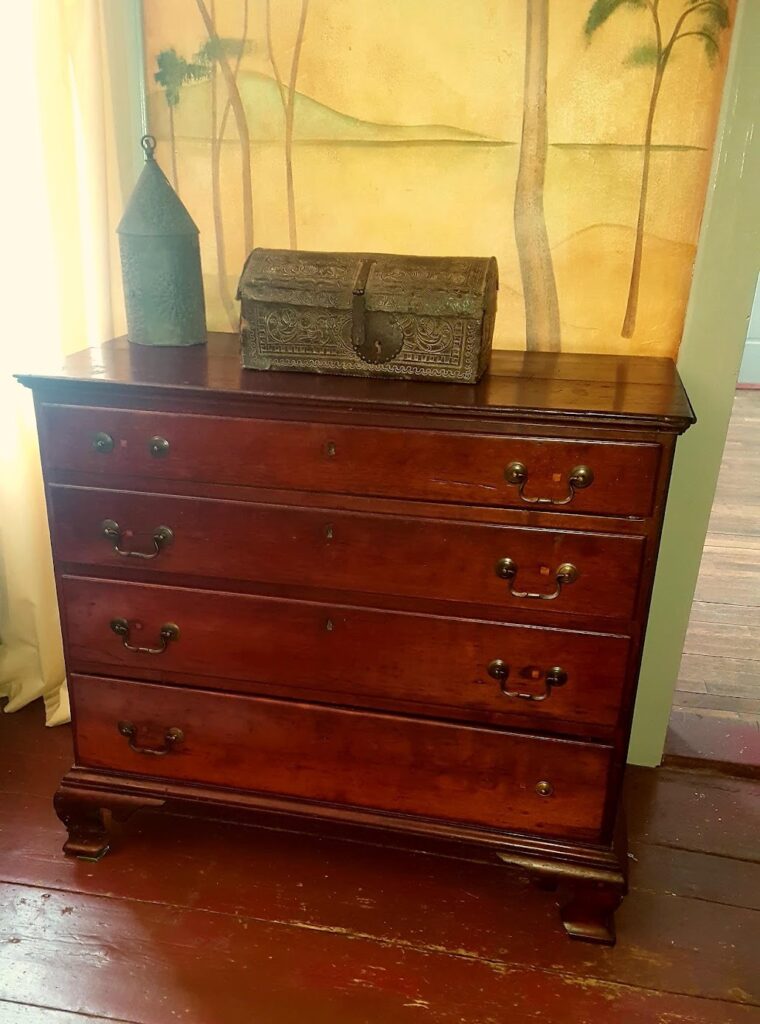
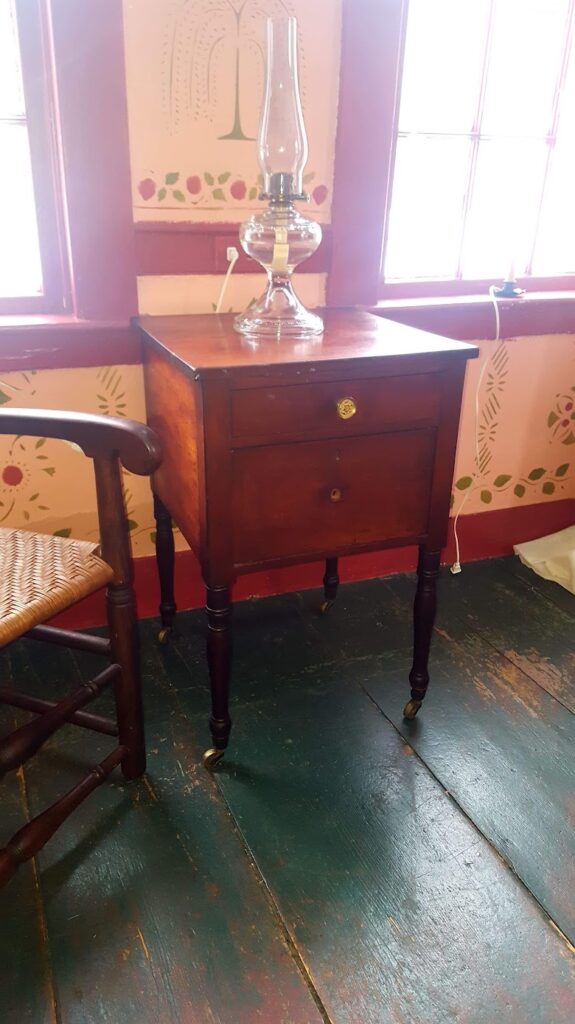
So why am I posting this now? Honestly, I miss it. I miss the sharing of ideas and processes with a community. I miss the creative outlet of putting together this blog. I miss contributing to this archive we’ve created for this house. Keep in mind, this house came with absolutely no artifacts or anything outside of it’s own walls or anything that wasn’t nailed down (and in fact, much of what was lost was!) The previous families sold off, stripped, divided, and emptied this house of any tangible part of its own history. This includes prying off the original hand forged hardware on every door, interior or exterior. Only one original thumb latch remains, and you can see below how someone tried (unsuccessfully) to pry it off. A later owner did replace the front exterior door hardware with an ill-fitted knob that didn’t fit and broke off.


They split up and sold all the land that used to belong to this home except for the bare minimum they had to leave as part of it. While descendants of previous owners still live in town (and are verbal about their displeasure in what we’ve done), nothing has been given to be preserved with this house. The tools used, photos taken, stories told, lives lived, history talked about, or anything else that was shared under the roof of this home for the past 235 years has been lost to time, pride, greed, and short-sightedness. This house deserves so much better. This house and its life is so much bigger than we are. It was here long before us, and with any luck, will be here long after. We are simply its current stewards. We don’t take the responsibility lightly. We are passionate about preserving what we can in regards to this house. While this is a sad reality, it is a reality.
We have met folks who truly appreciate what we’ve done, and still are, doing here. We’ve met folks who have memories of this house as visitors or friends, so at least we have those stories to pass along to the future stewards. Knowing that we are saving this house for future generations IS good enough for us. We are careful about how we do things, careful that the methods and materials used are what is best for the house, and not just the cheapest or easiest option- most often the opposite. We love this house, and have committed ourselves to its preservation.
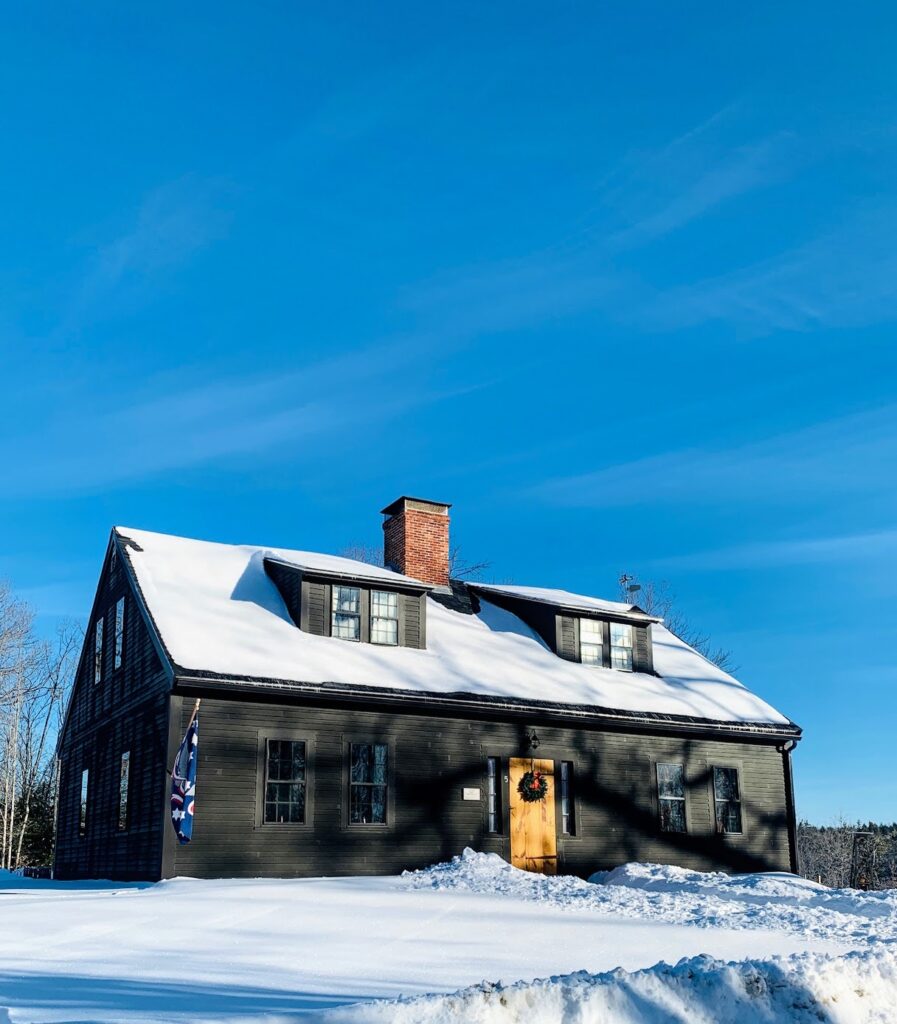
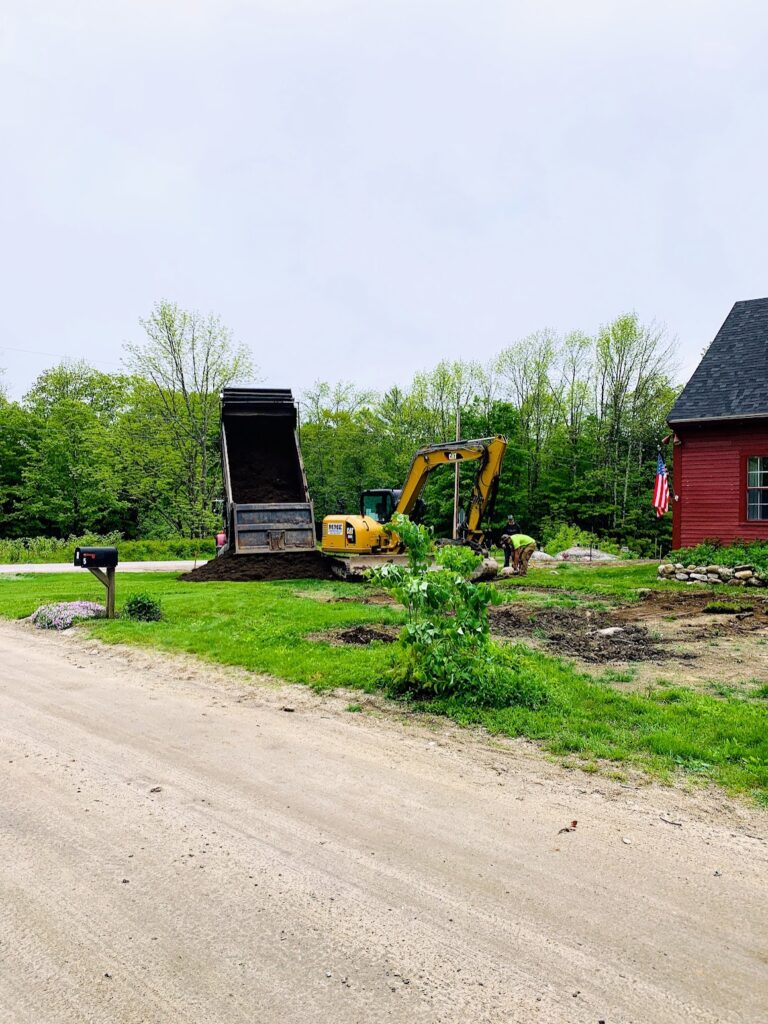
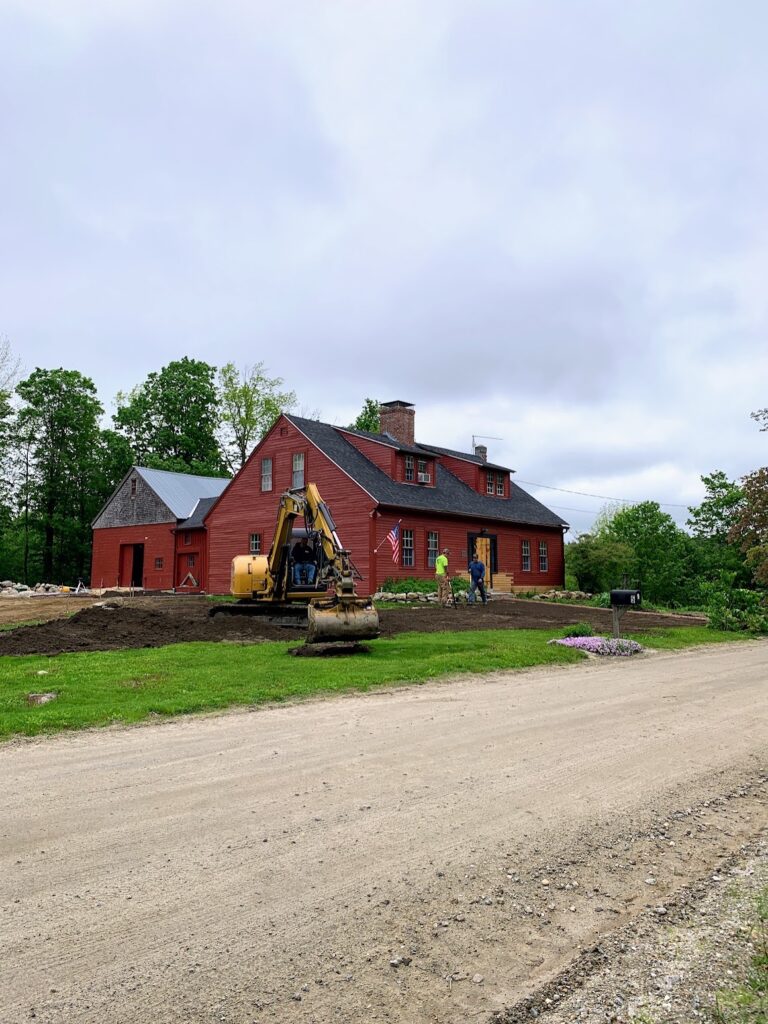
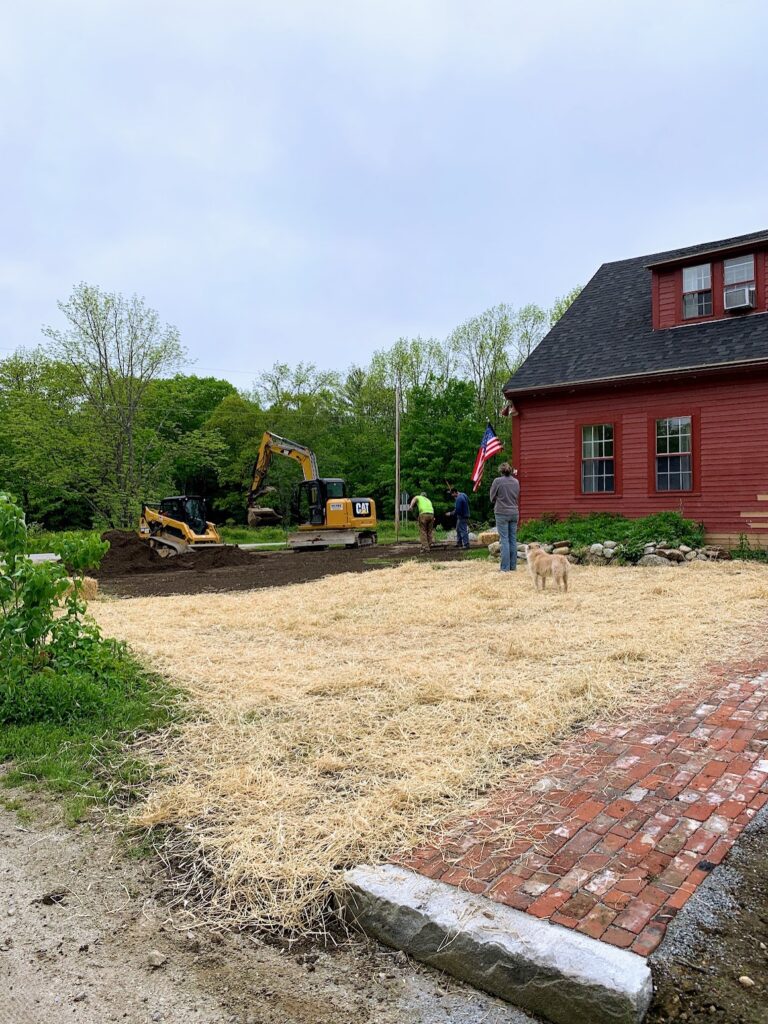
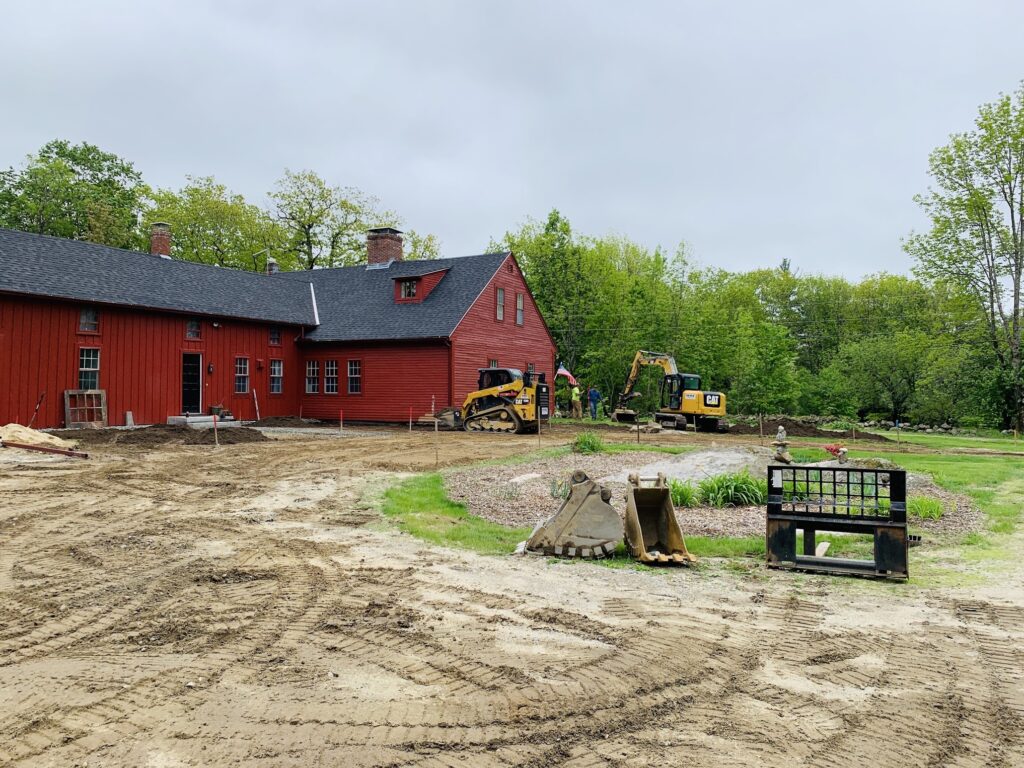
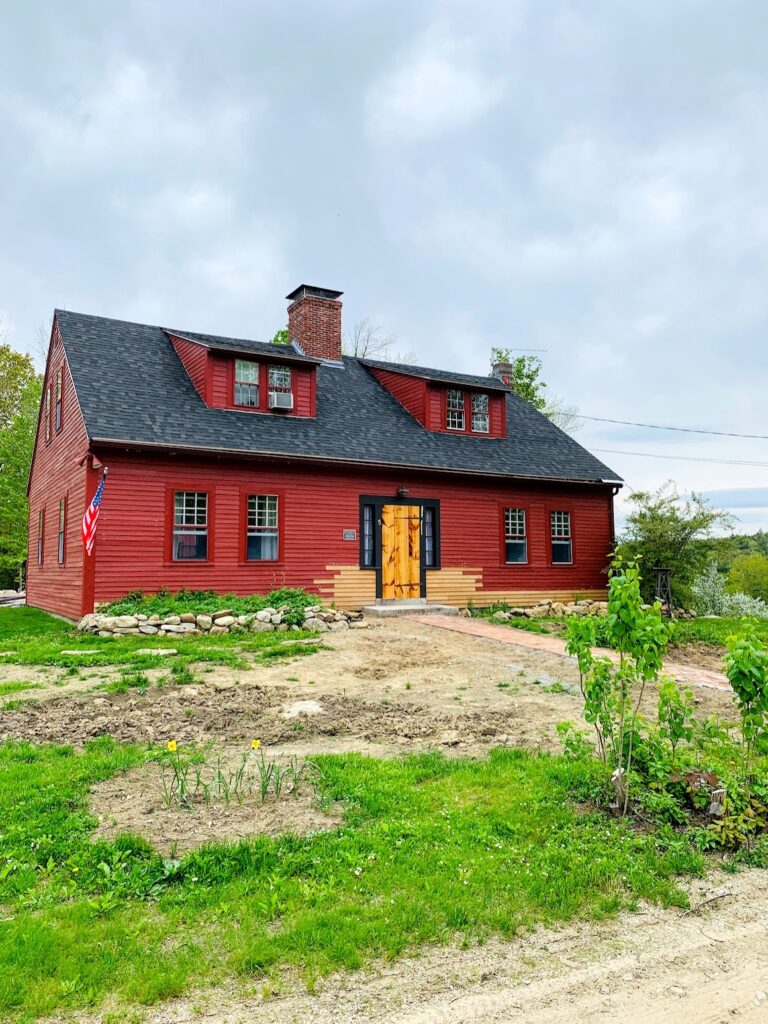
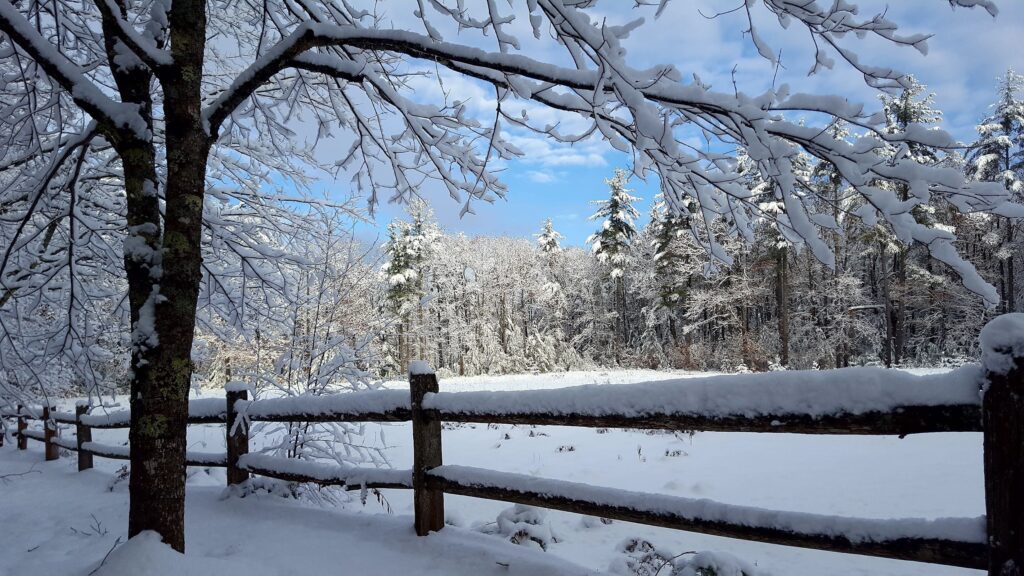
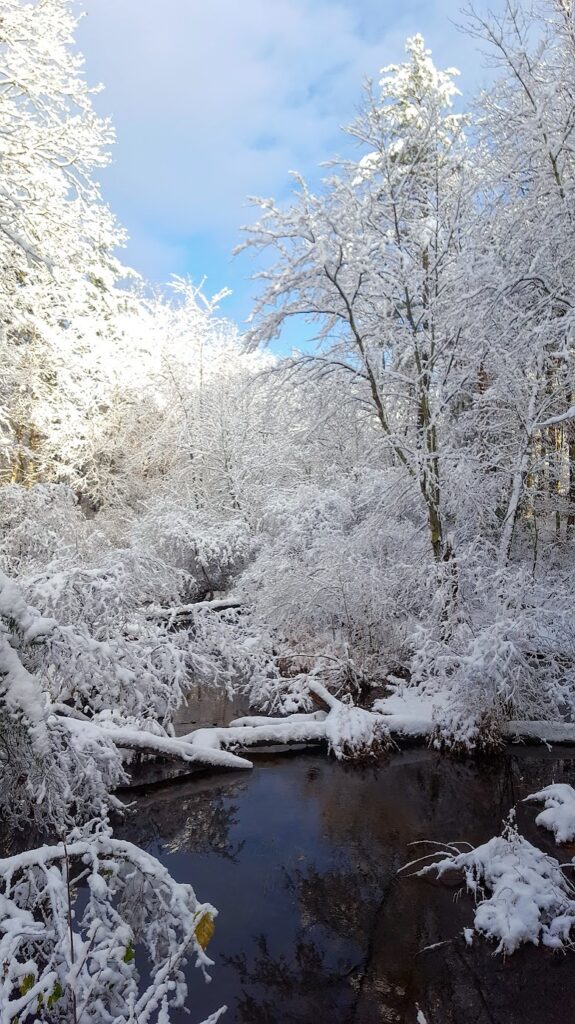
Now that all of that is out of the way, we’ve had a very busy couple of years since your last visit- let’s get you caught up.
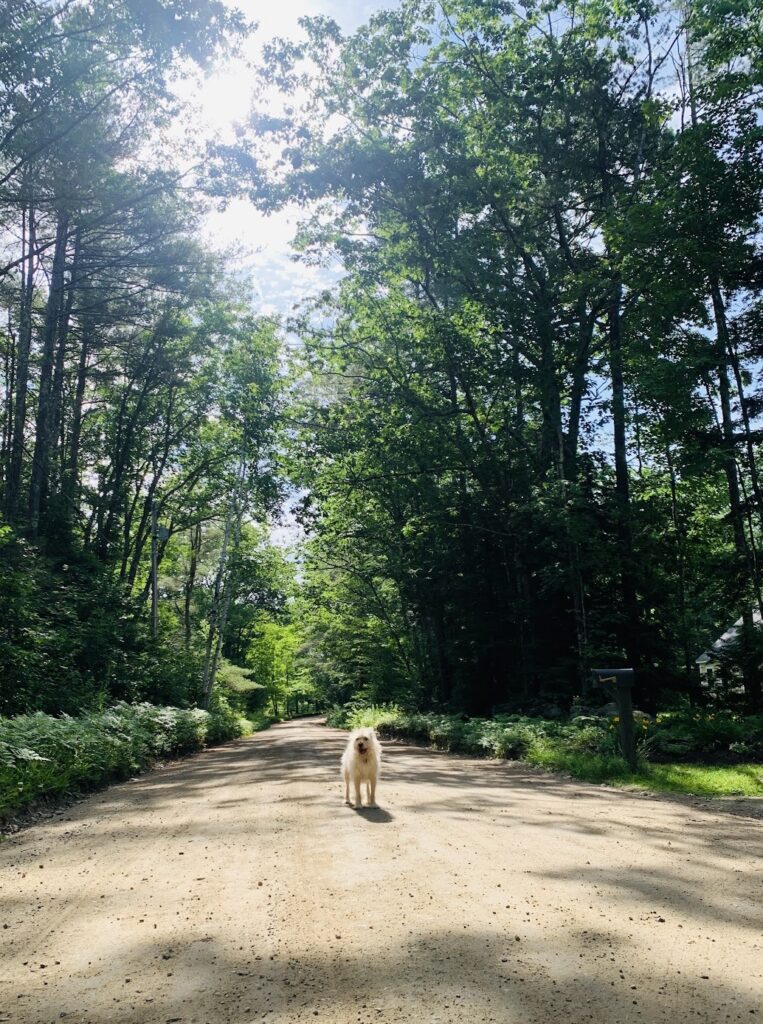
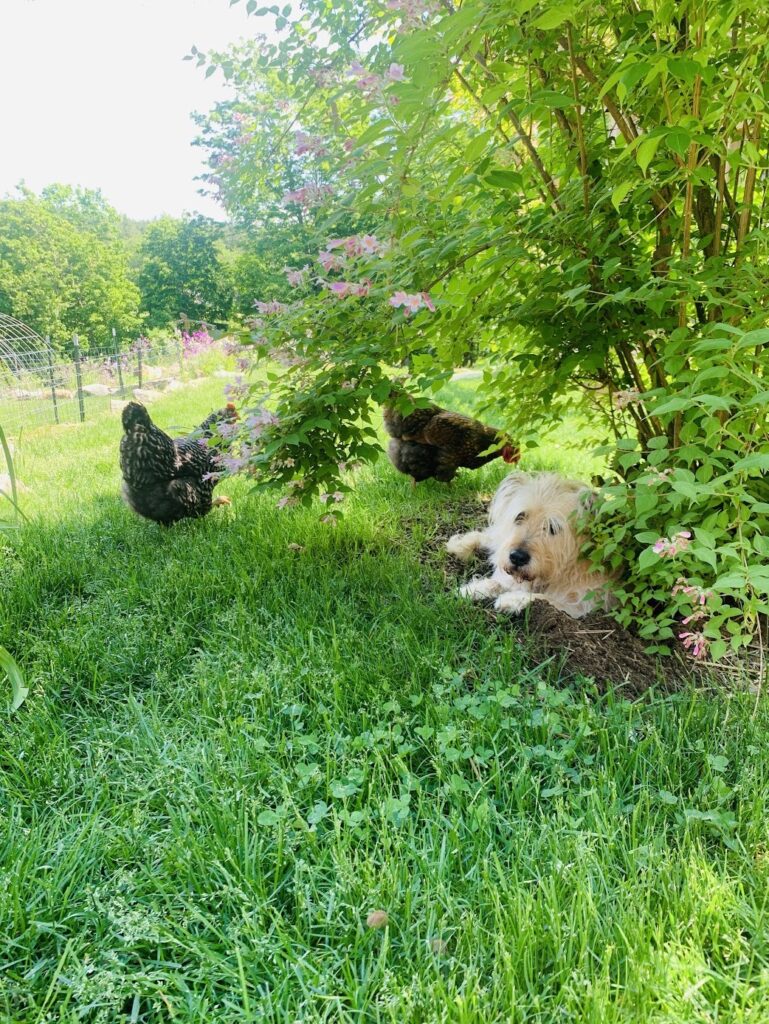
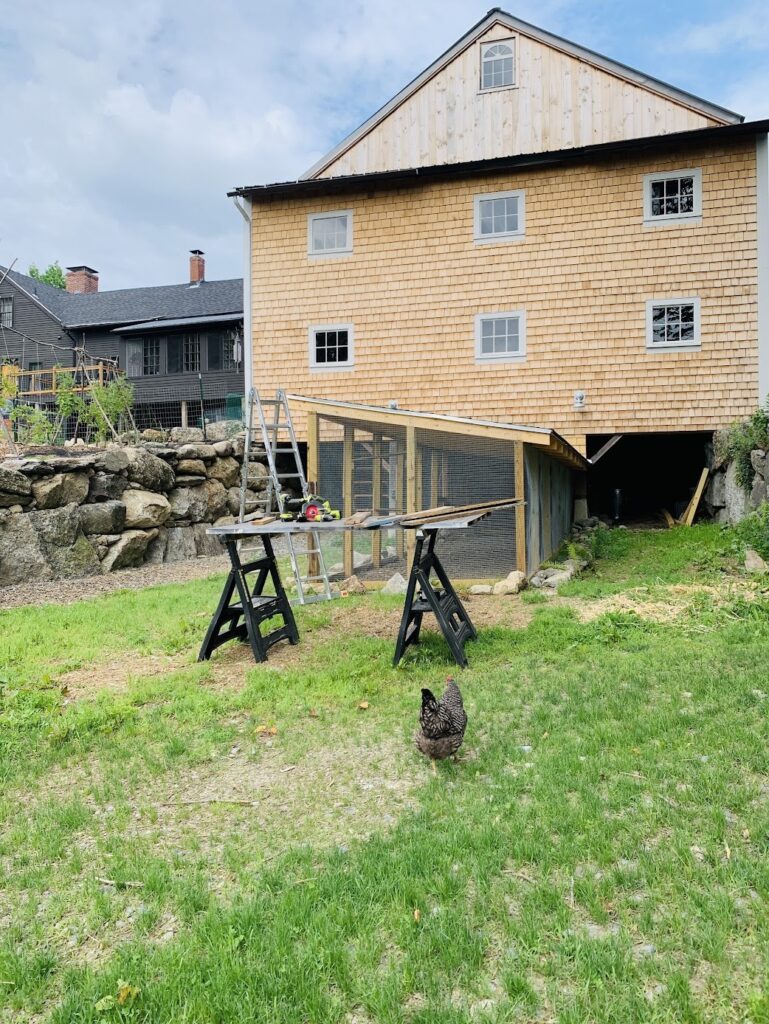
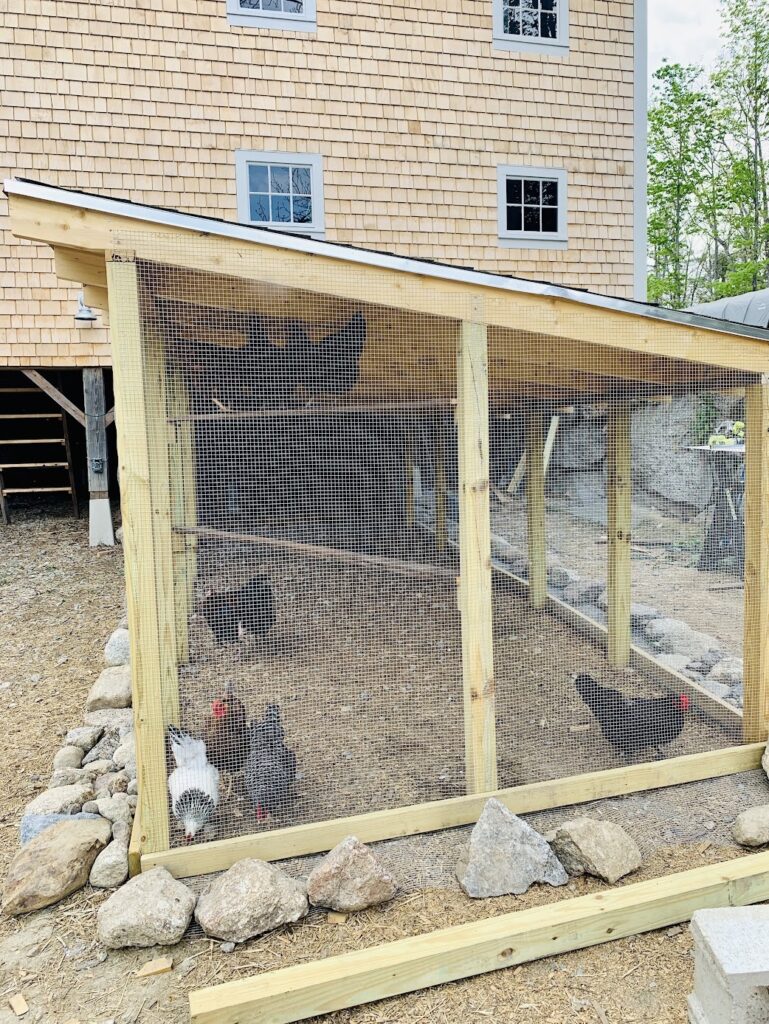
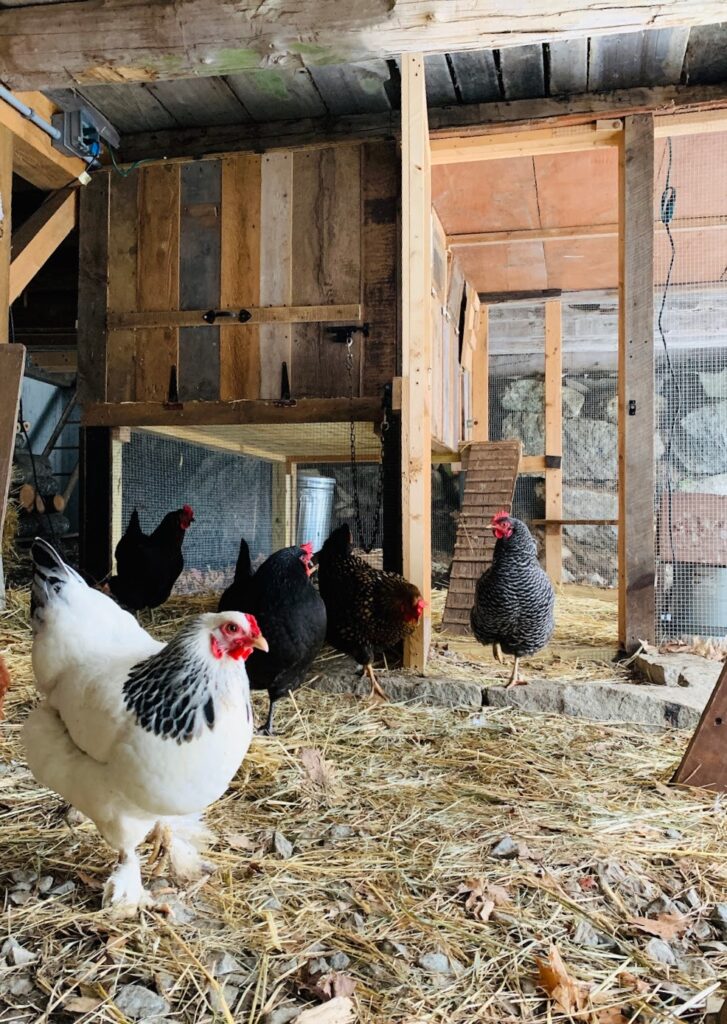
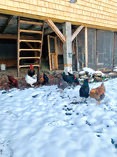
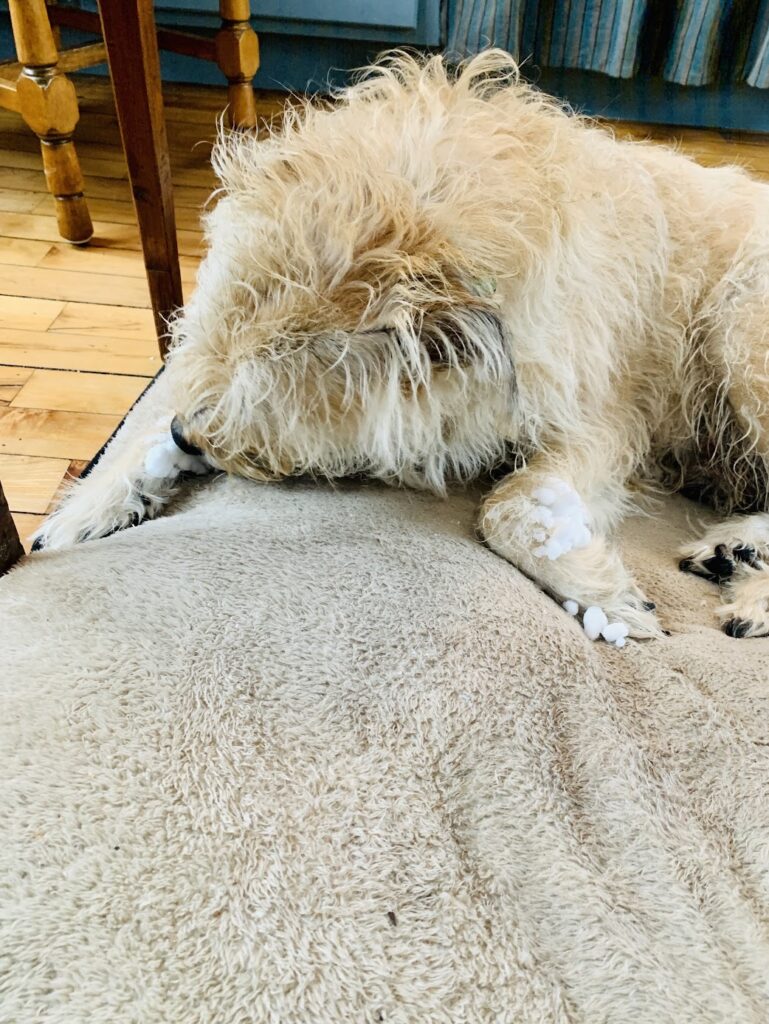
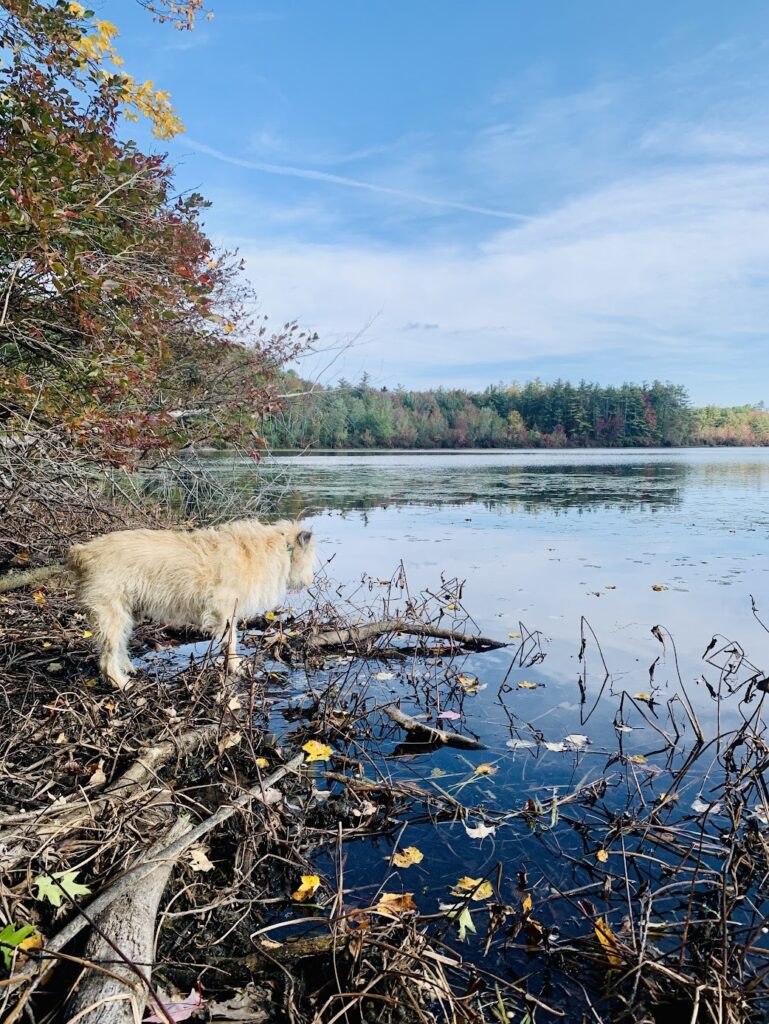
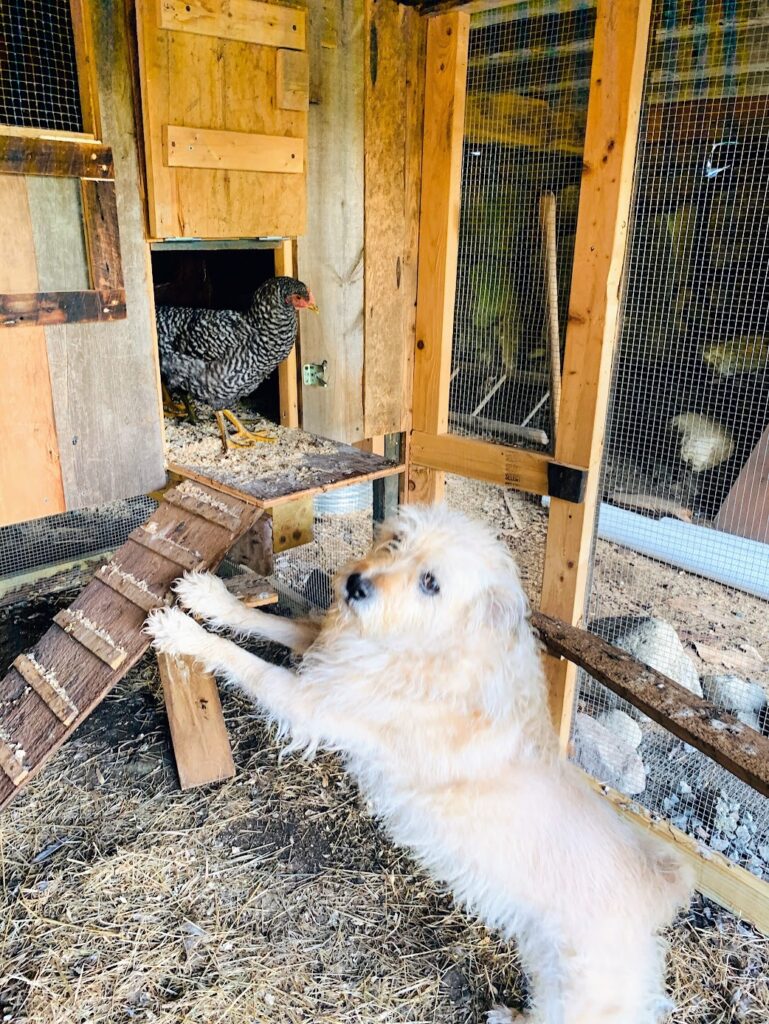
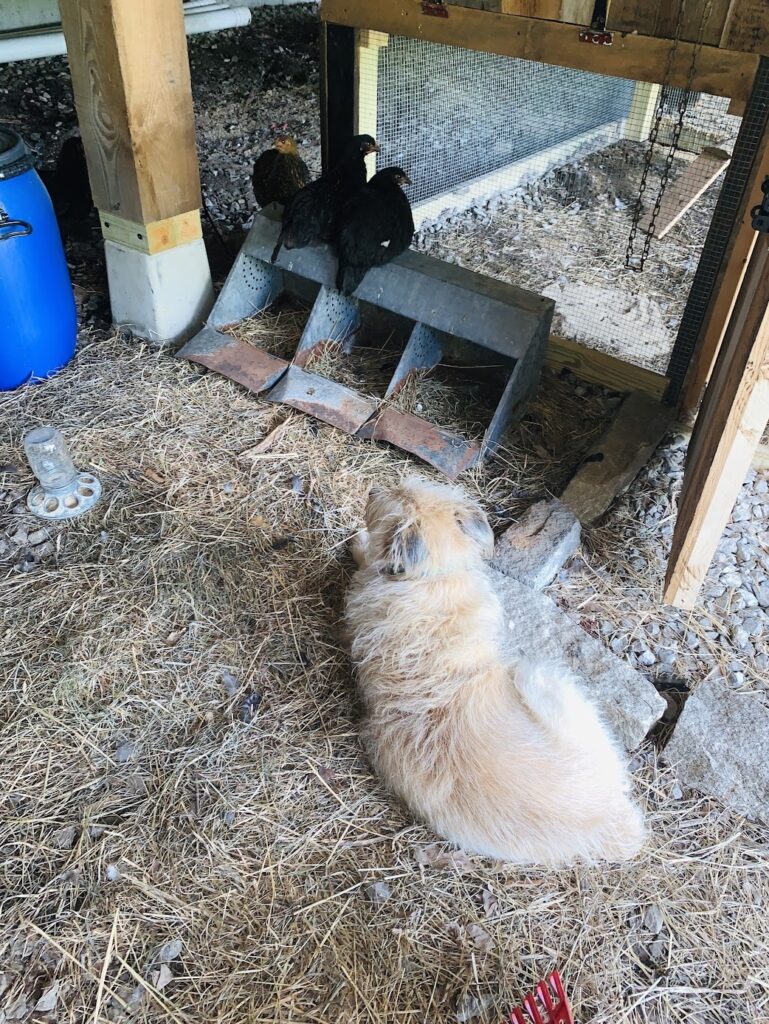
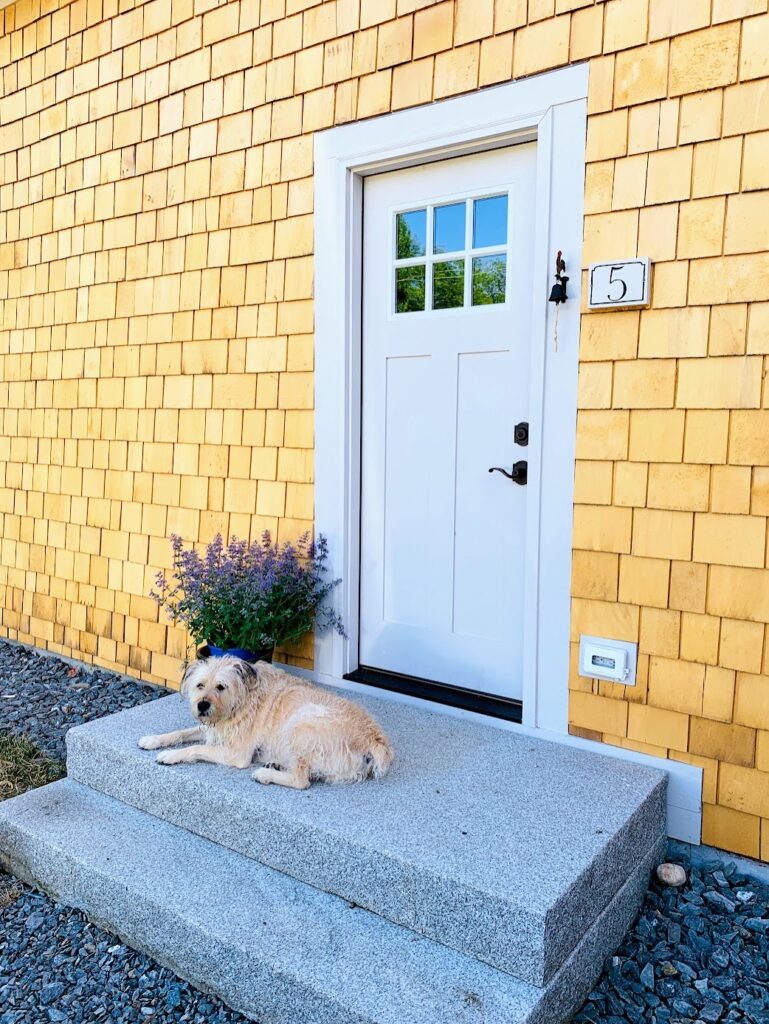
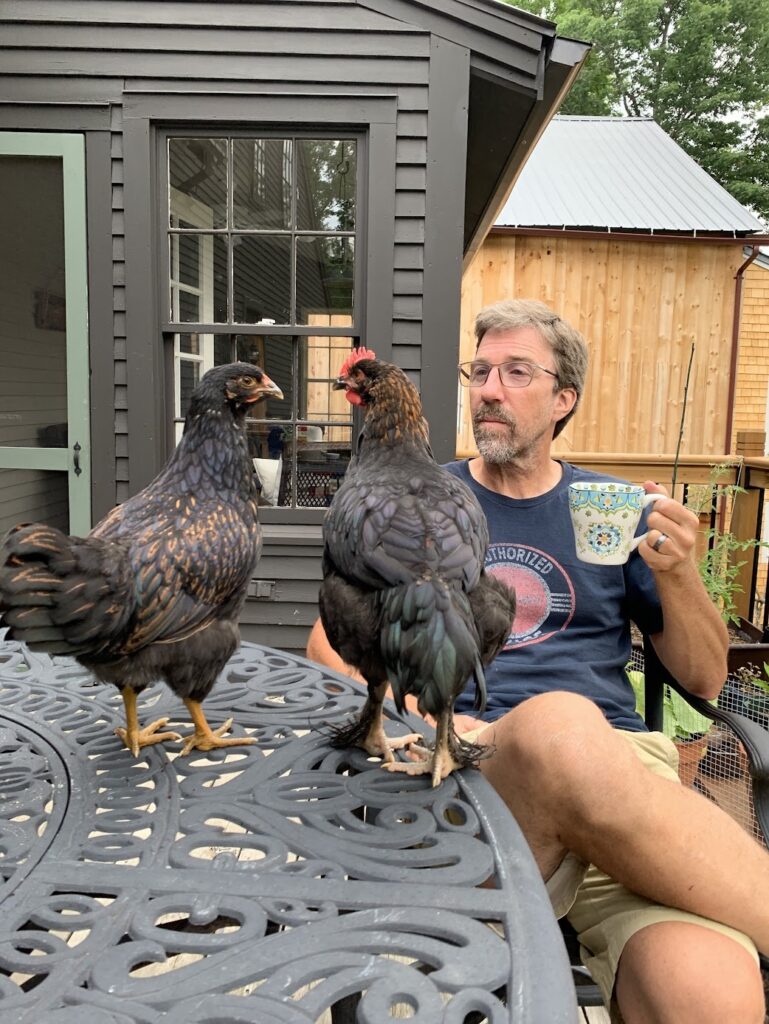
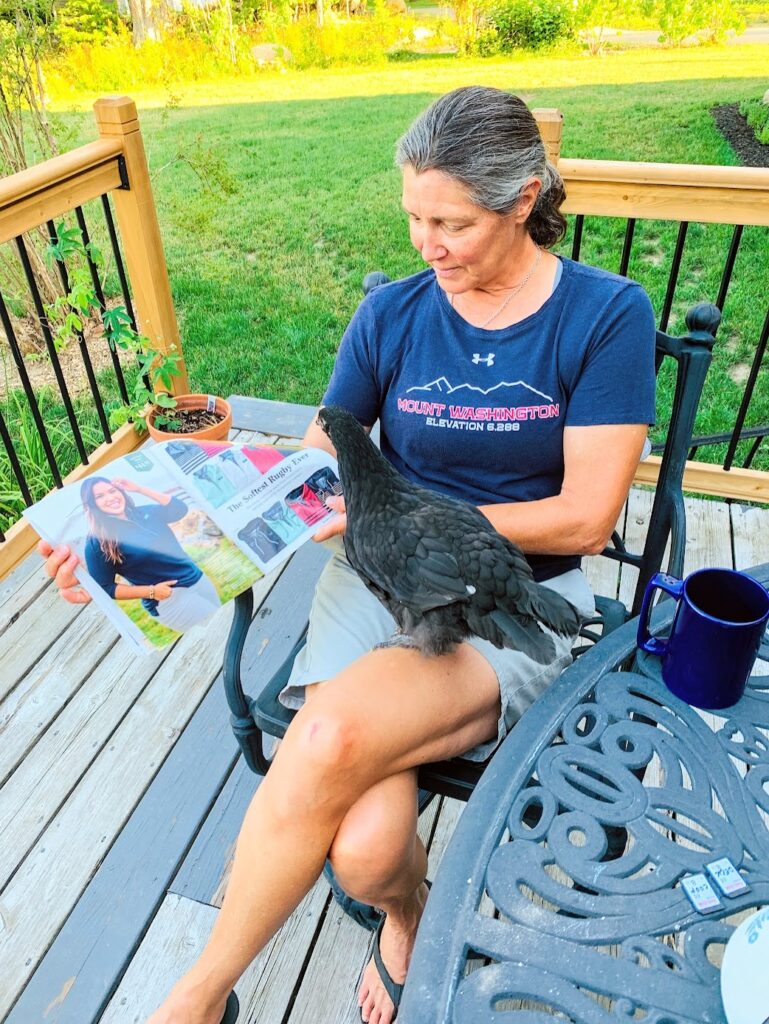
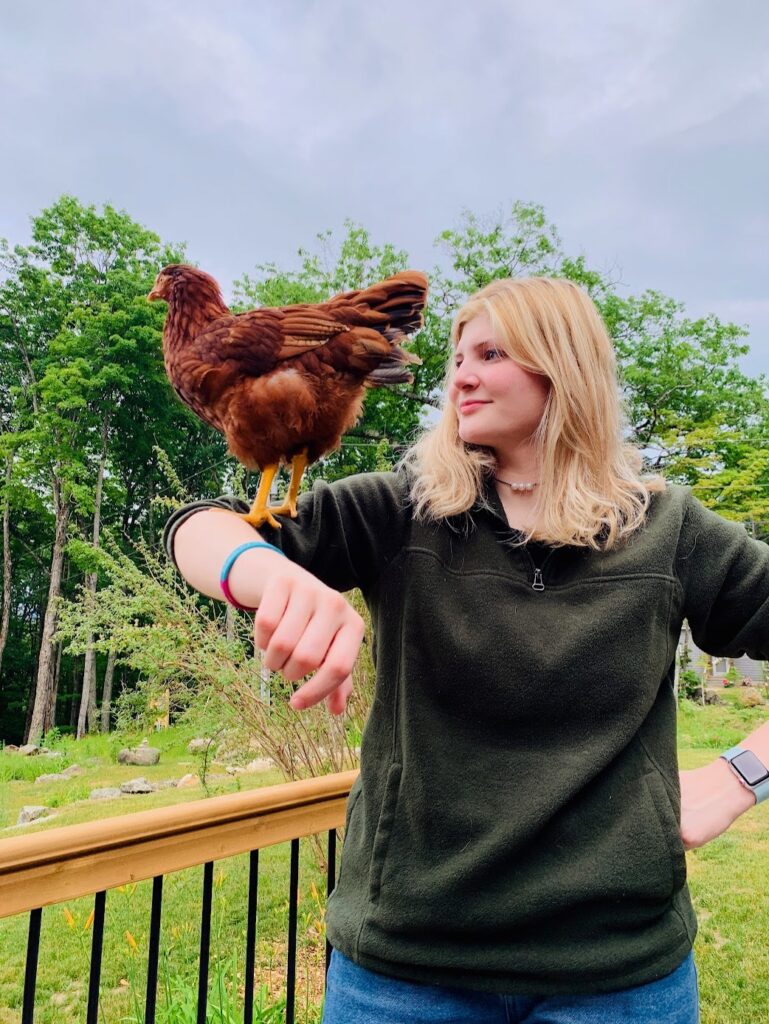
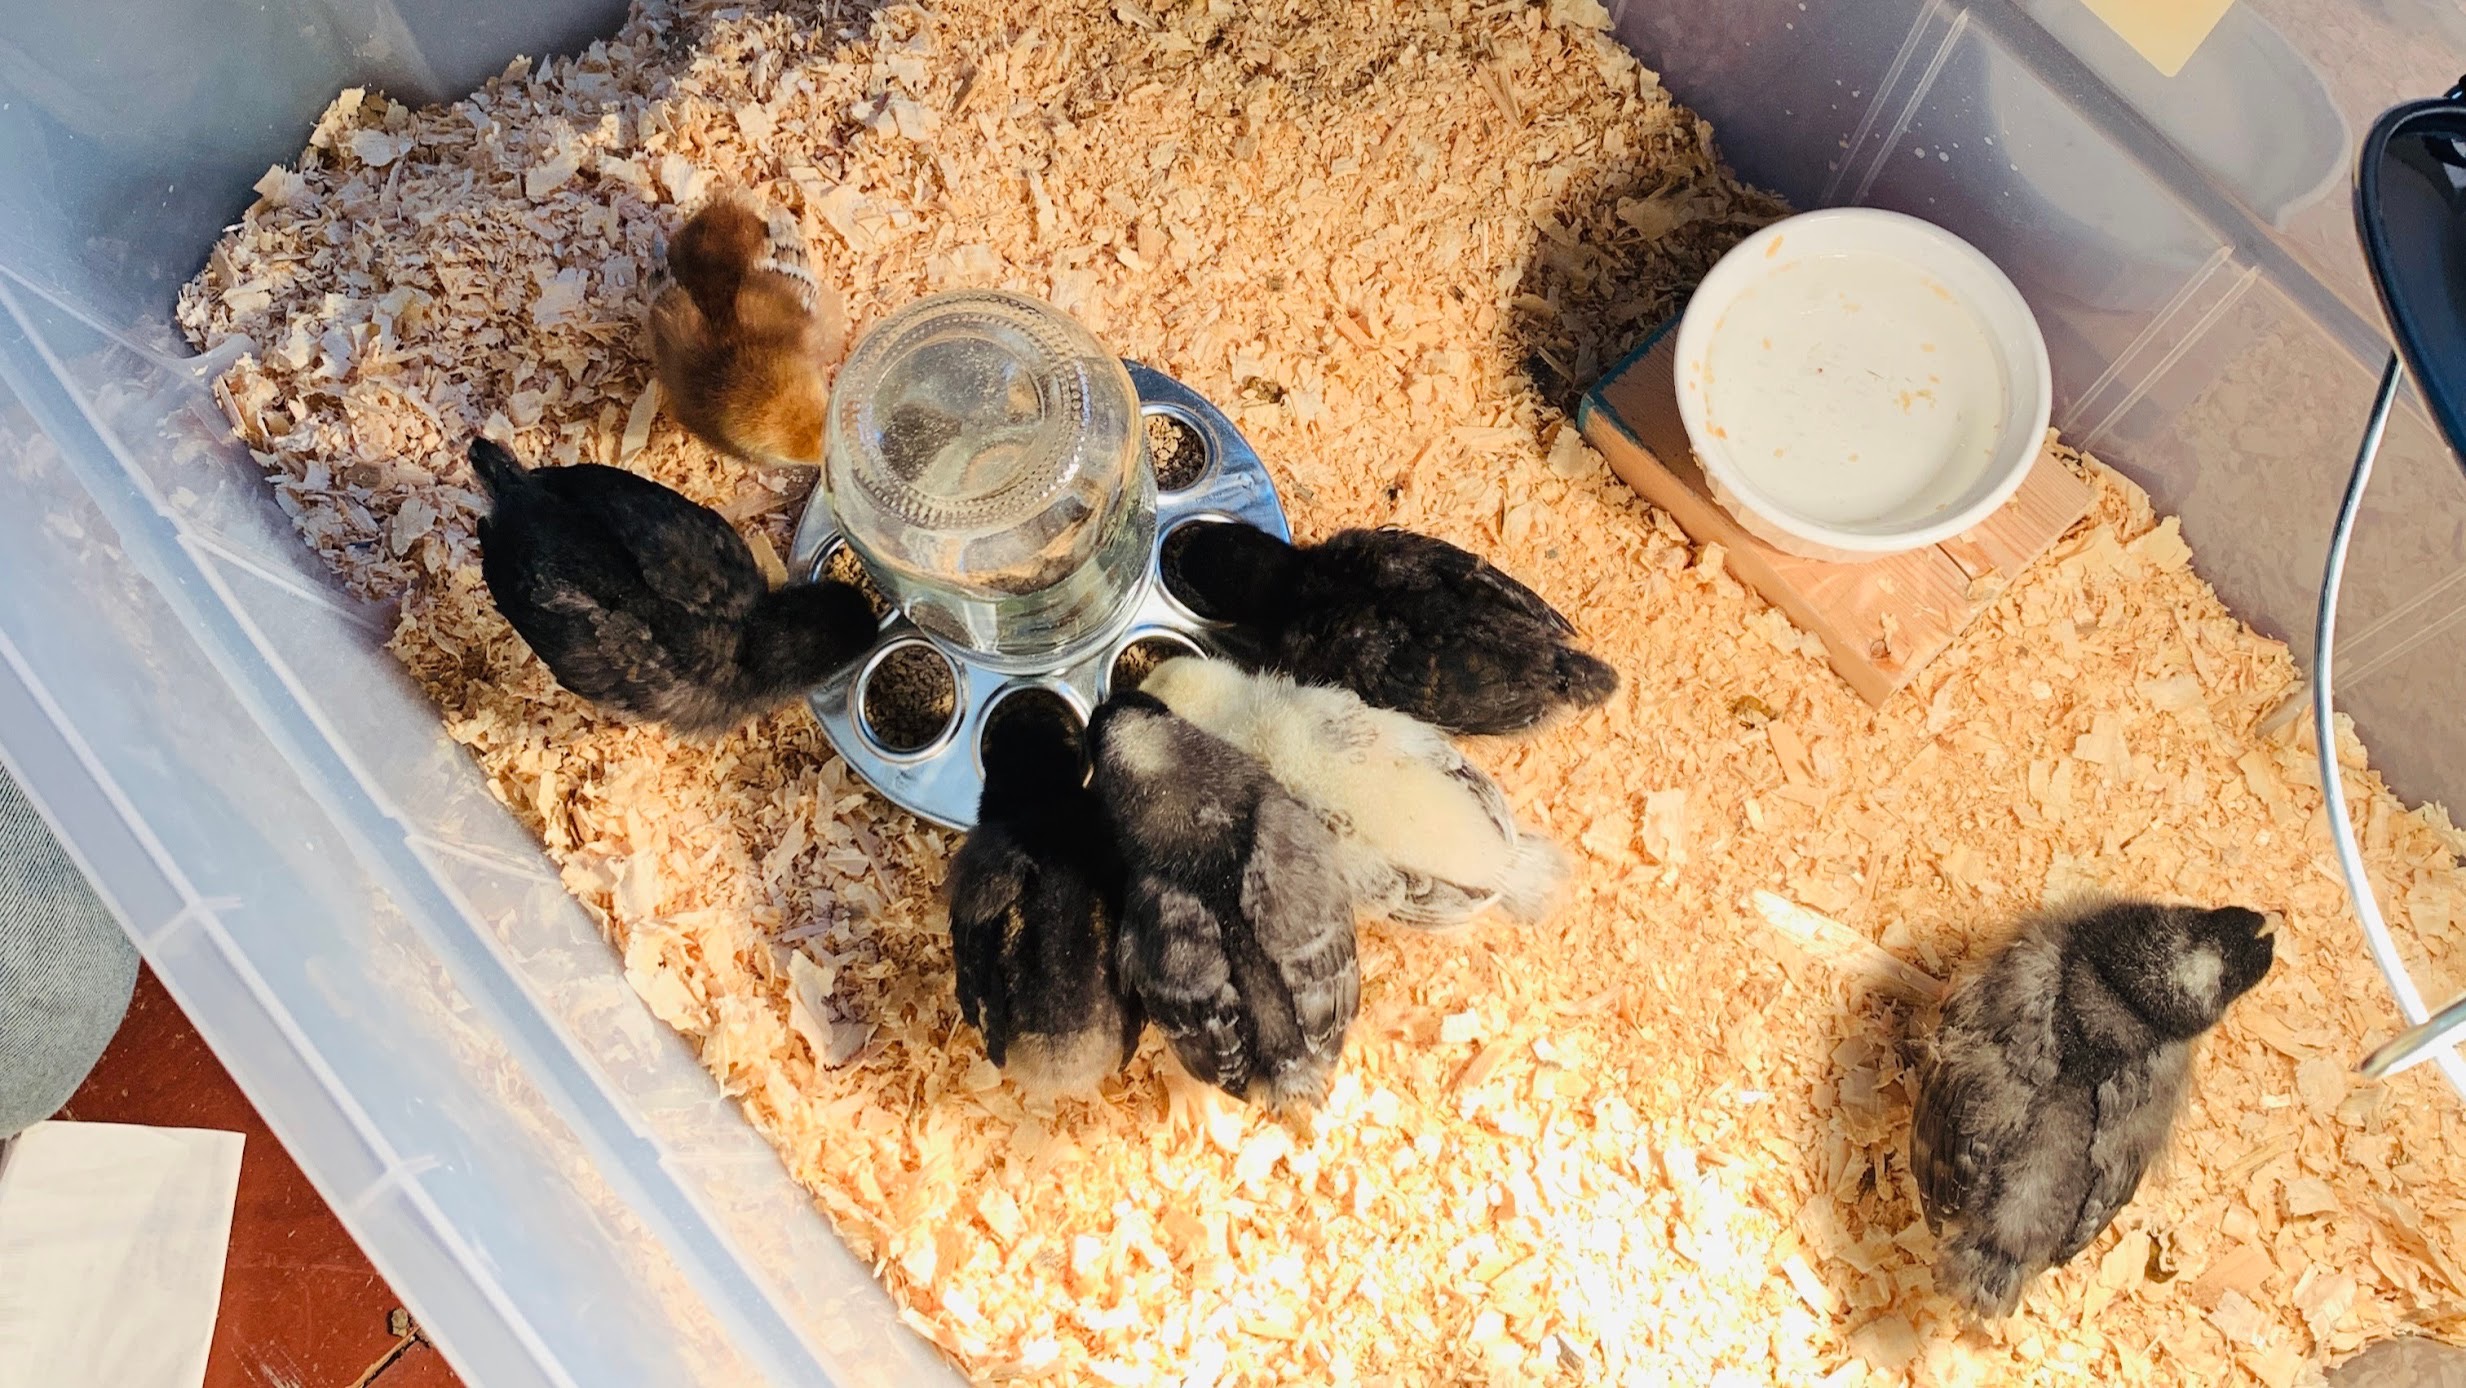
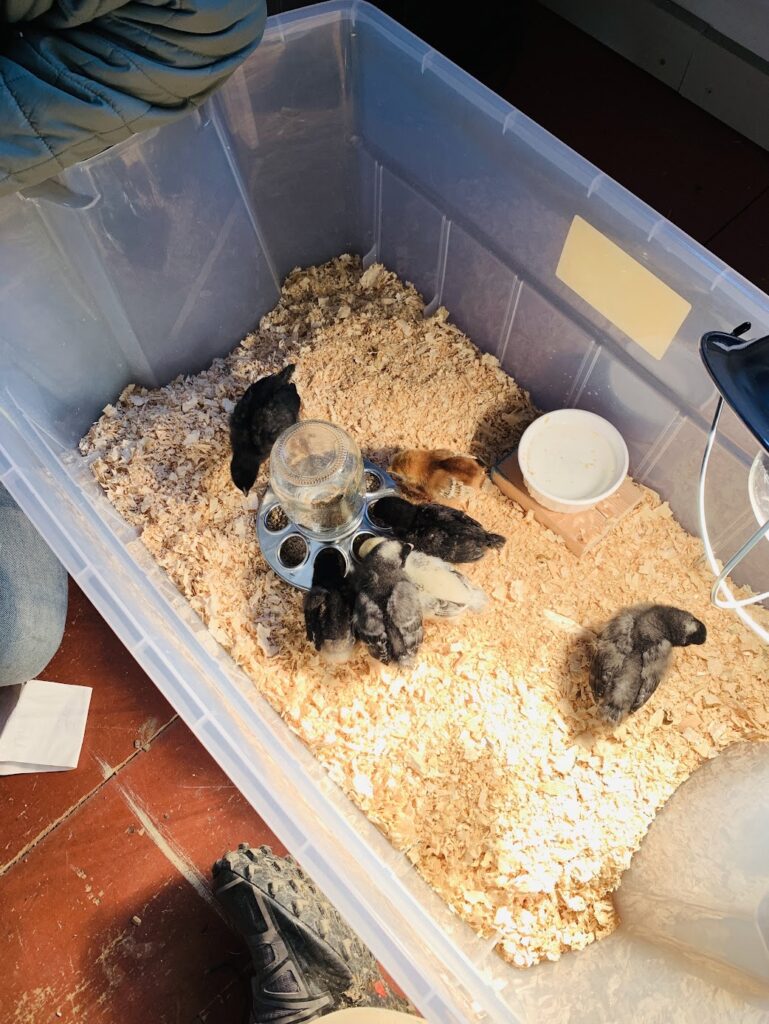
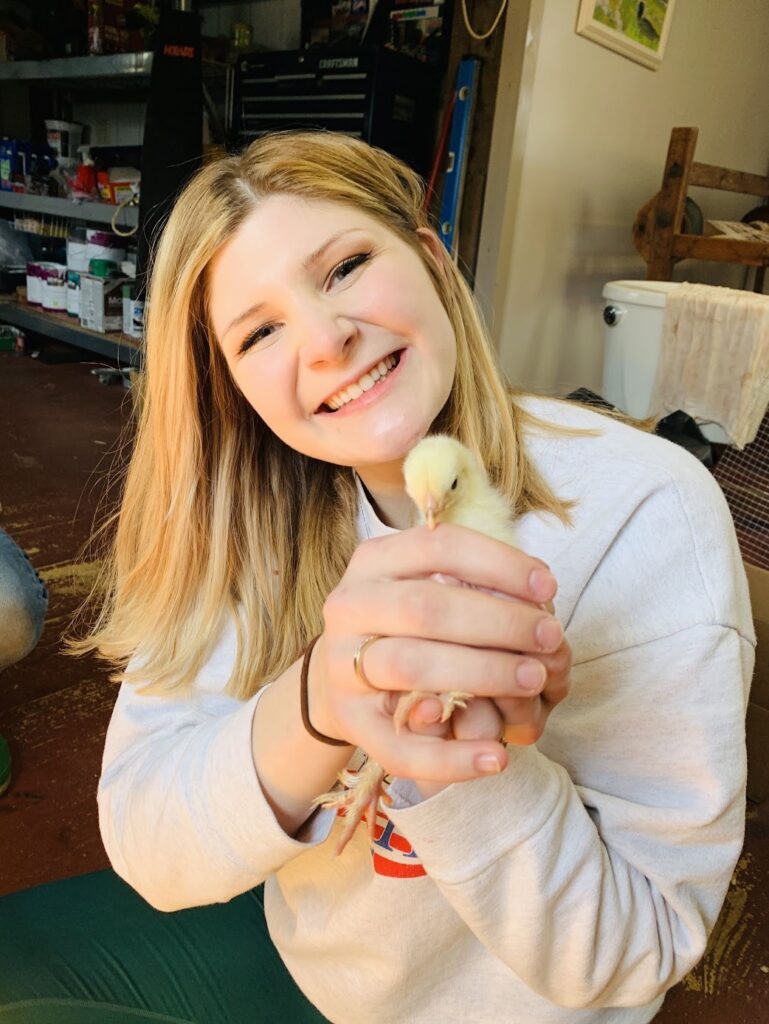
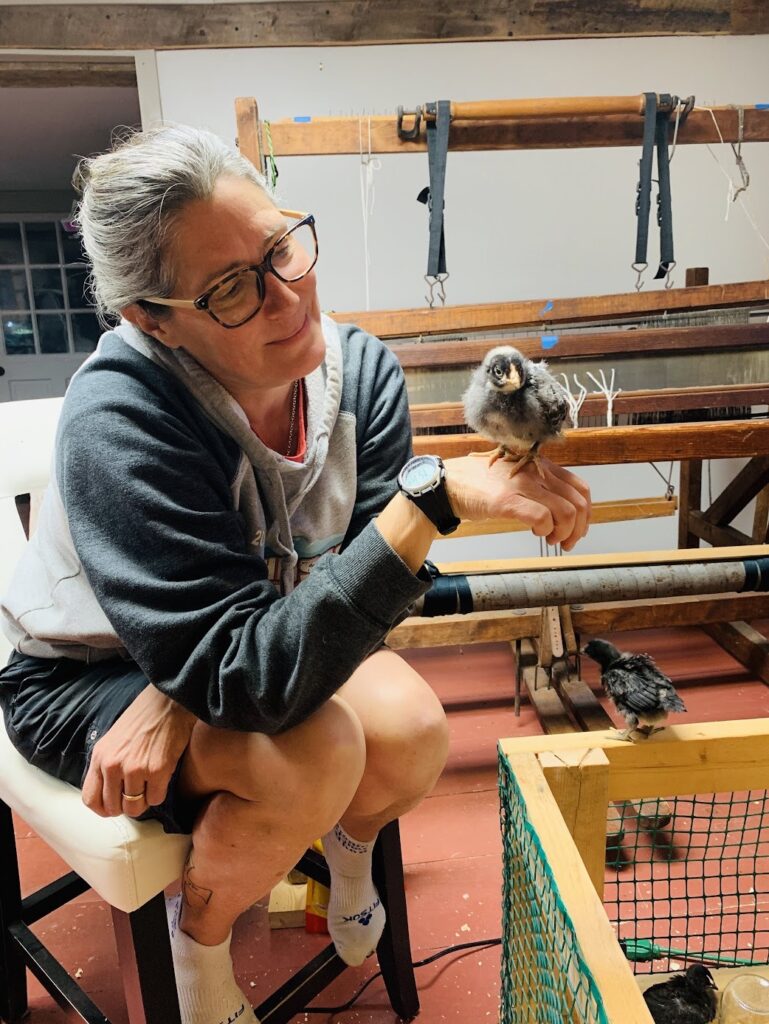
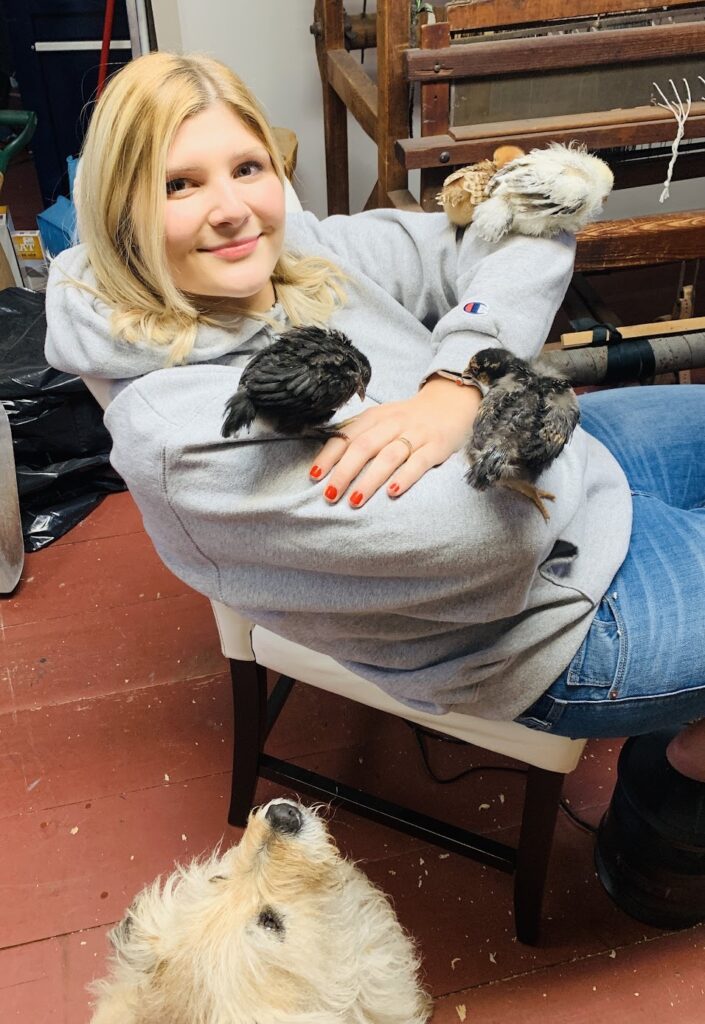
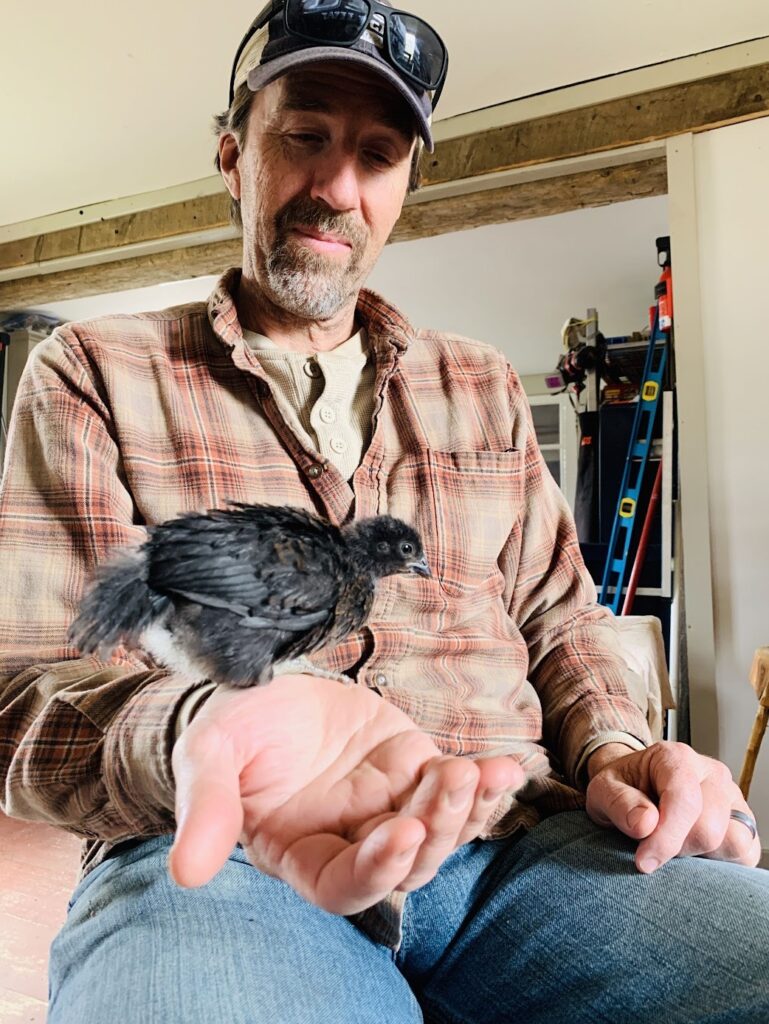
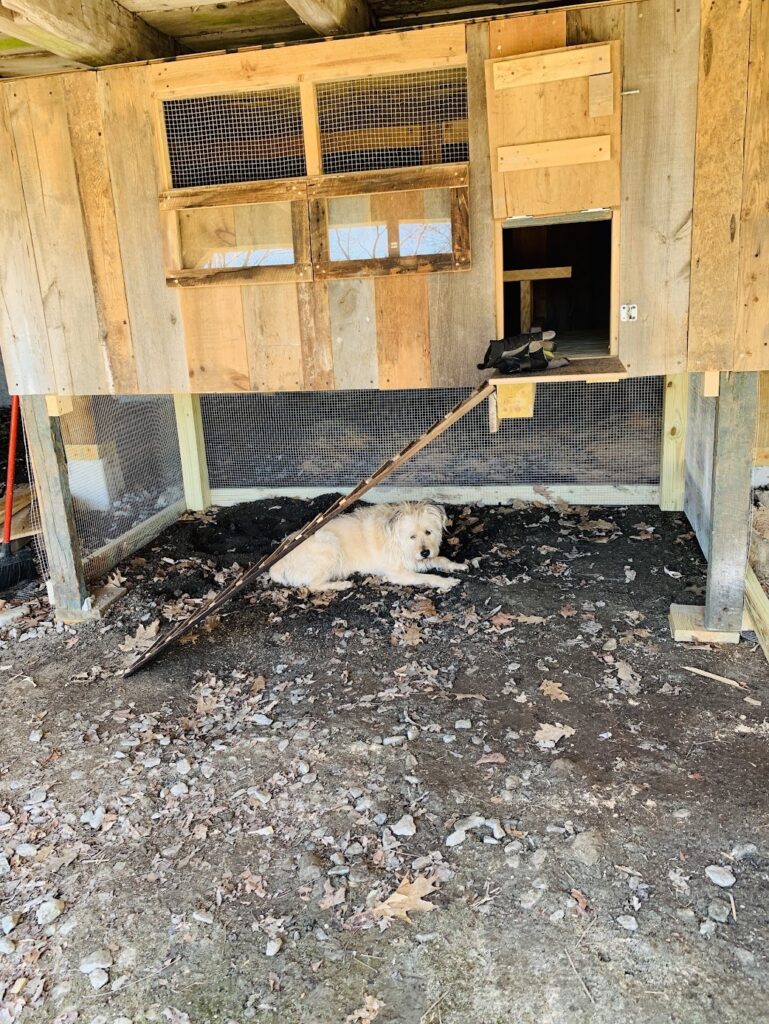
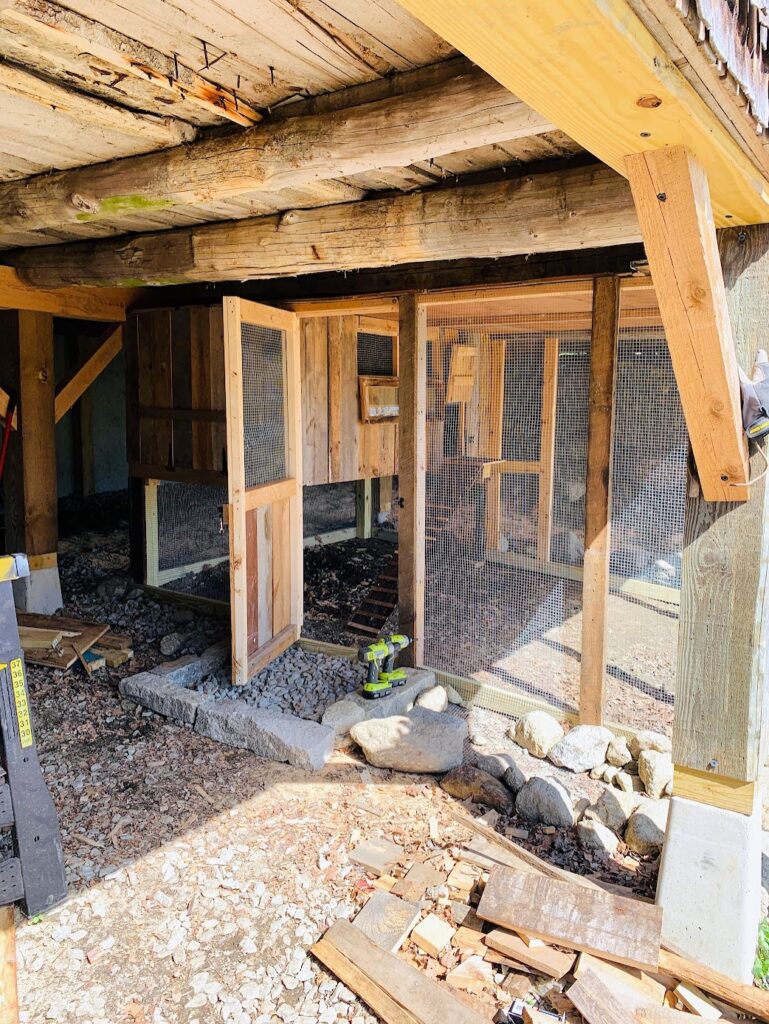
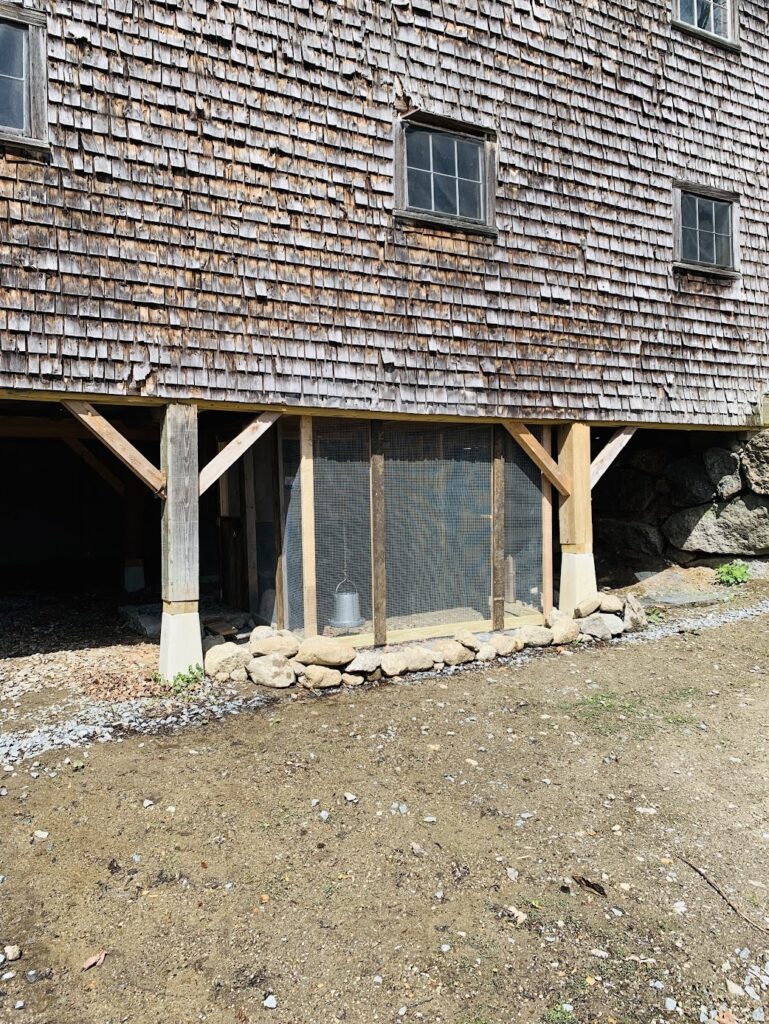
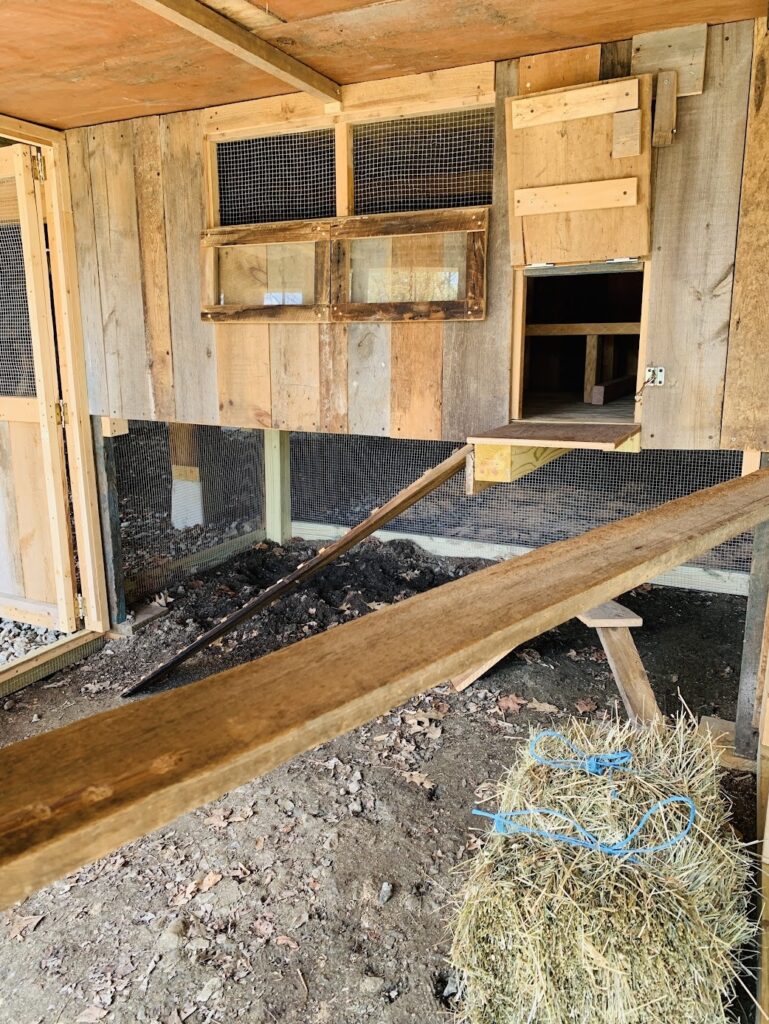
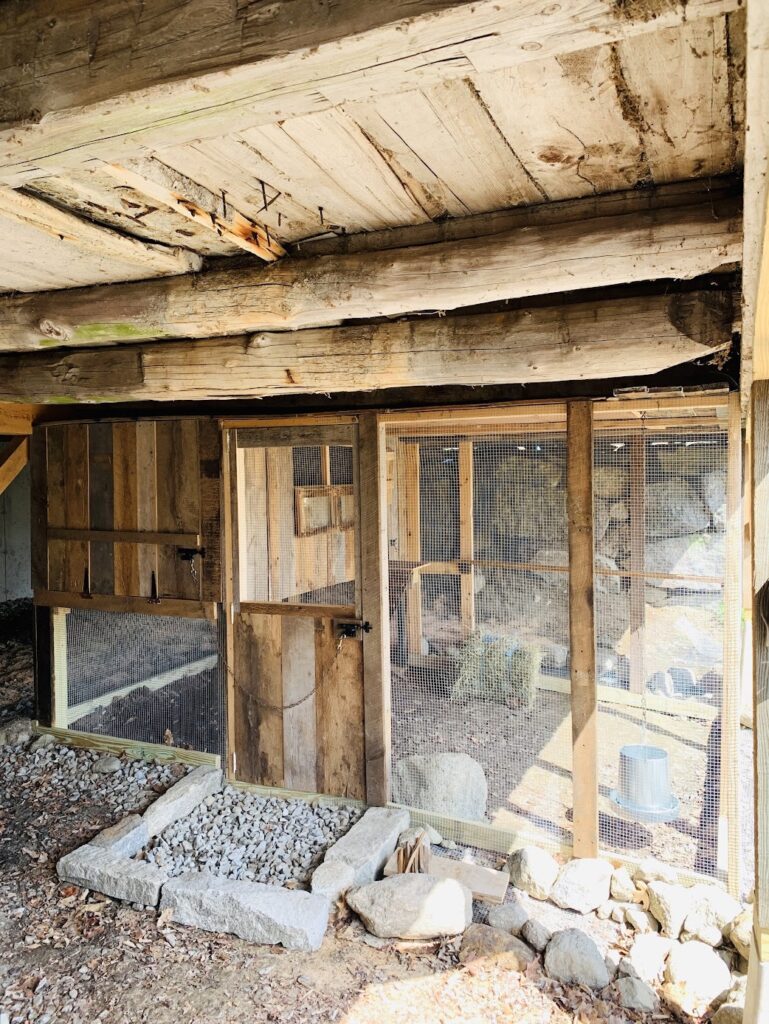
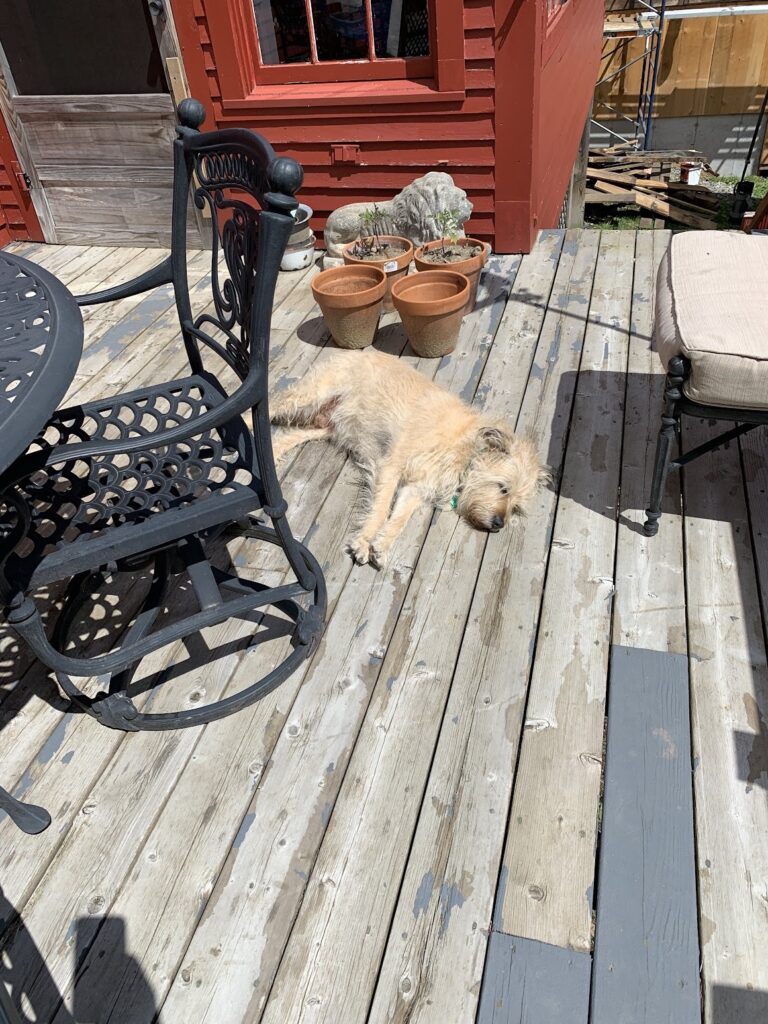
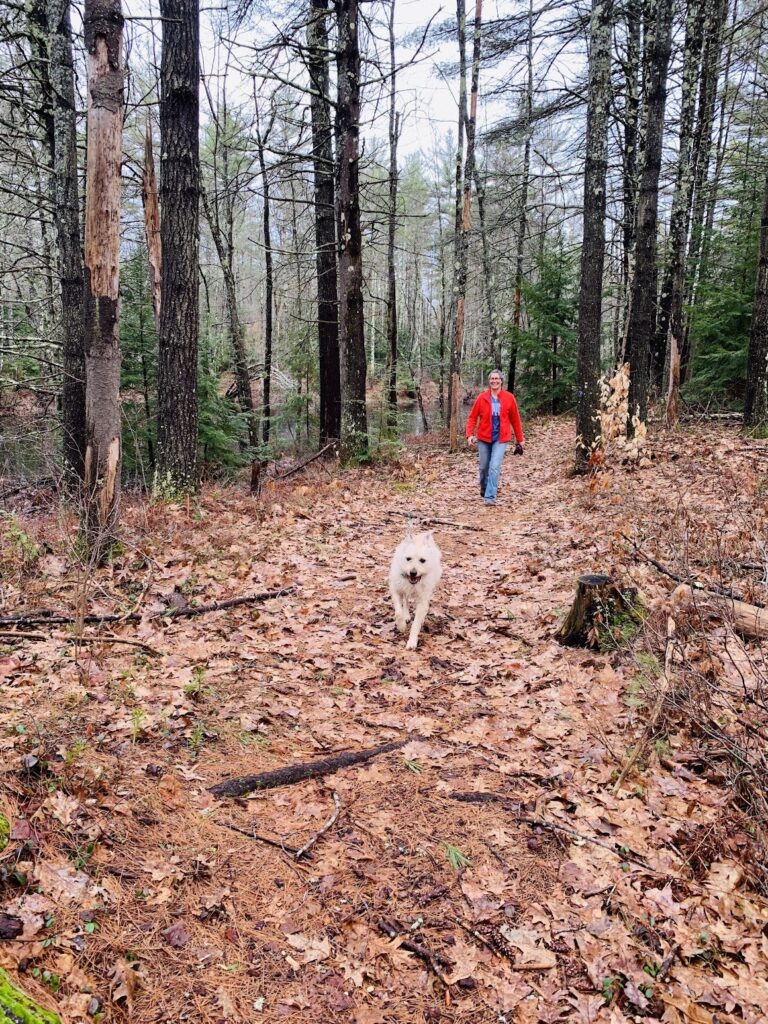
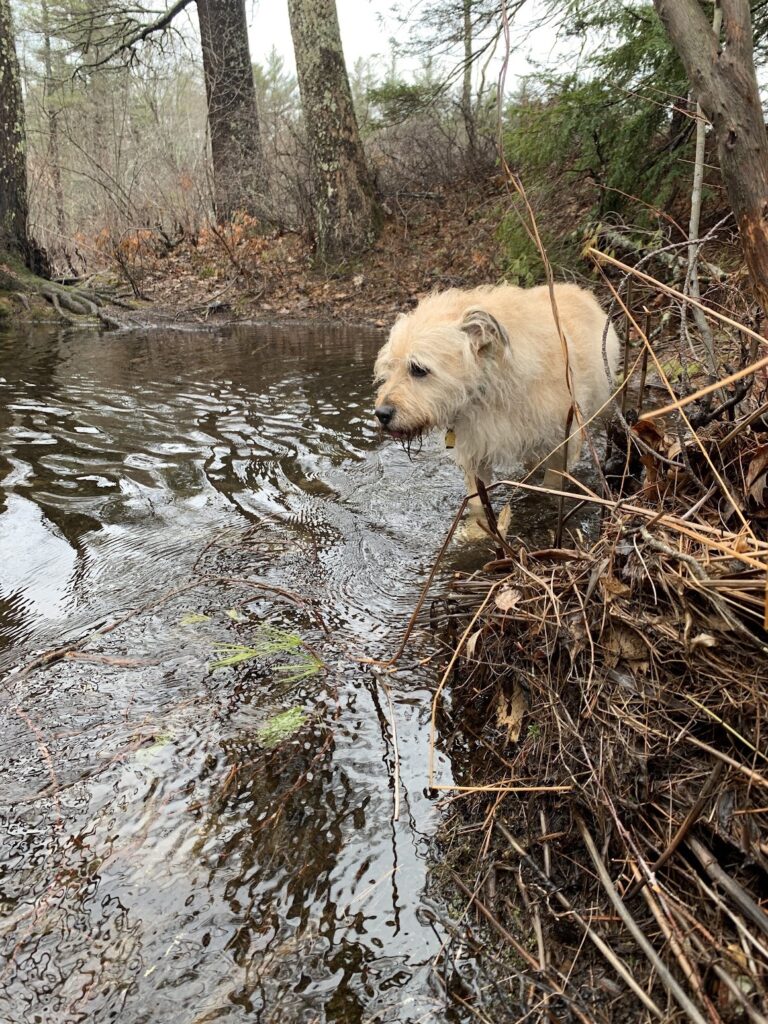
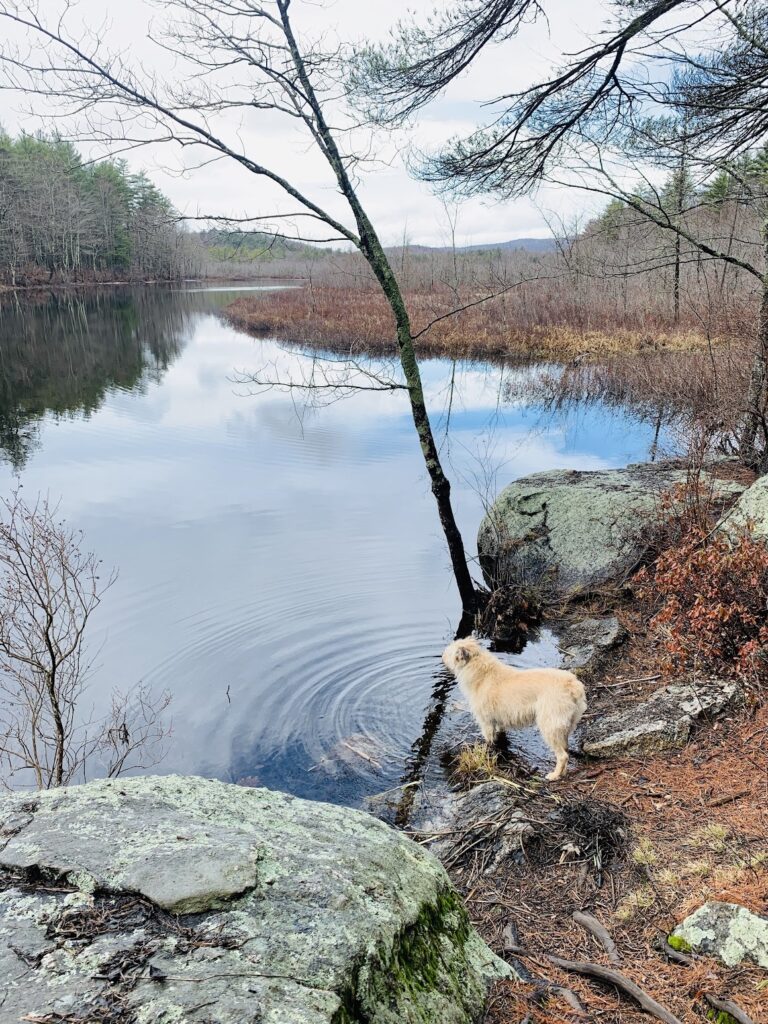
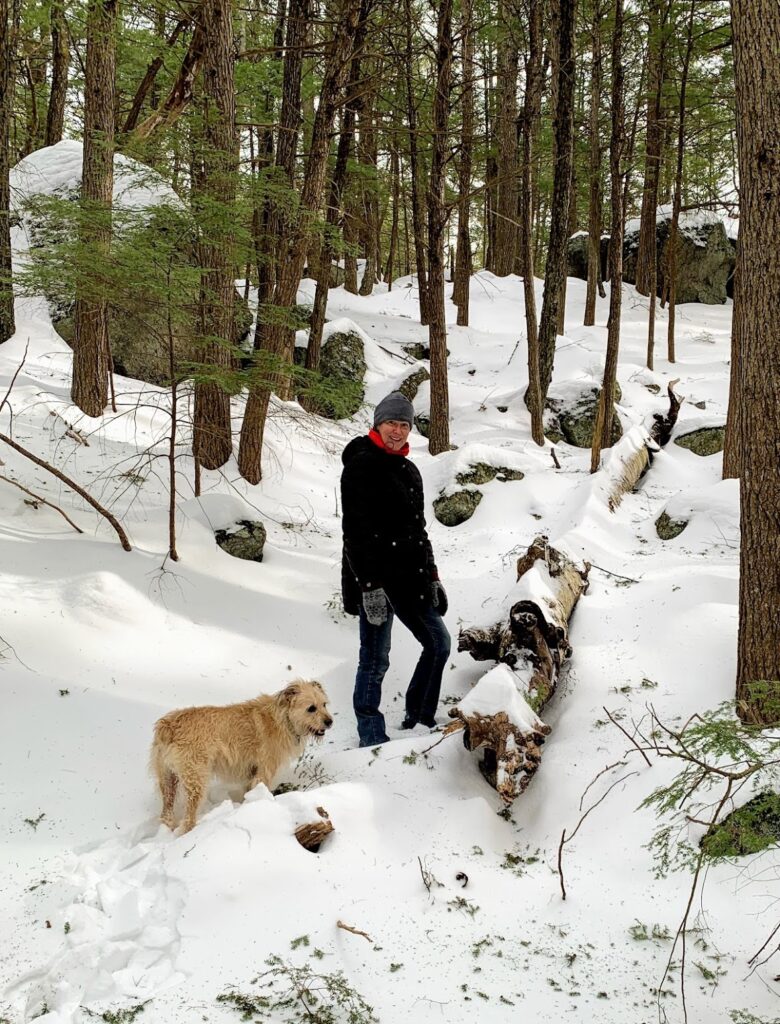
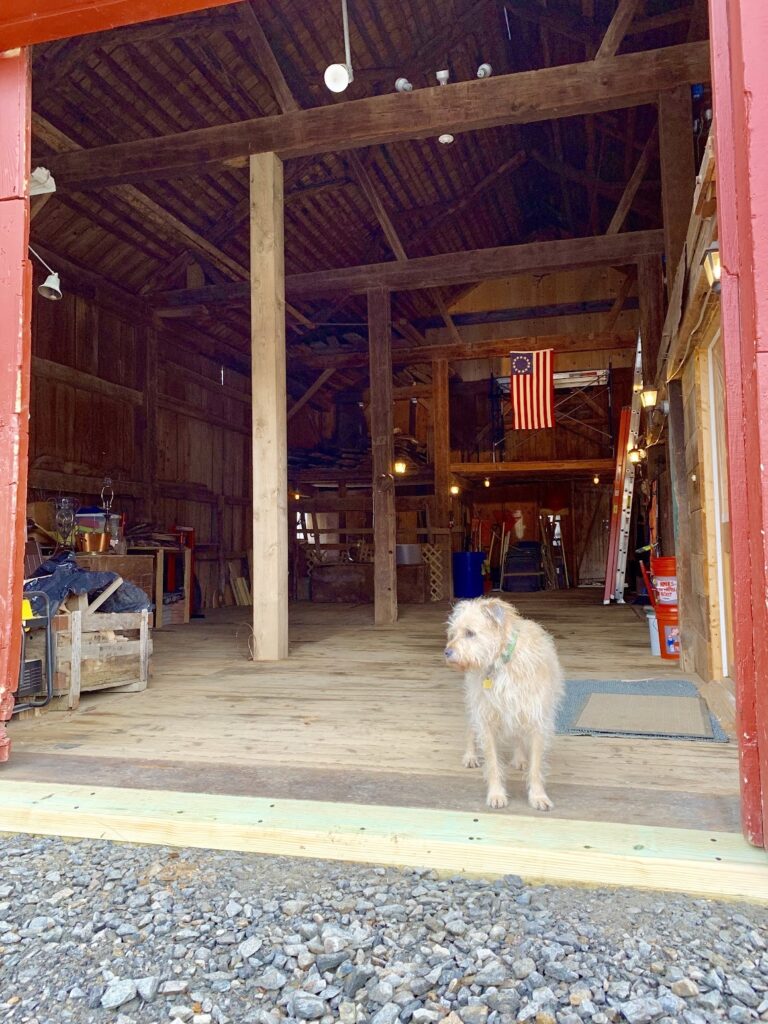
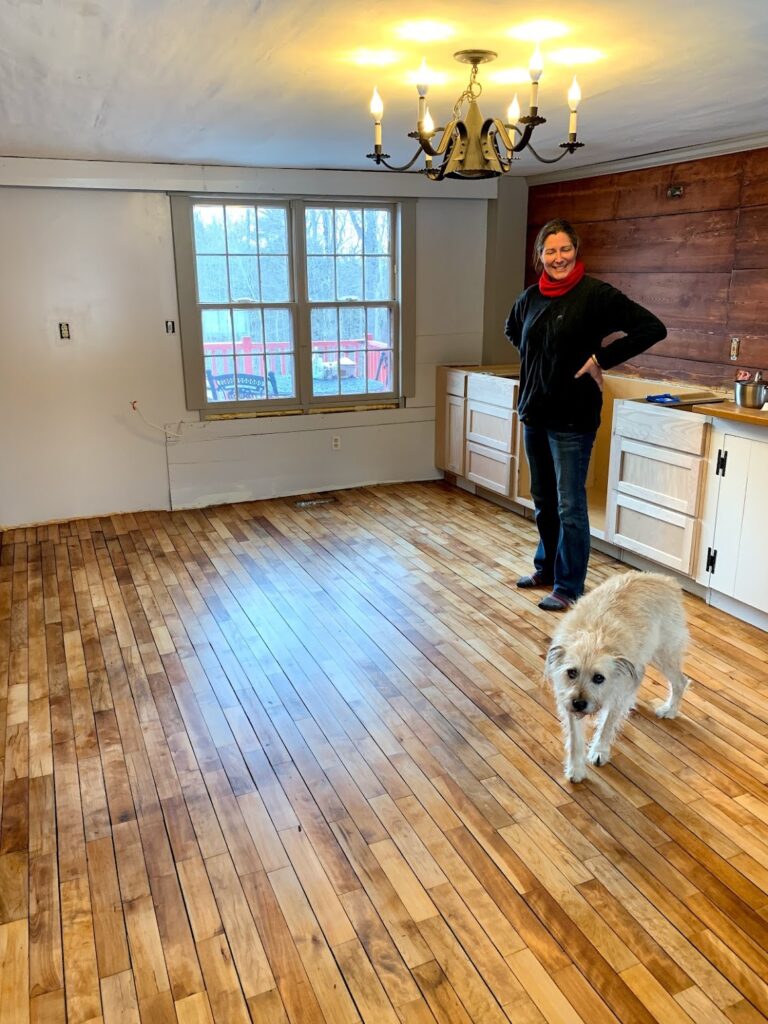
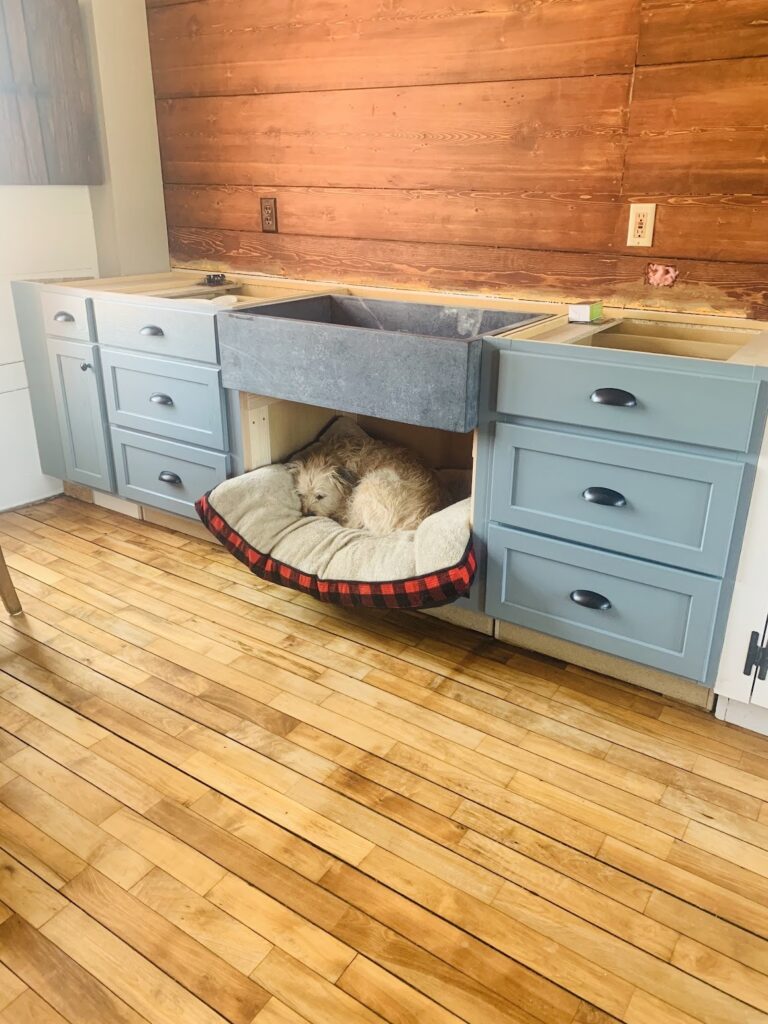
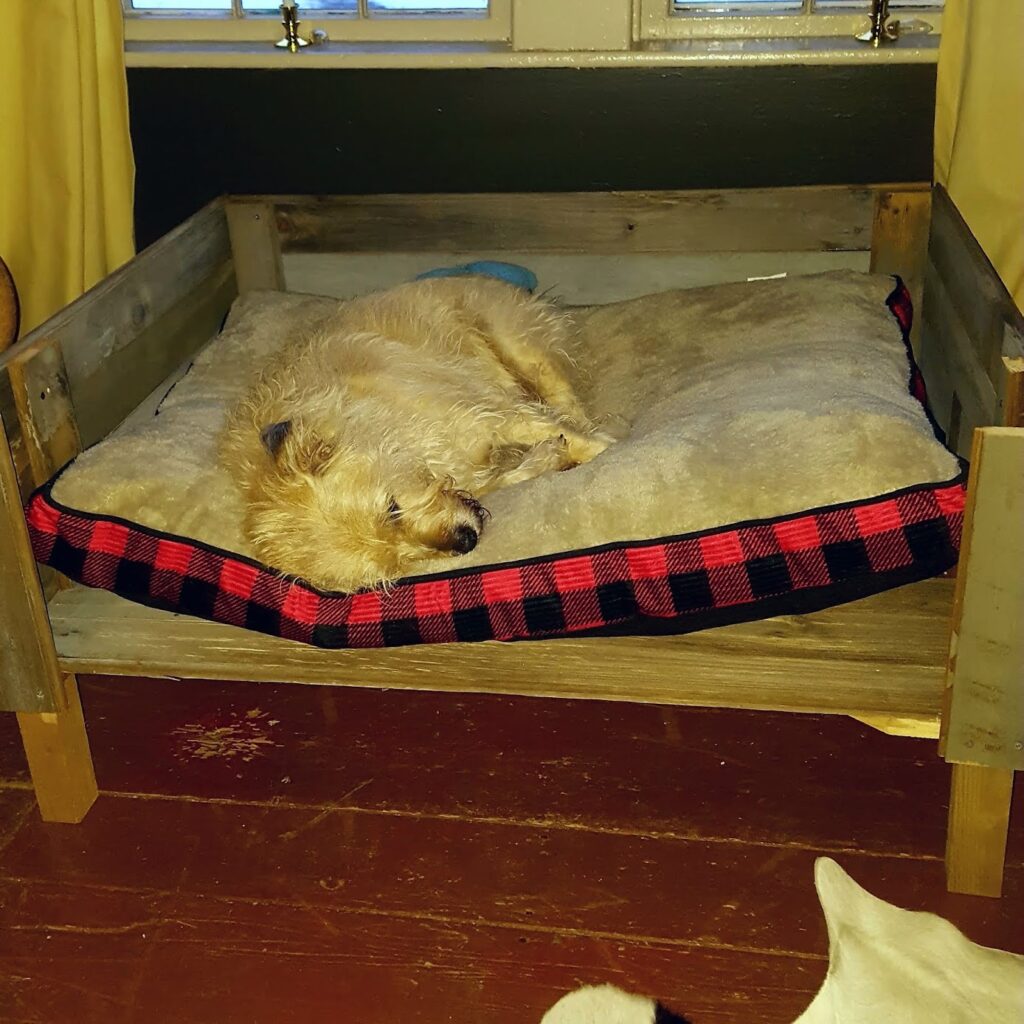
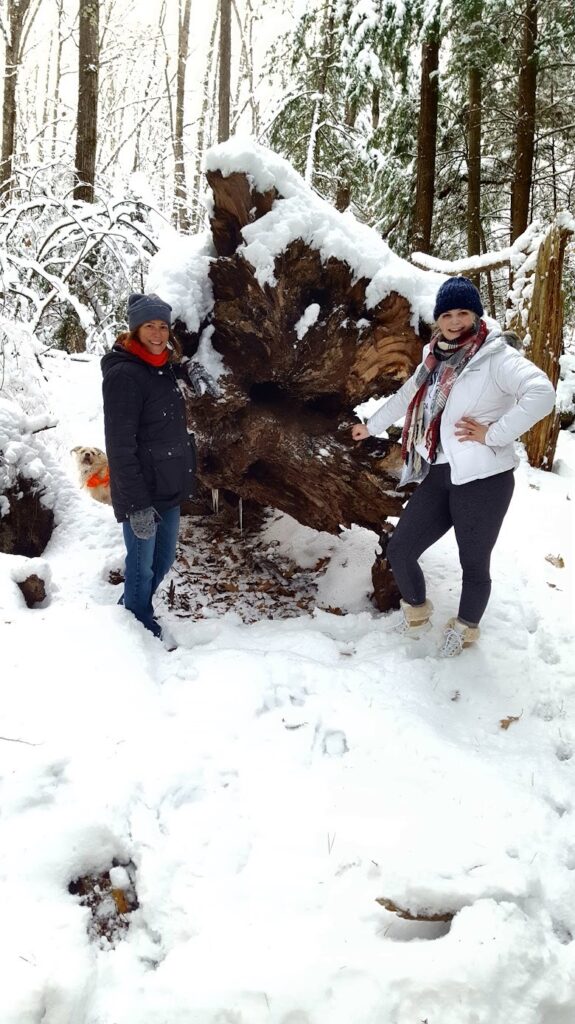
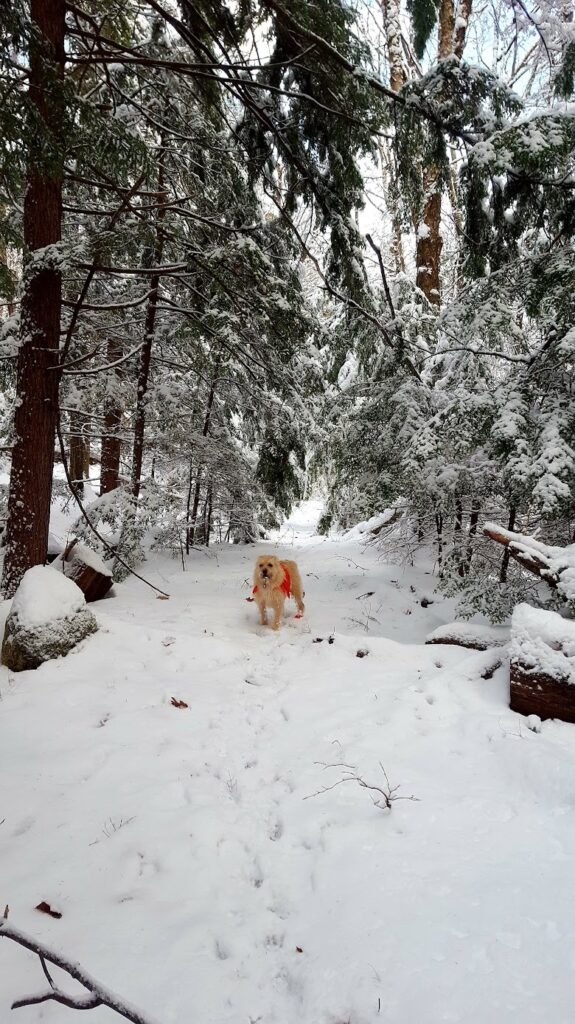
Both of our long-time pets left us this past year- Toby, our cat, passed away in February 2024, and Tennessee, our dog, left us this past June. We adopted Toby as a nine-year-old cat, and he lived with us for over twelve years. He was always on the lookout for a warm, sunny spot to nap, and kept us entertained with his personality. Tennessee was found while we were in rural Tennessee on vacation back in 2013, and while he was in rough shape (he was an escaped “bait dog”), he lived a long and healthy life staying as close to us as possible (and going EVERYwhere with us) and exploring the woods and trails nearby. Both had bags of personality, and both leave gaping holes. For the time being, we’re remaining a pet-free household. We still have the chickens (9 hens and a sweet rooster named “Baby”), but they are pretty self-sufficient, so at least we are now able to enjoy day trips and overnights away without rushing home to care for pets. We do have some neighbor boys who look after them for us for longer trips.


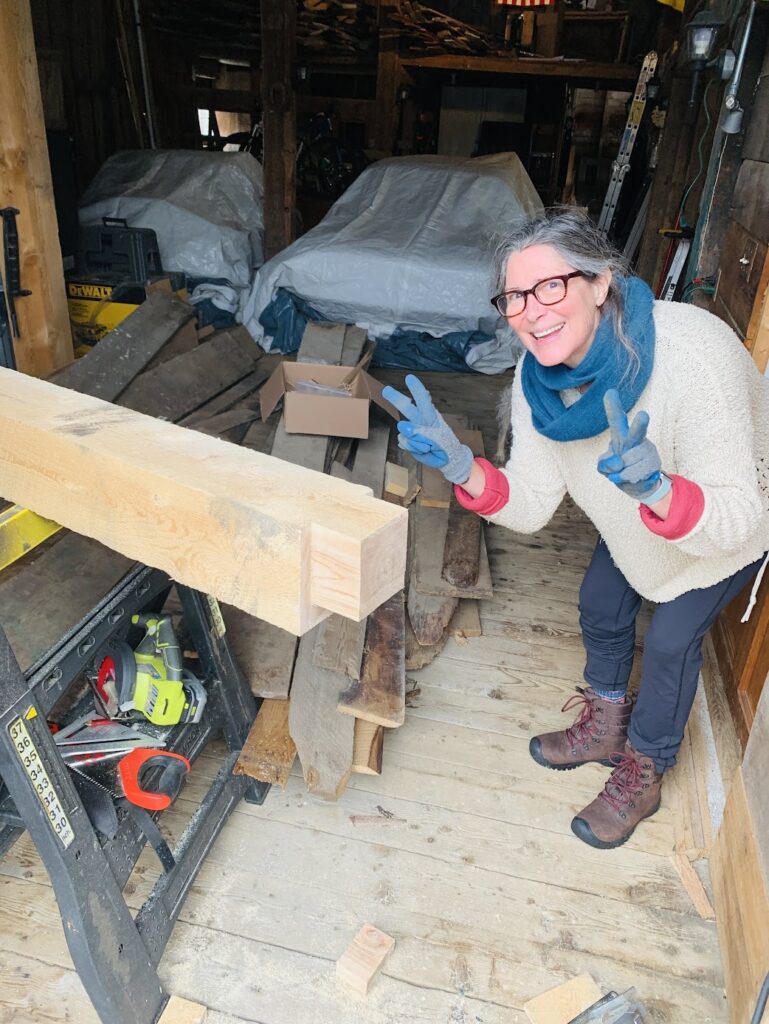
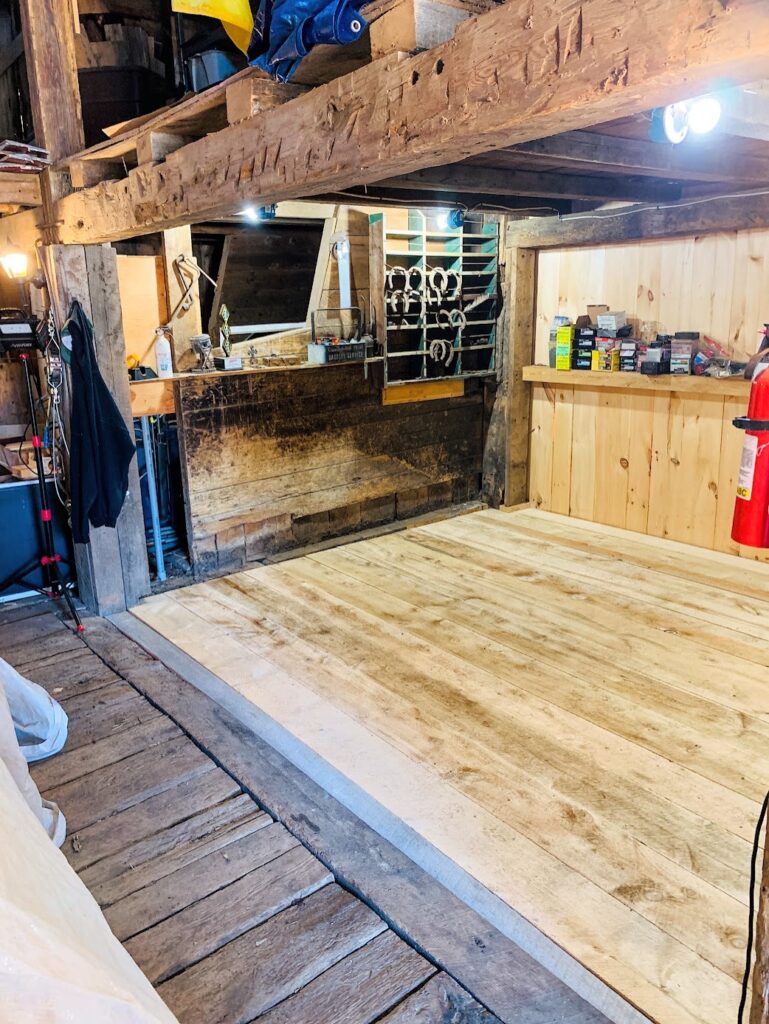
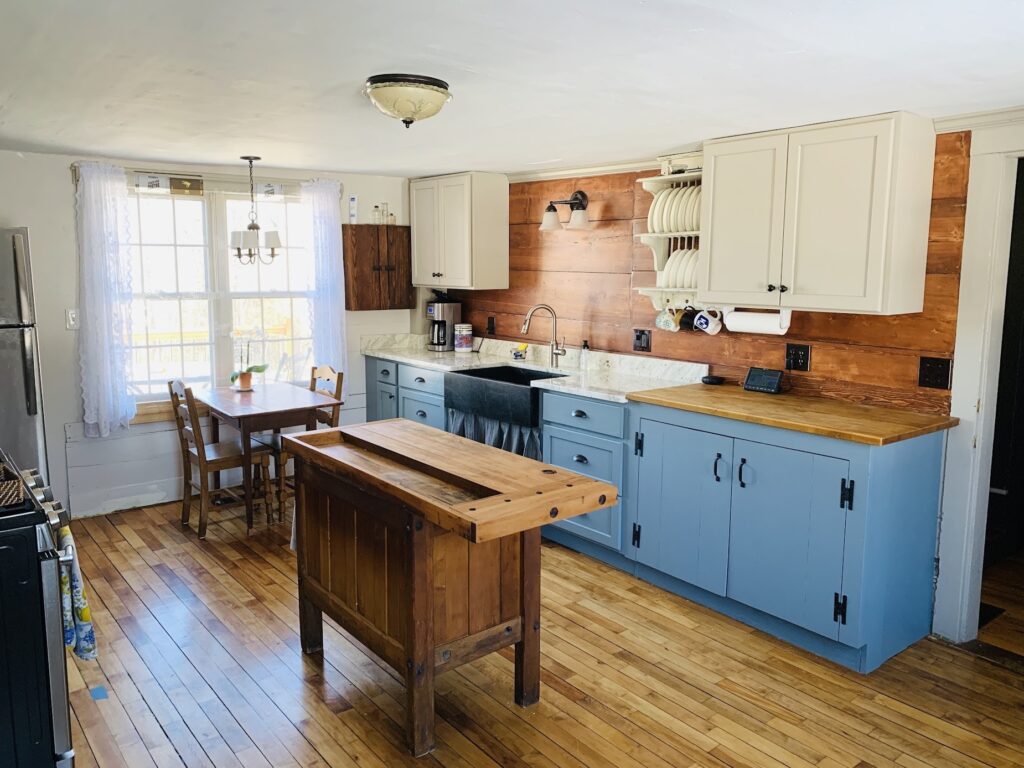
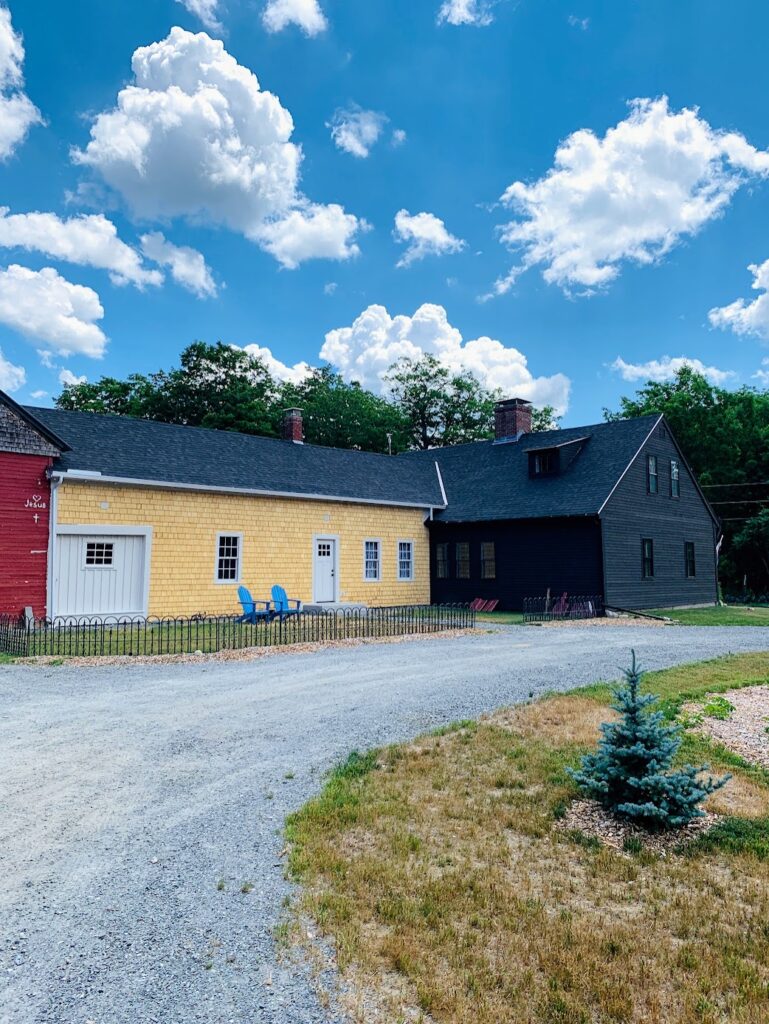
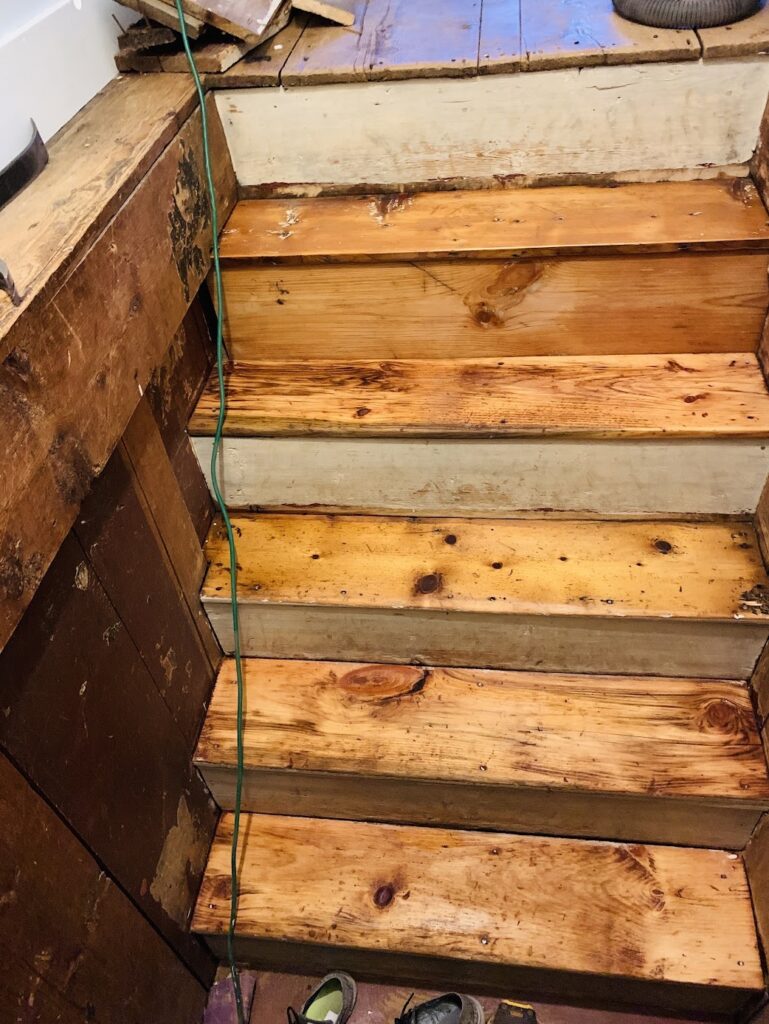
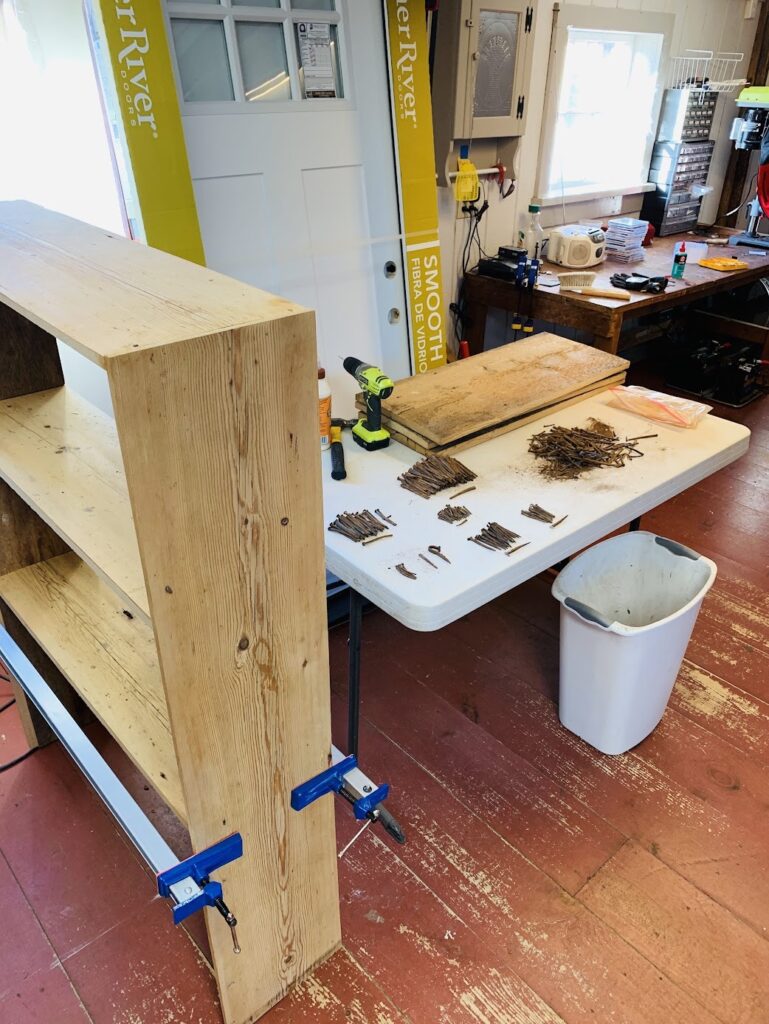
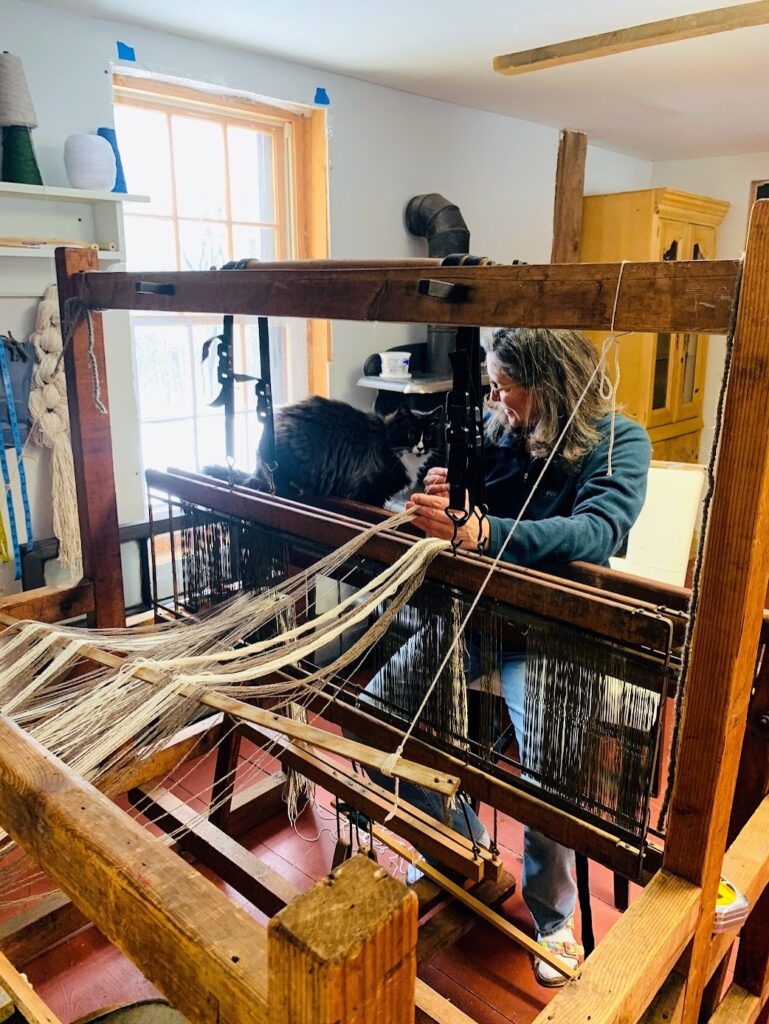
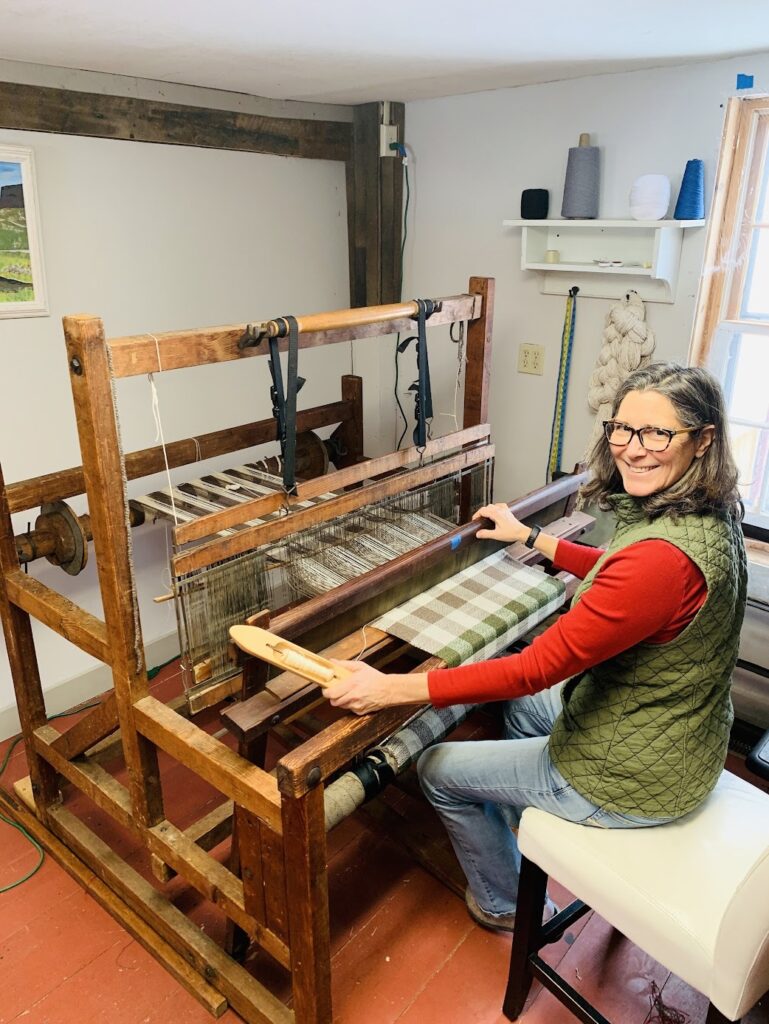
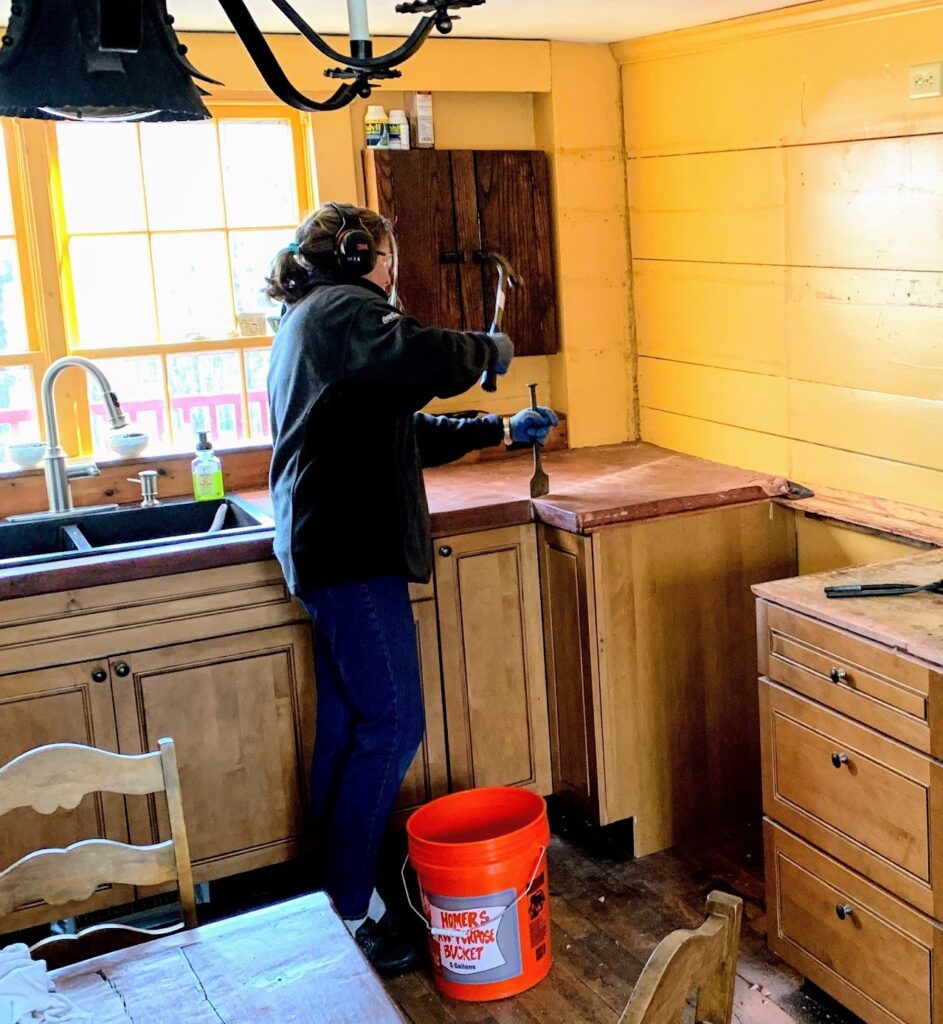
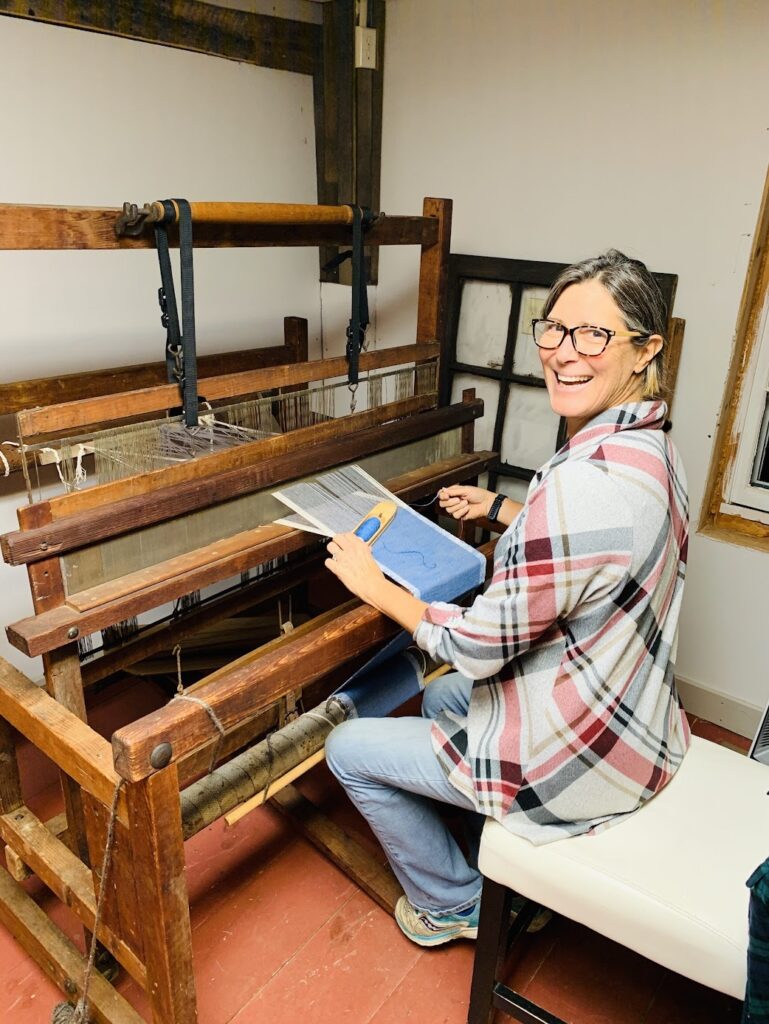
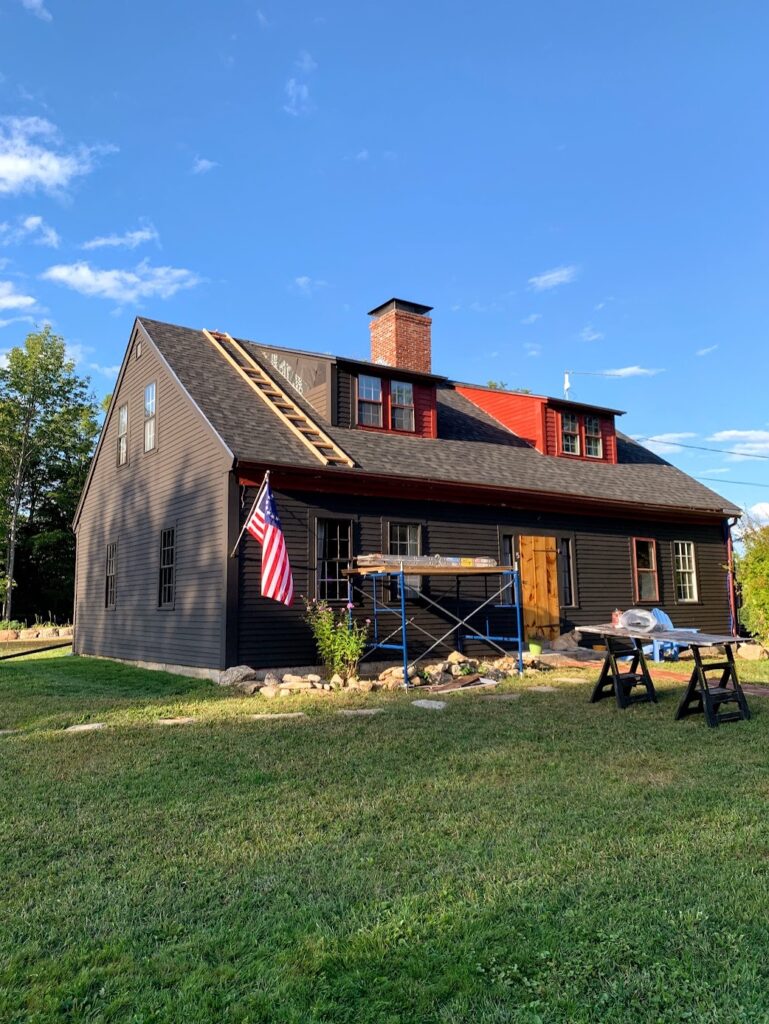
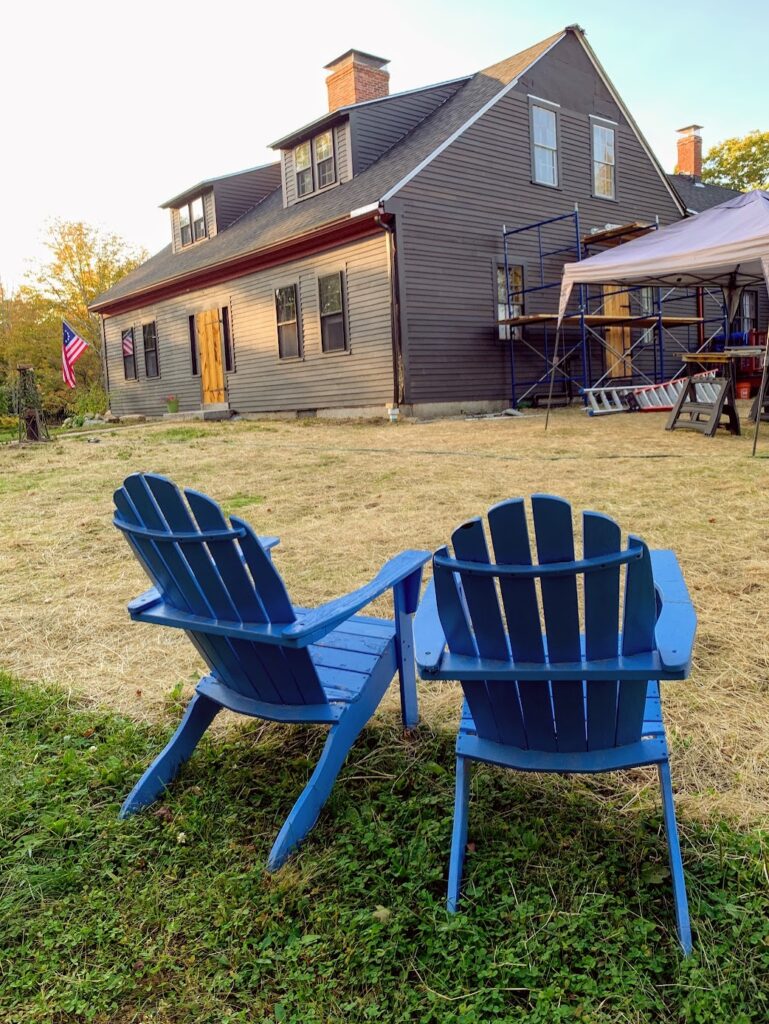
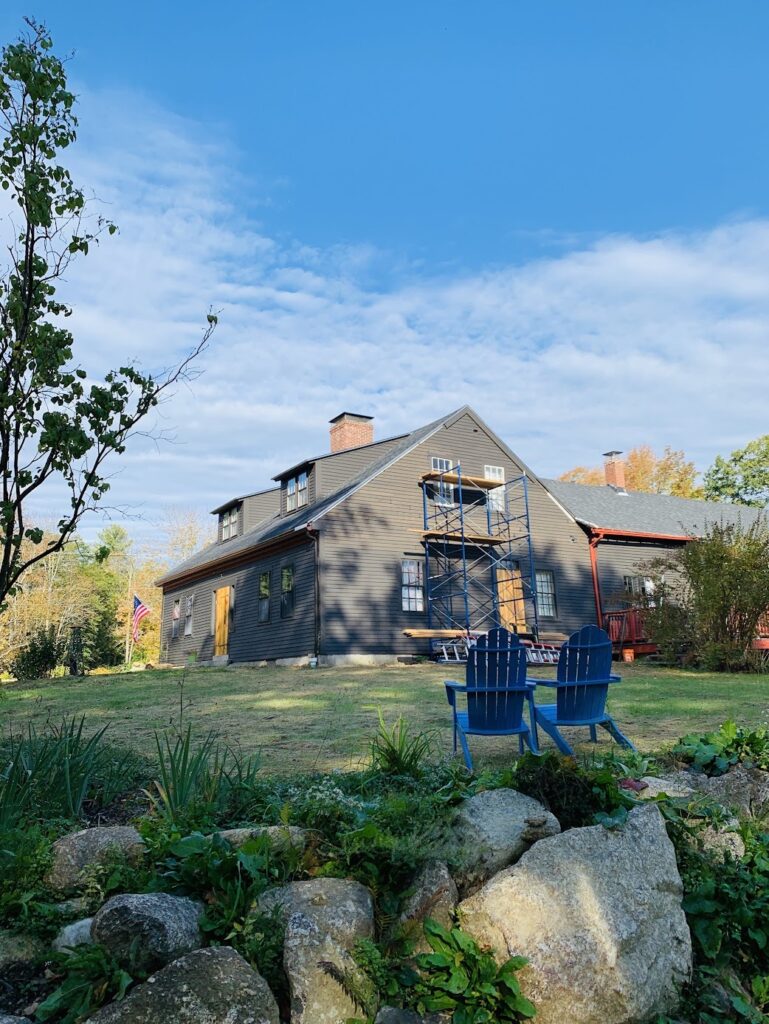
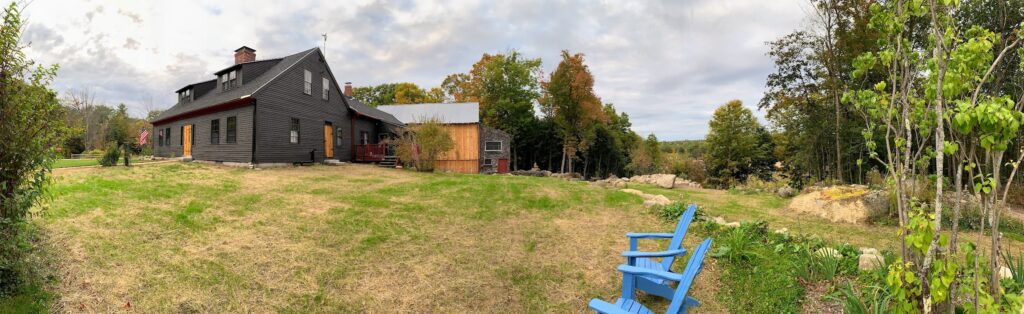
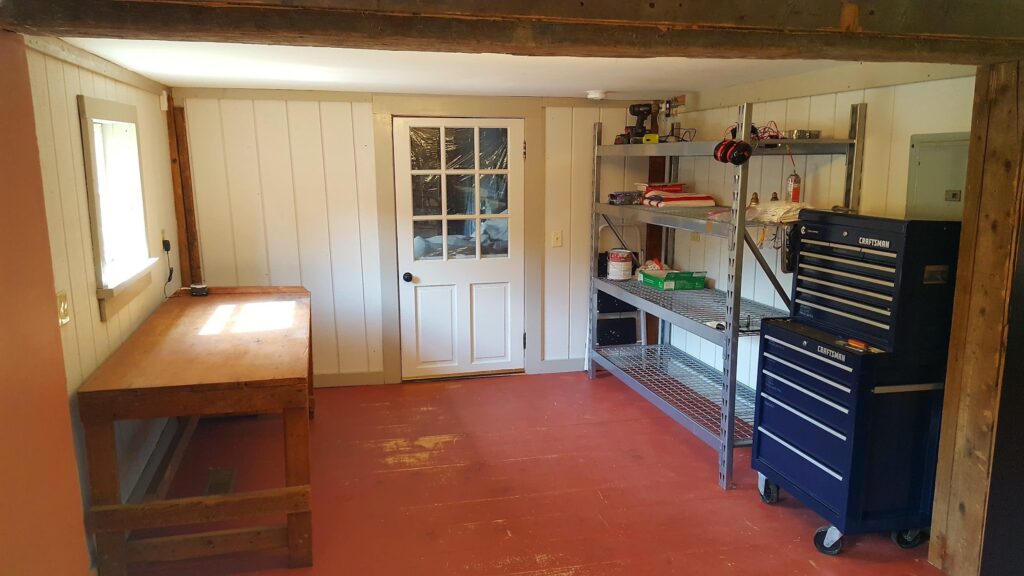
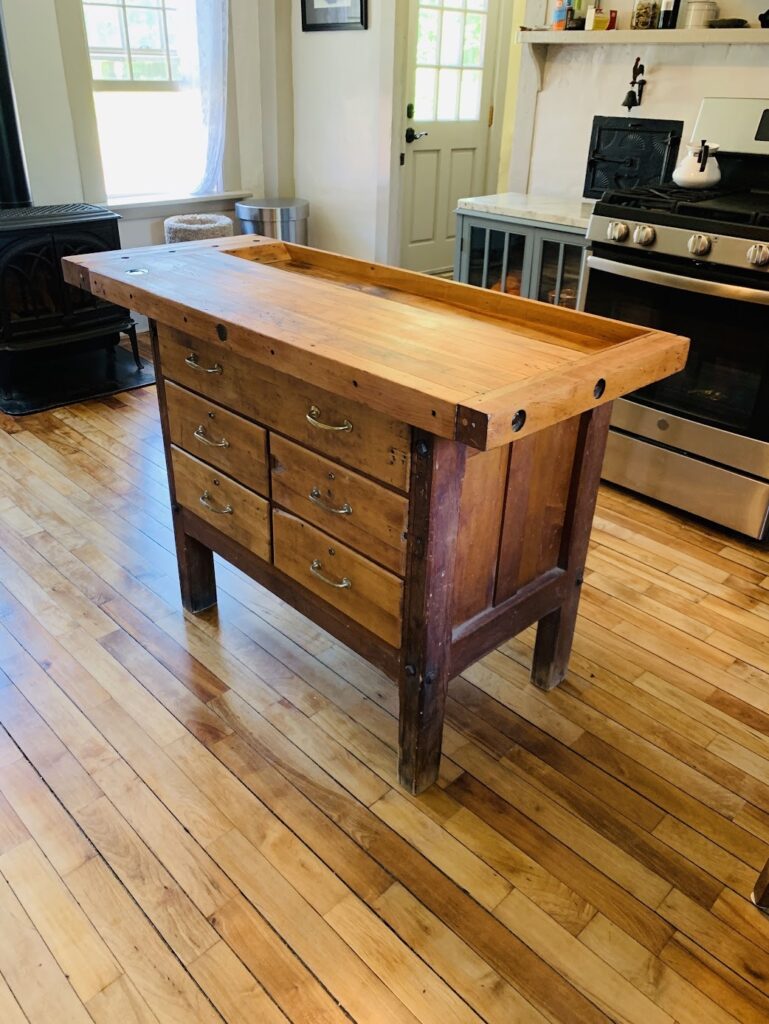
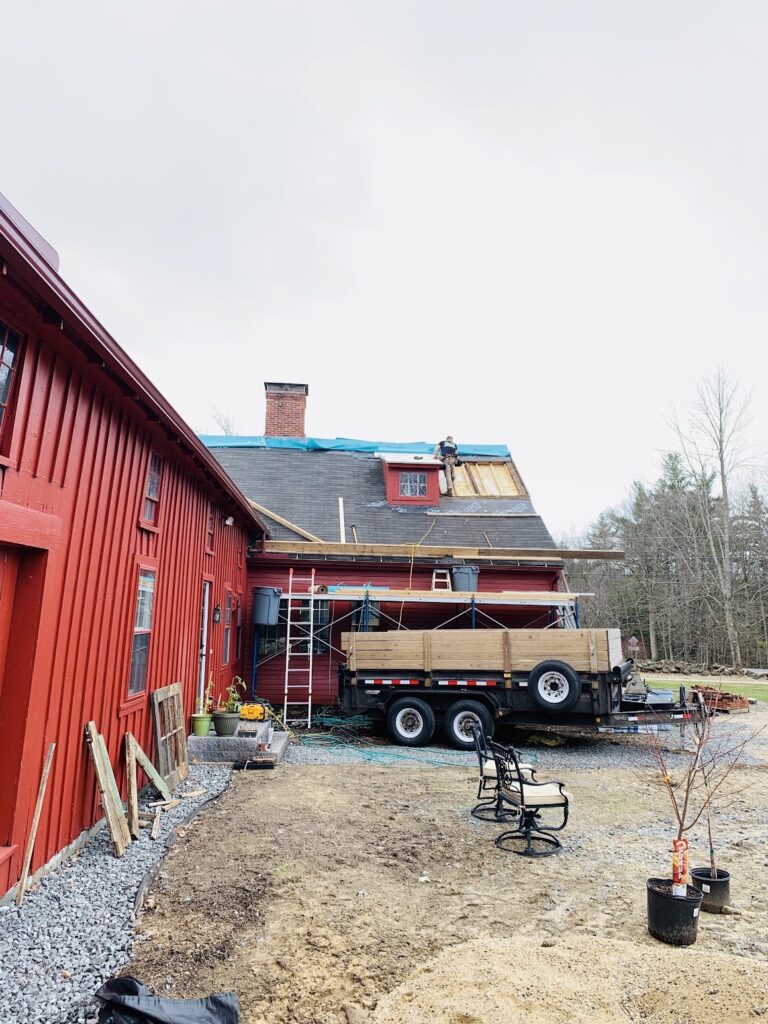
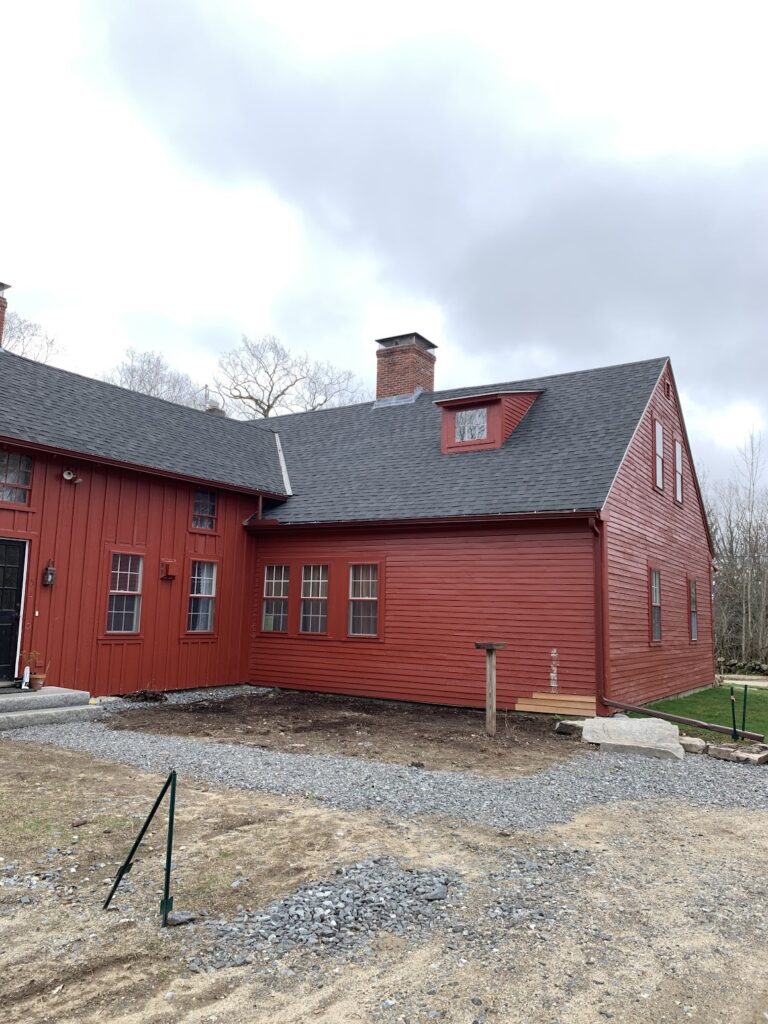
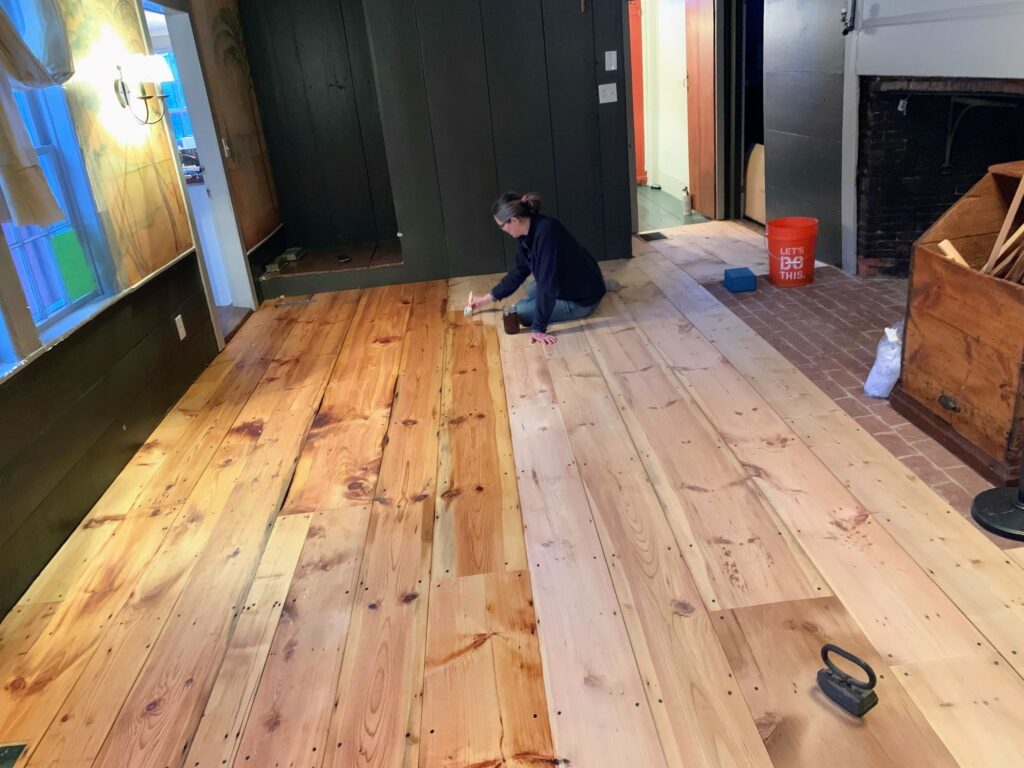
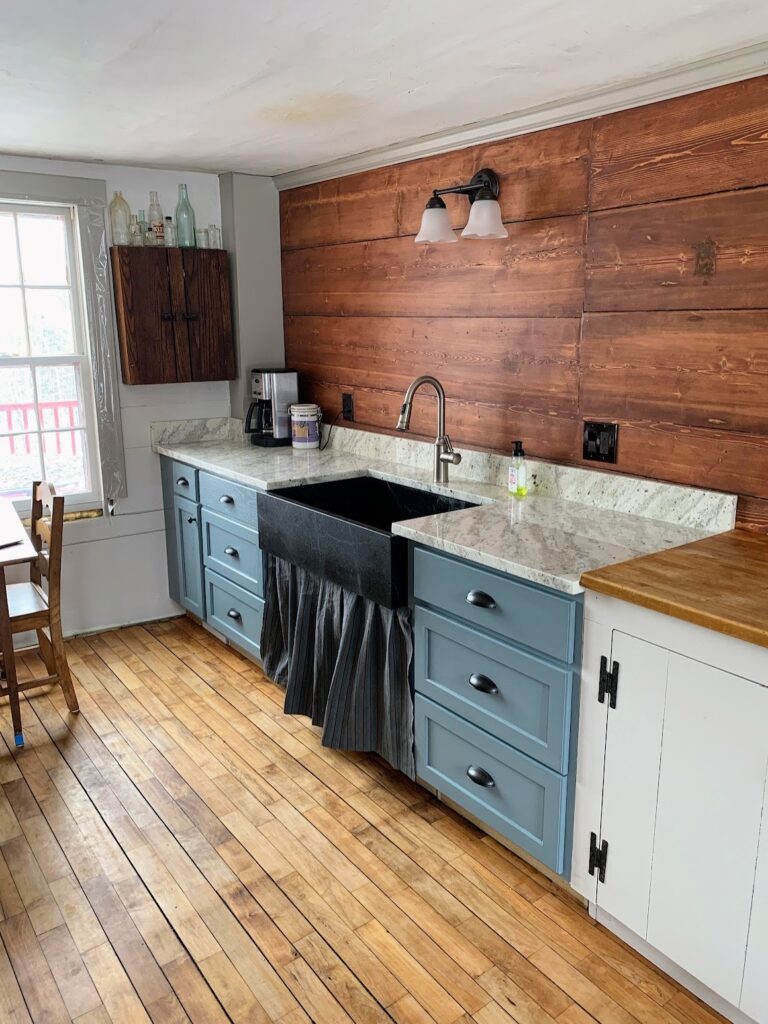
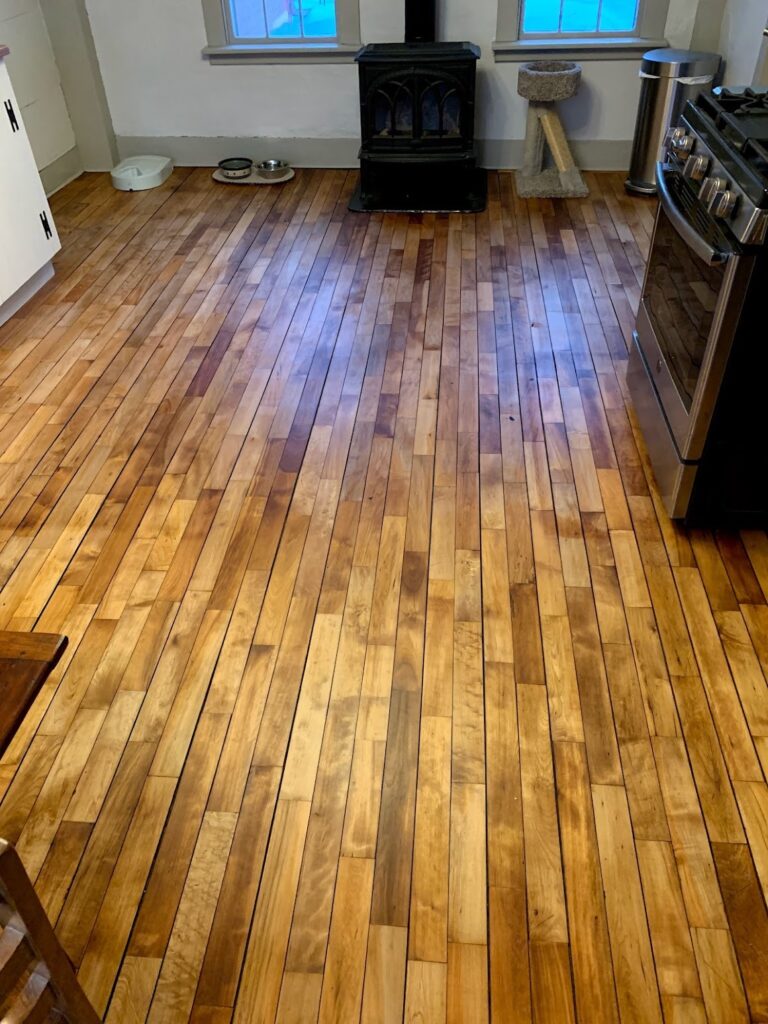
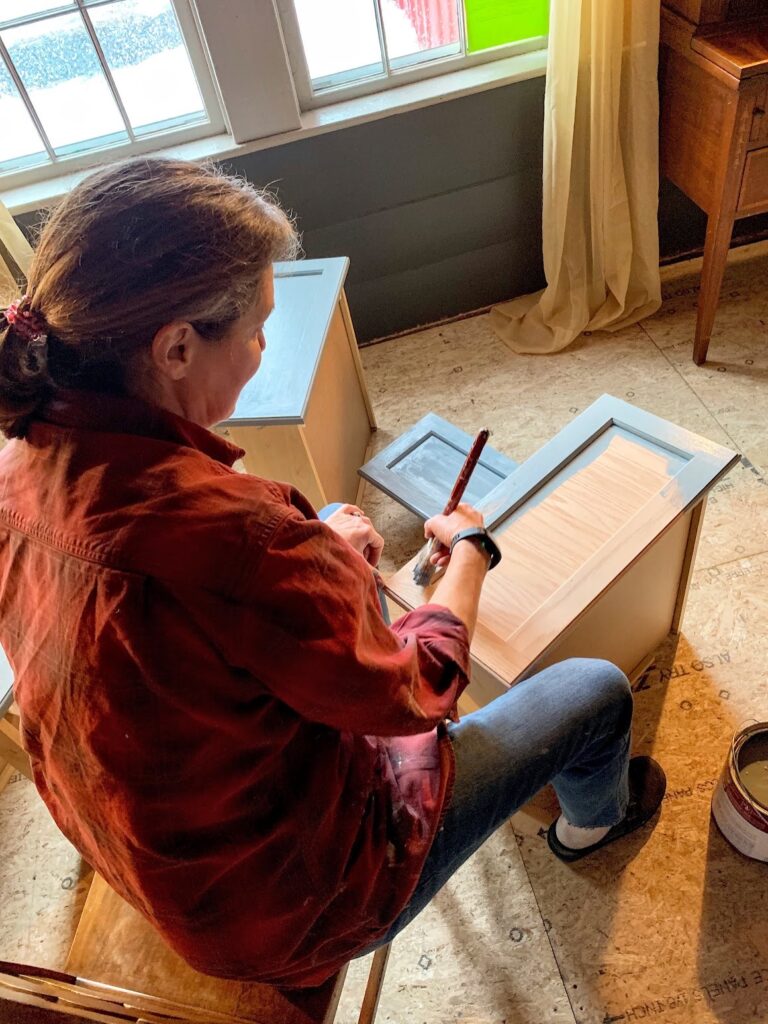
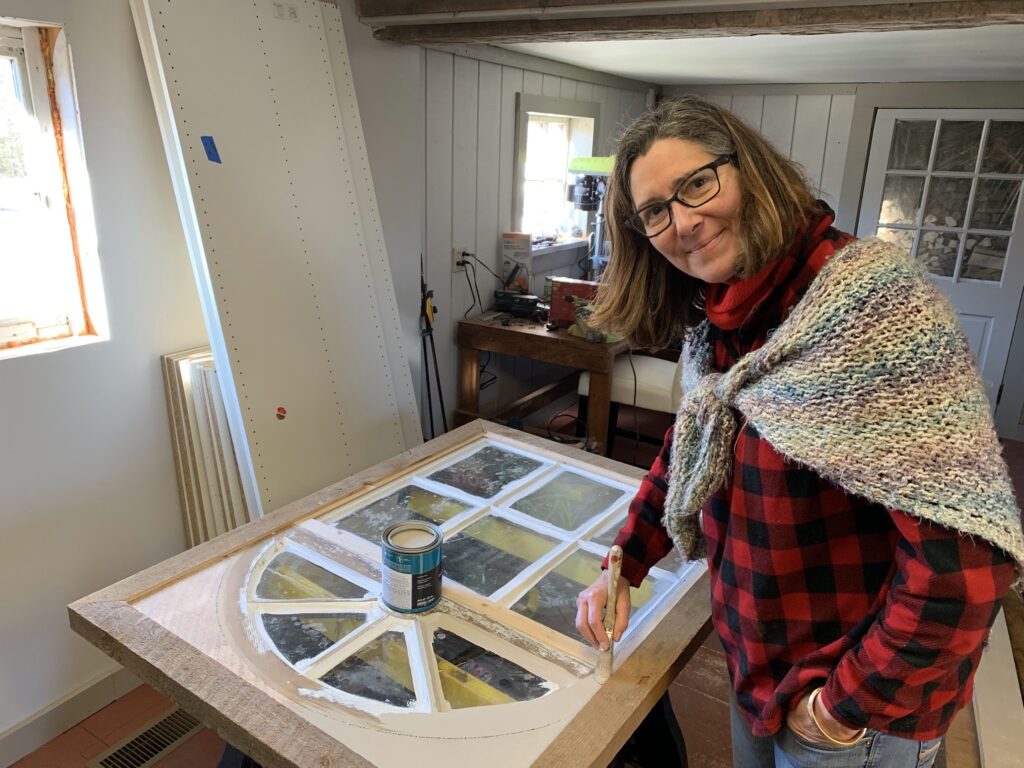
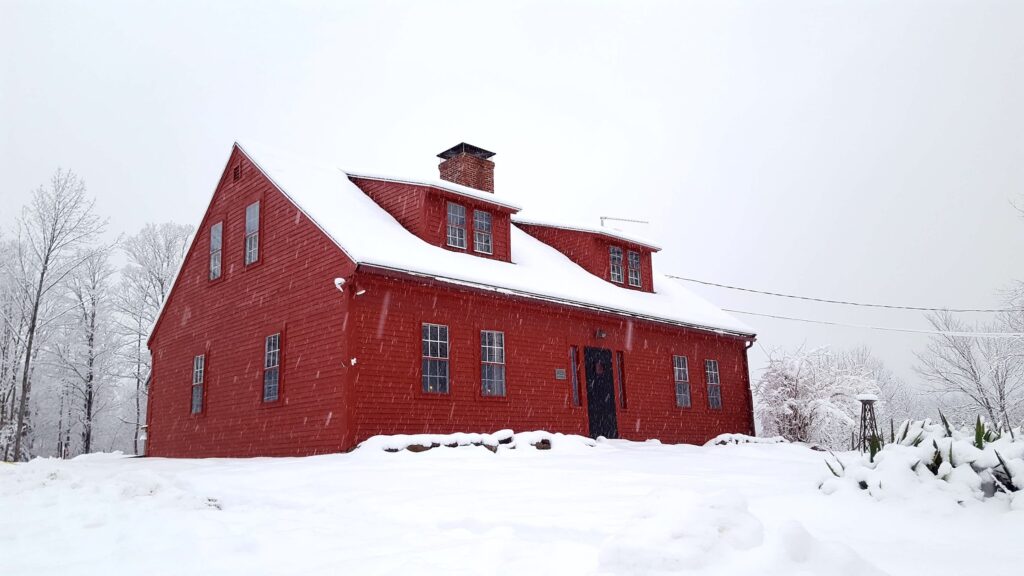
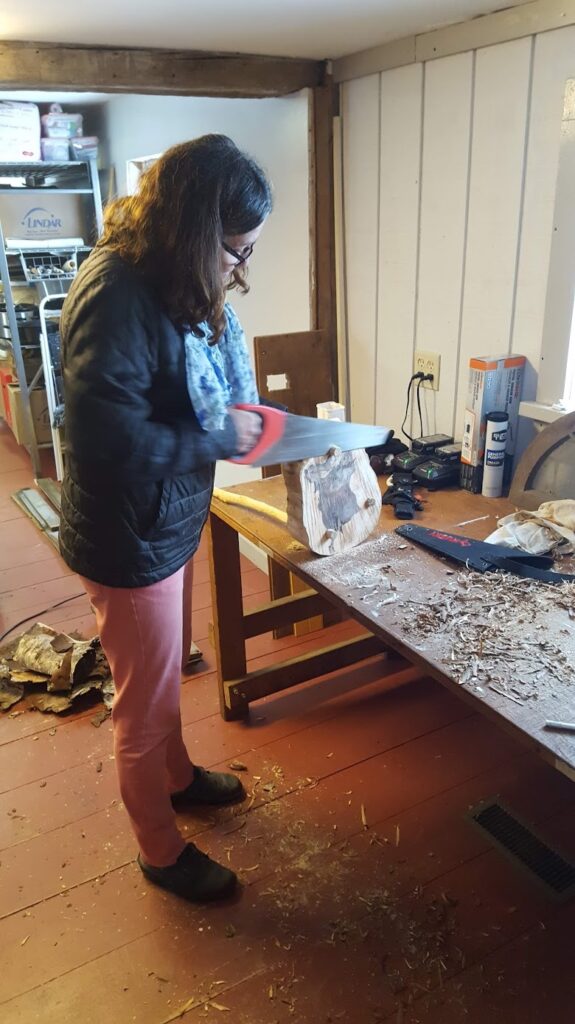
We’ve also done a lot of work around the house, barn, and land. We renovated and carved up the ell into a laundry room, a pantry, and a seasonal painting studio for Jenny. When we’re not working on projects, Jenny has taken up her lifelong dream of becoming an oil painter. She’s already been in a couple of local shows, and has gotten a few commissions- I could not be more proud of her! For her studio, we stripped and refinished the hemlock shiplap floors, first with a coat of boiled linseed oil, then topped with matte poly for protection and ease of care, being a painting studio. We closed off the tool room into a separate space- this room, which was open to the ell, is actually a part of the barn structure. We replaced the old rotted and broken stairs, built cabinets with heavy-duty drawers underneath, as well as pantry shelves behind a broom closet. We turned an unused roughed-in room in the ell into a laundry room, opening it through our back mudroom and pantry, to the kitchen, so we can get there directly without having to walk through the ell.


Speaking of Jenny’s paintings, here are a few of my favorites-


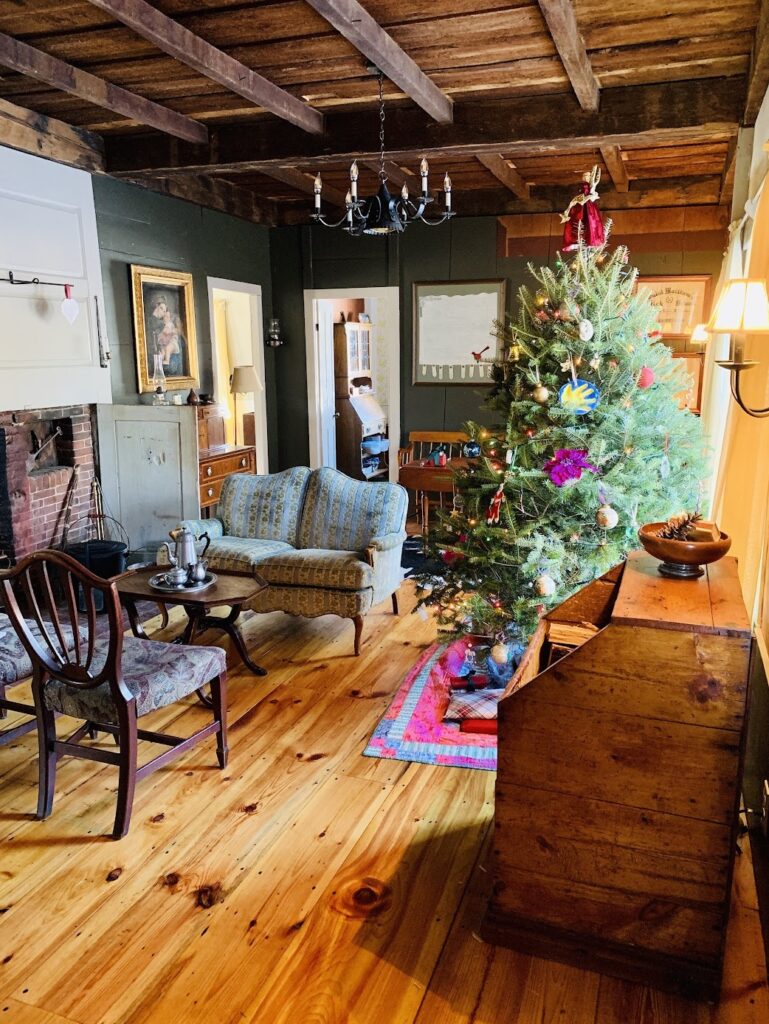
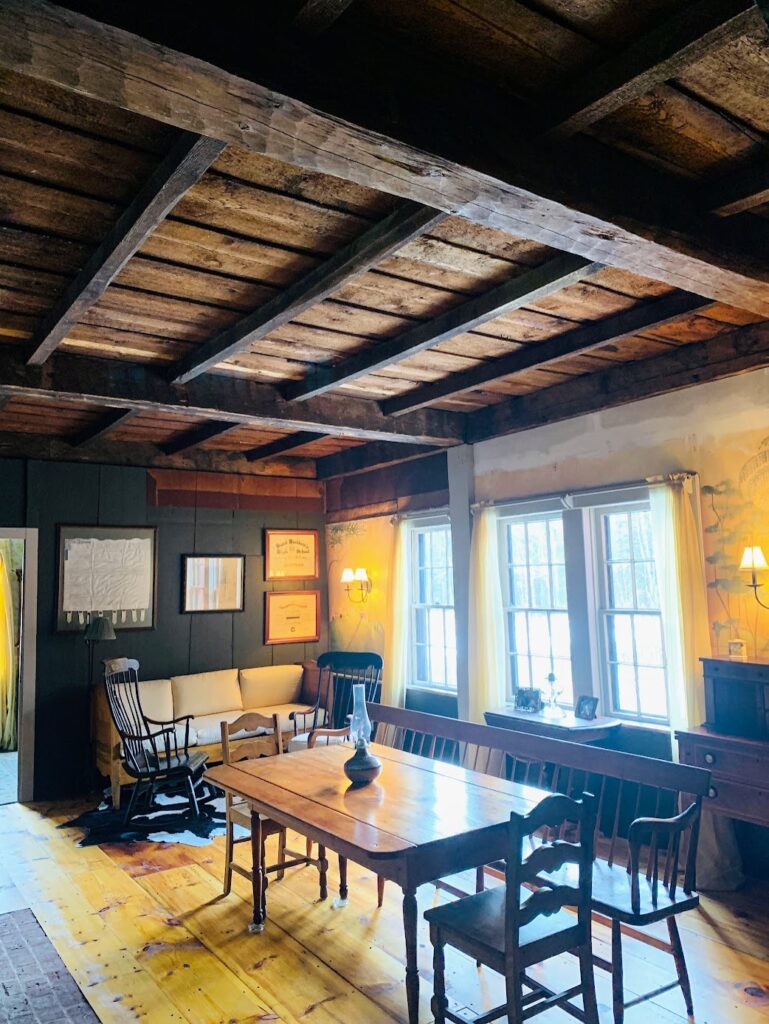
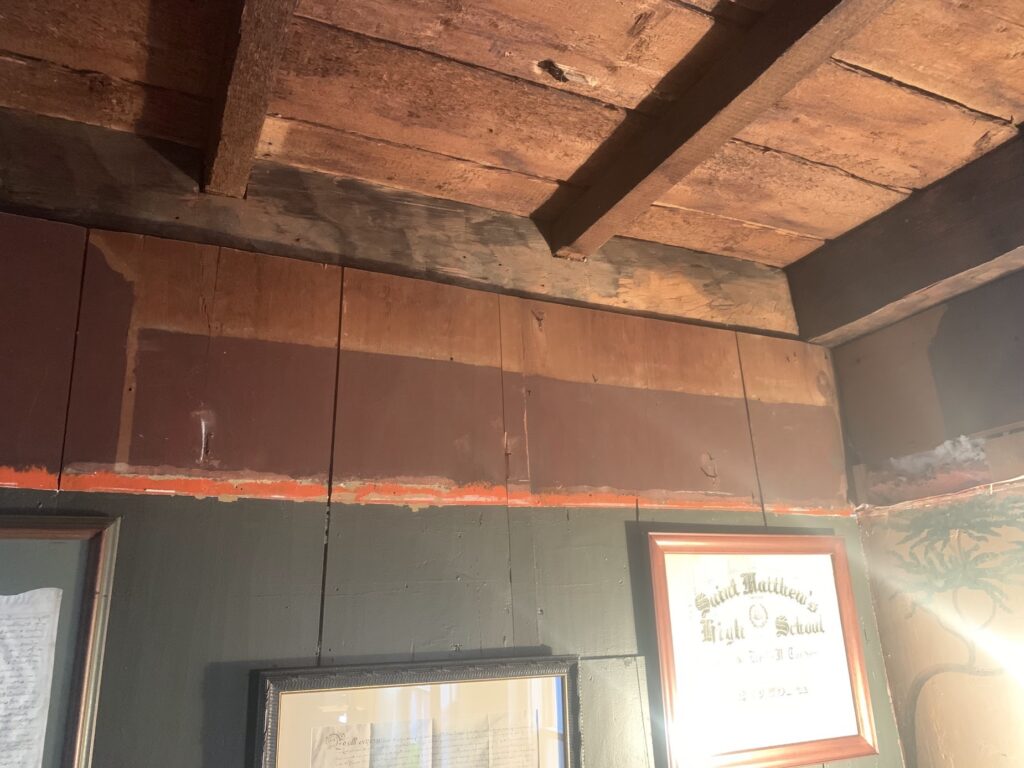
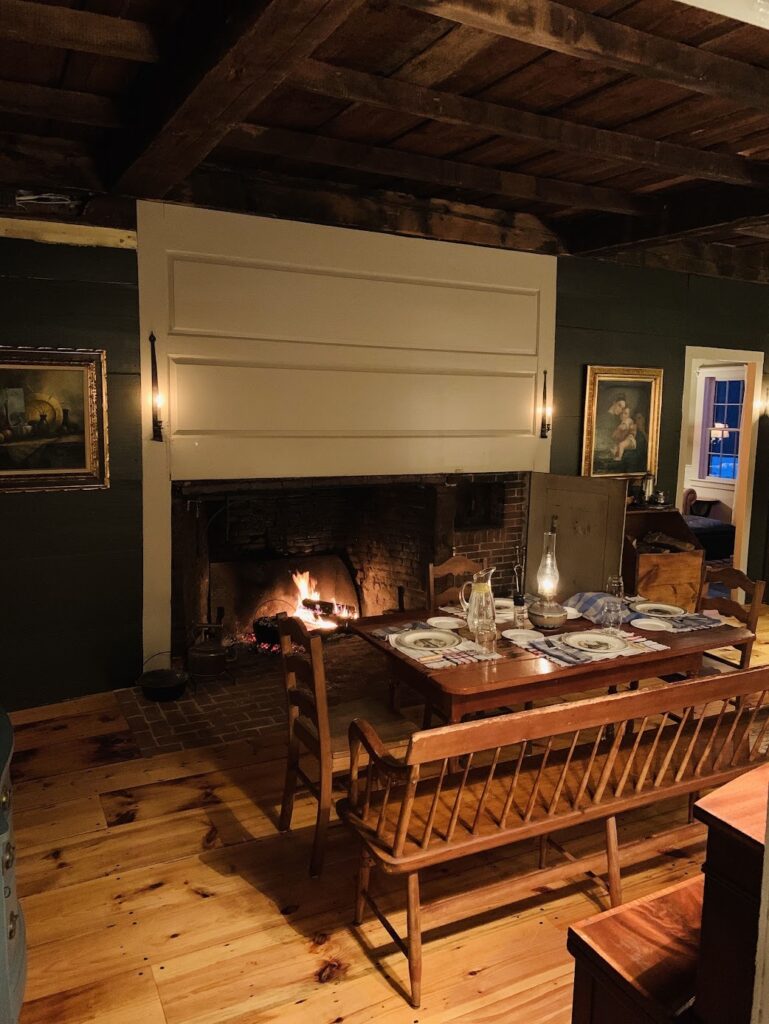
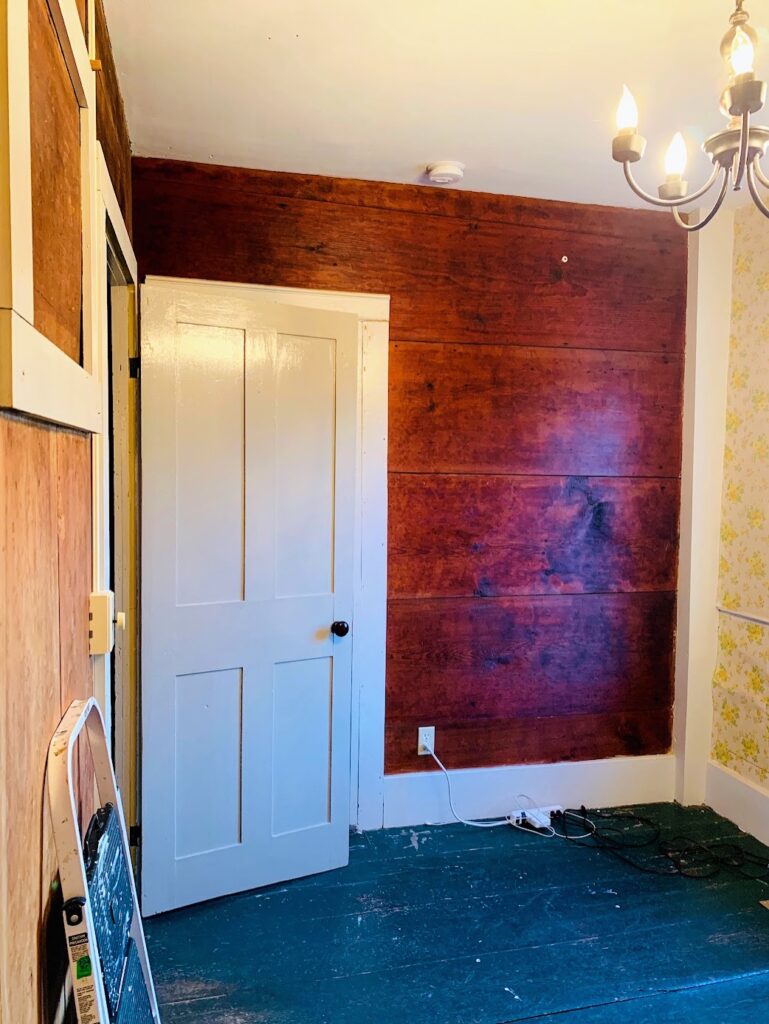
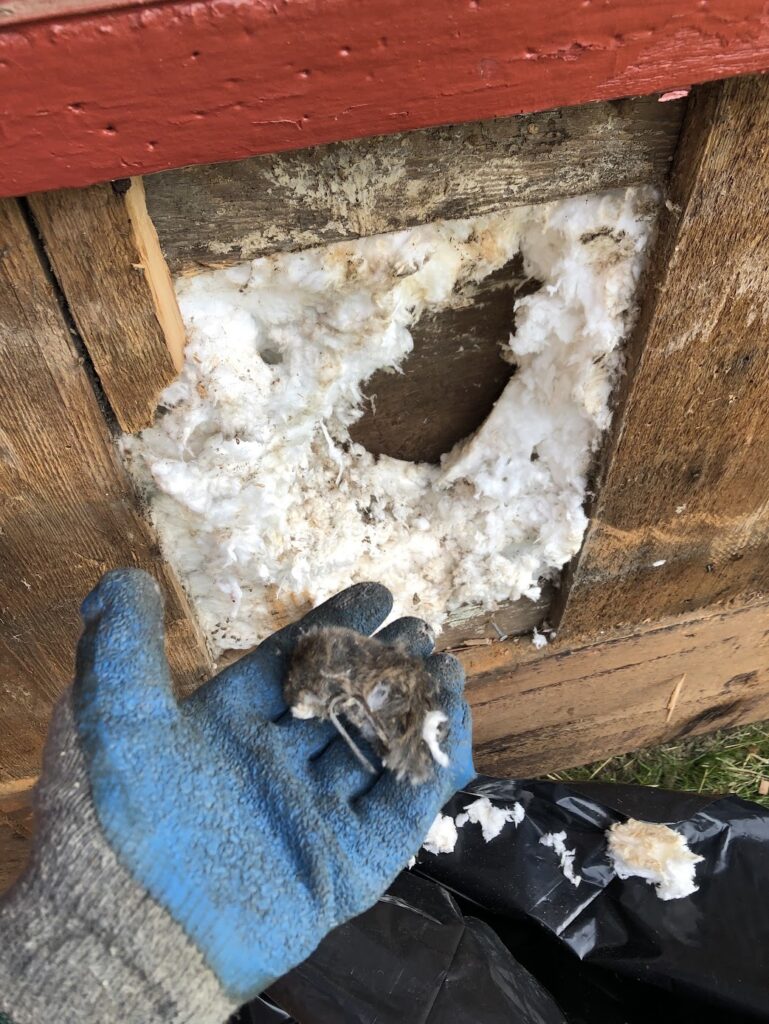
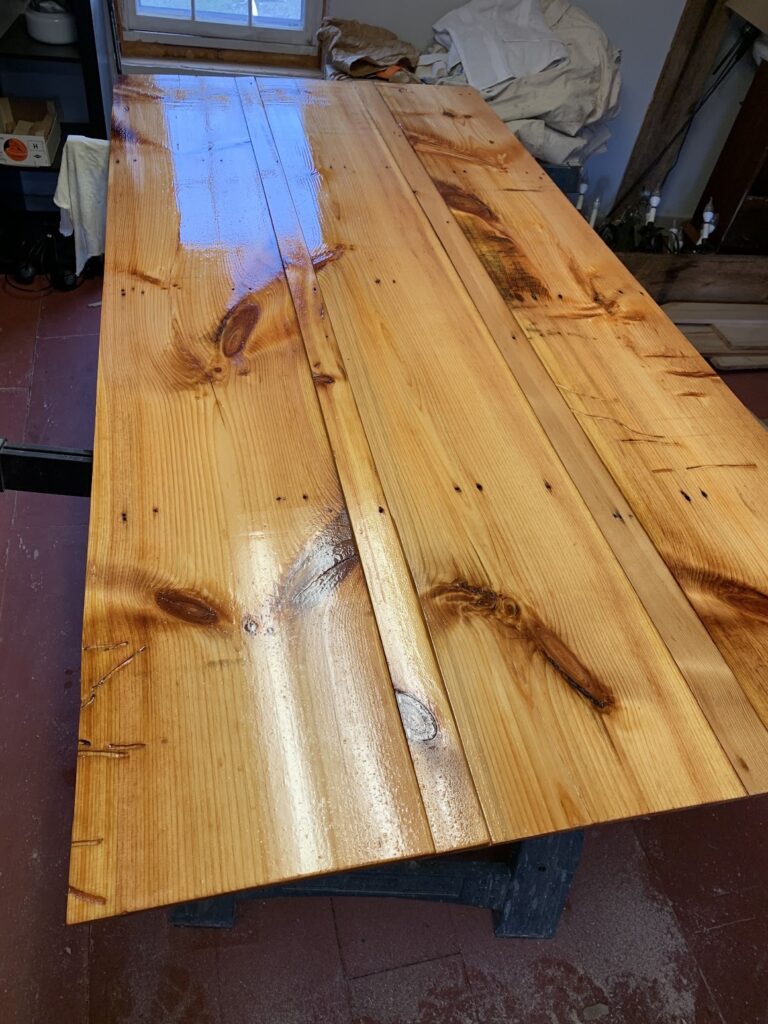
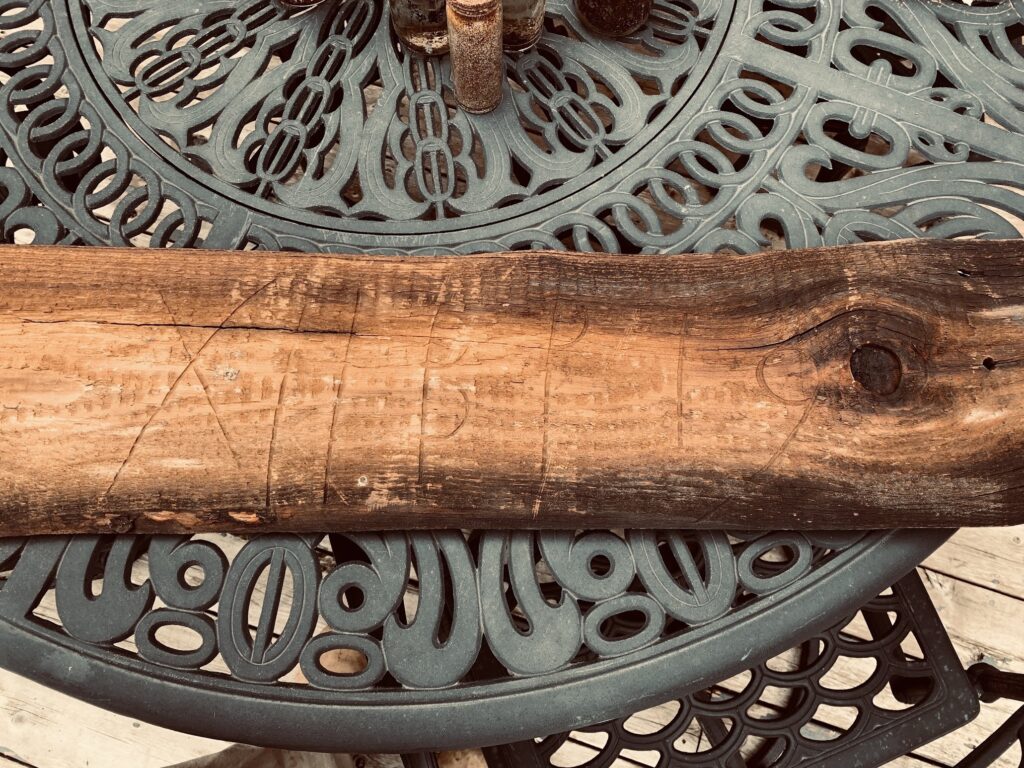
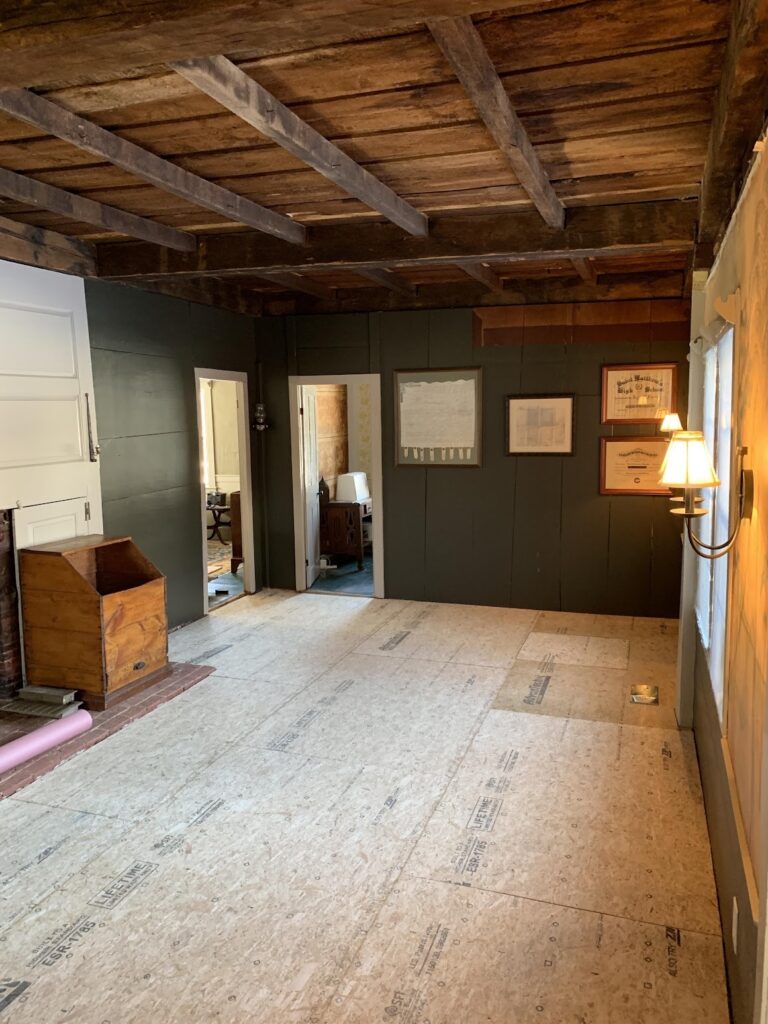
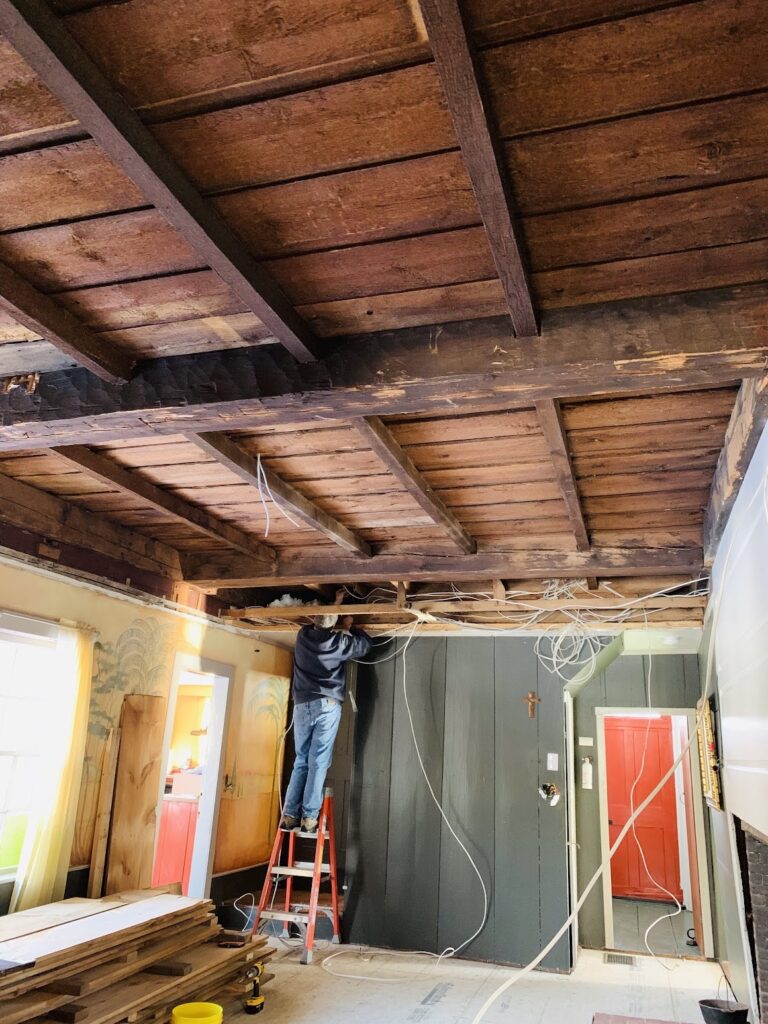
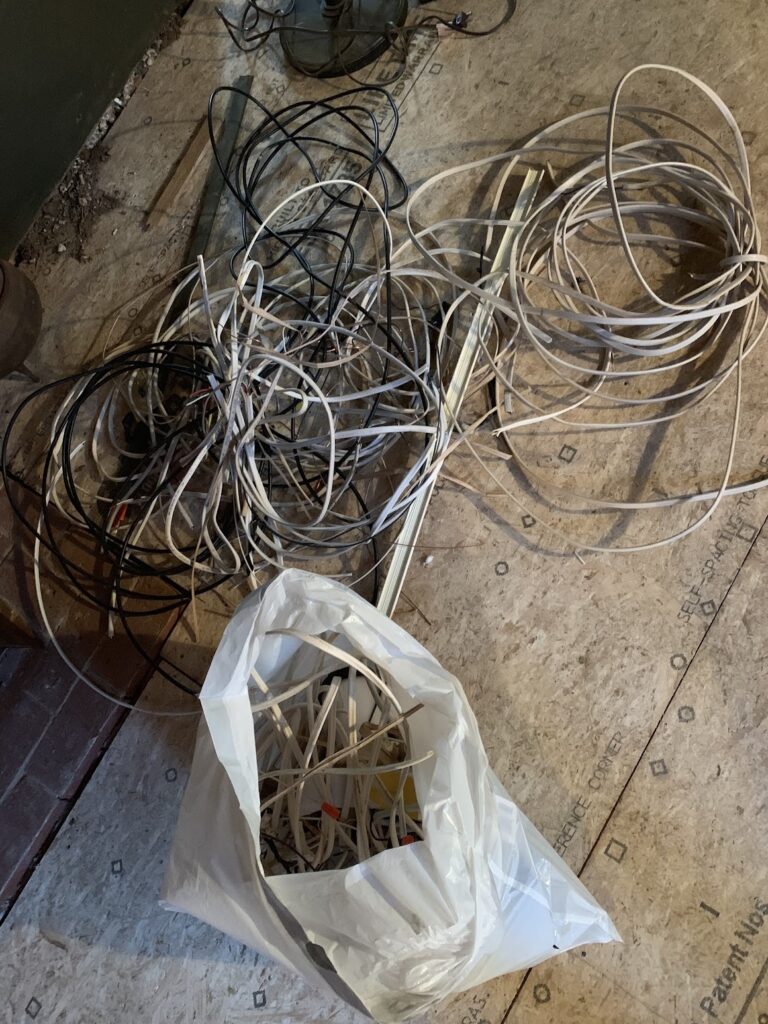
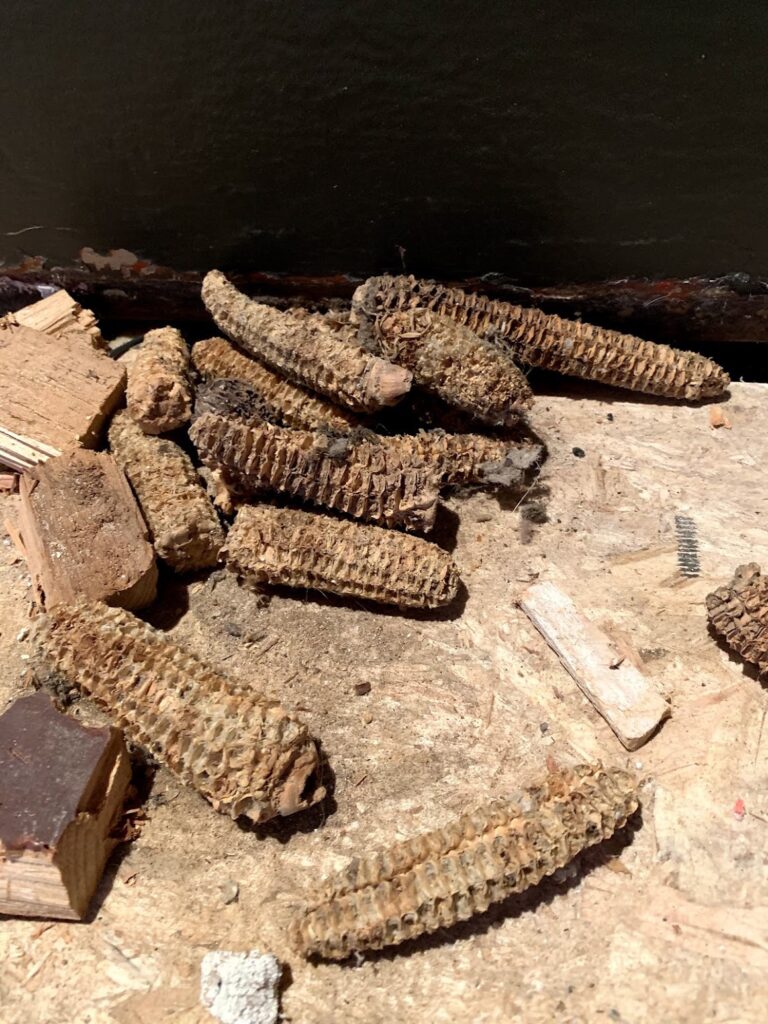
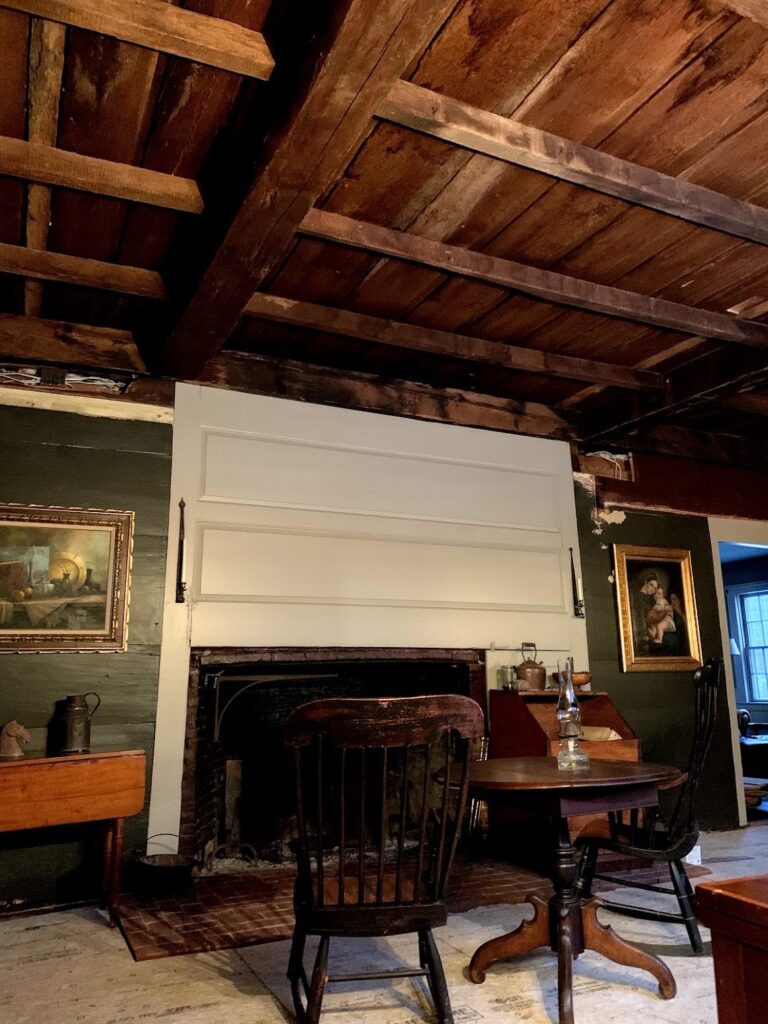
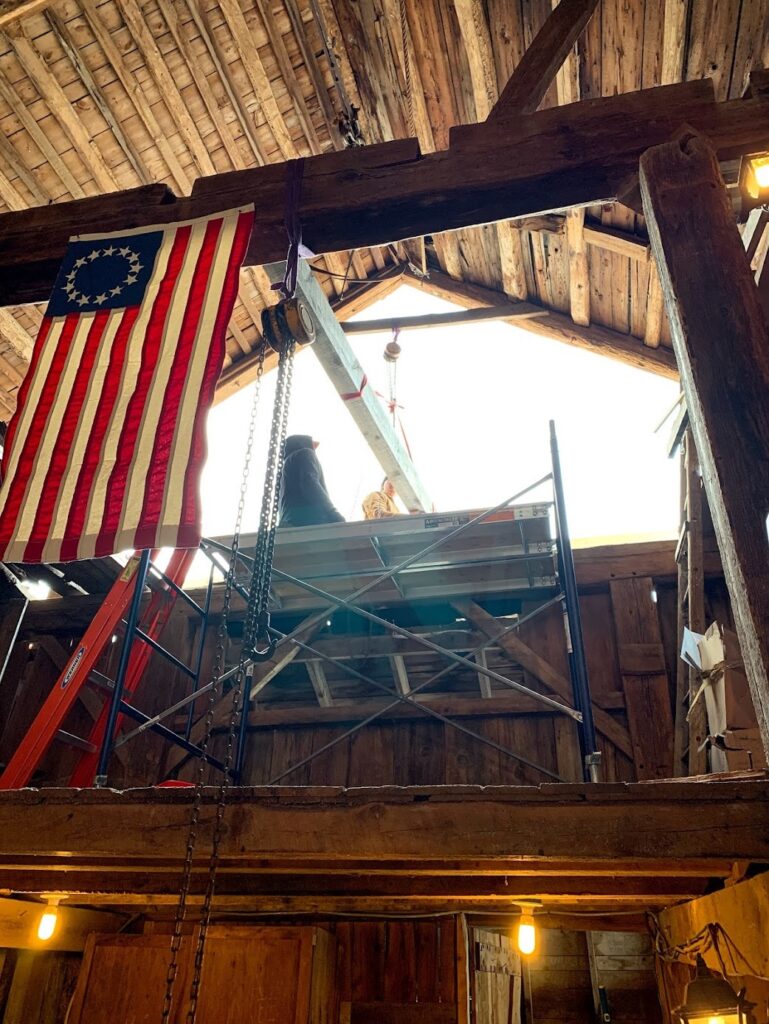
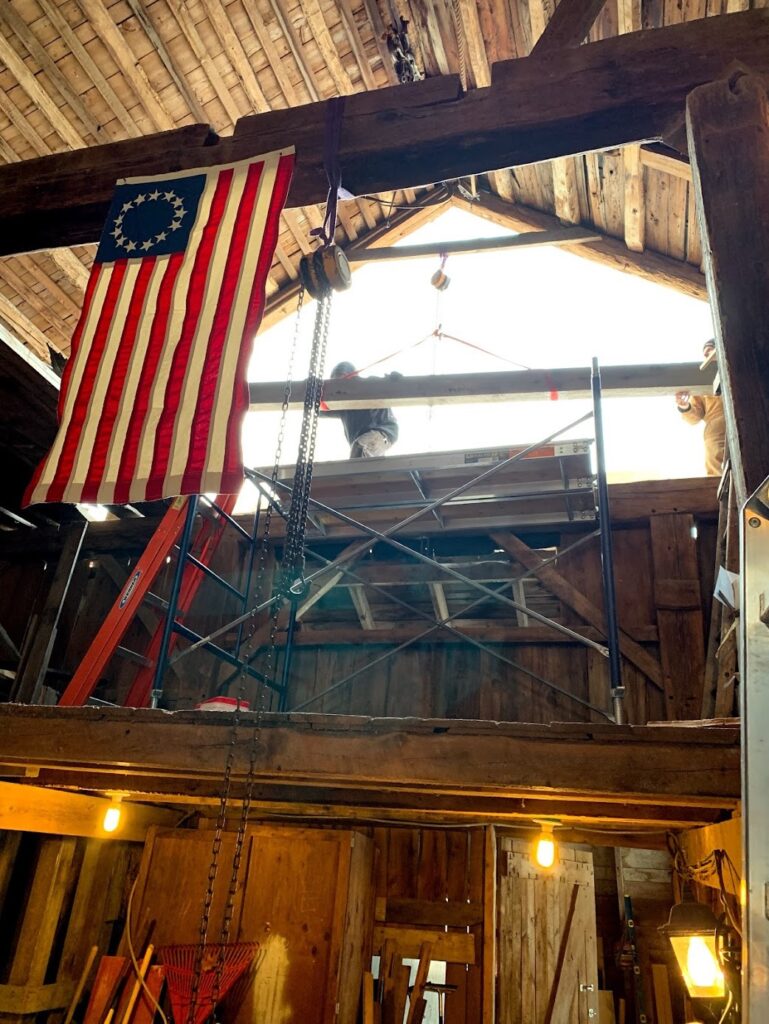
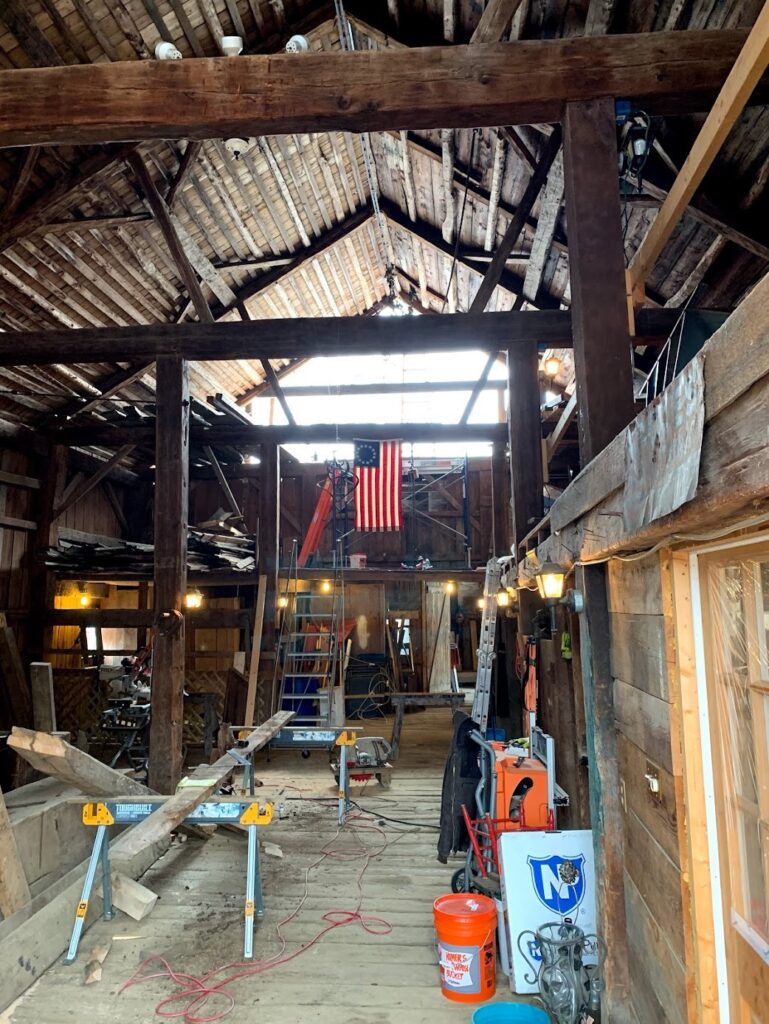
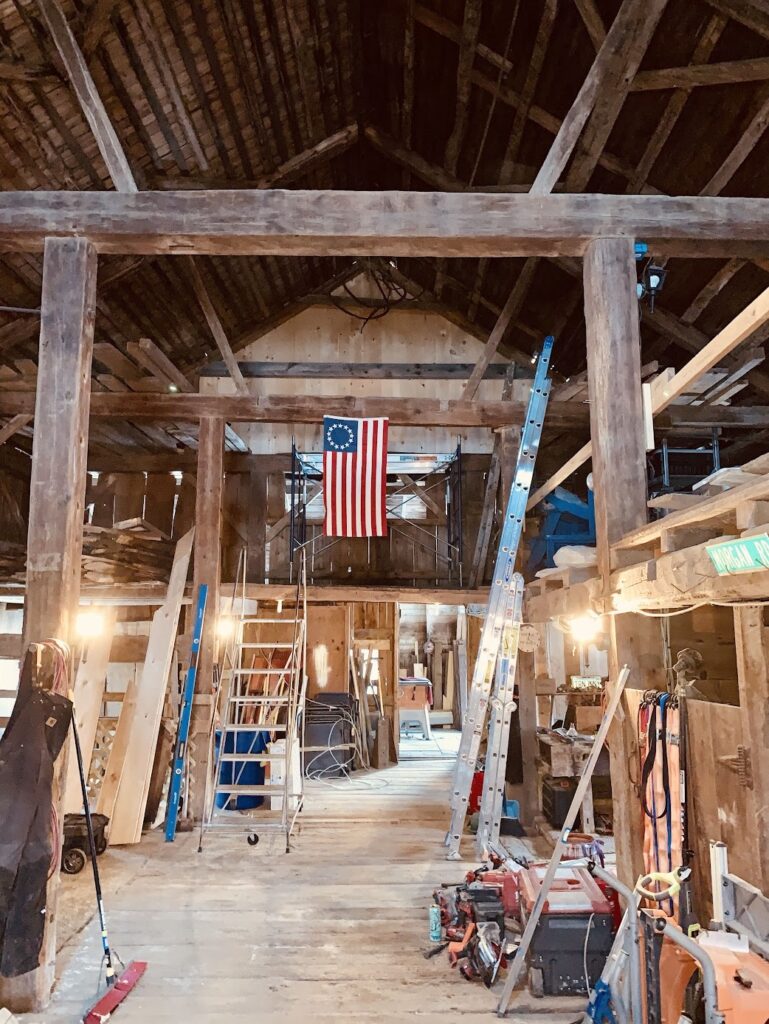
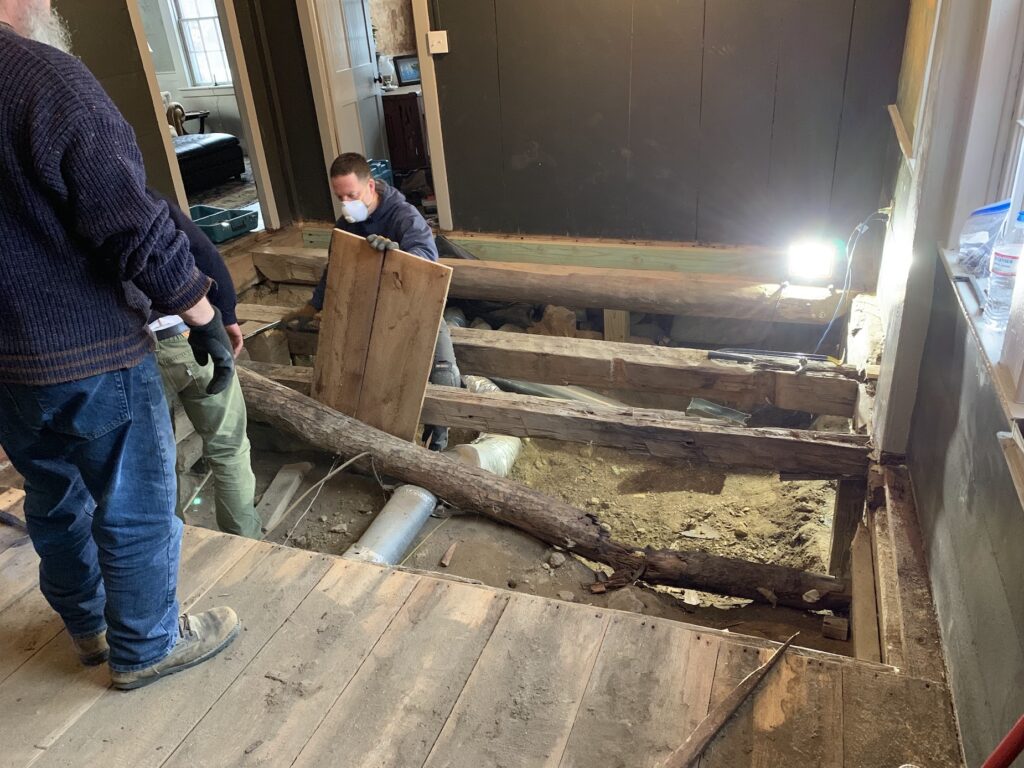
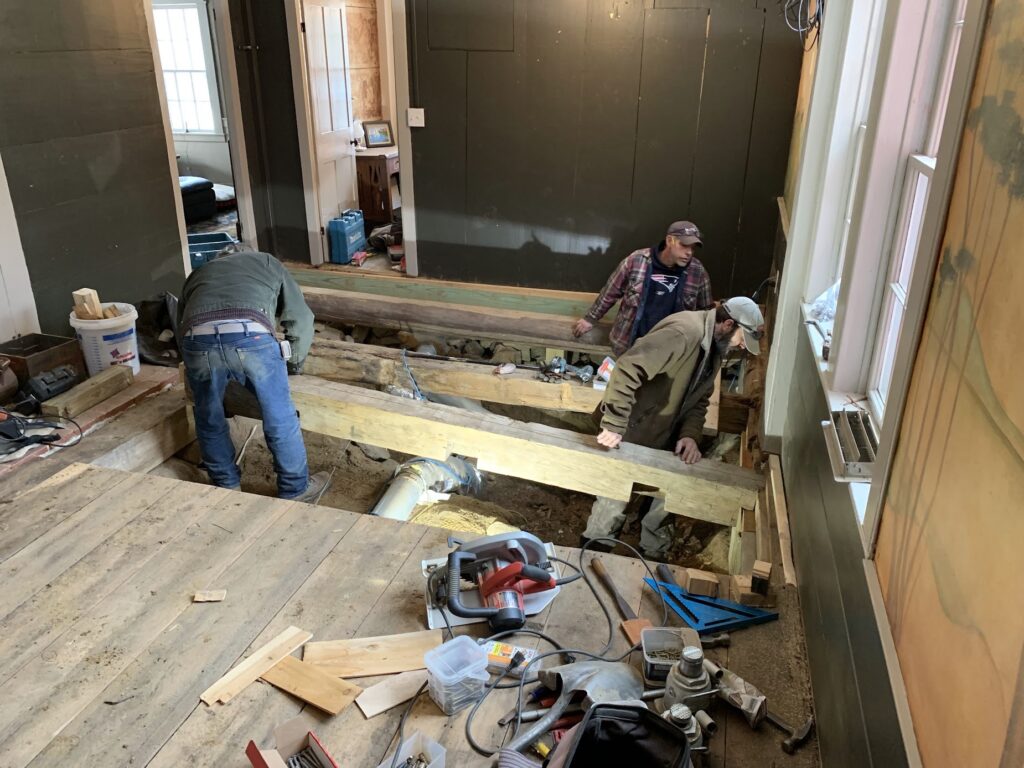
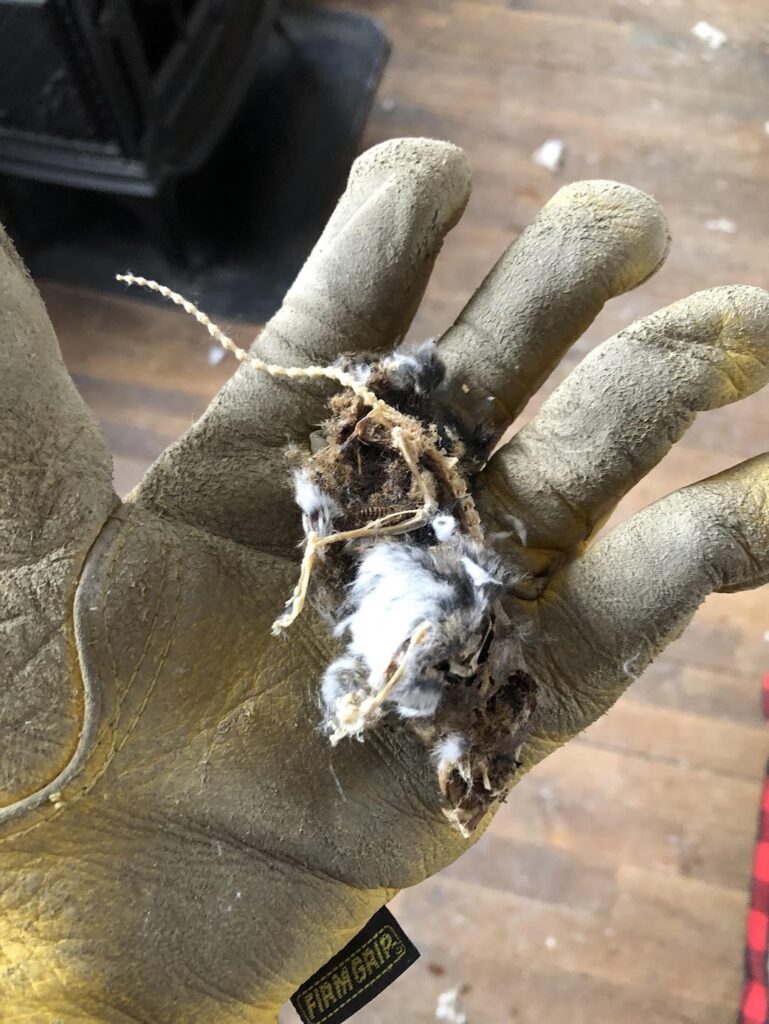
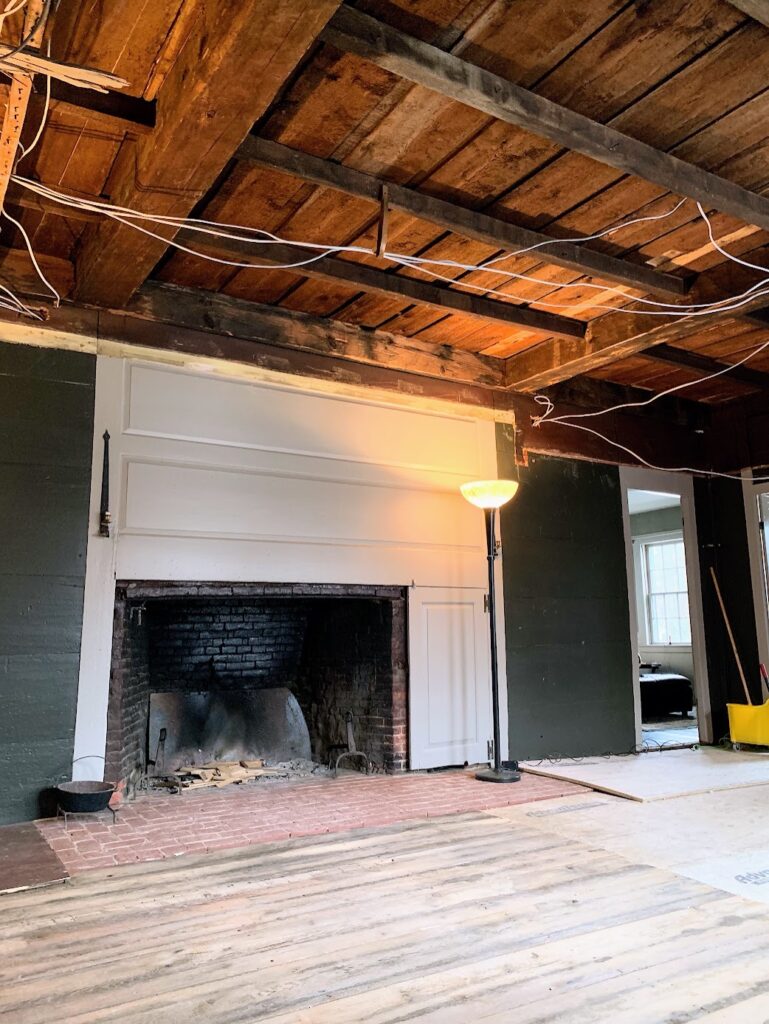
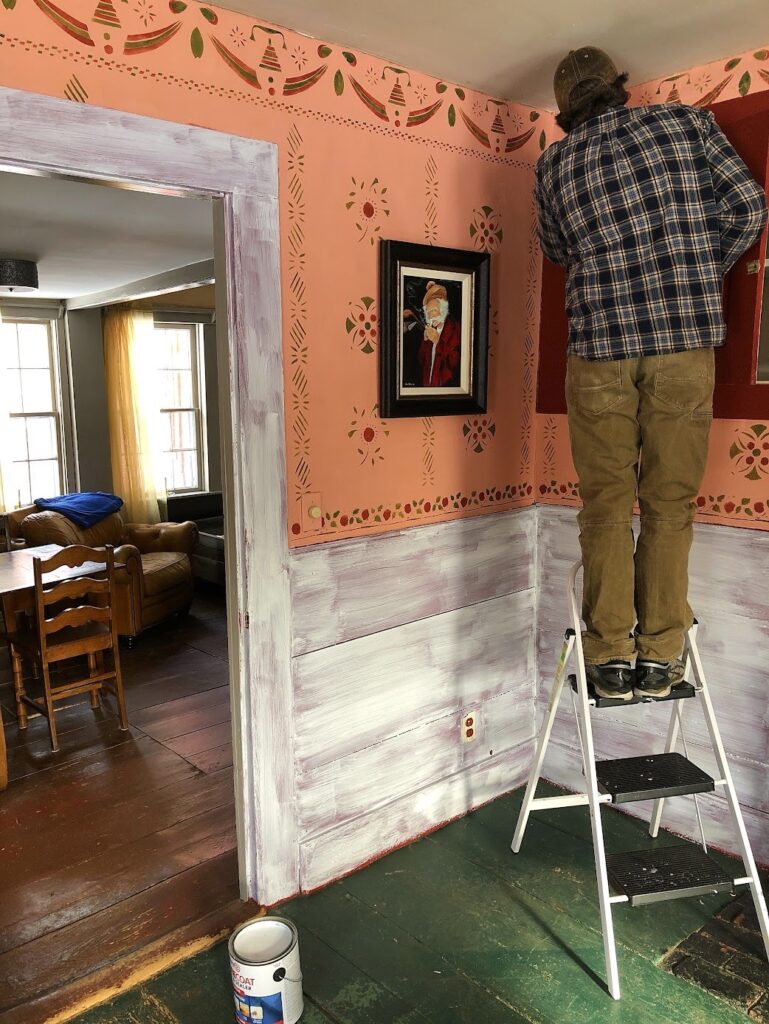
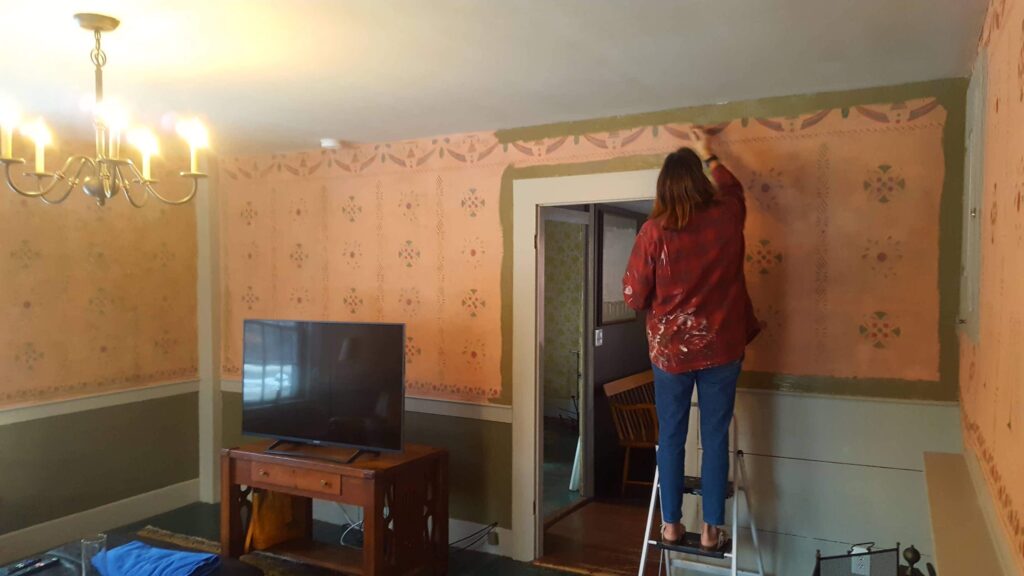
One of the most visually satisfying projects we recently finished was the keeping room ceiling. A while back we removed the old drop ceiling to expose the beams (and remove the dead animals – many a raccoon and squirrel family had called the place home) which left a maze of dangling wires and poop. The wires were moved to one side along the stairwell, which we then closed into a soffit using shiplap hemlock, which mimics the original planks. We installed plasterboard between the joists, and cleaned up the joists and beams, oiling them to highlight the adze marks on them from when they were cut. We could not be happier with the results- we smile each time we walk into that room.


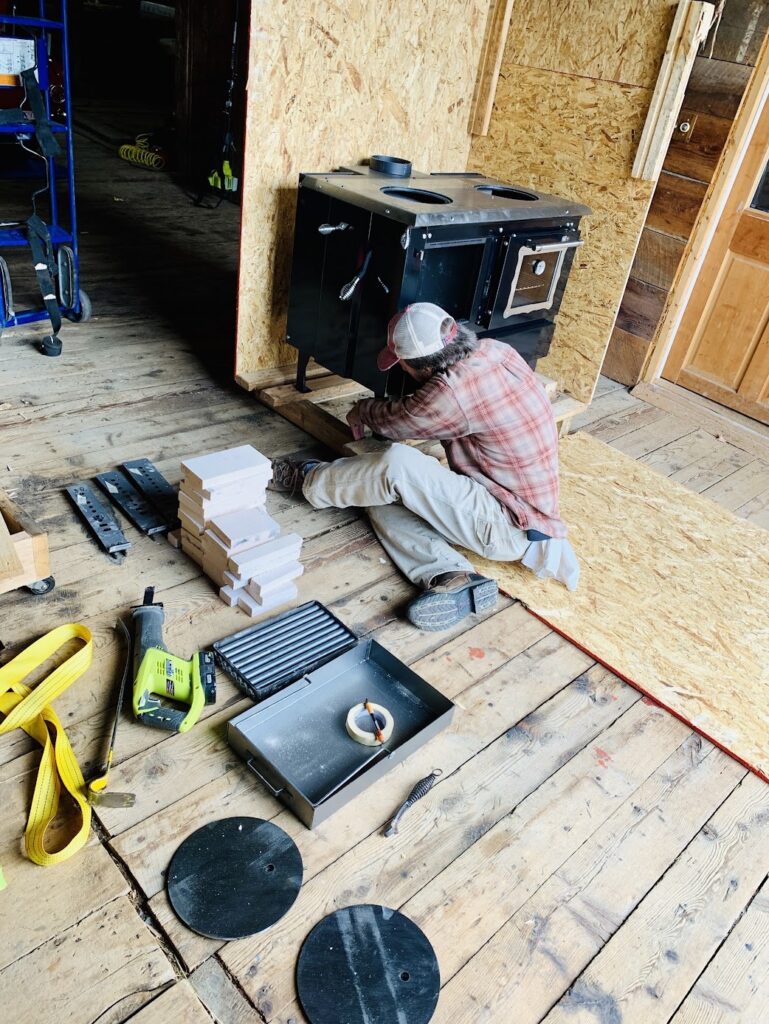
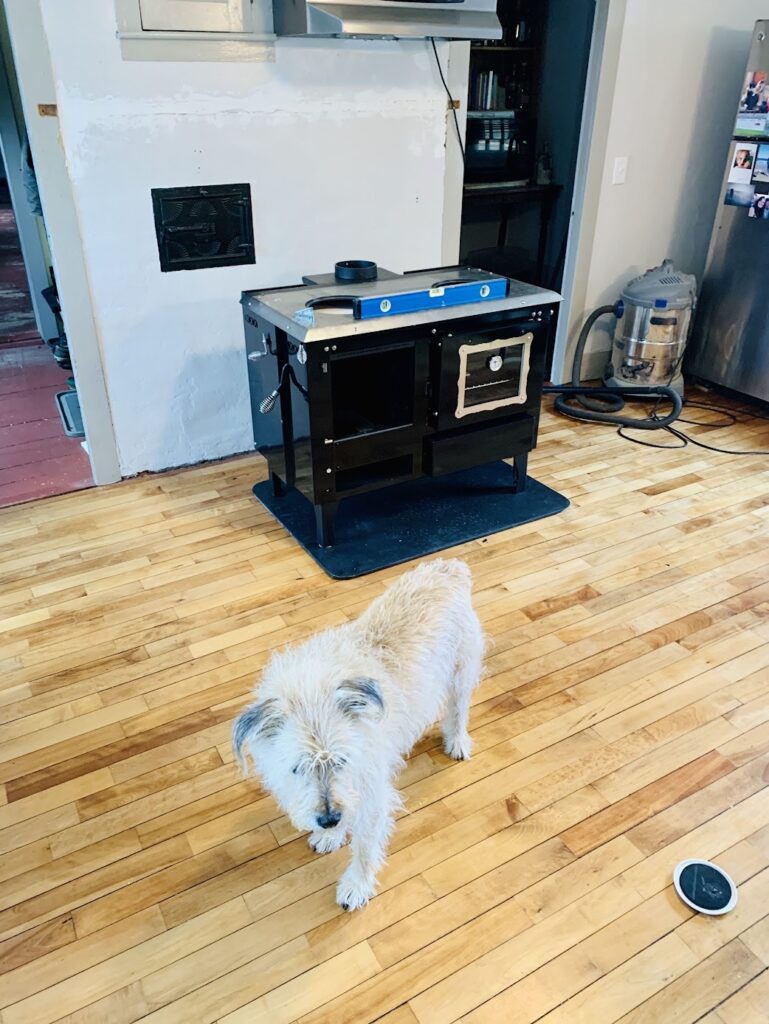
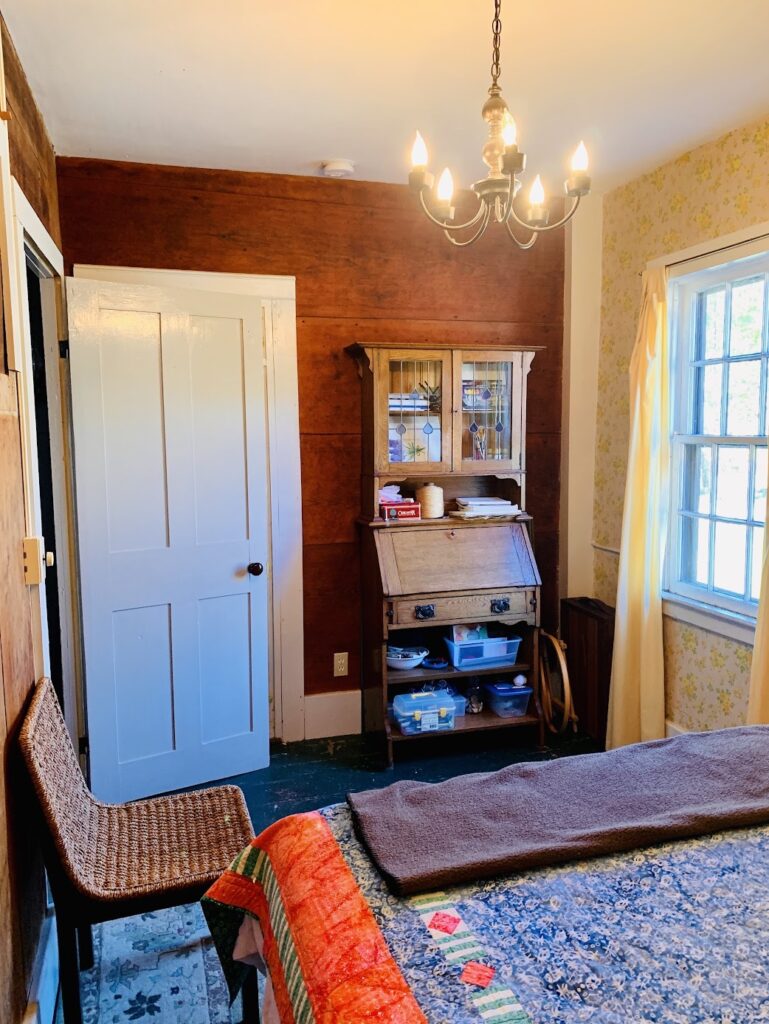
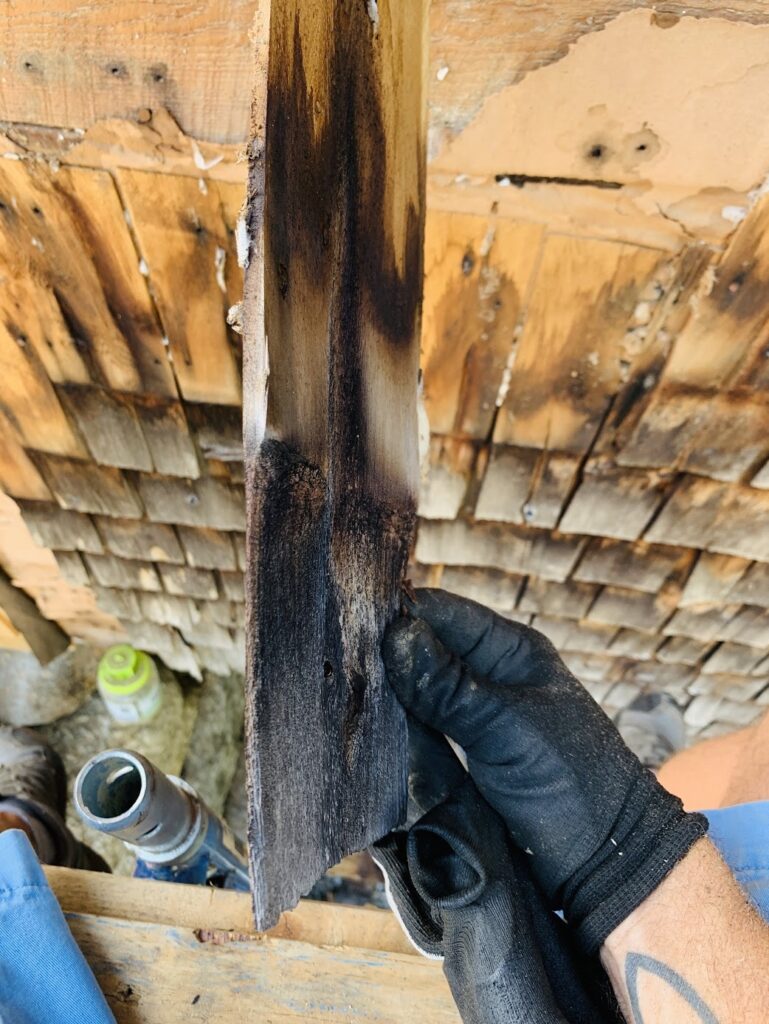
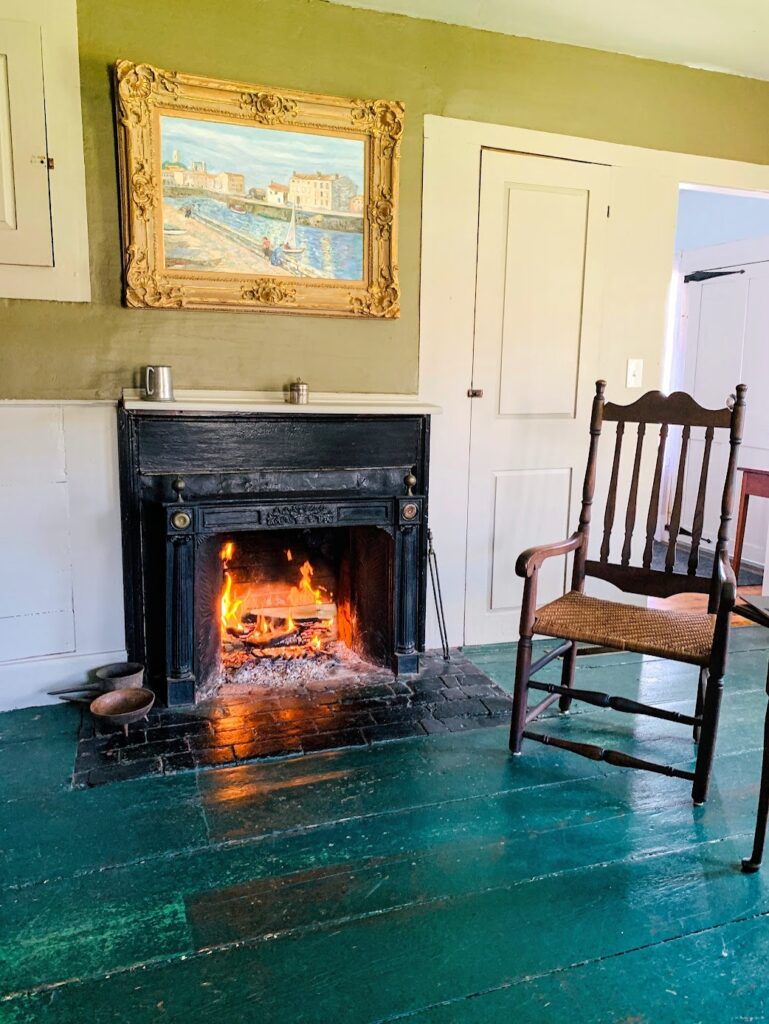
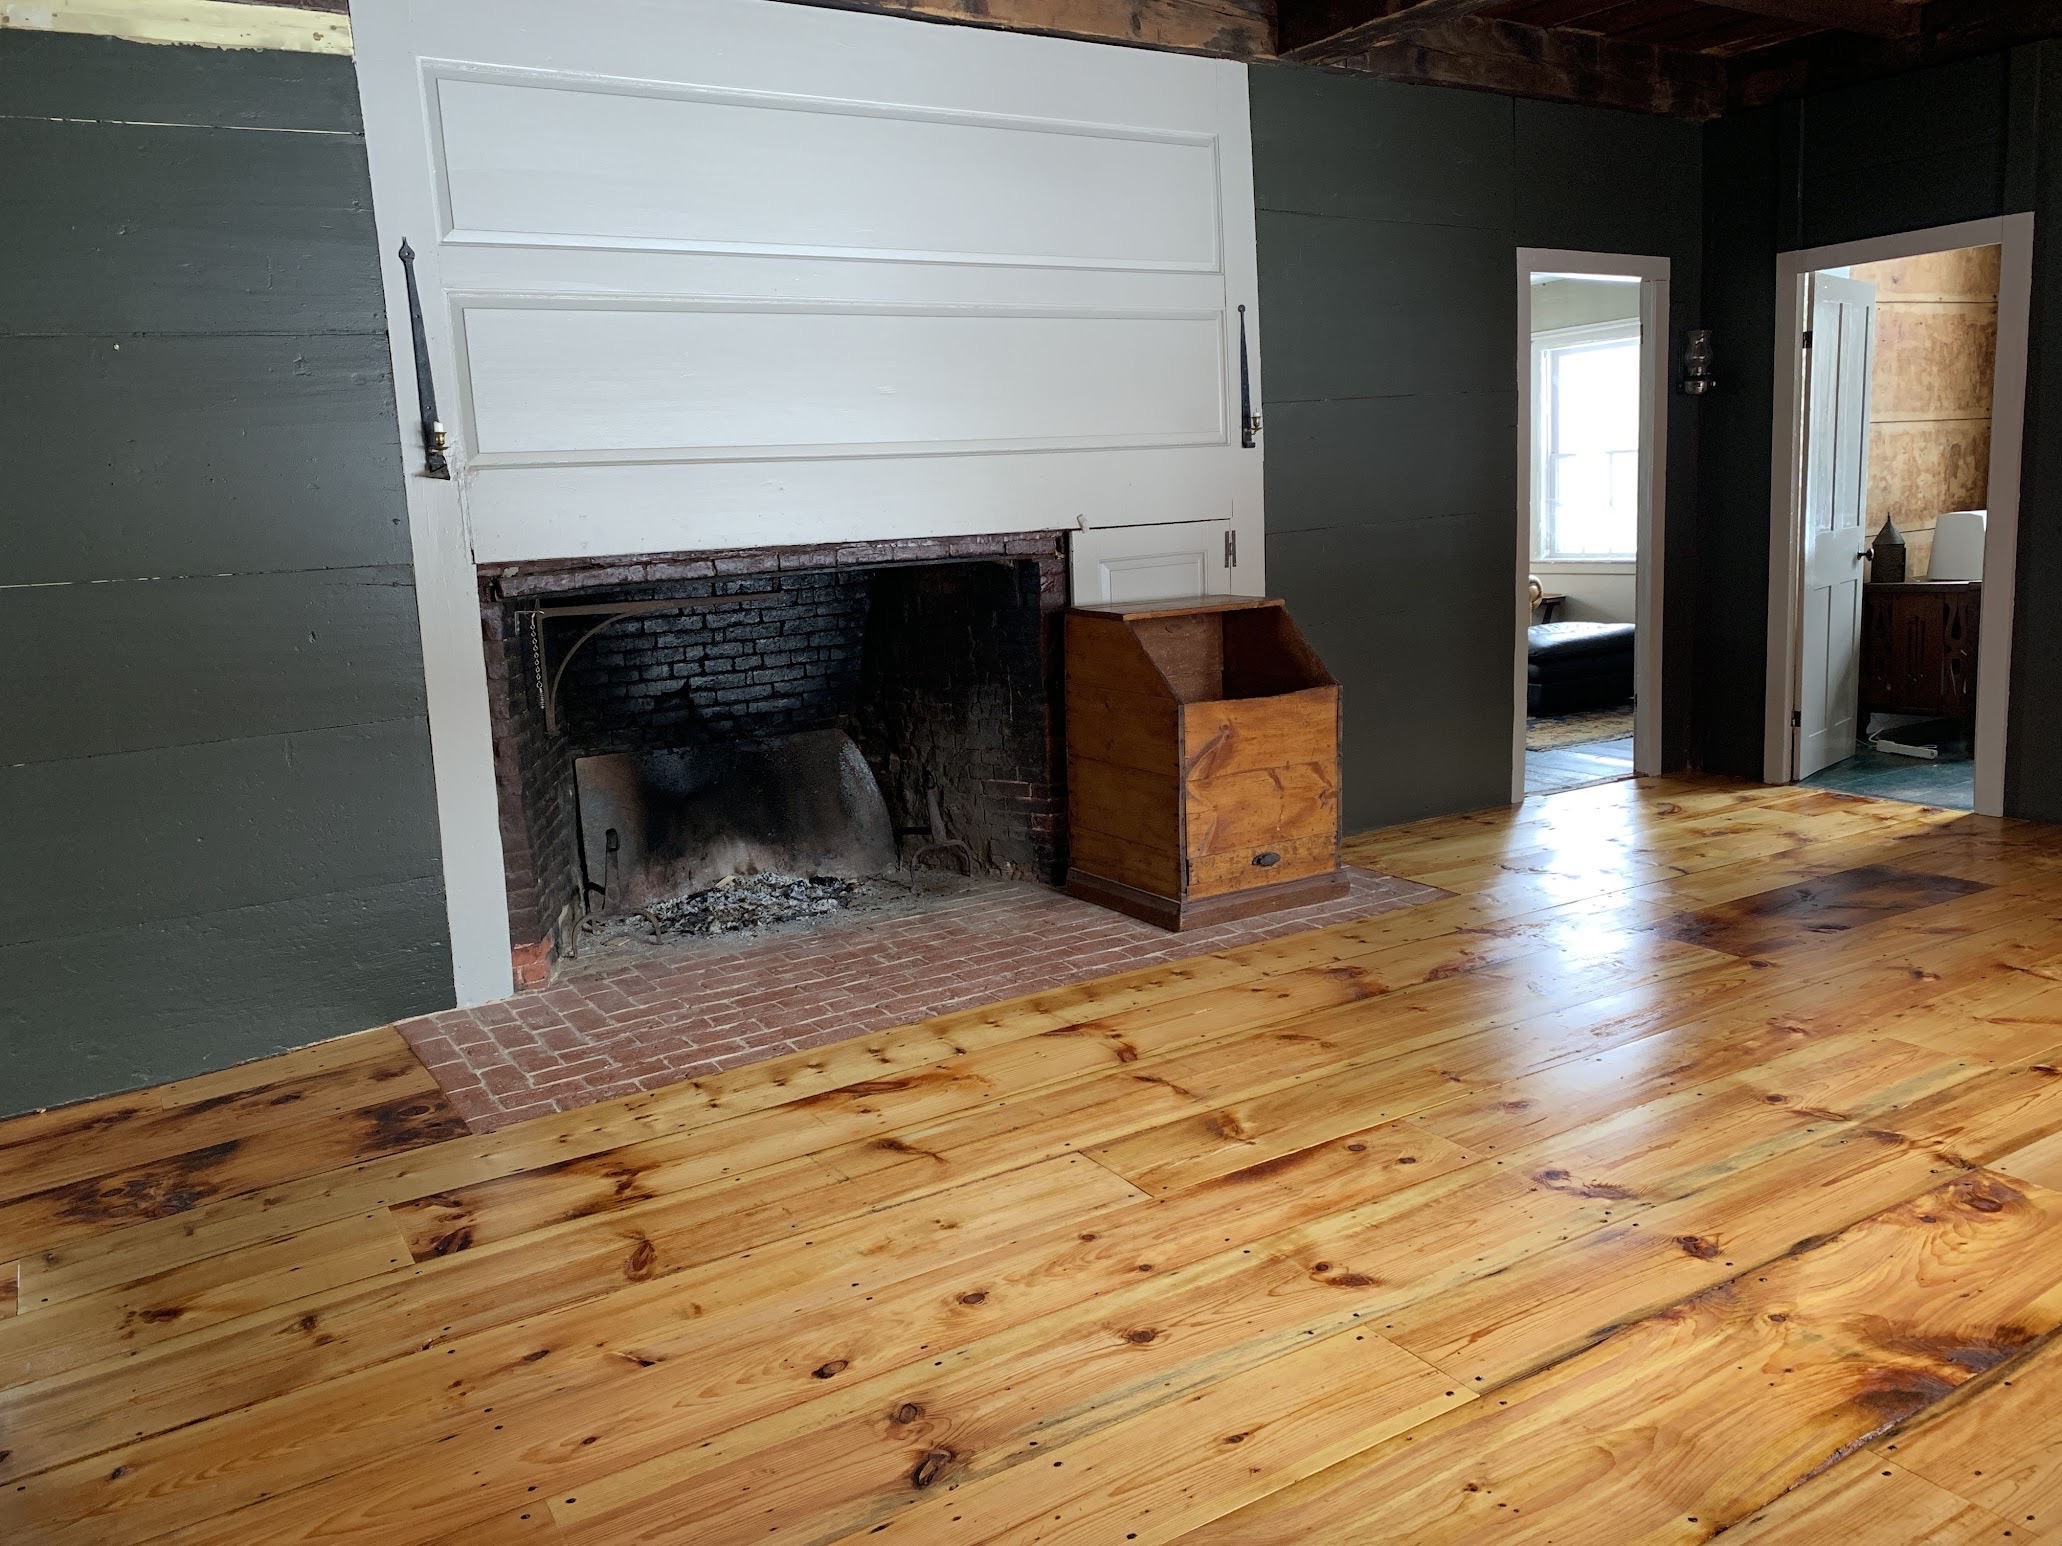
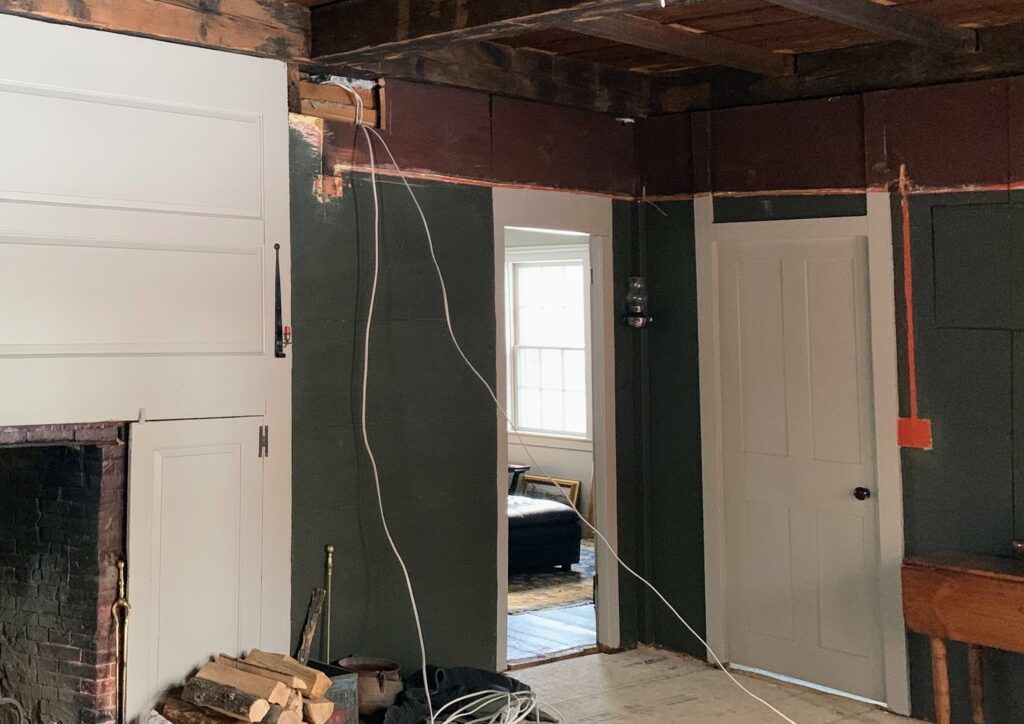
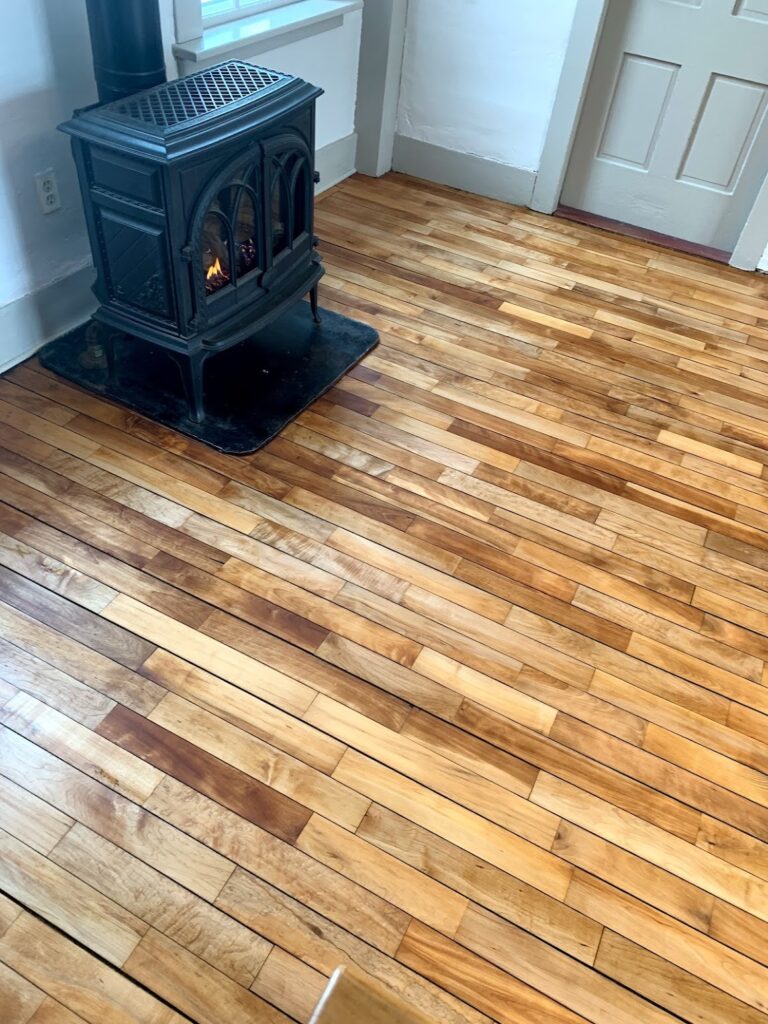
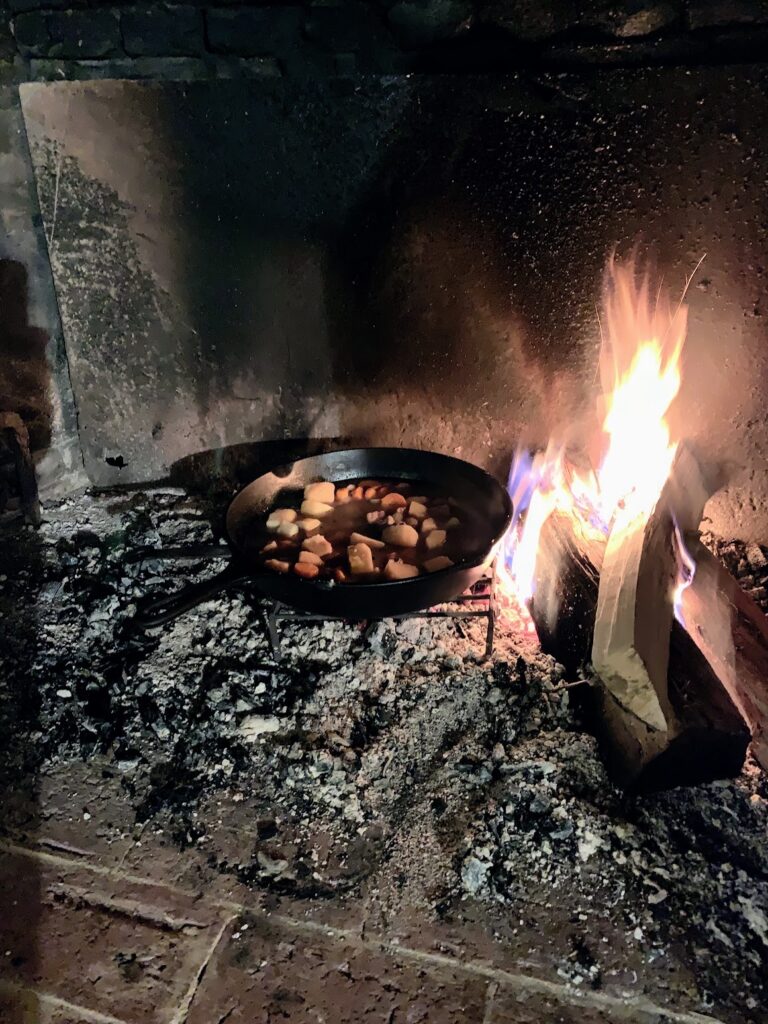
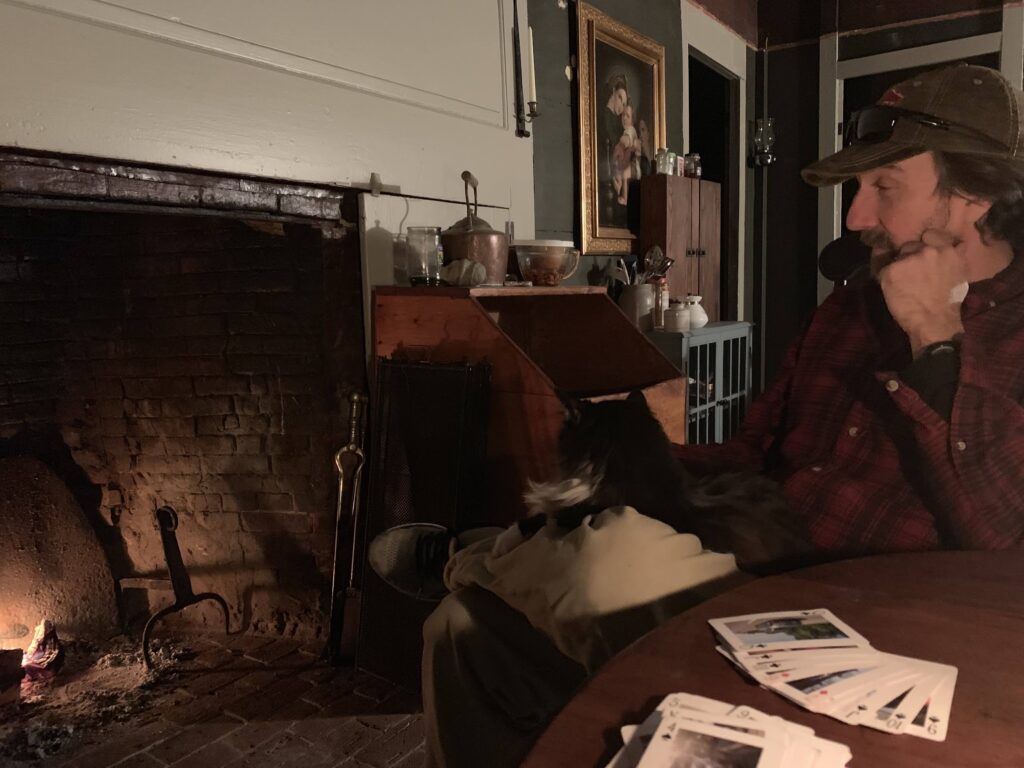
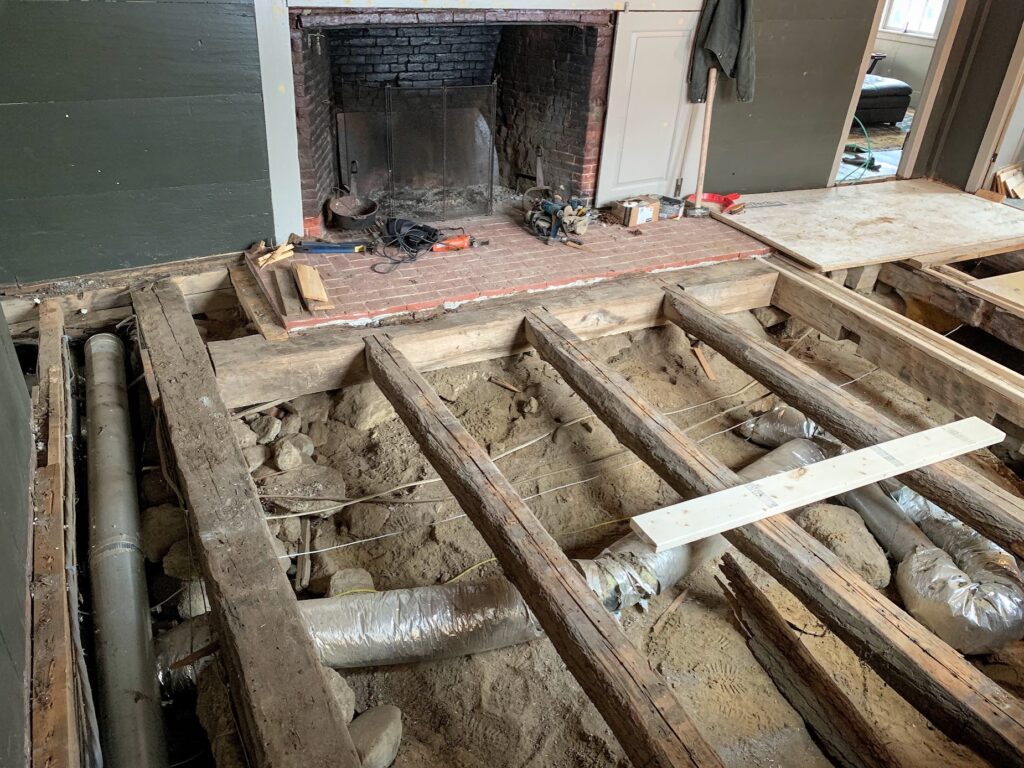
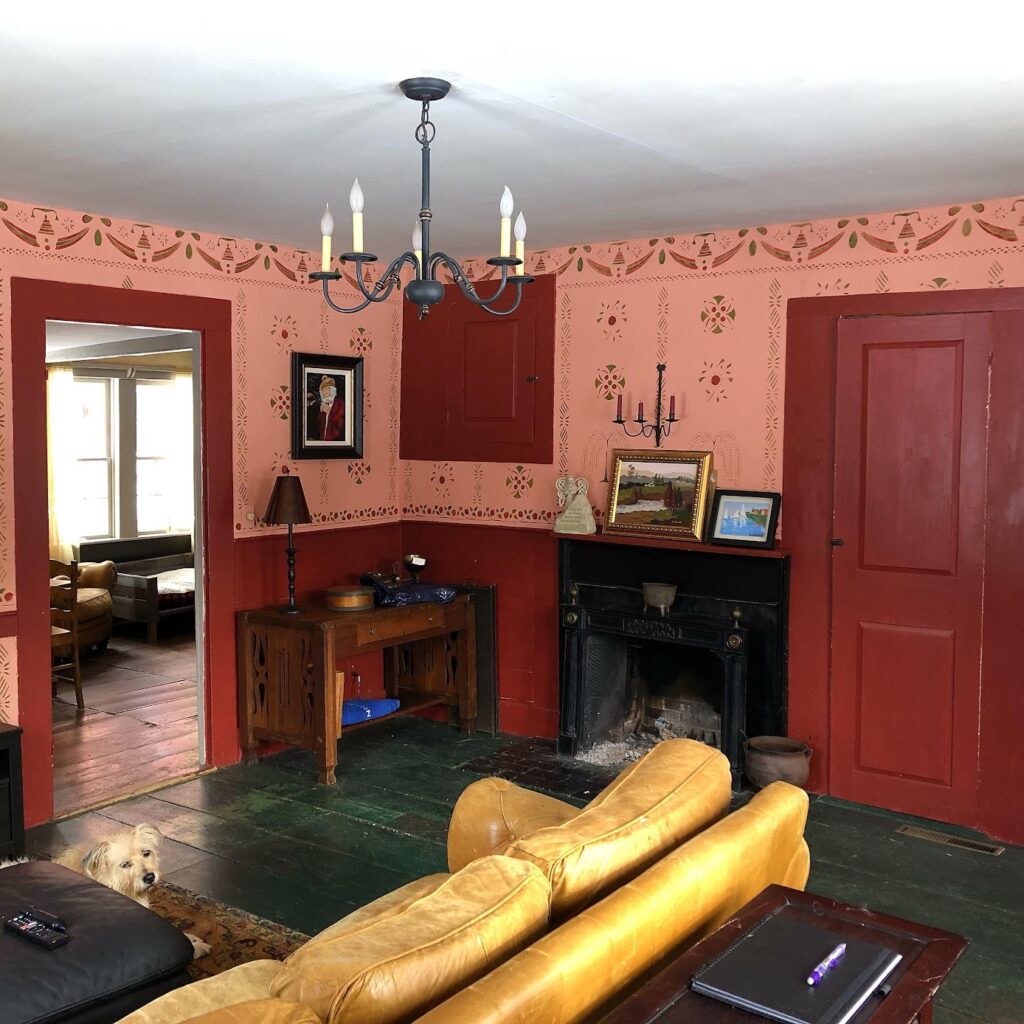
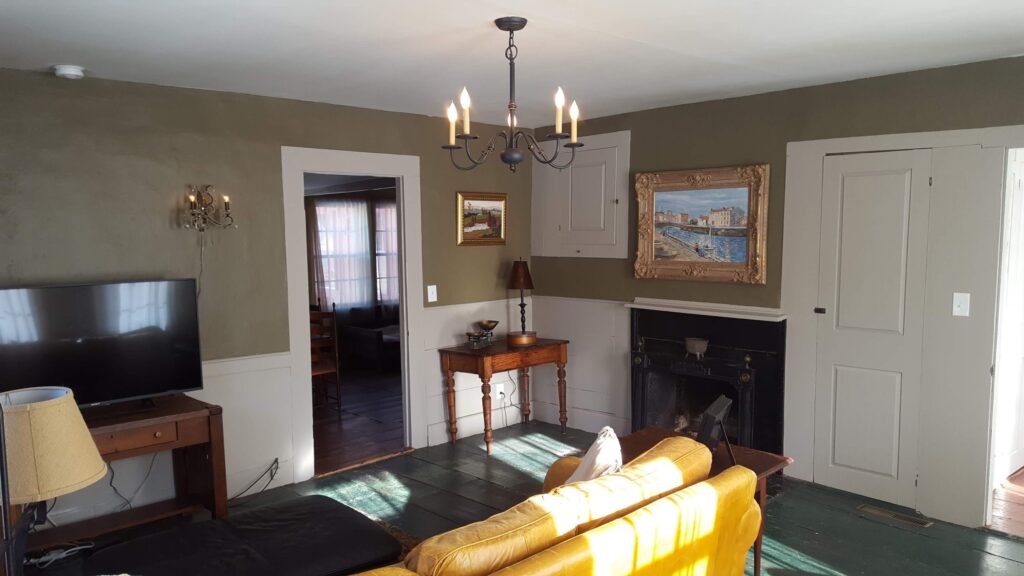
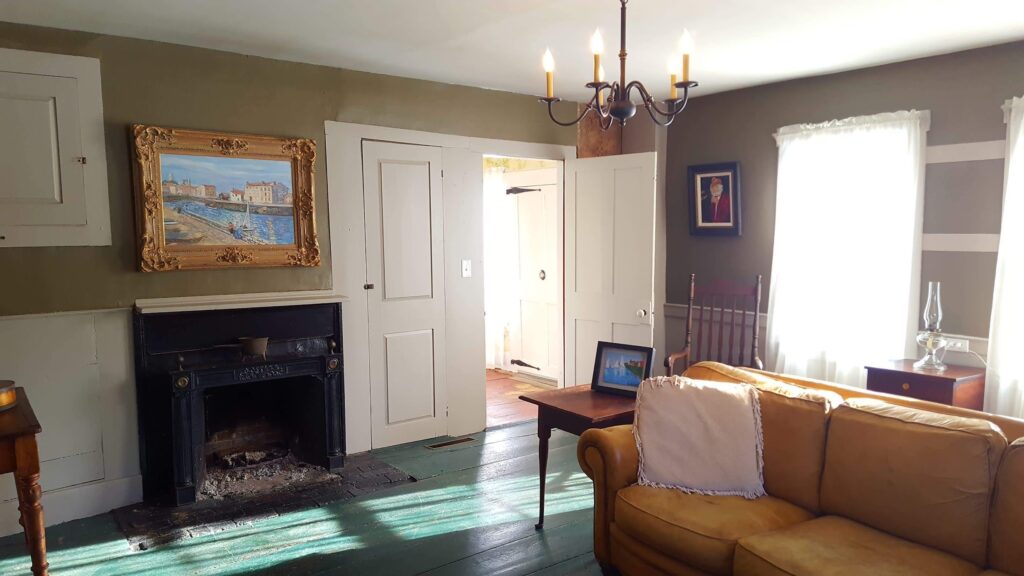
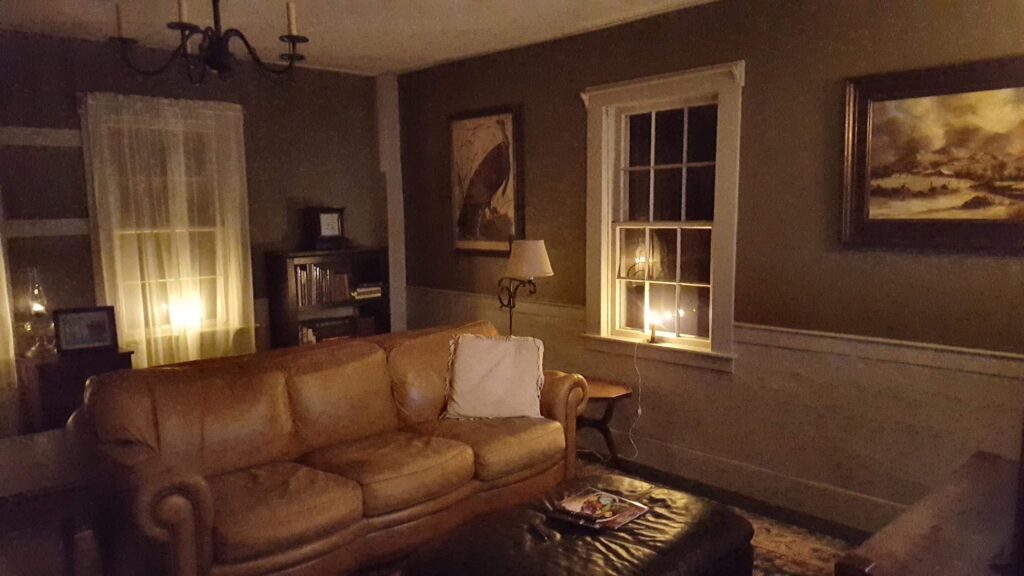
Another item ticked off our long, but getting shorter list, was building a fireplace surround for the parlor. This room had an old, broken cast iron insert, which we removed, along with the extra bricks that moved the firebox forward, and then we restored the hearth using hand-made water-struck bricks as were the originals. This firebox also showed damage from a fire behind the walls!- we’re not sure when (long ago for sure), but hope not to repeat! All the fireplaces, with the exception of the one in the other parlor (our bedroom) have now been restored. At some point, we will open up the bedroom firebox and restore it as well.


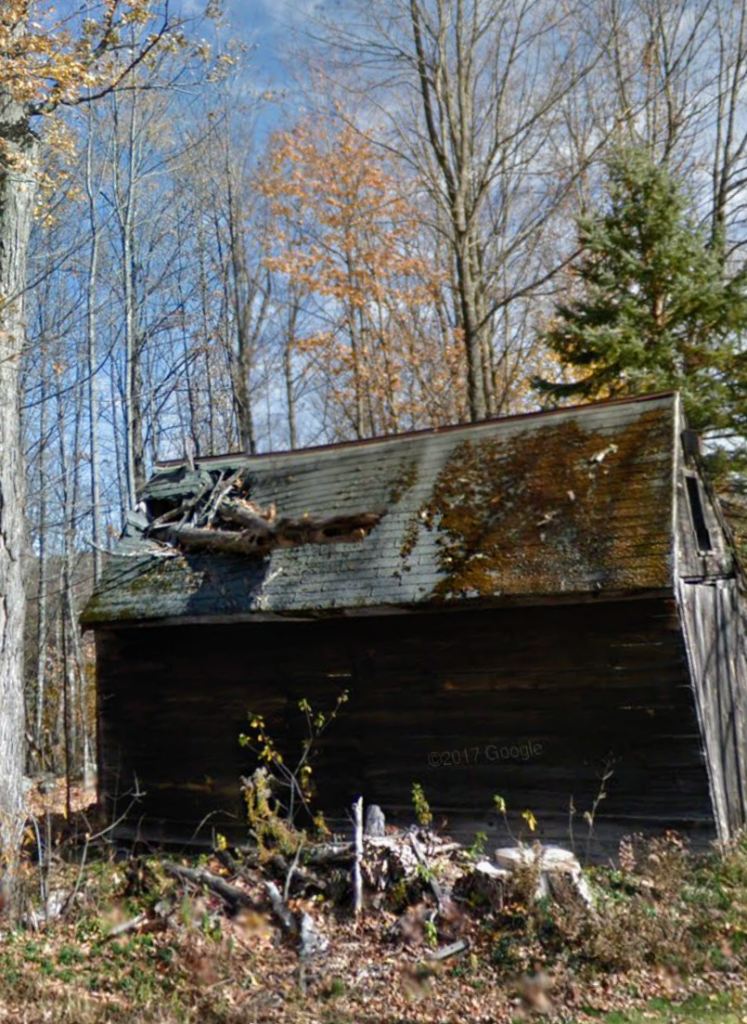
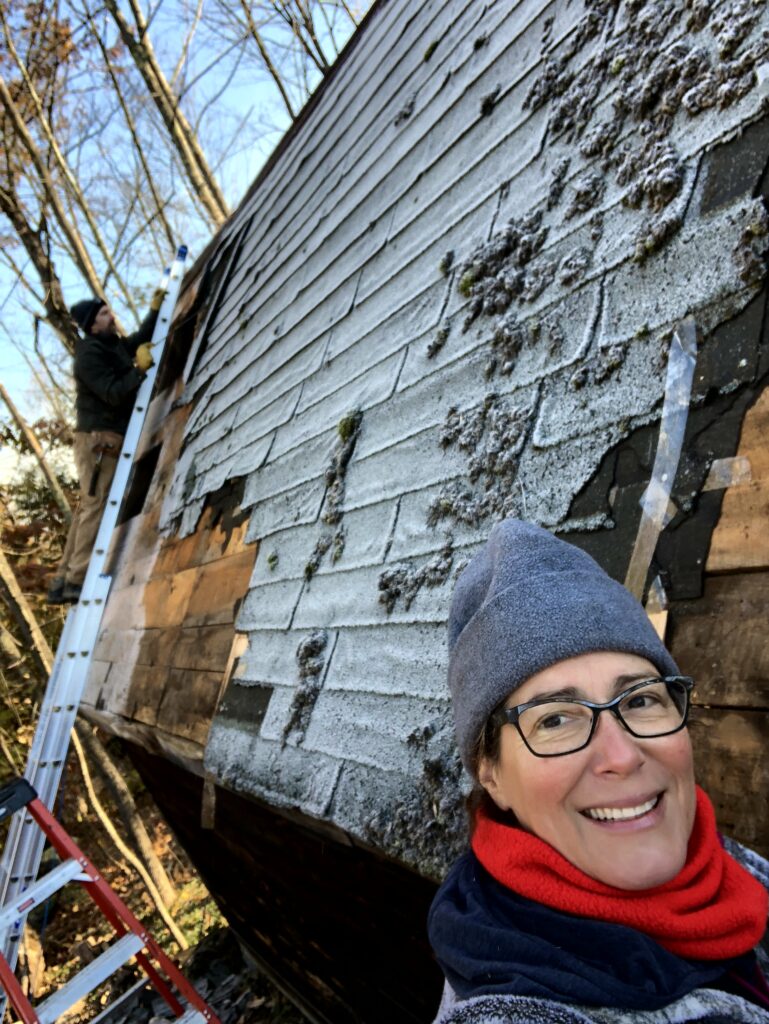
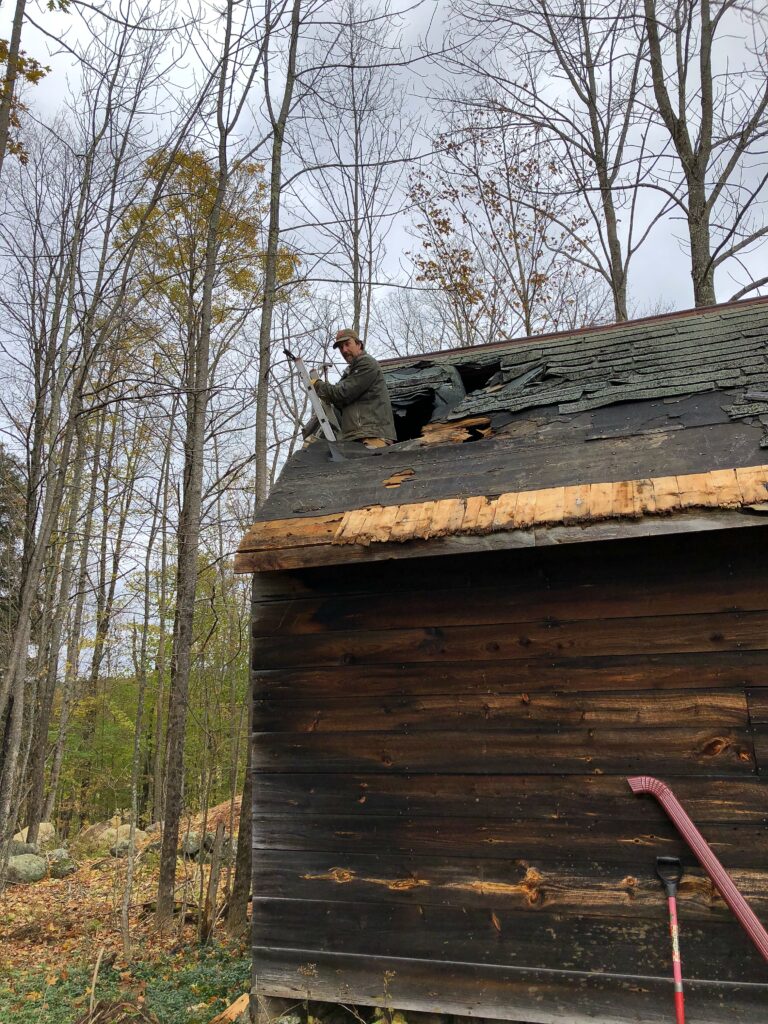
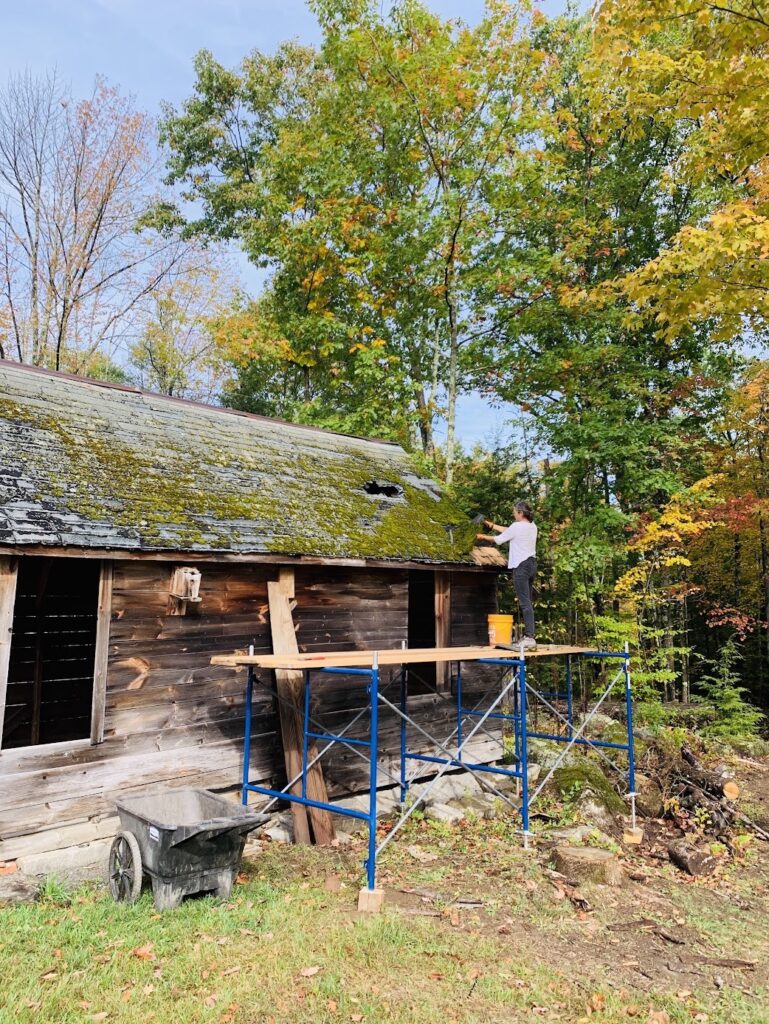
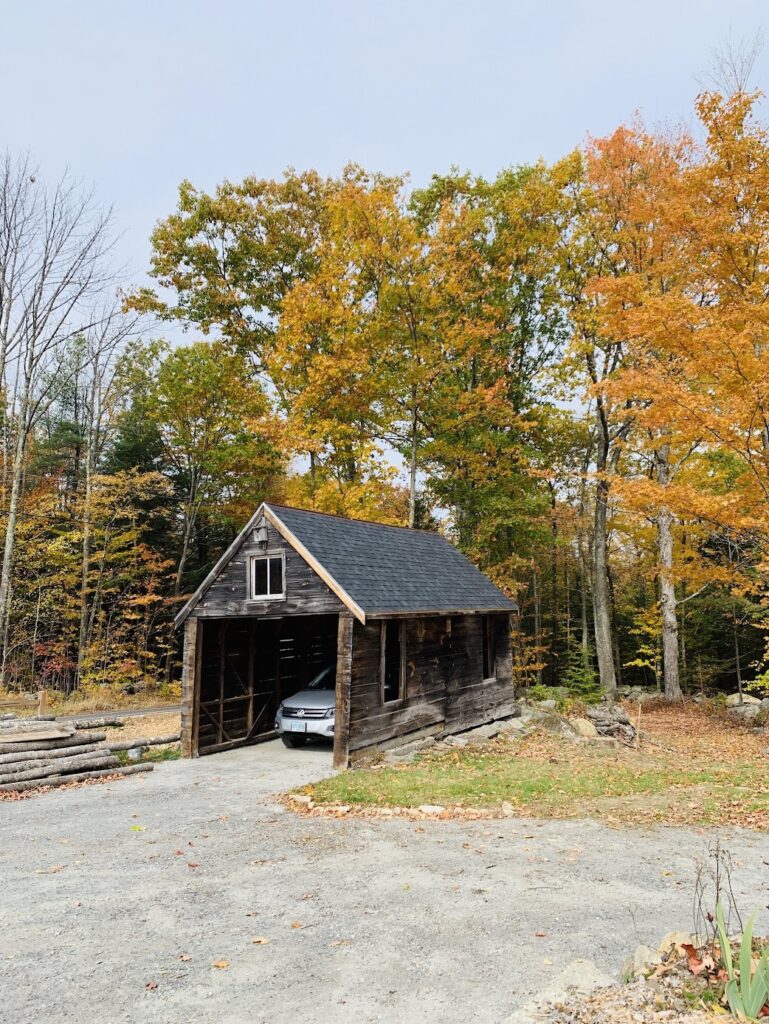
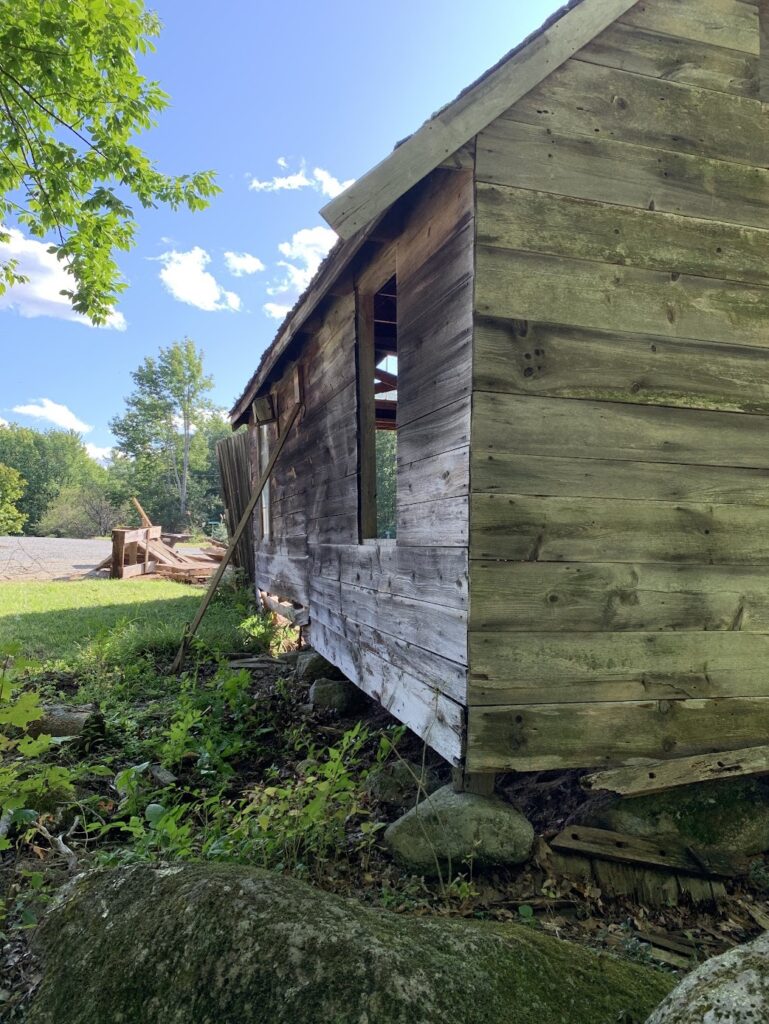
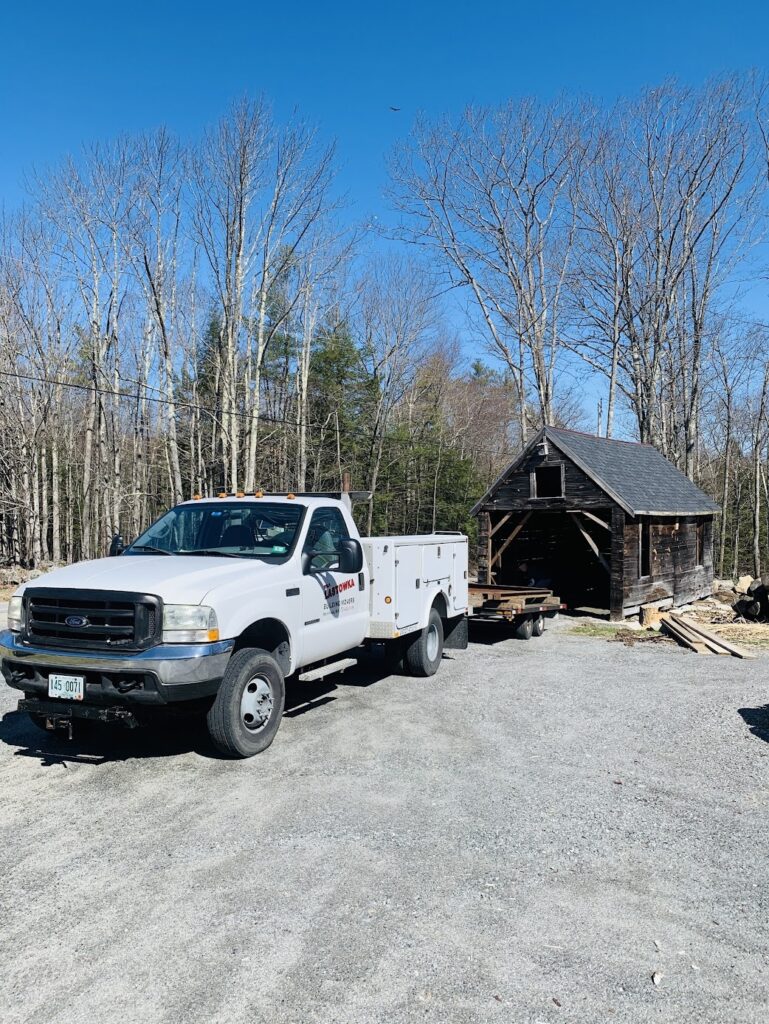
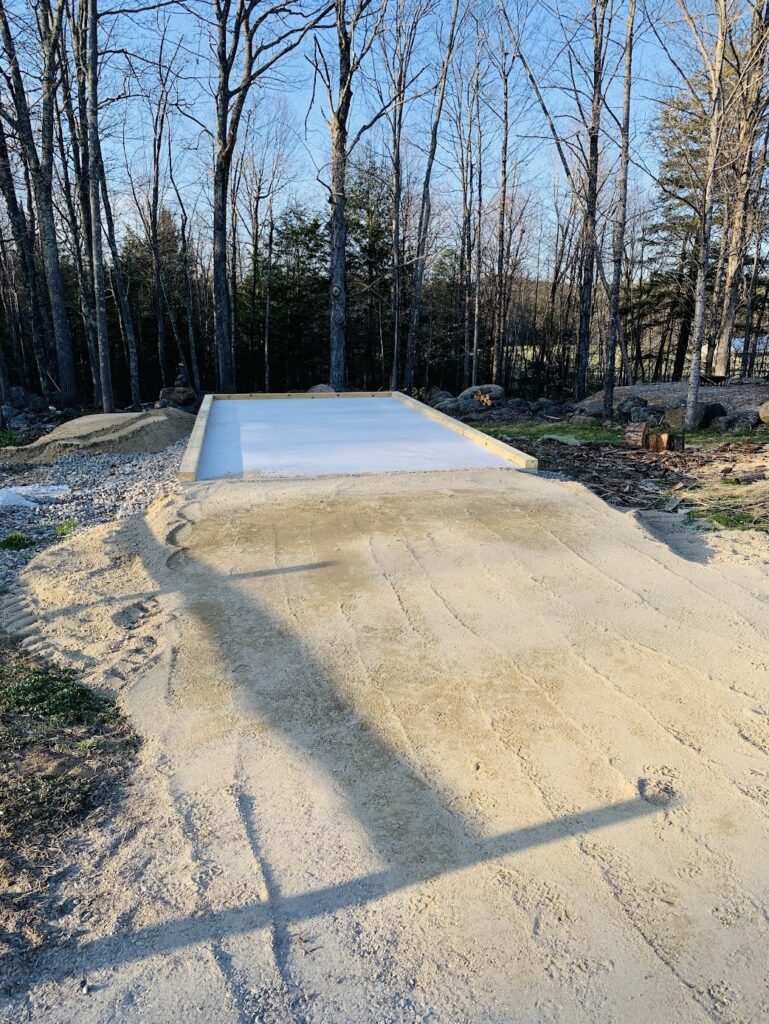
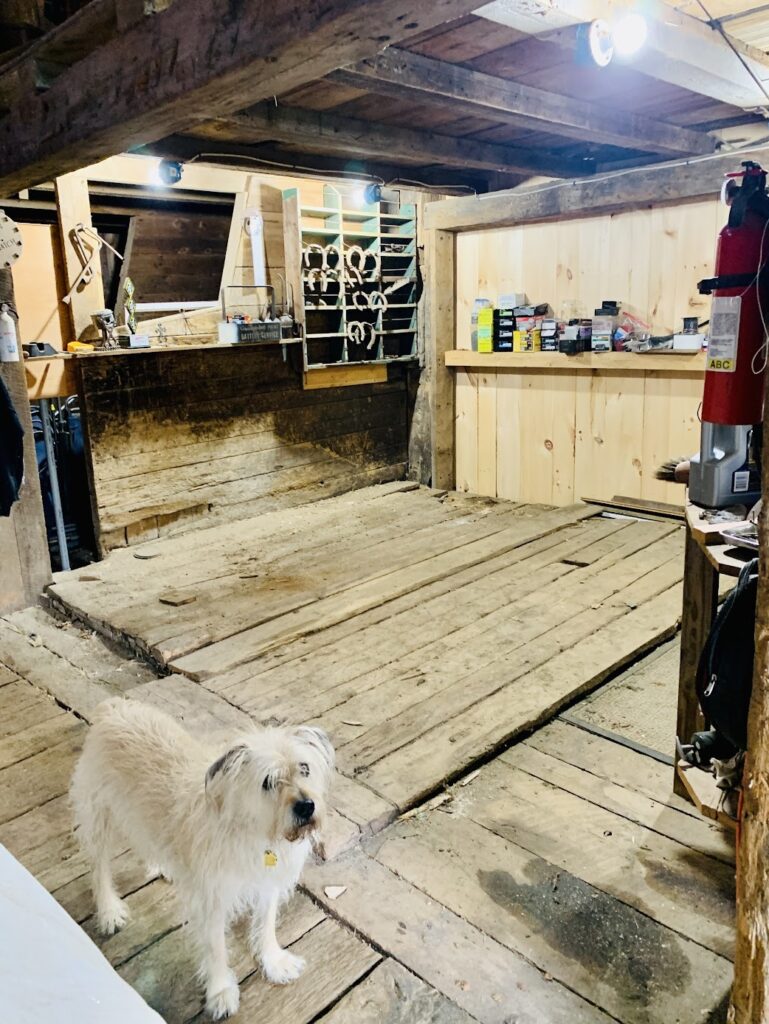
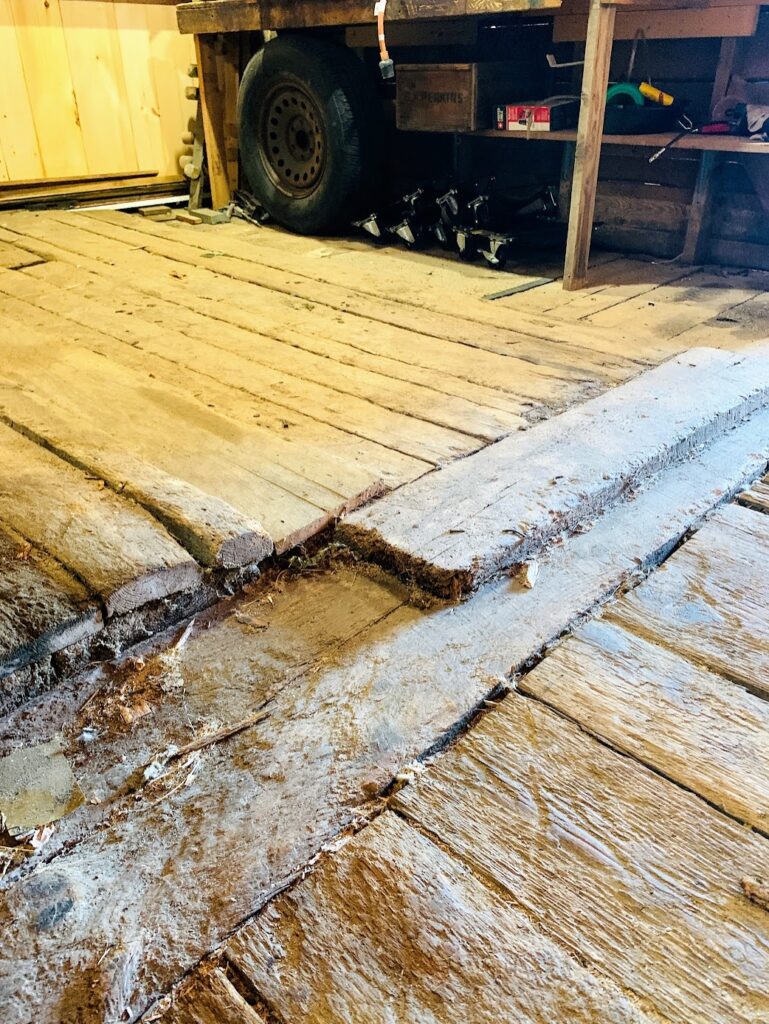
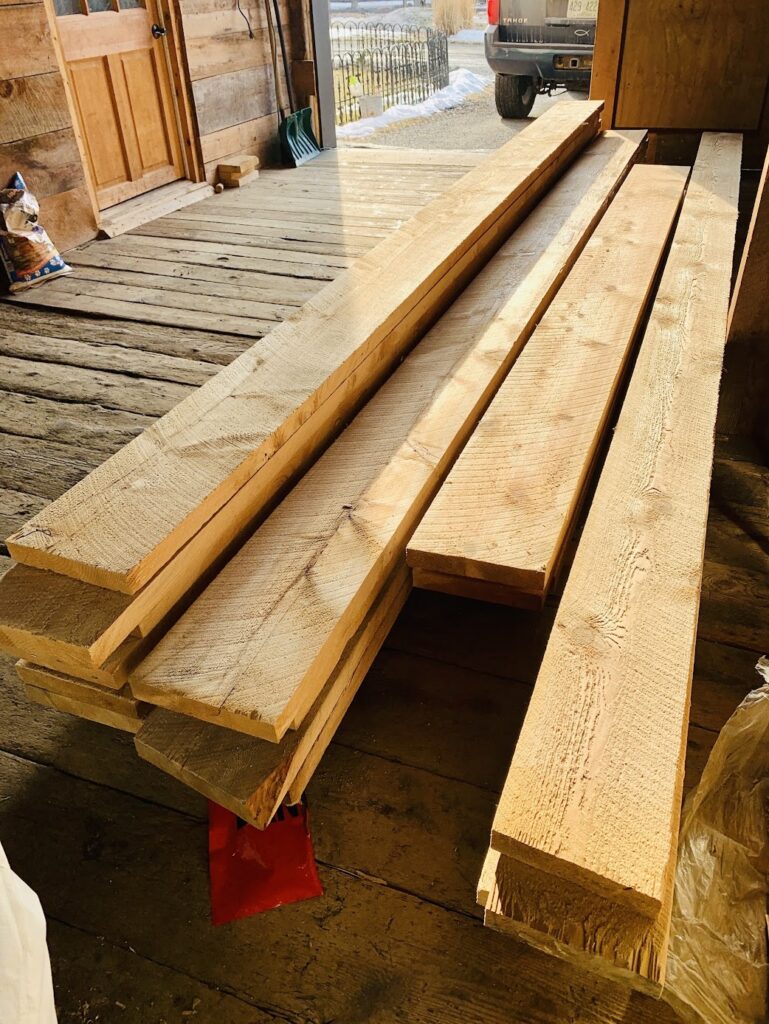
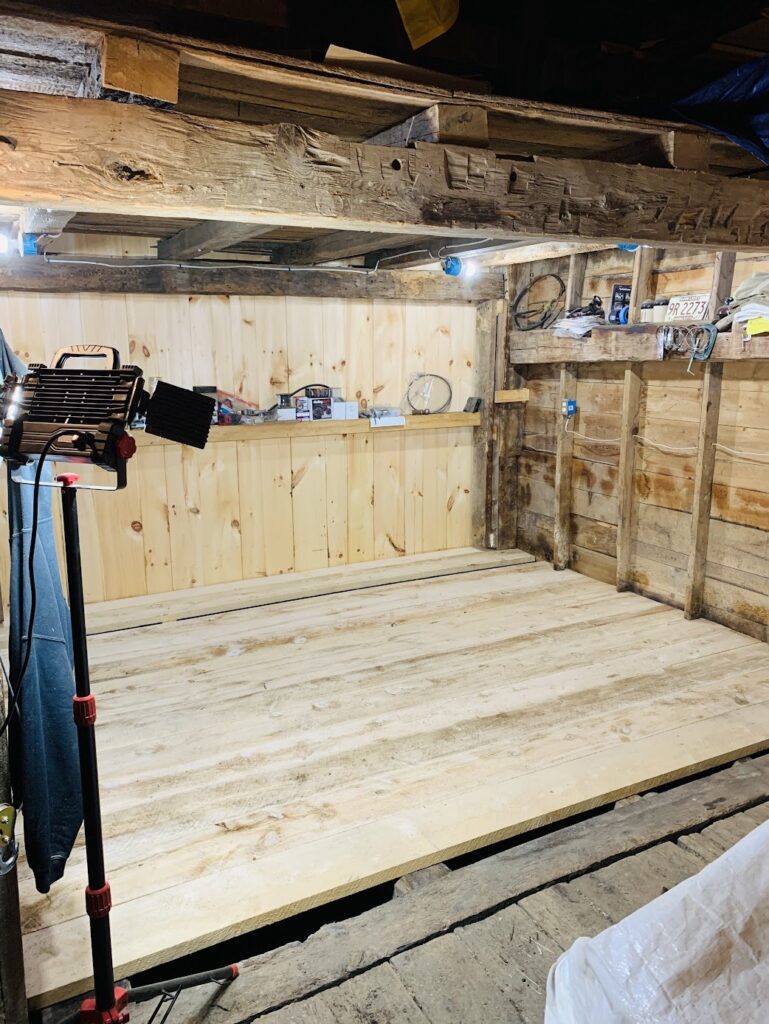
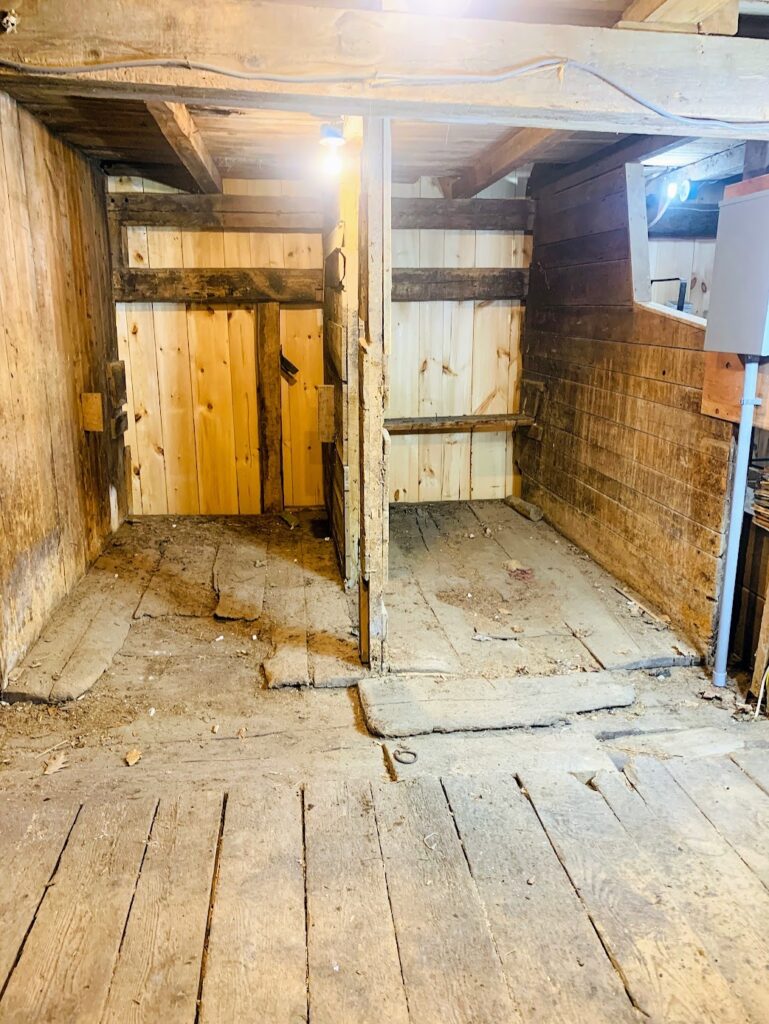
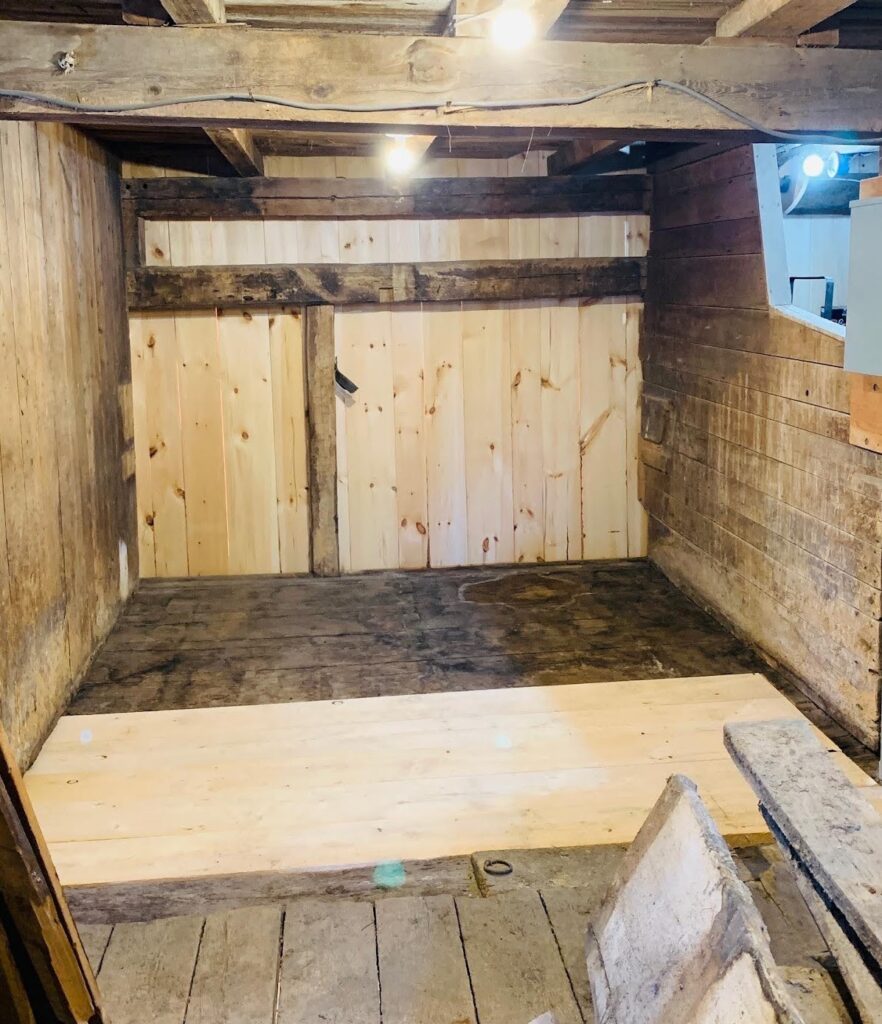
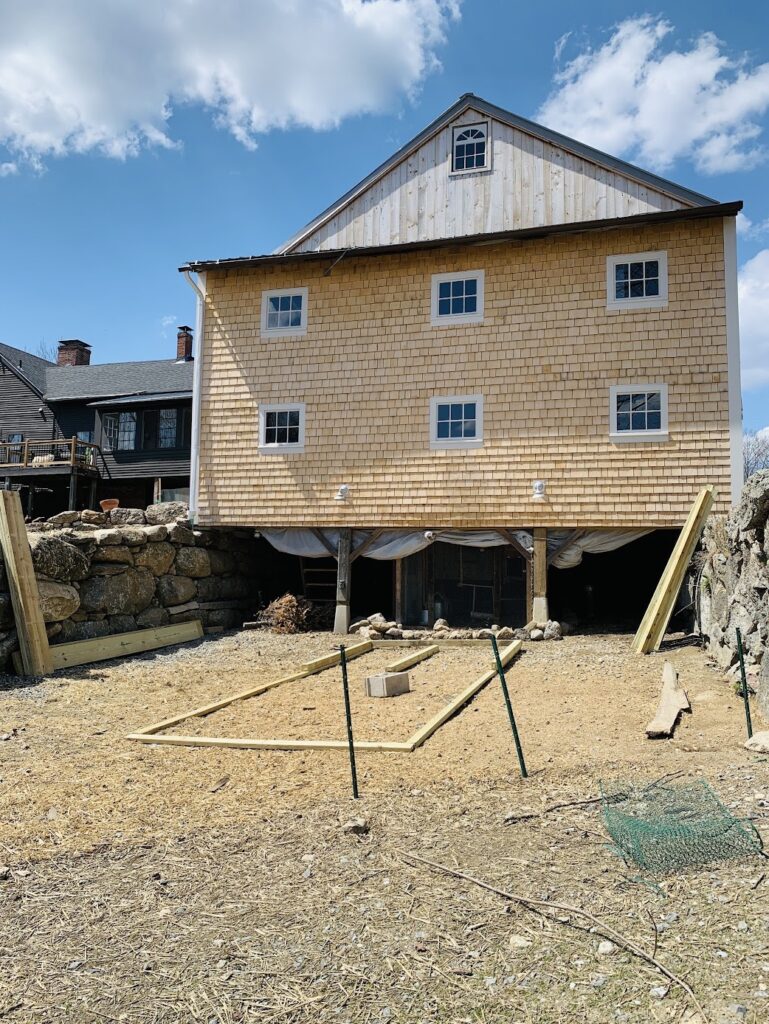
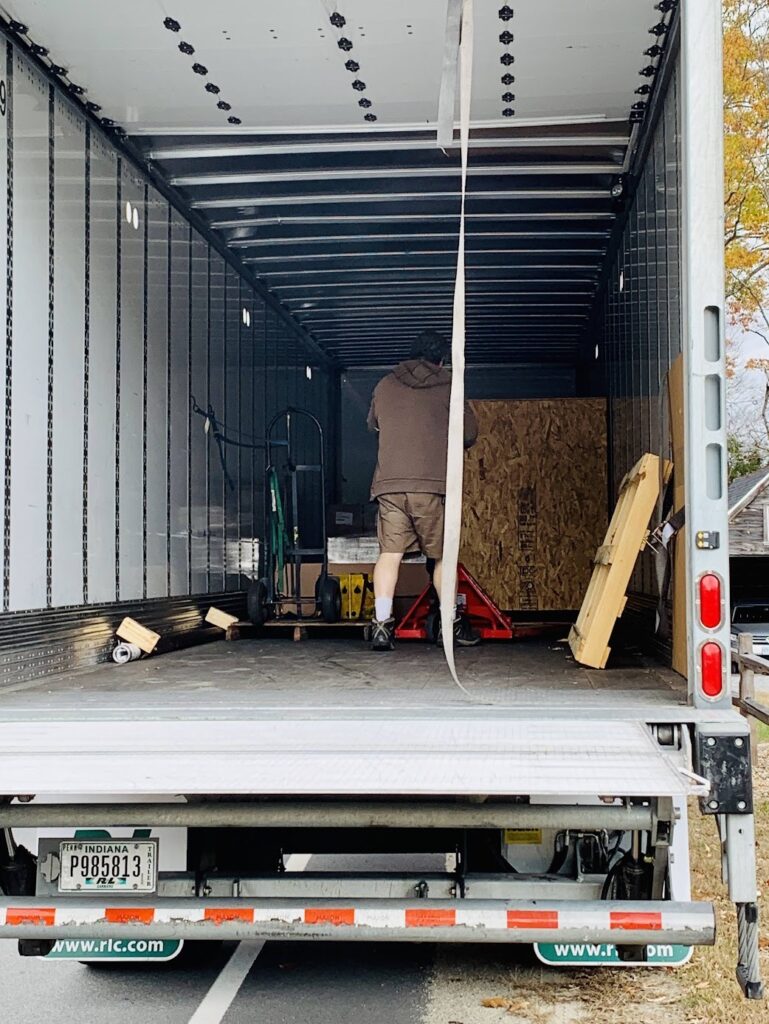
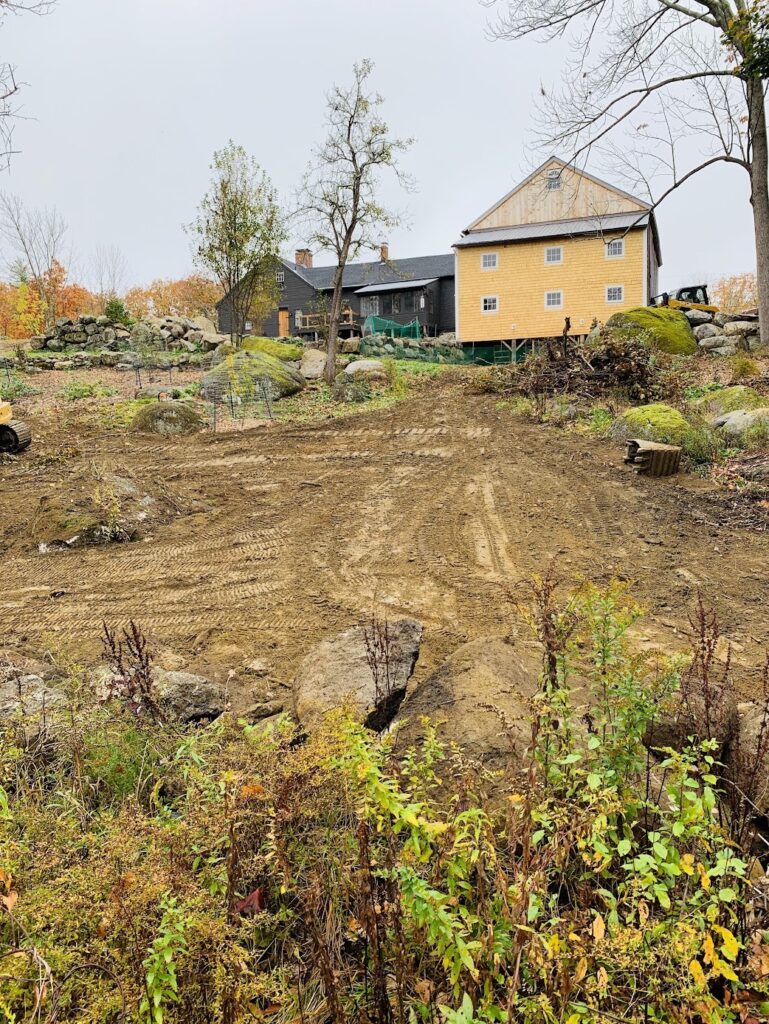
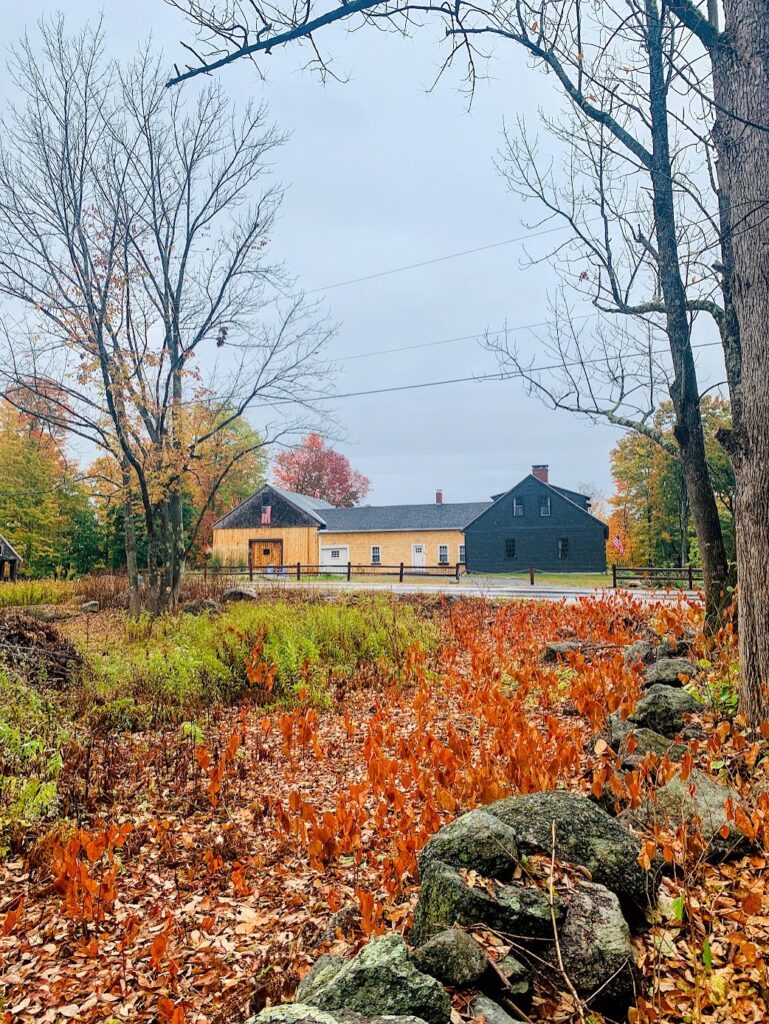
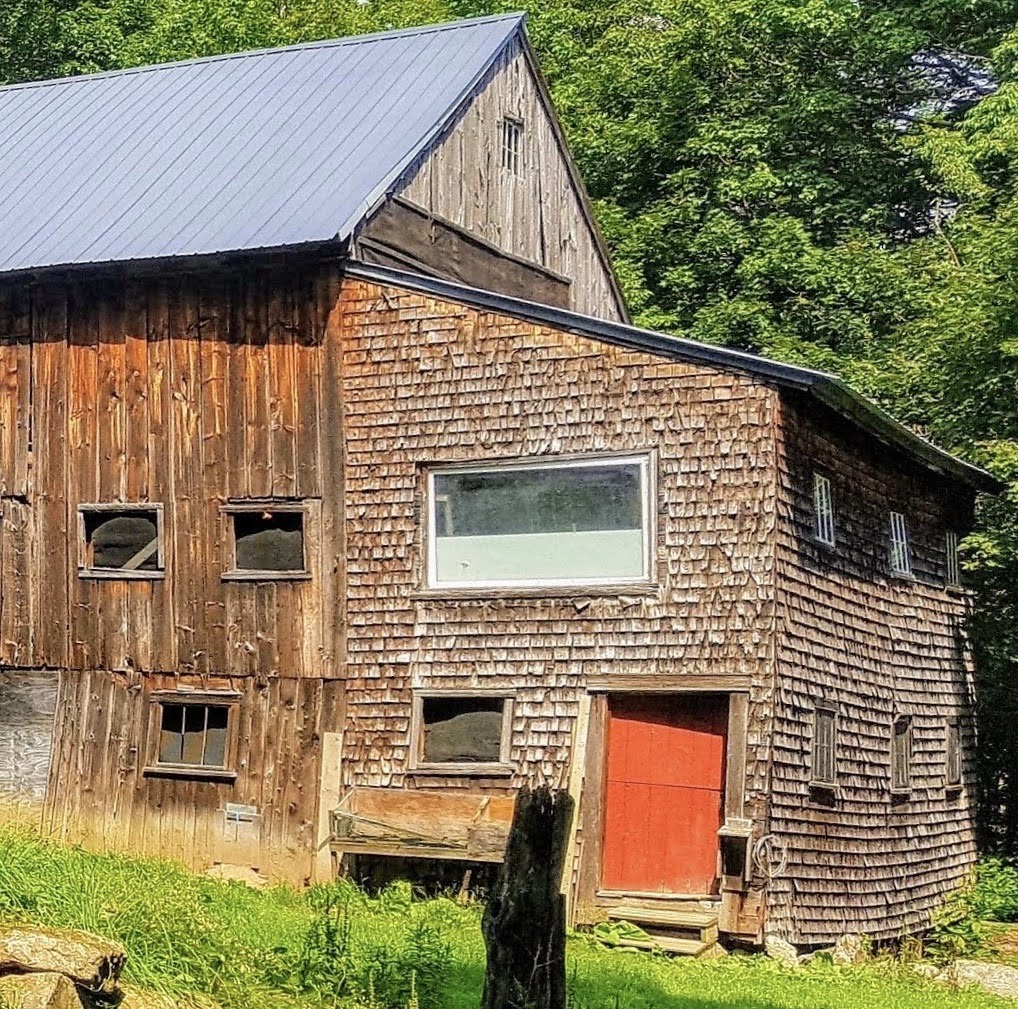
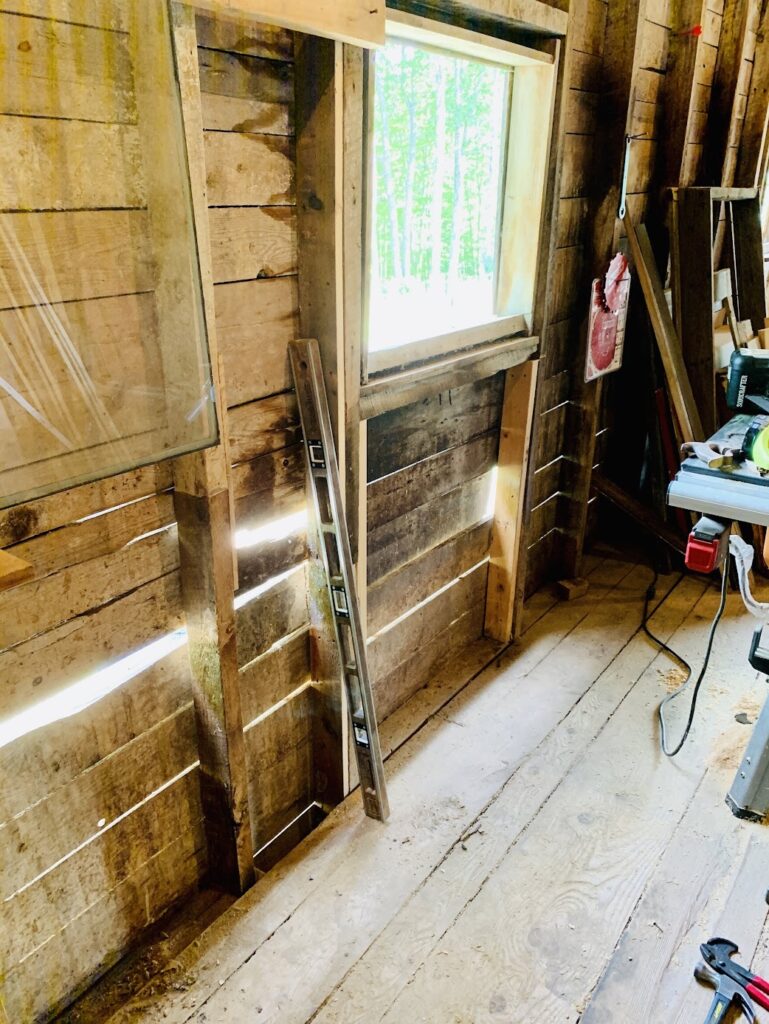
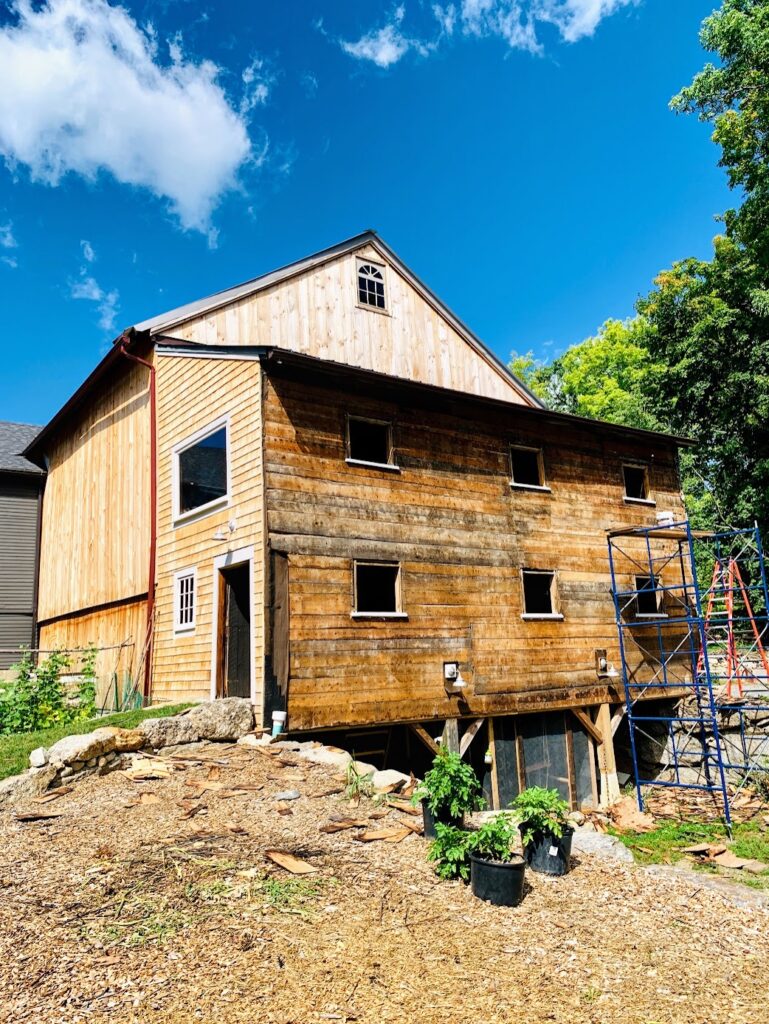
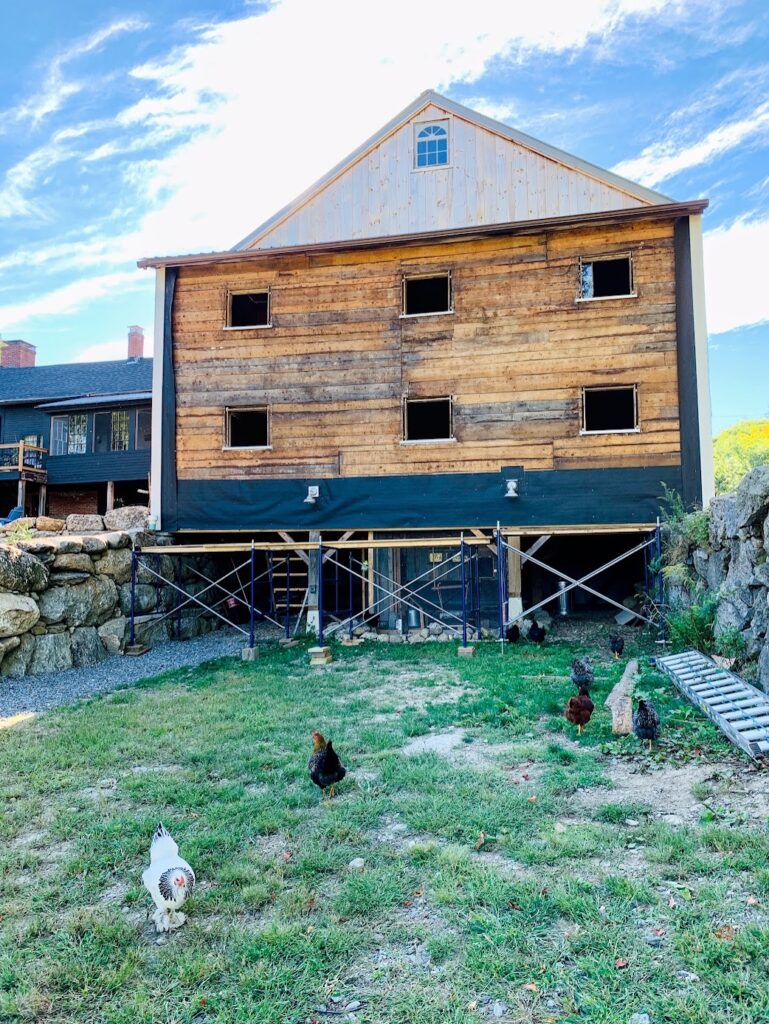
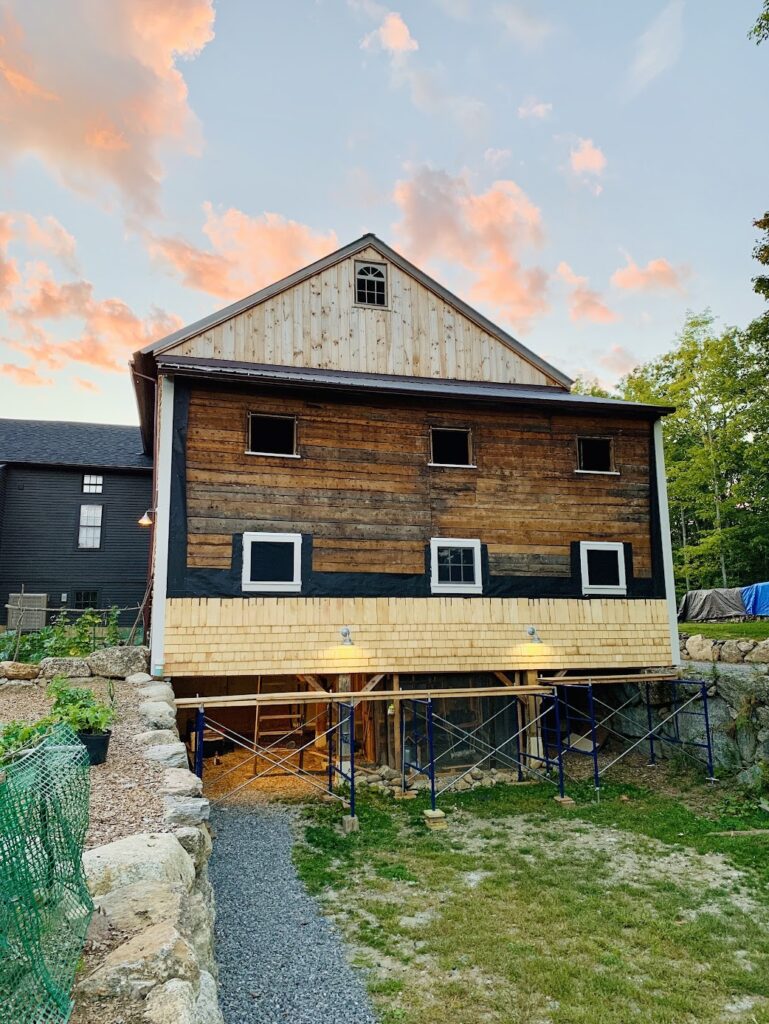
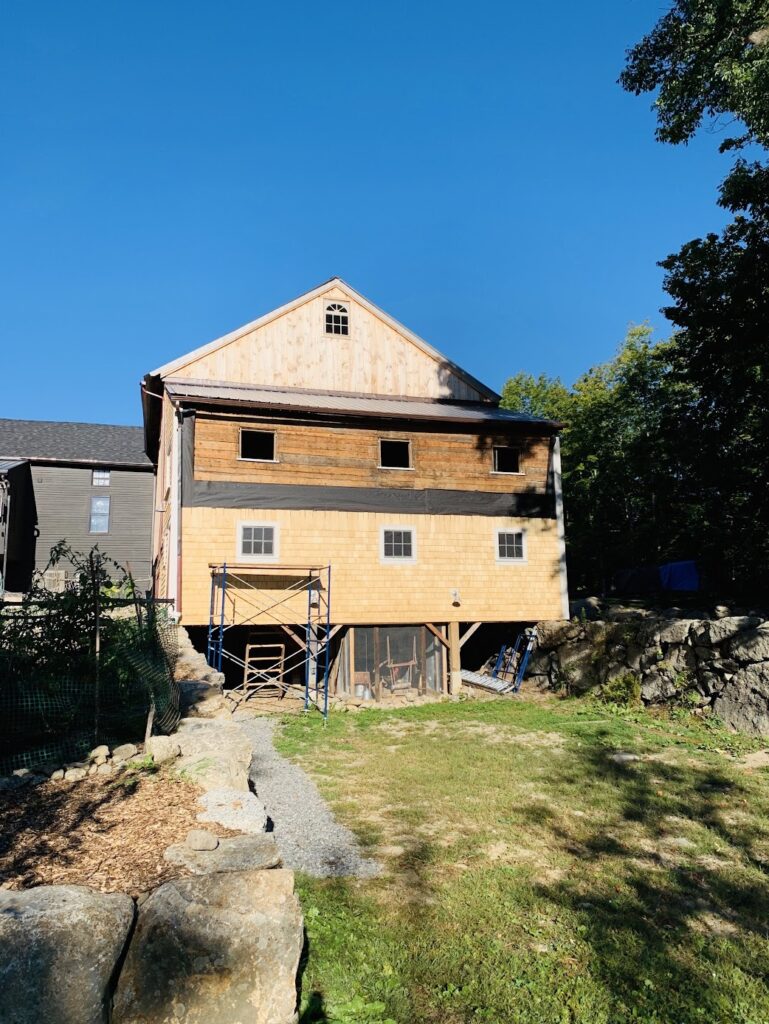
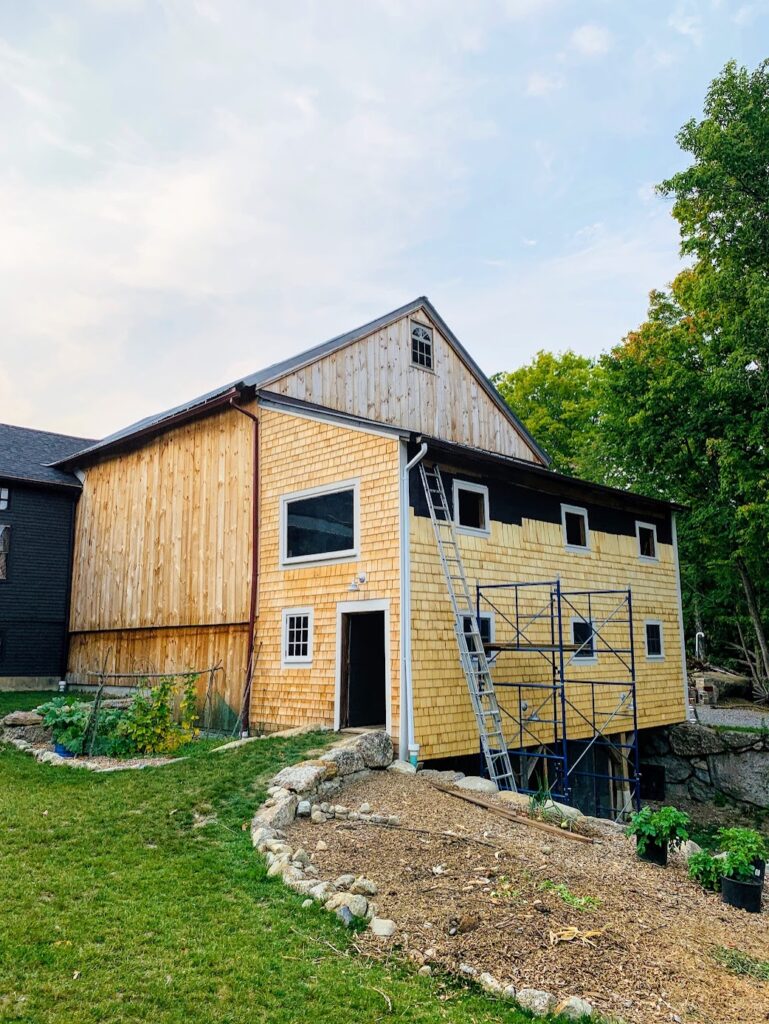
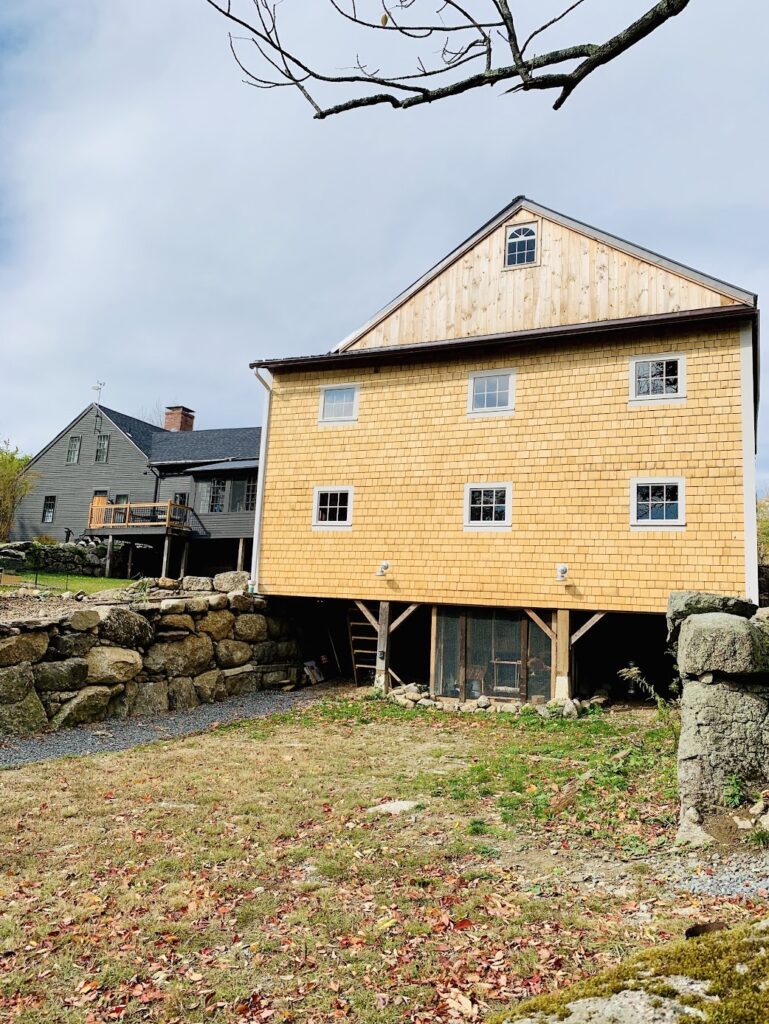
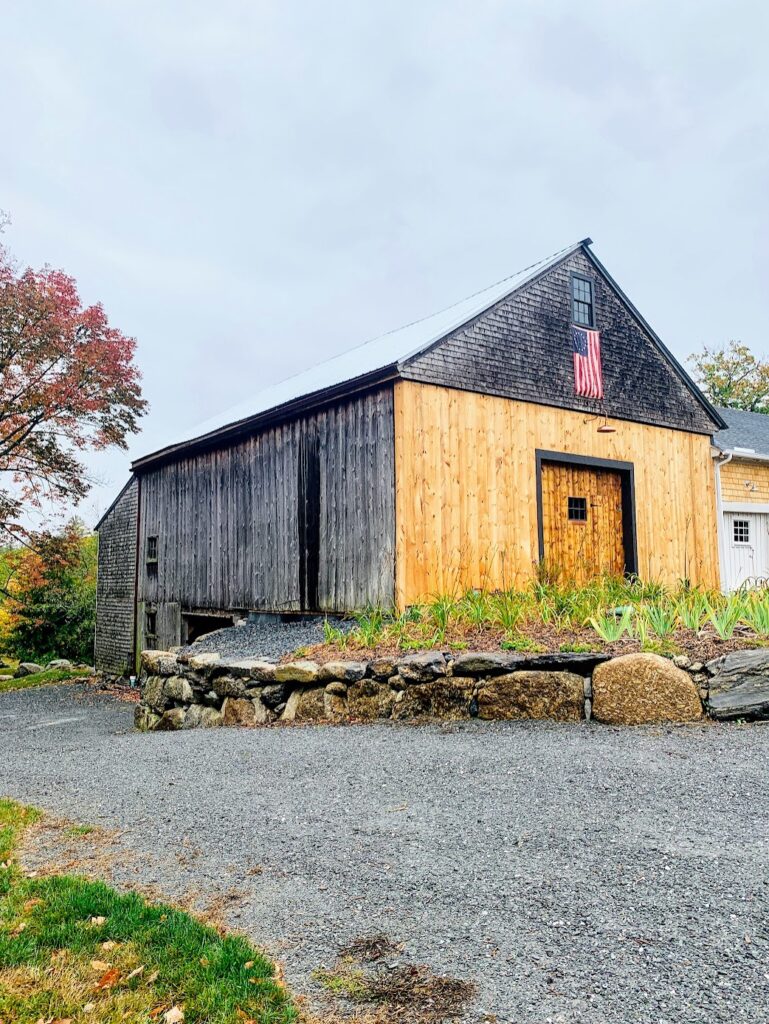
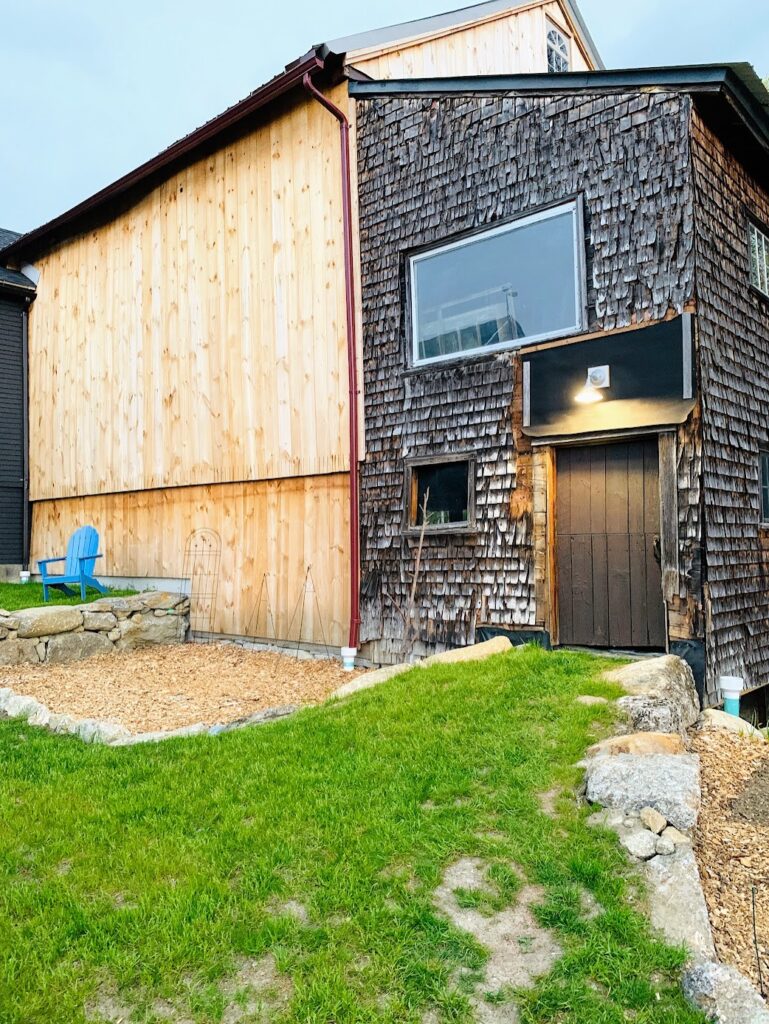
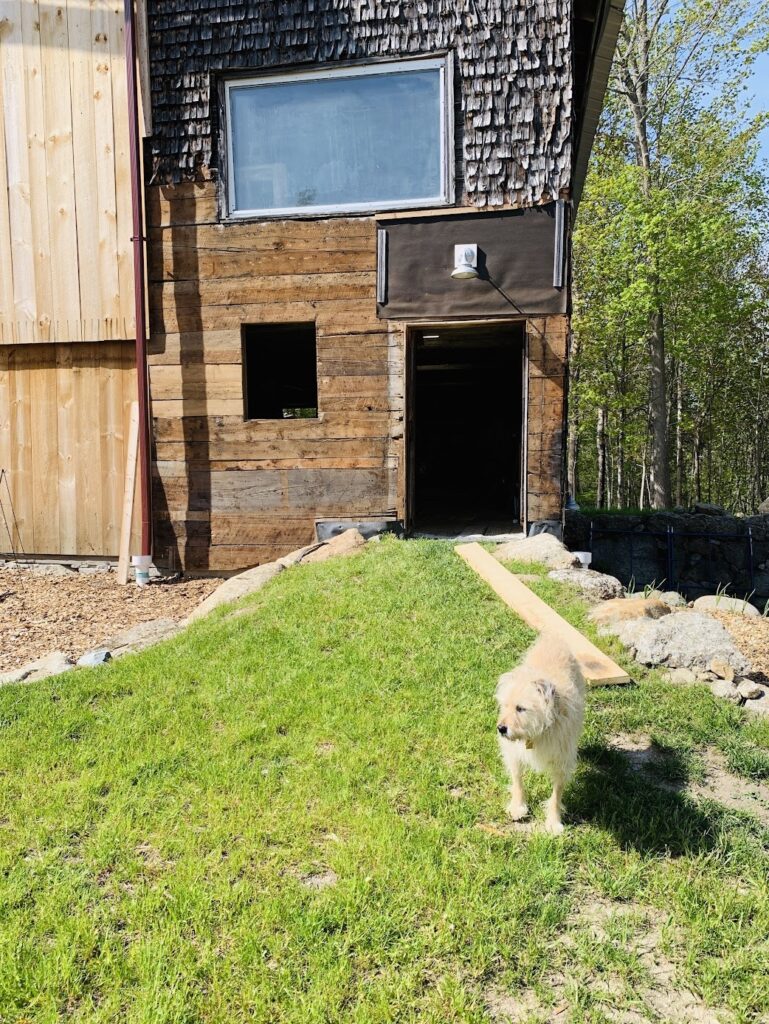
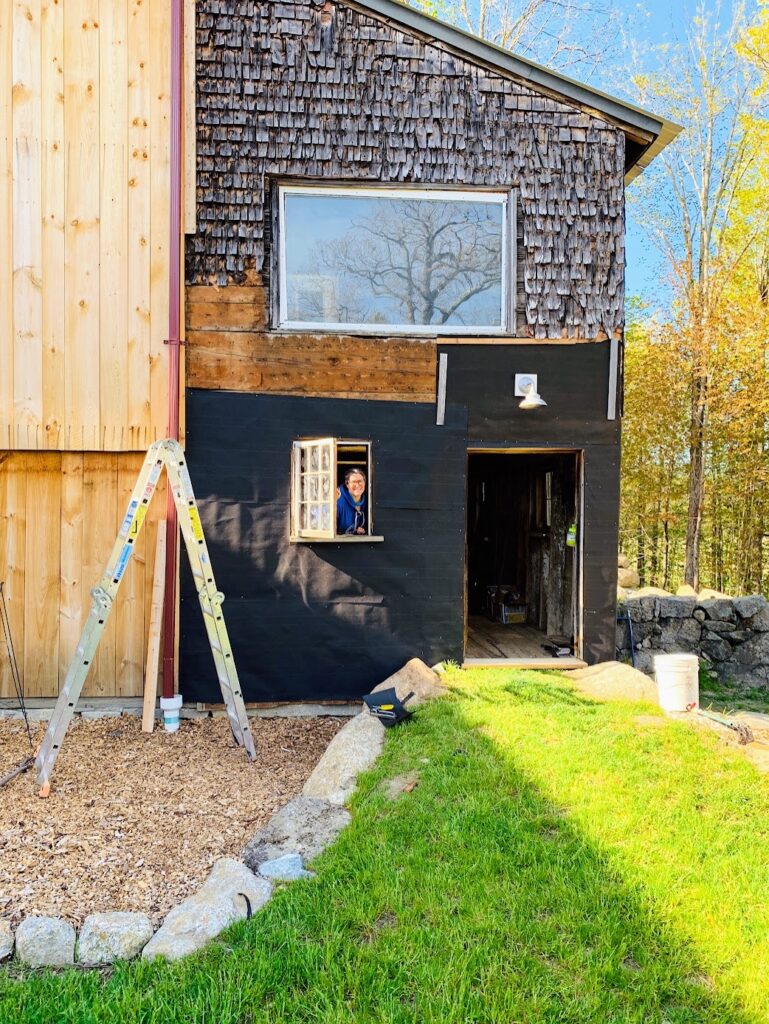
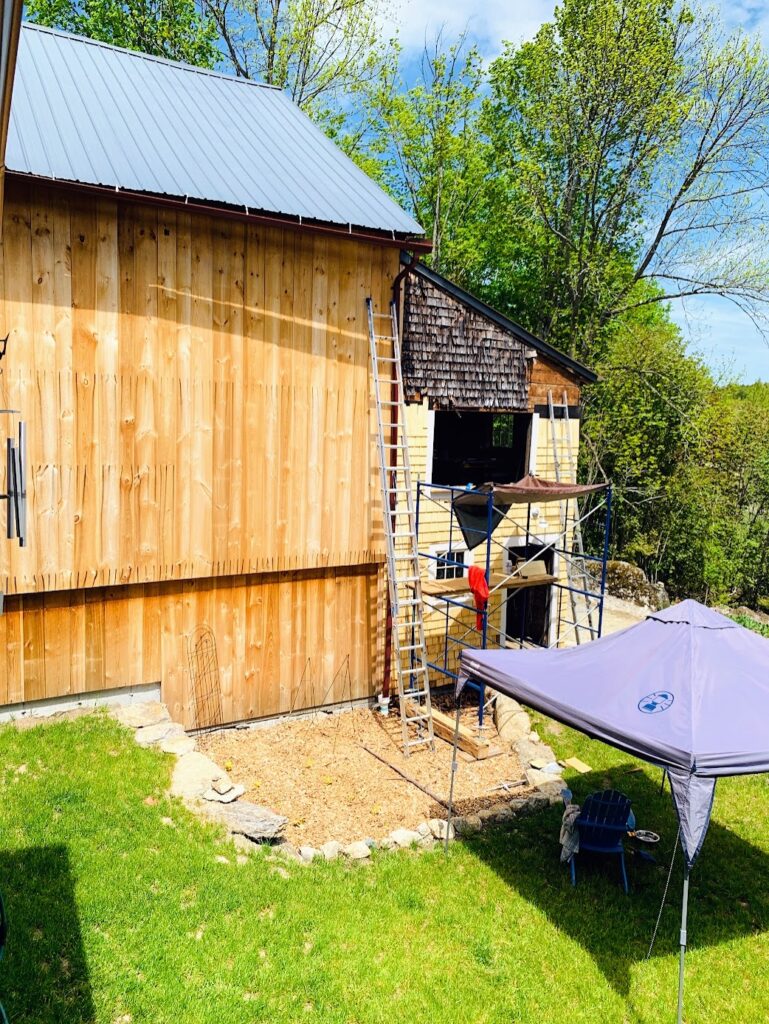
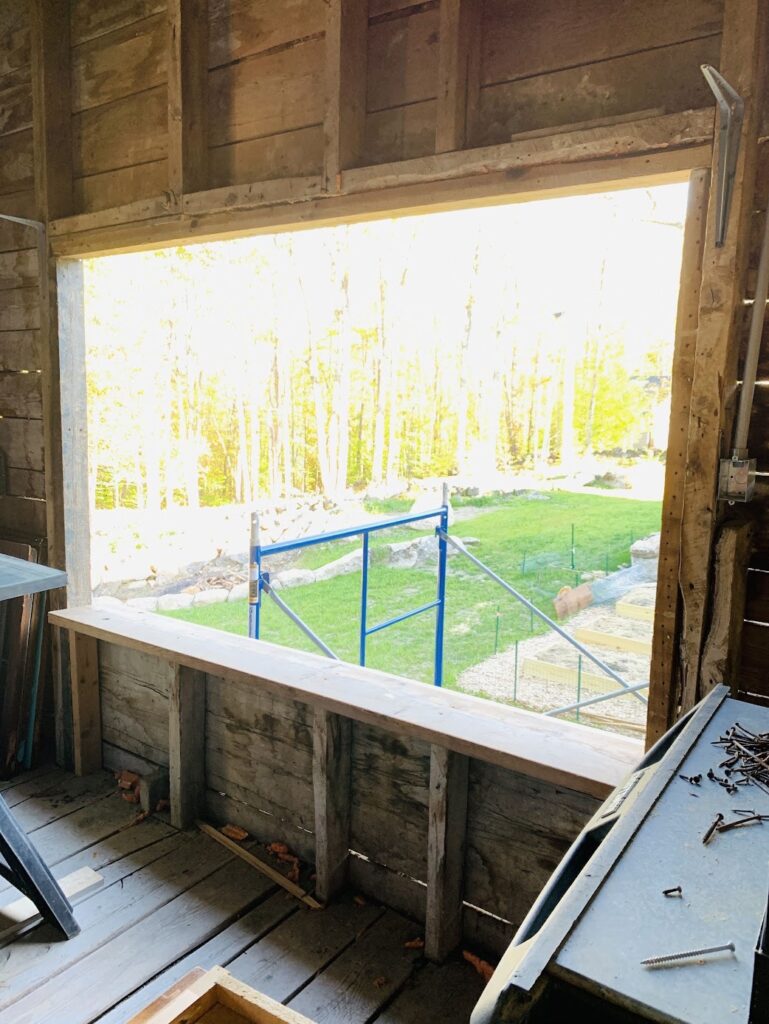
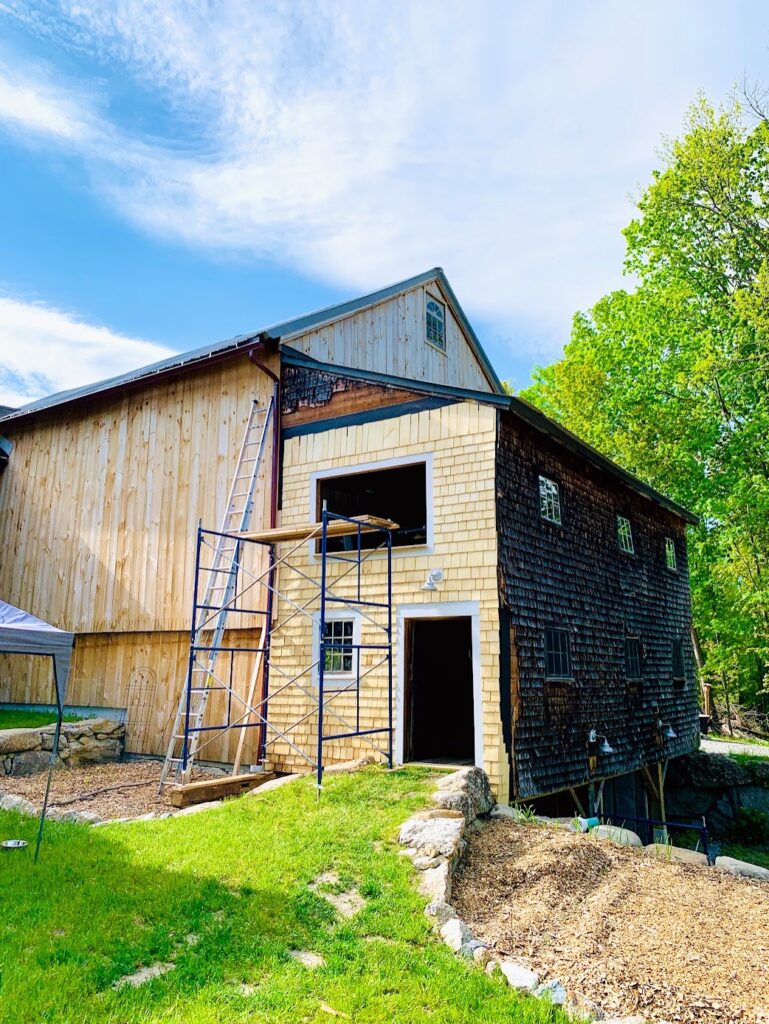
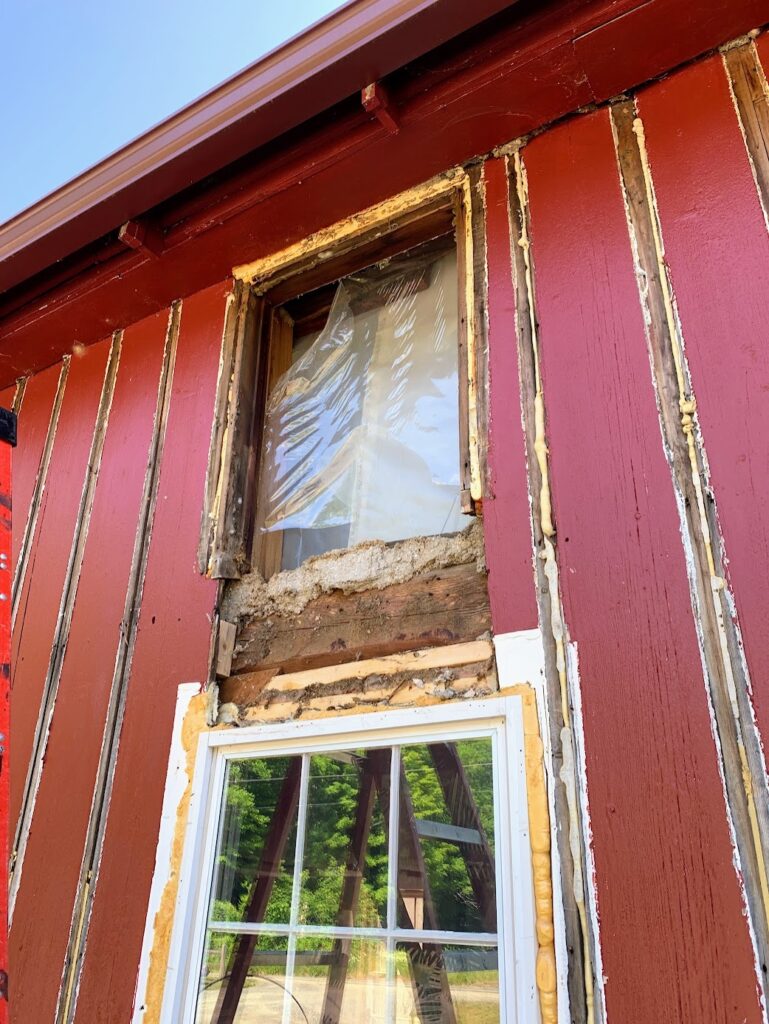
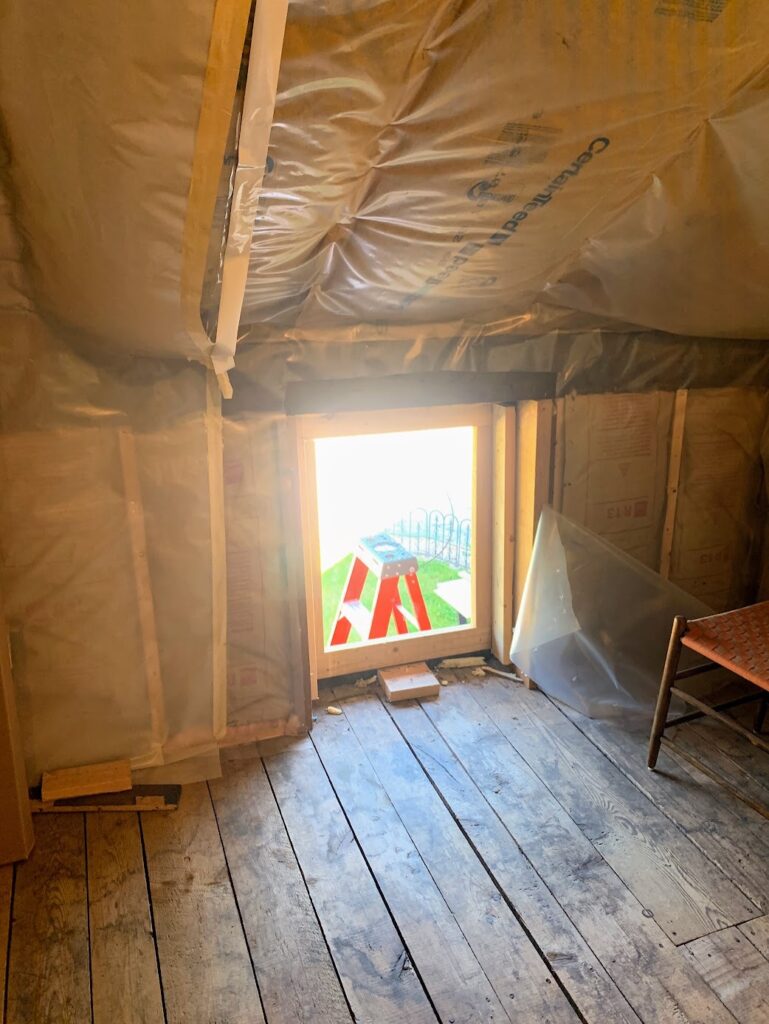
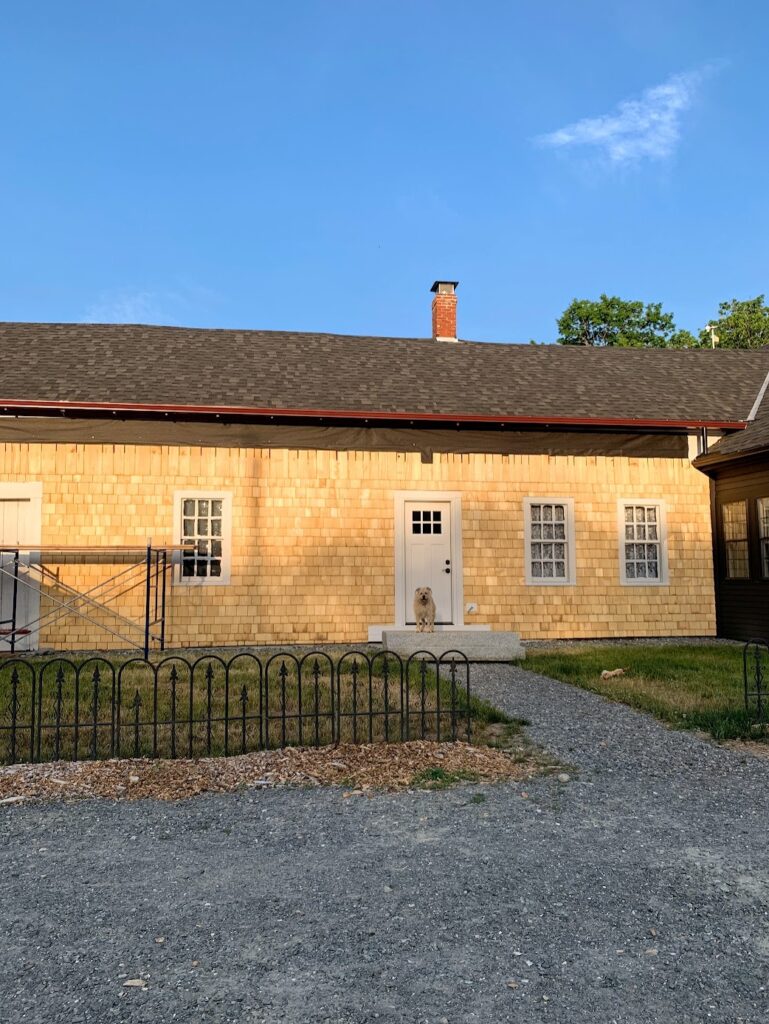
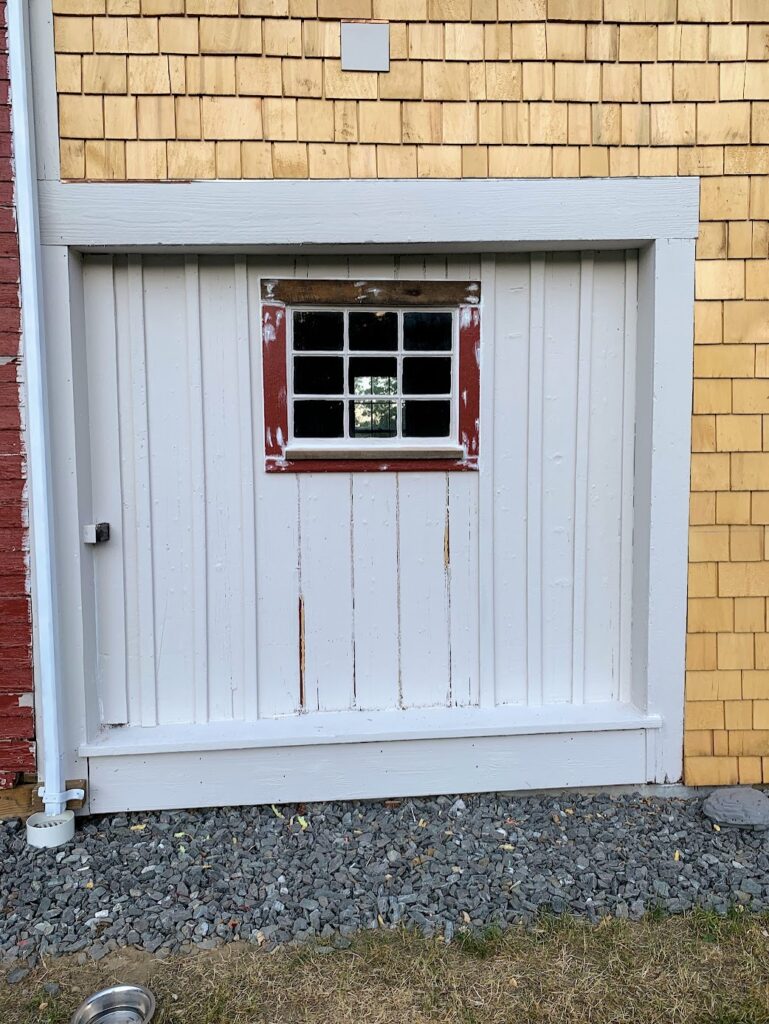
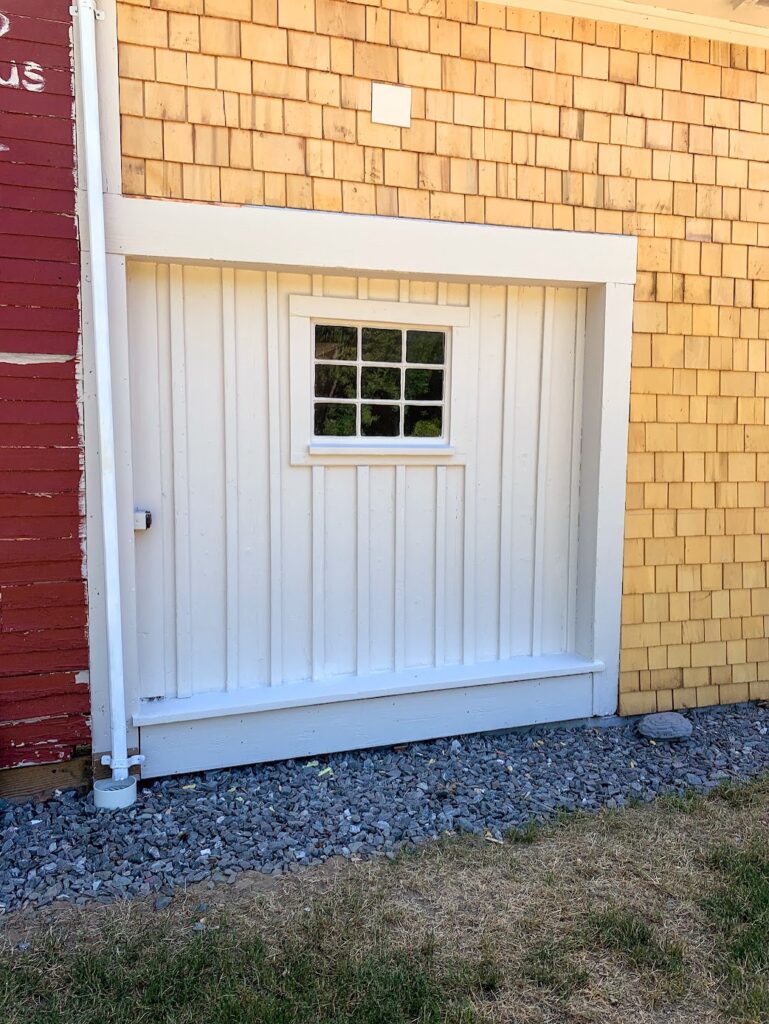
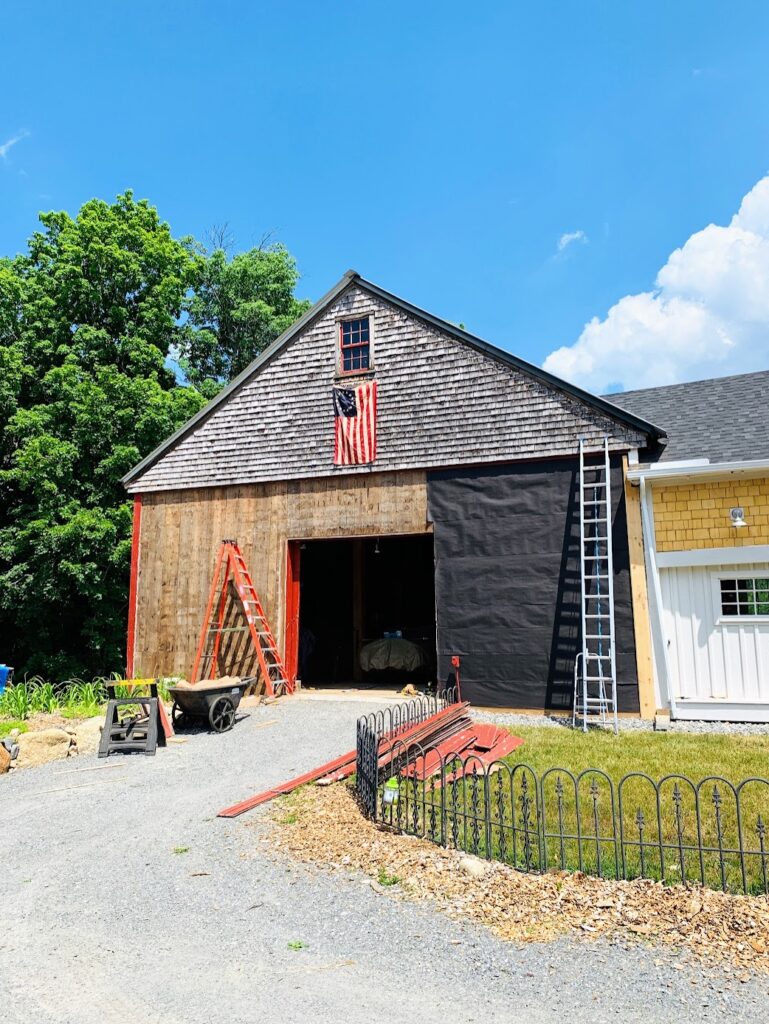
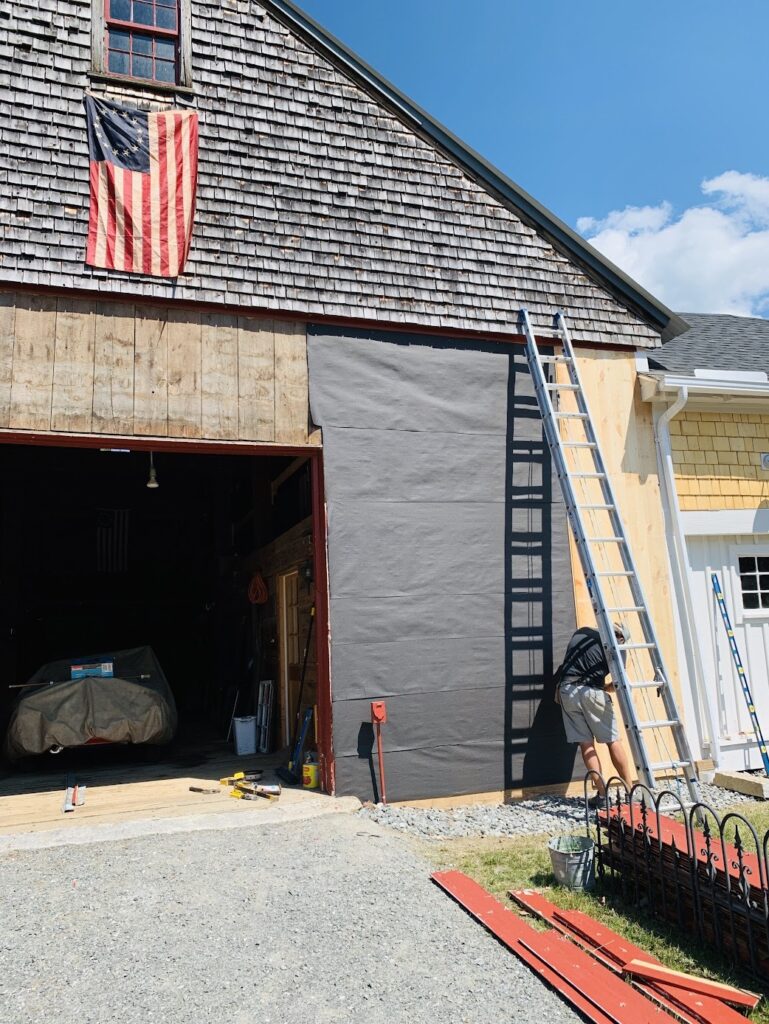
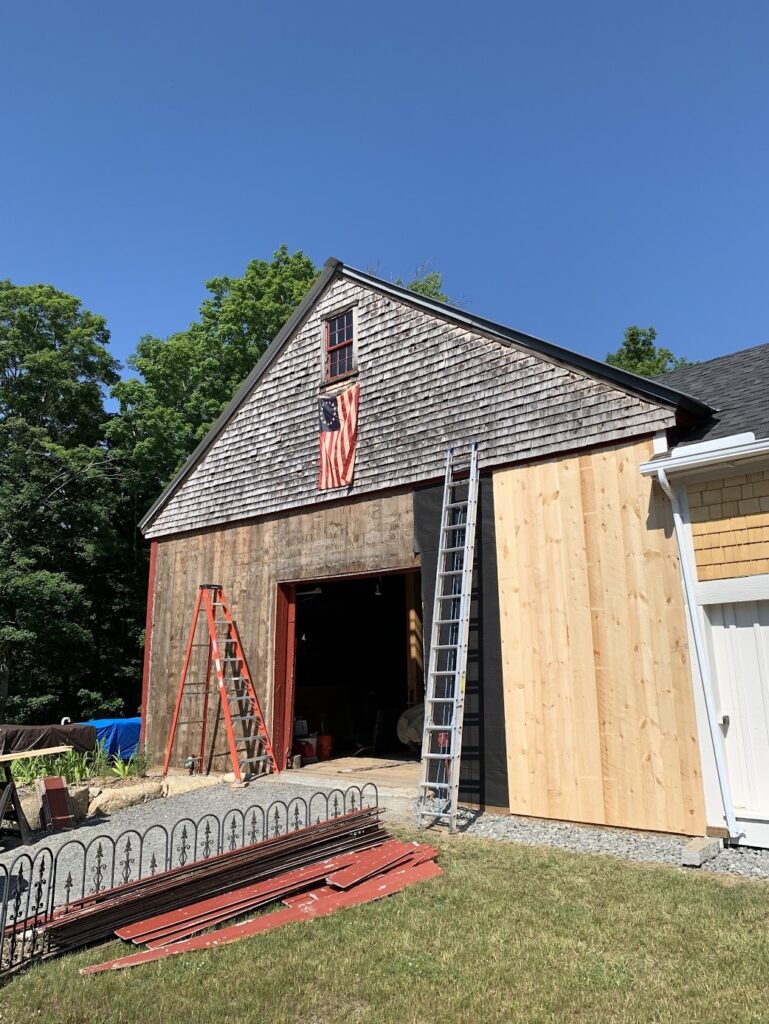
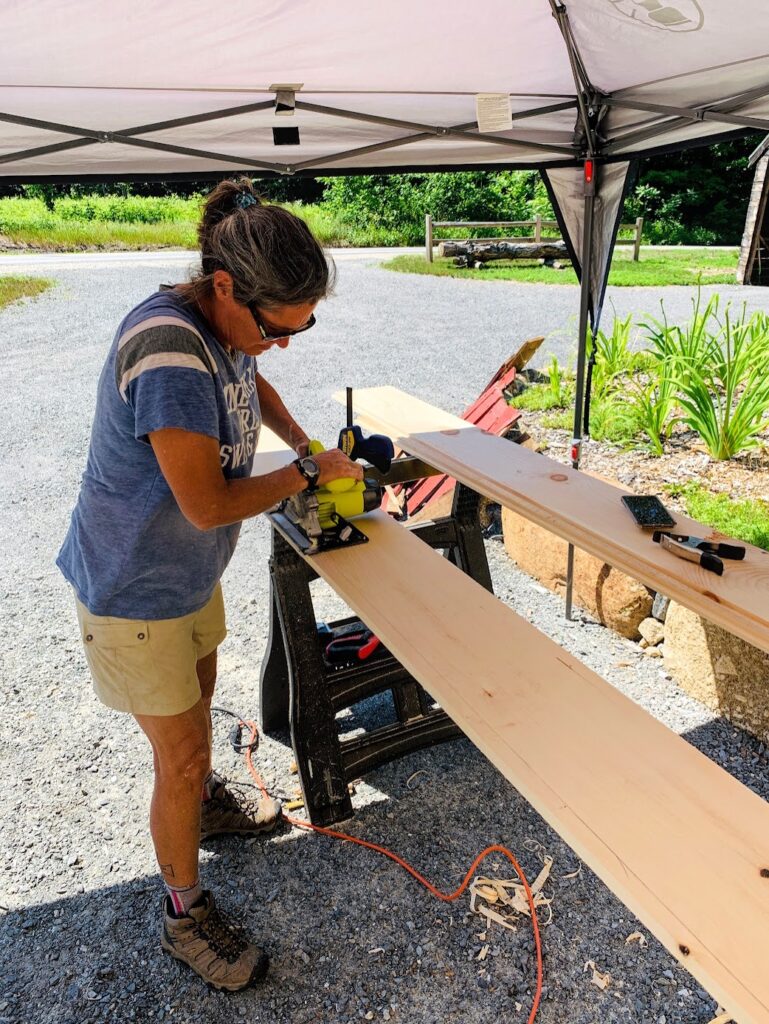
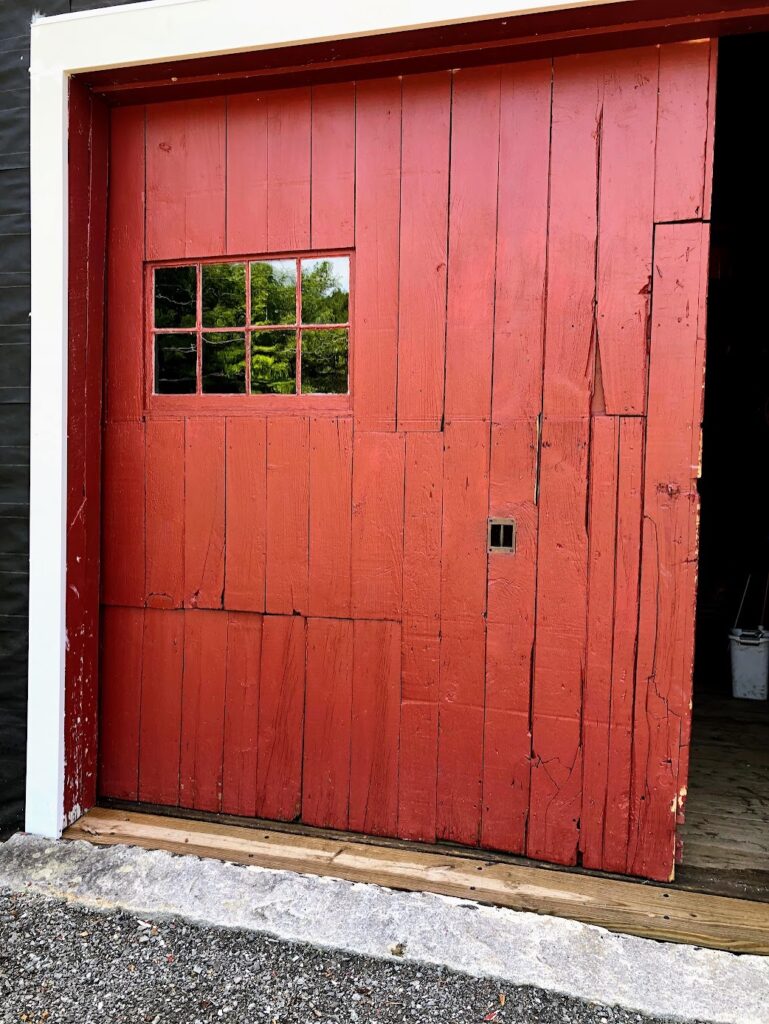
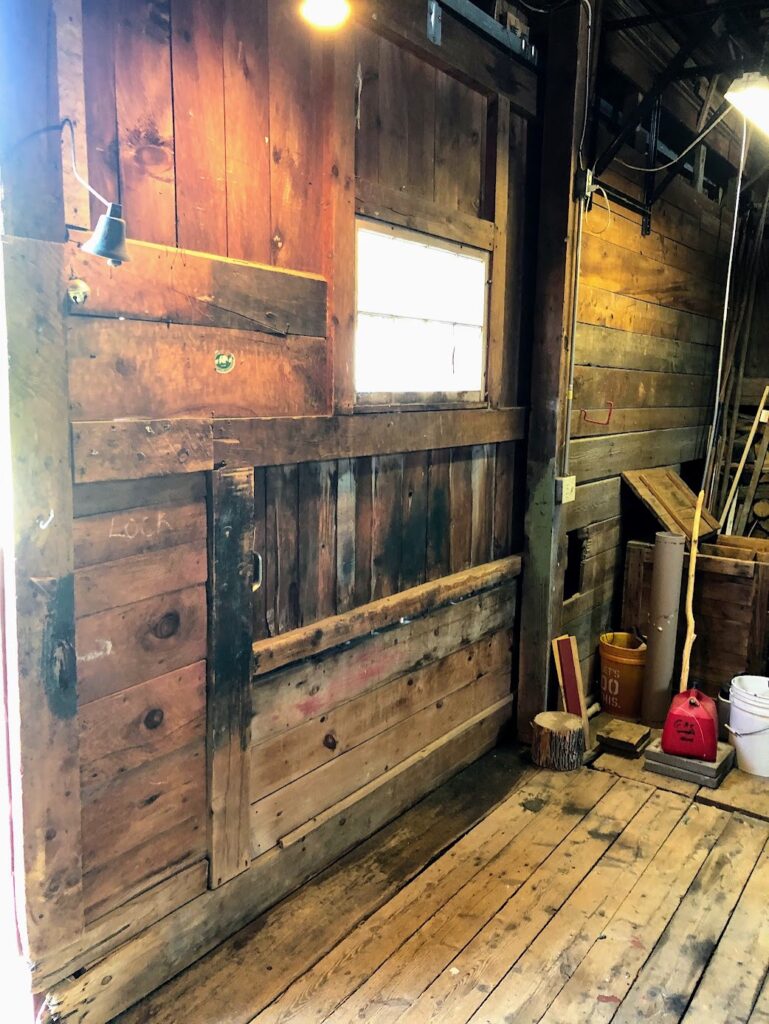
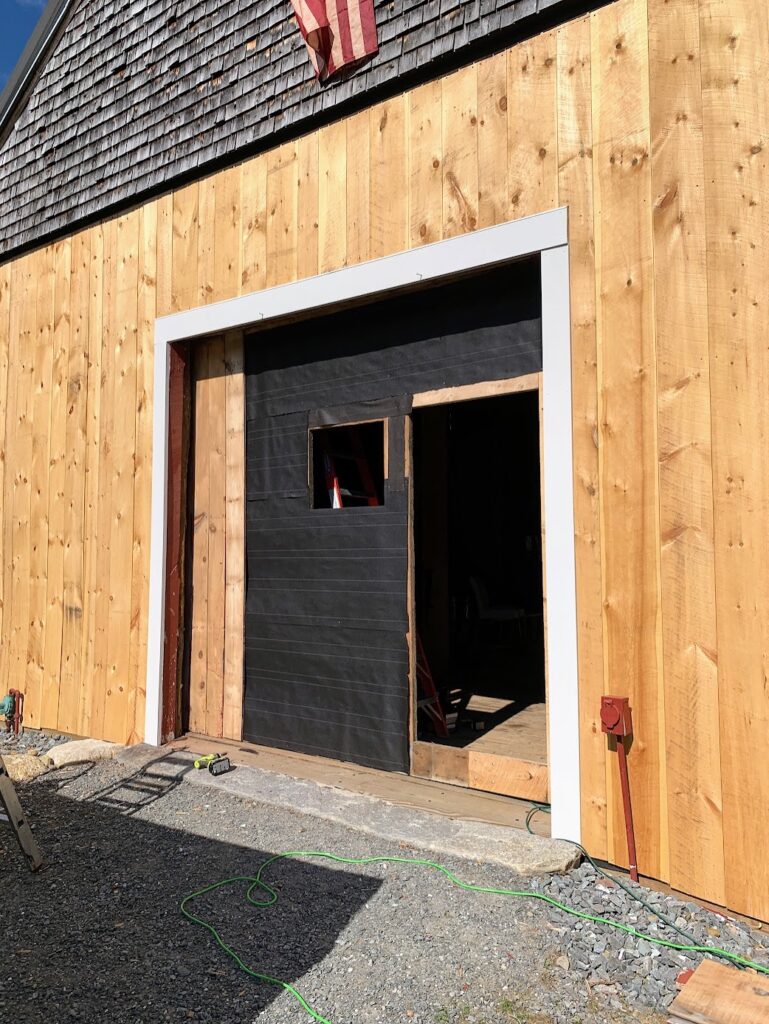
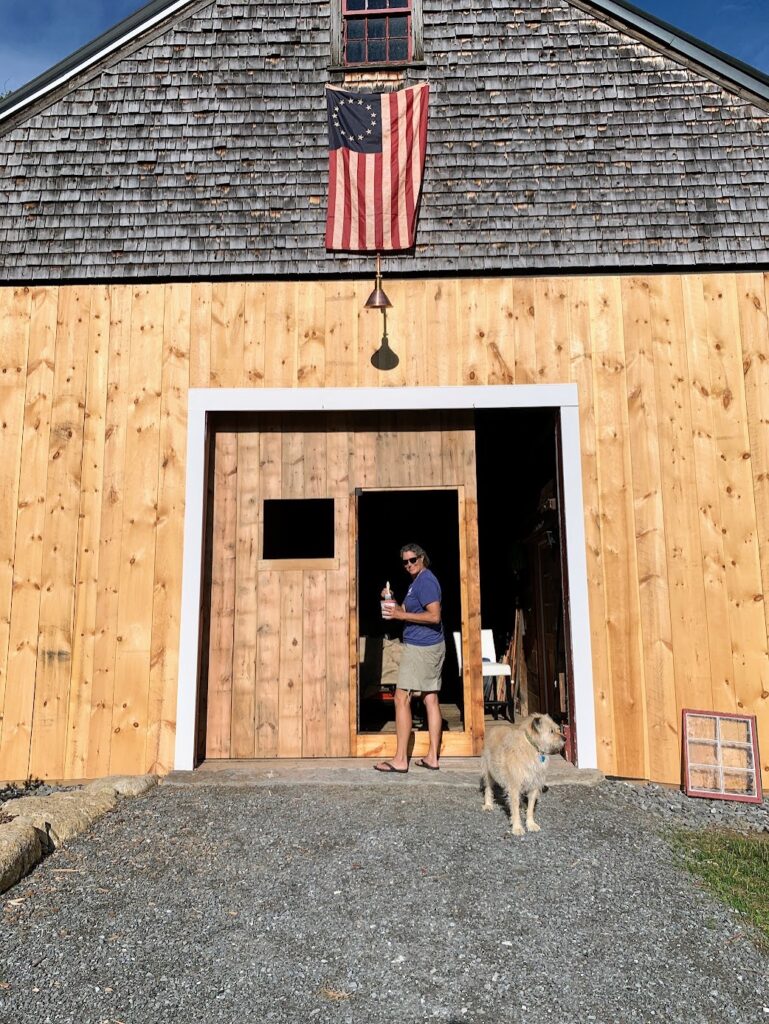
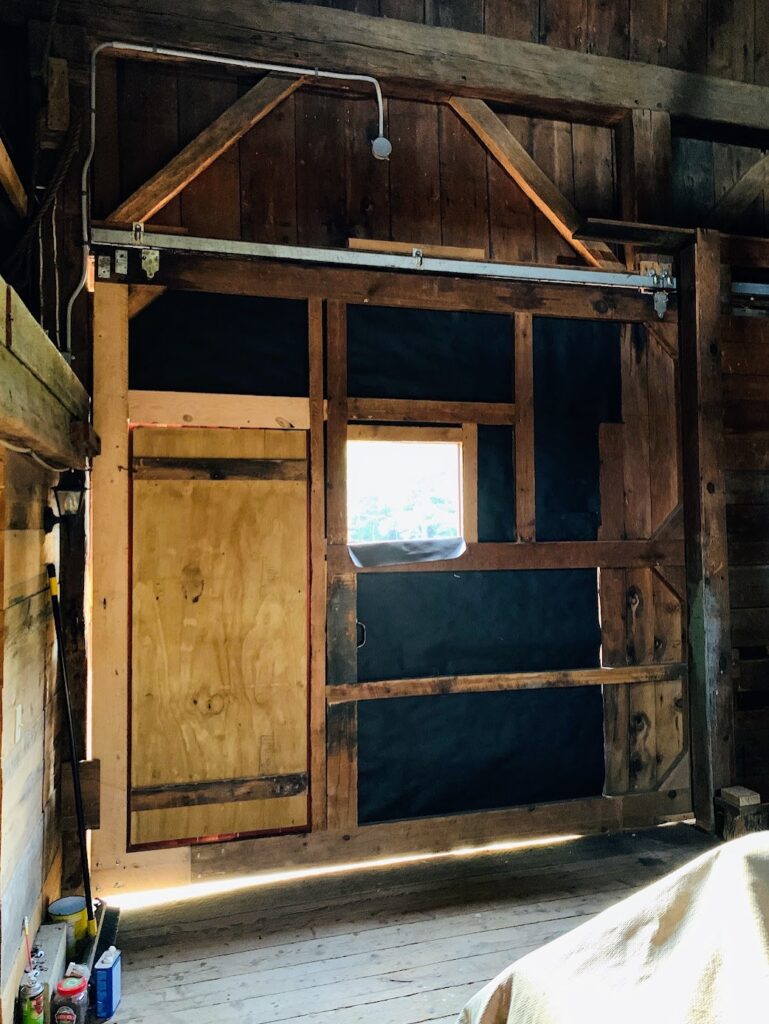
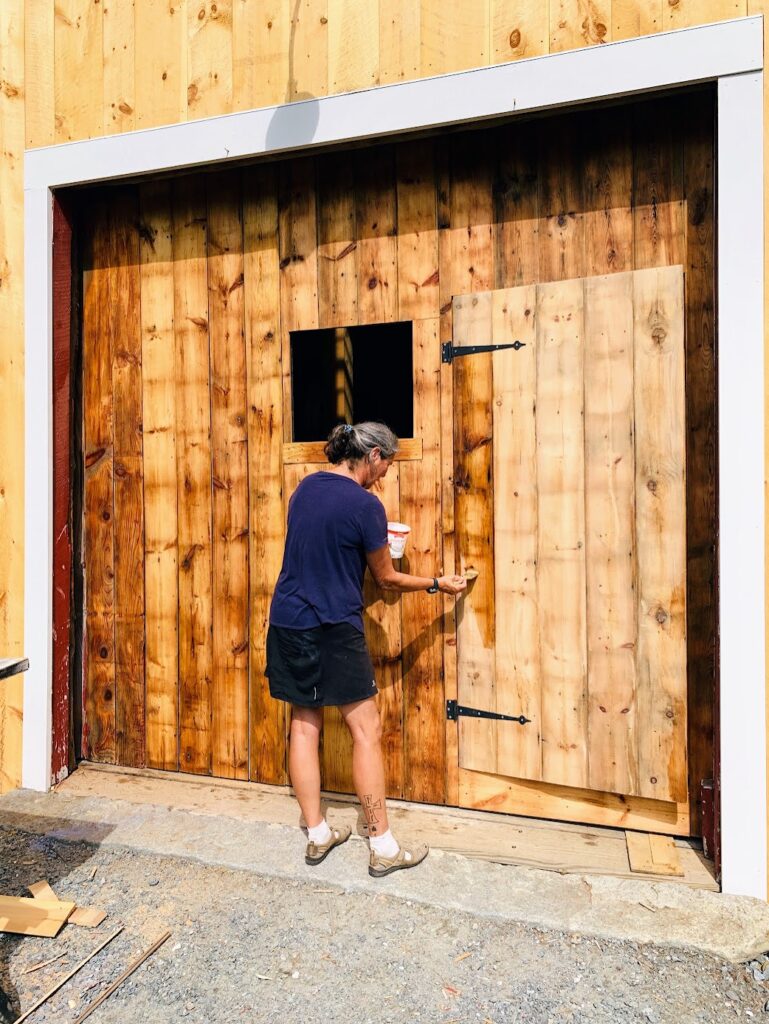
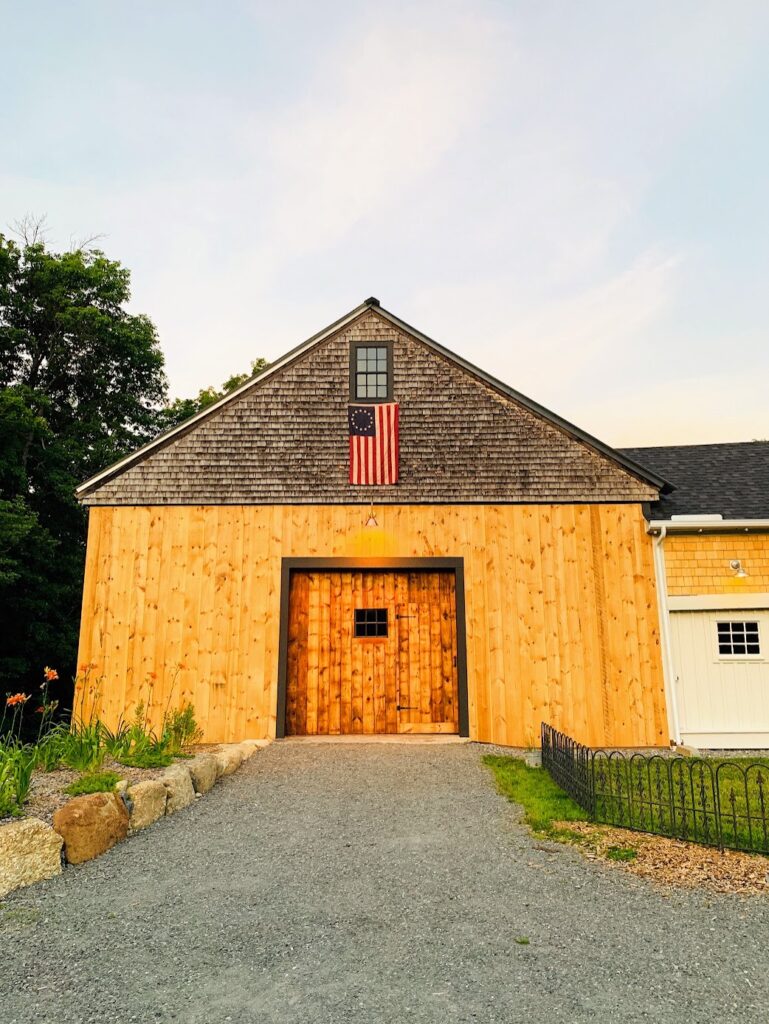
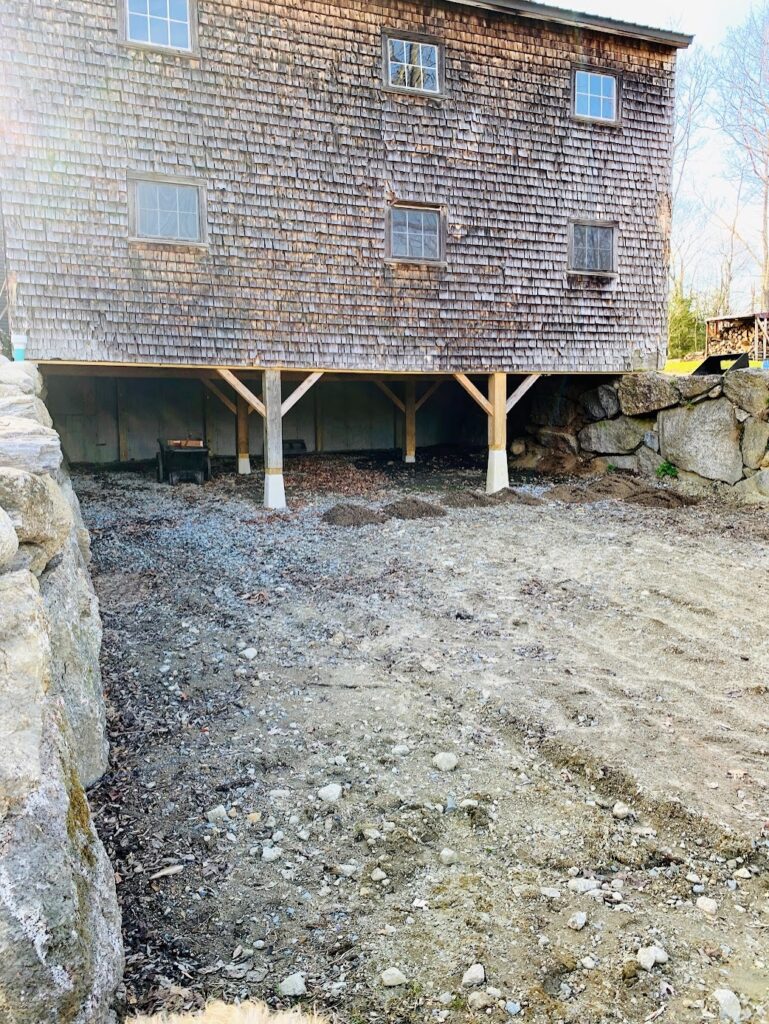
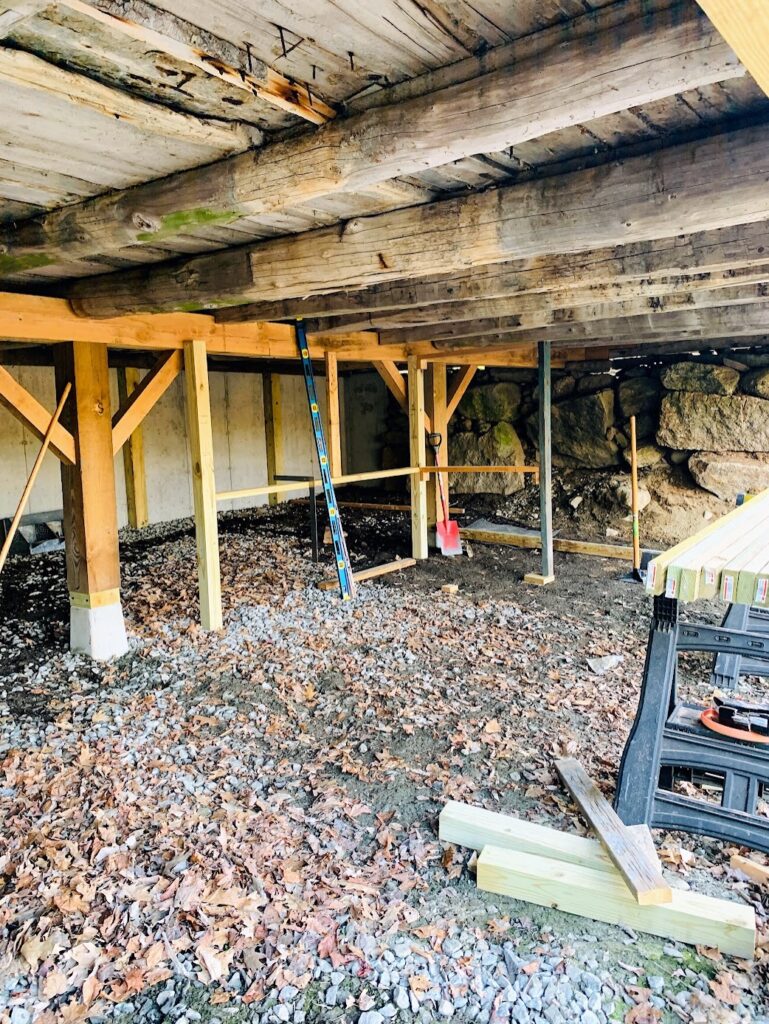
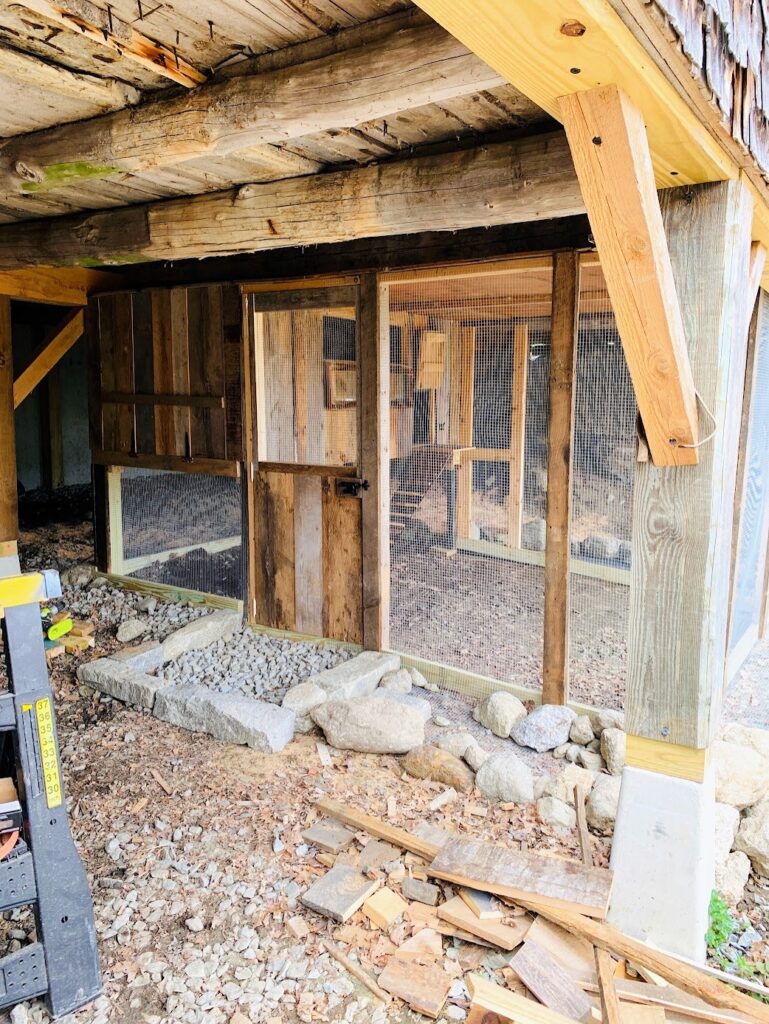
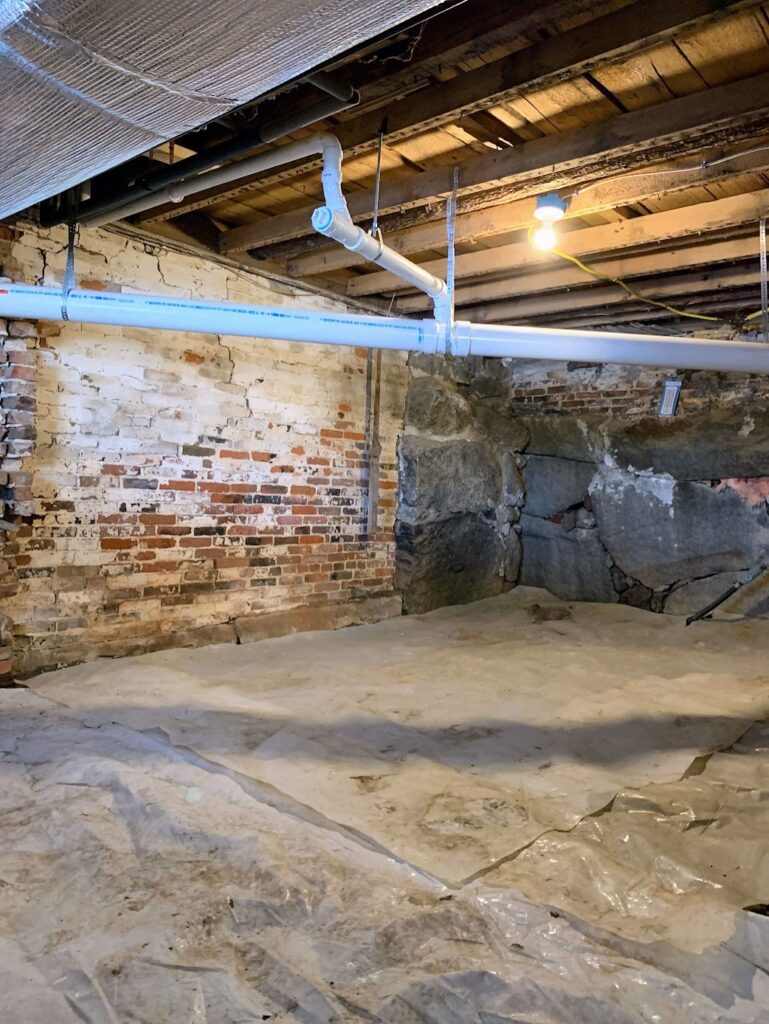
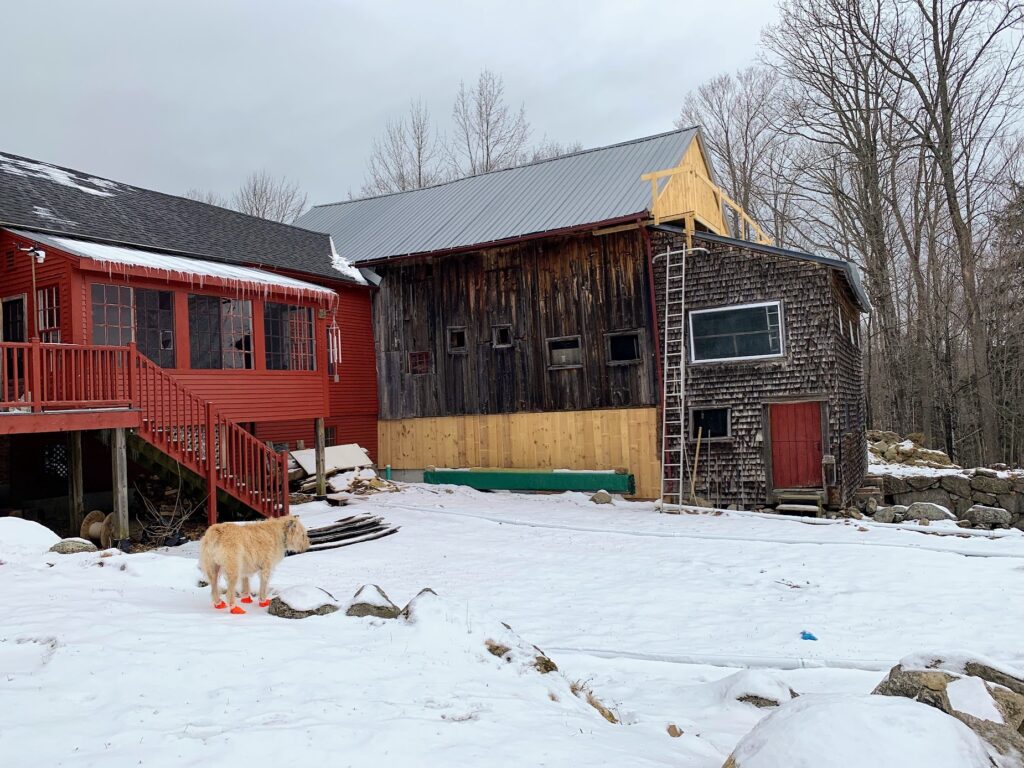
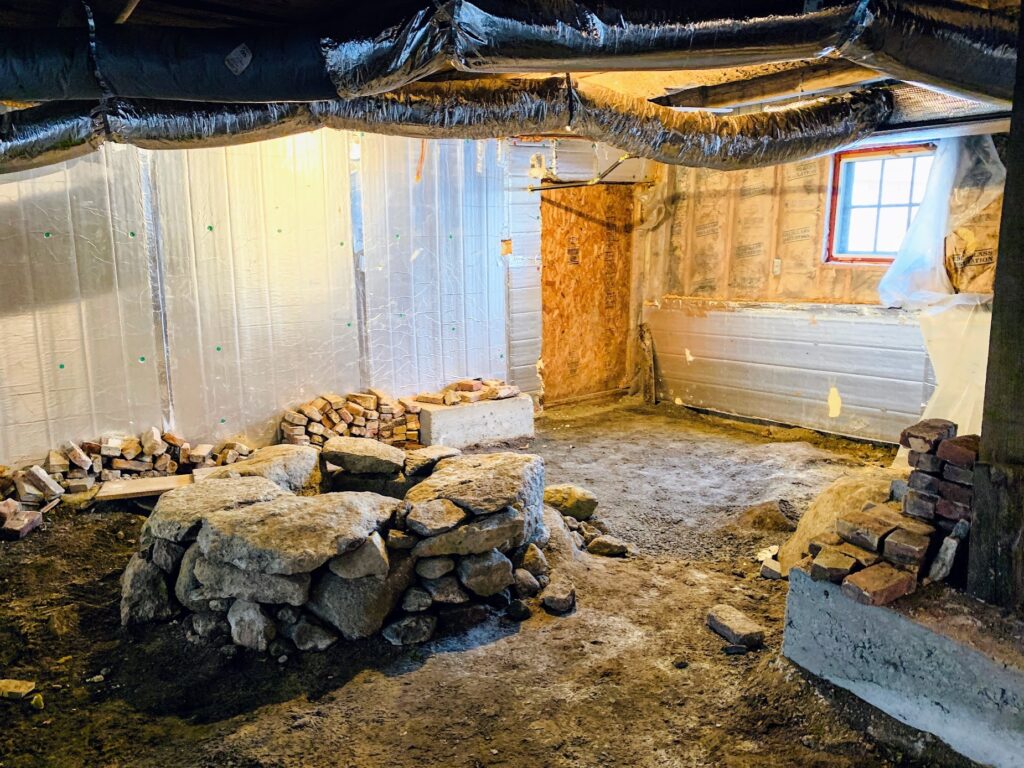
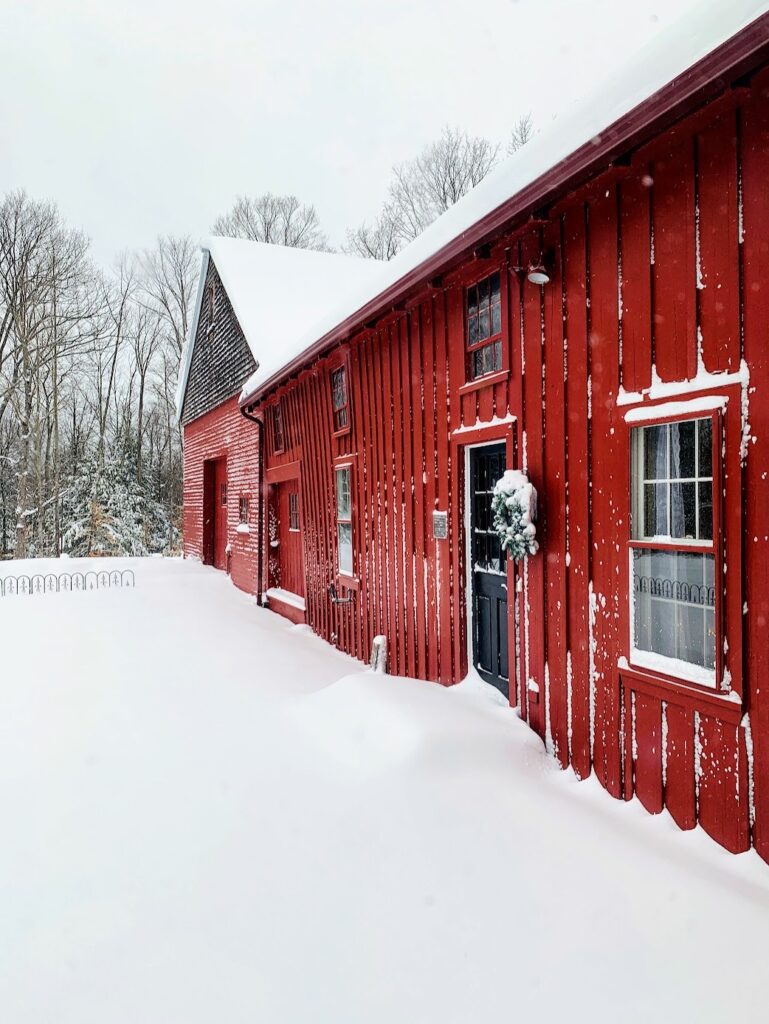
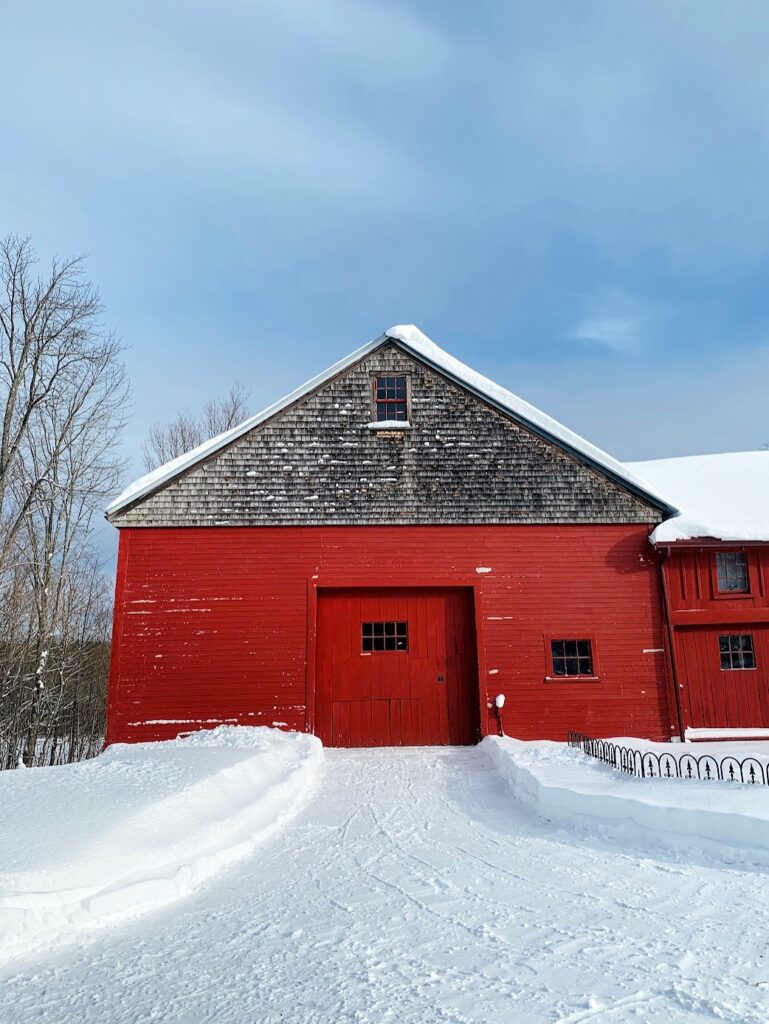
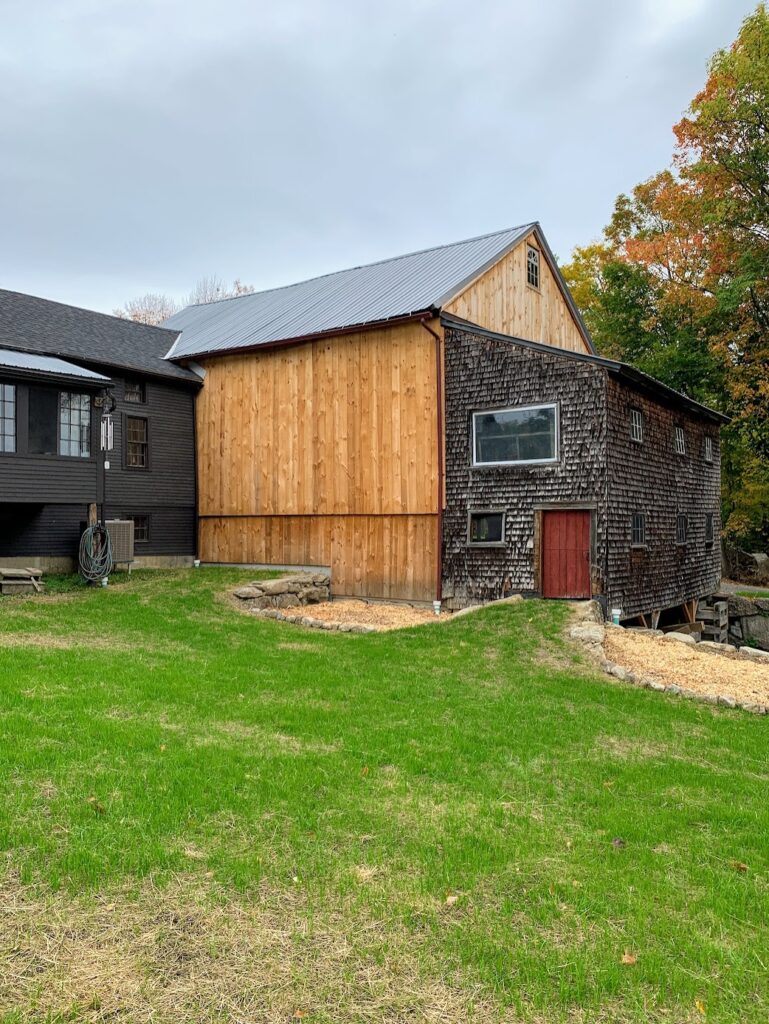
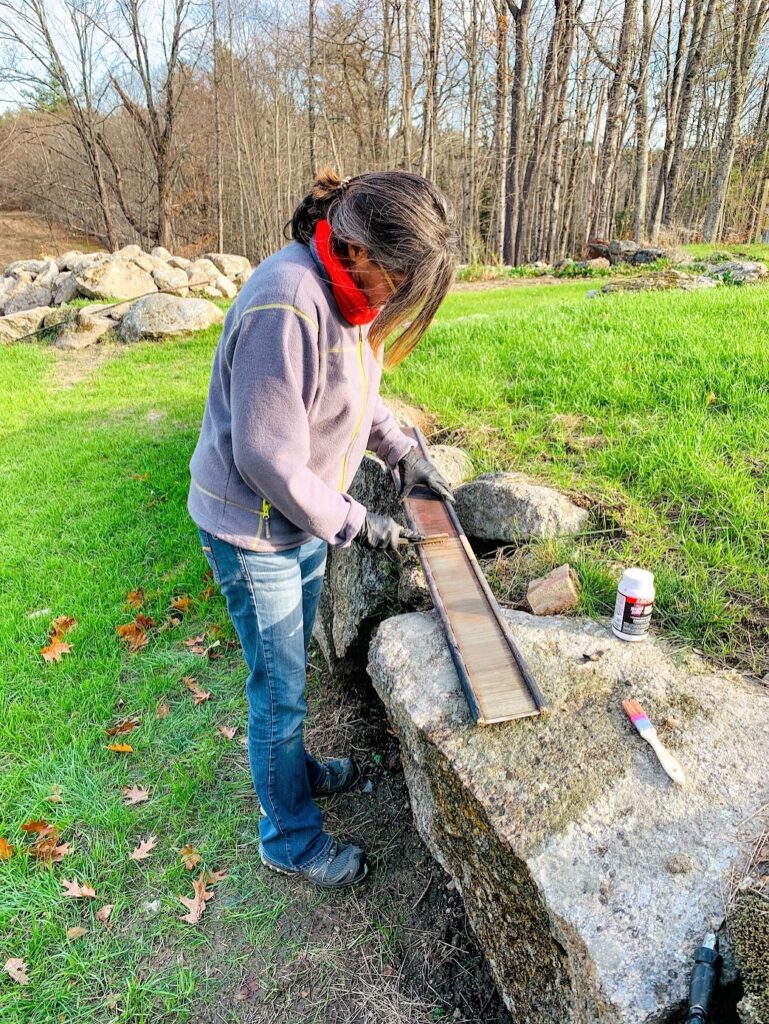
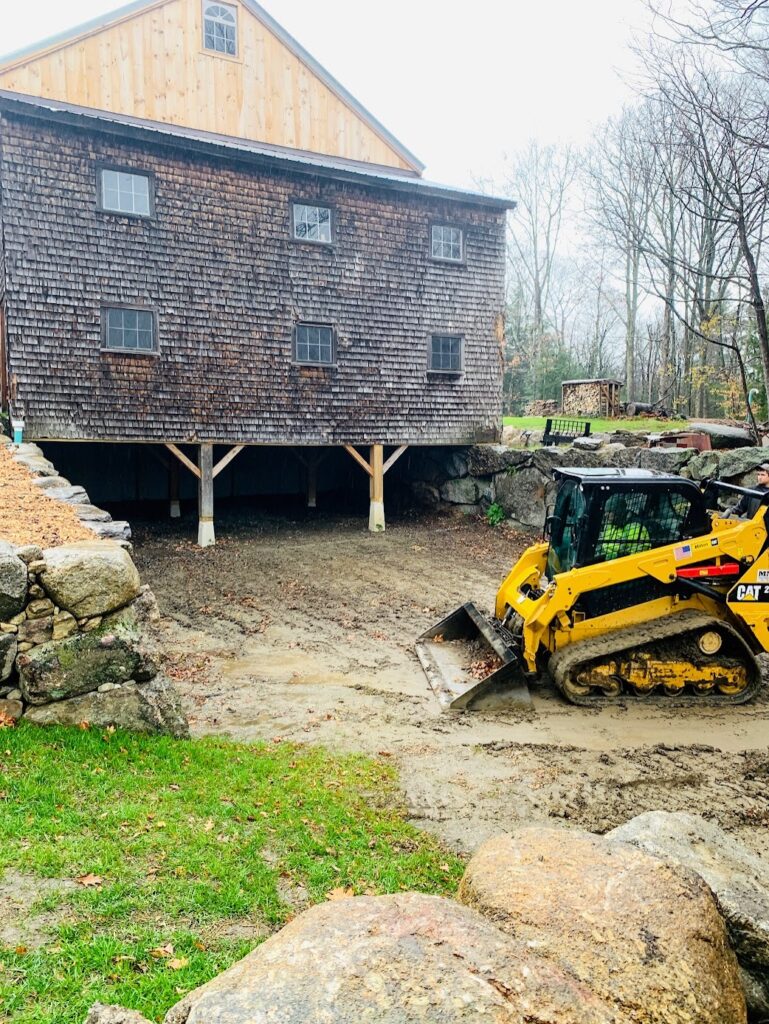
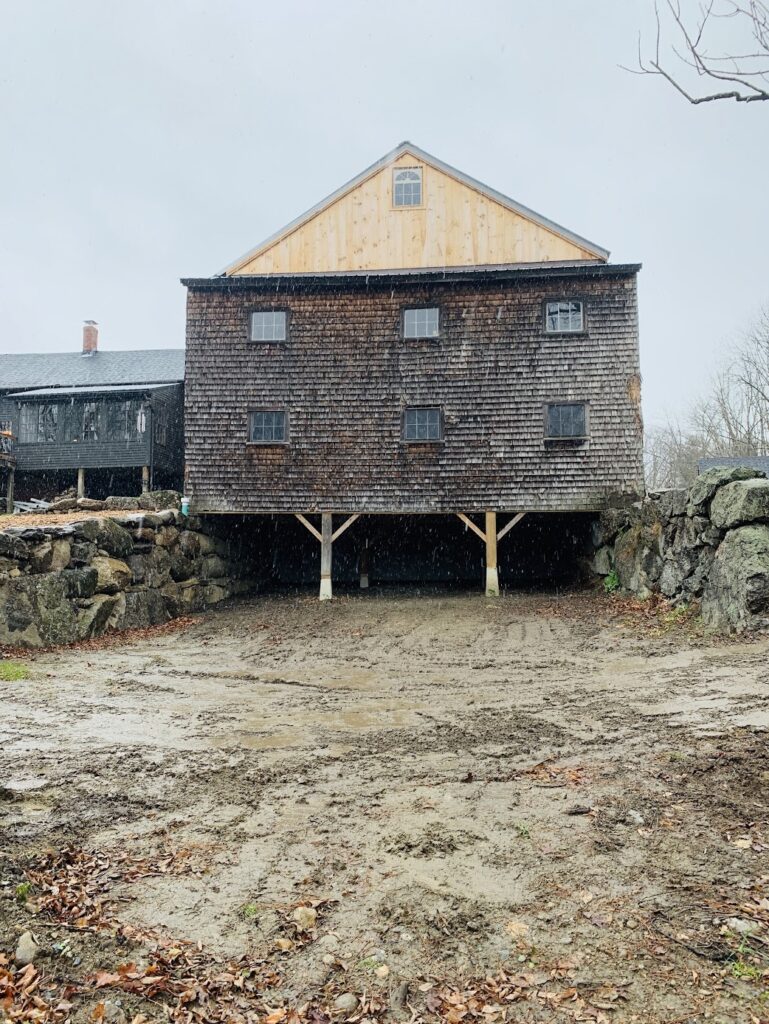
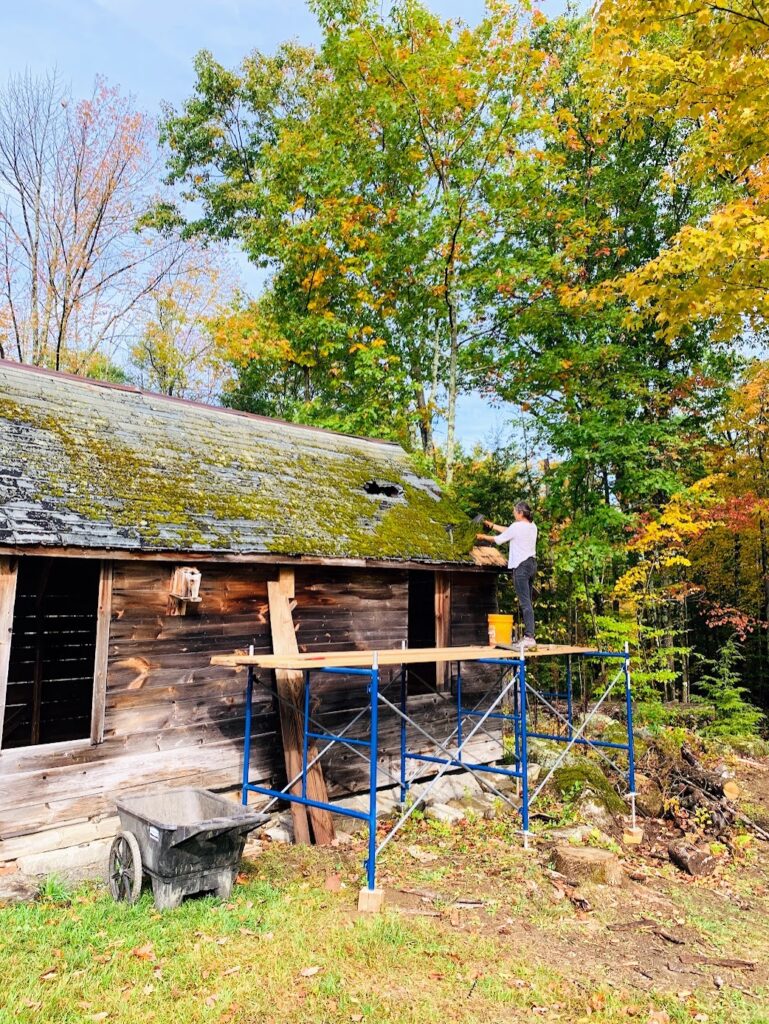
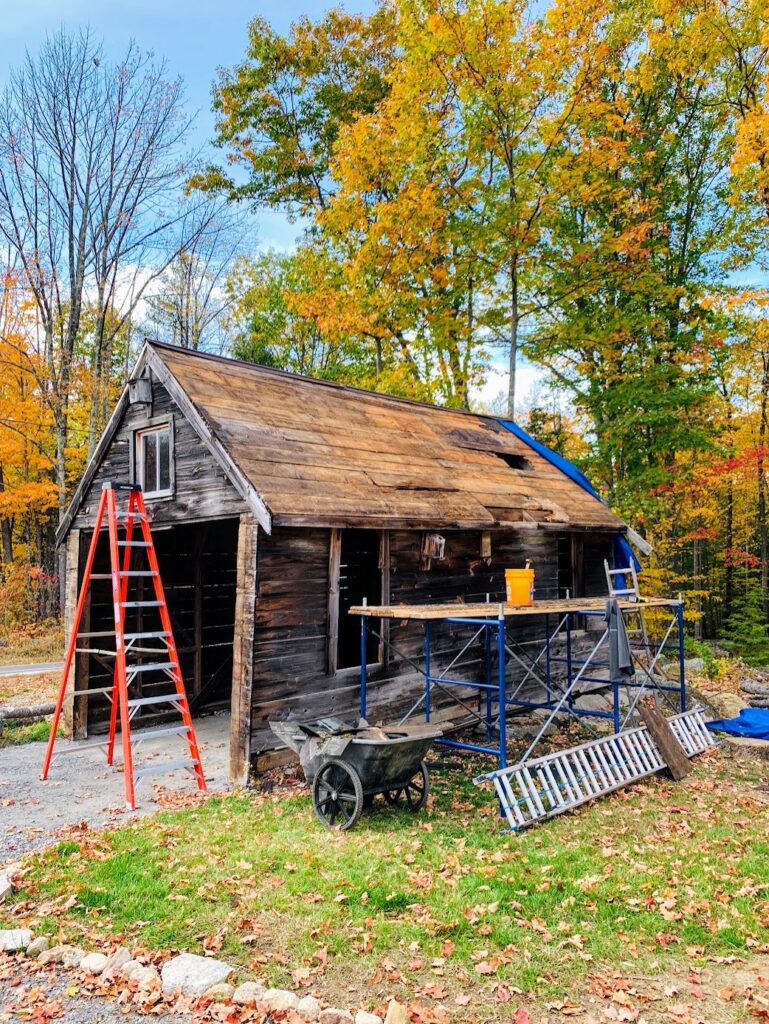
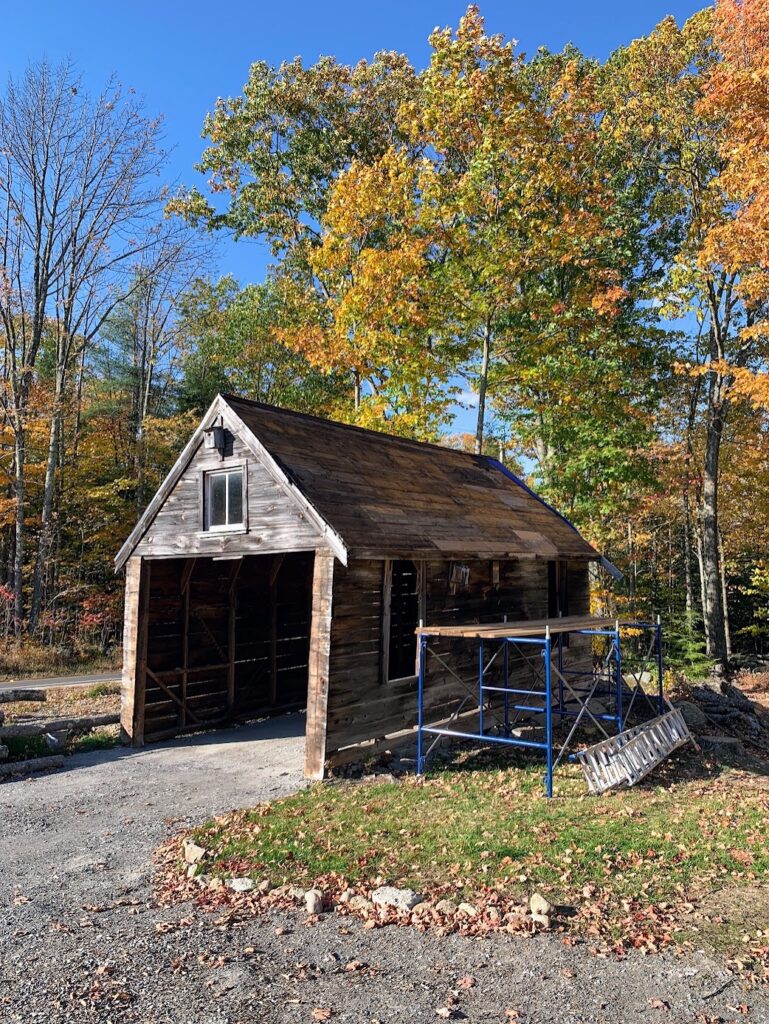
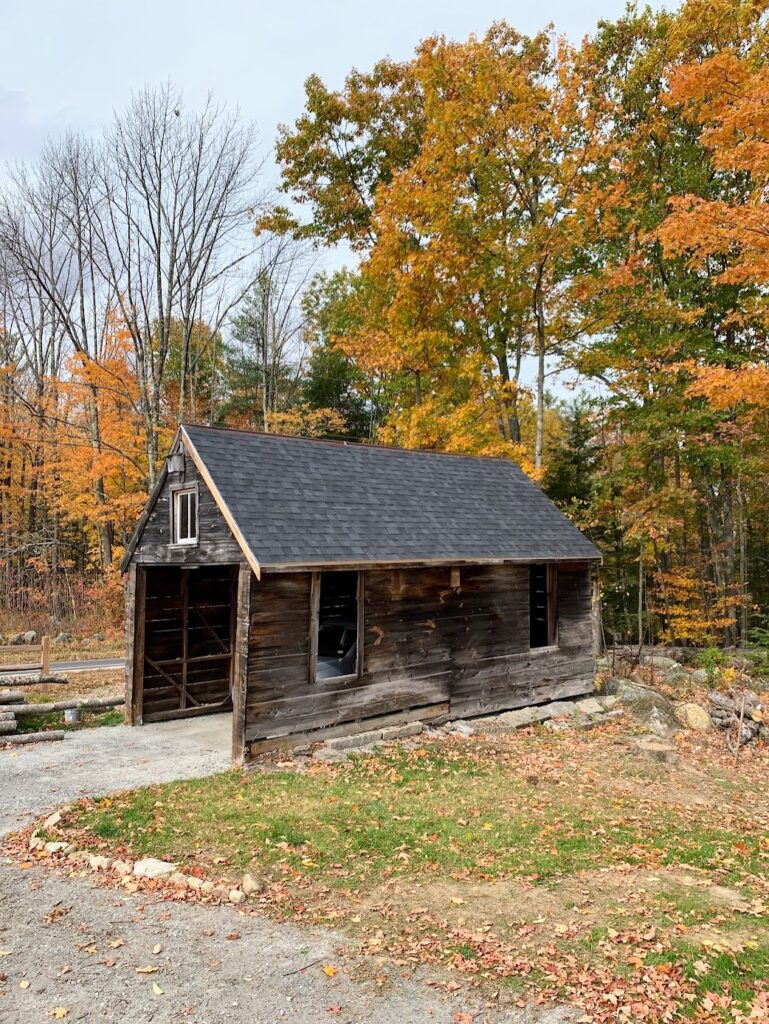
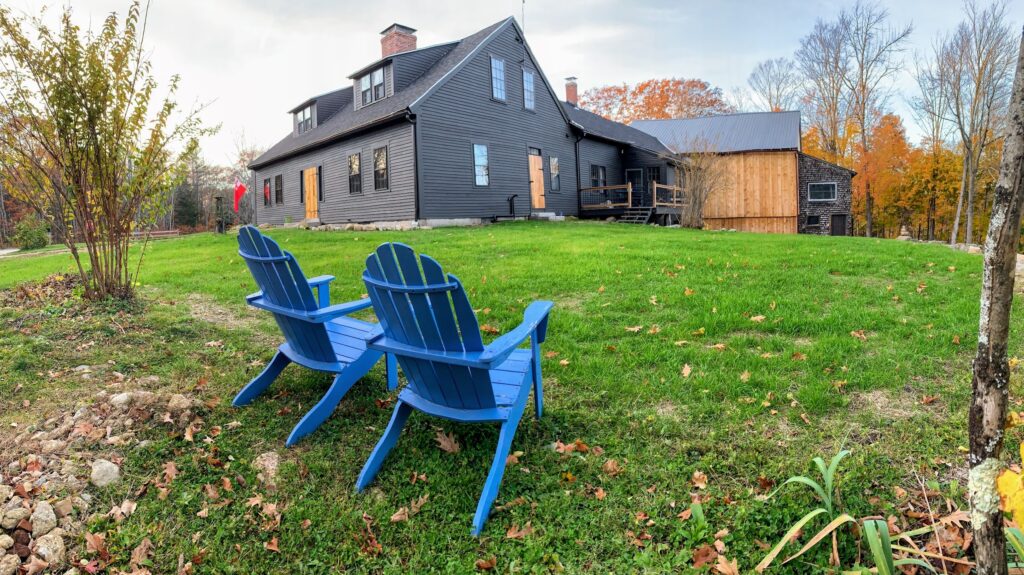
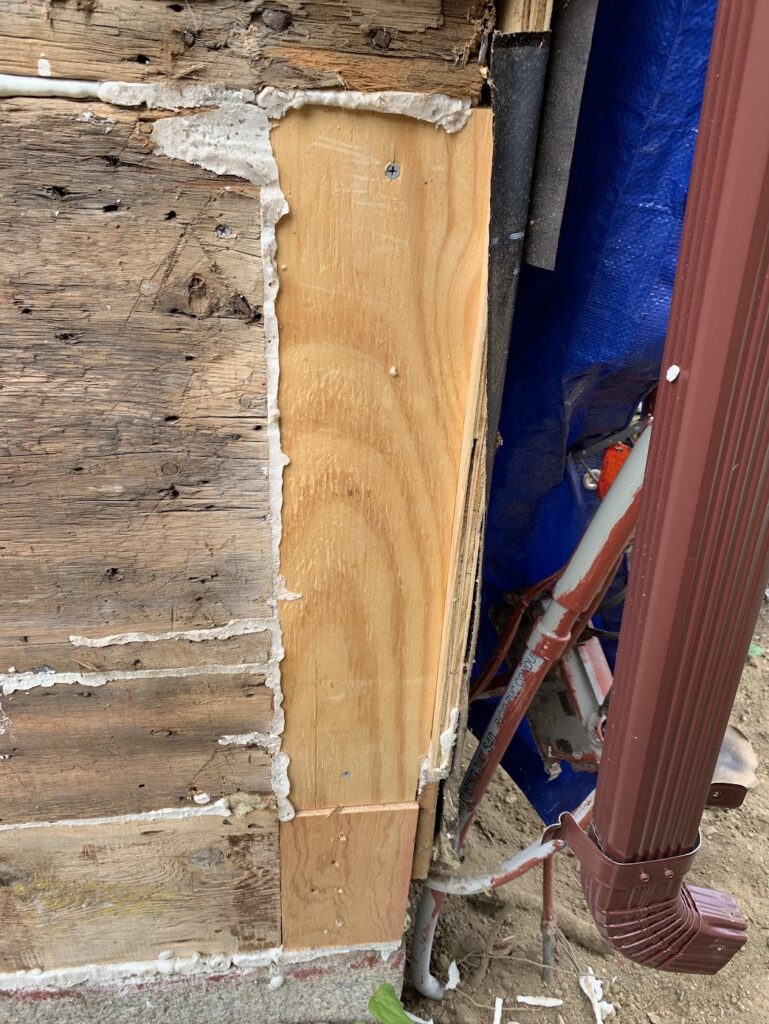
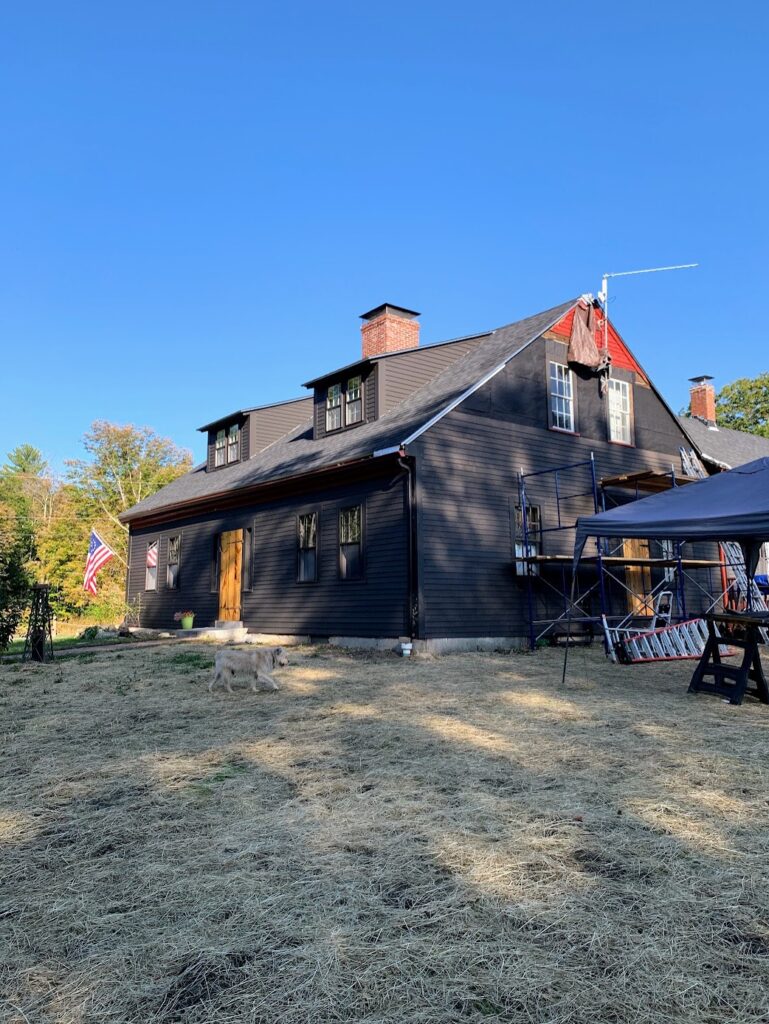
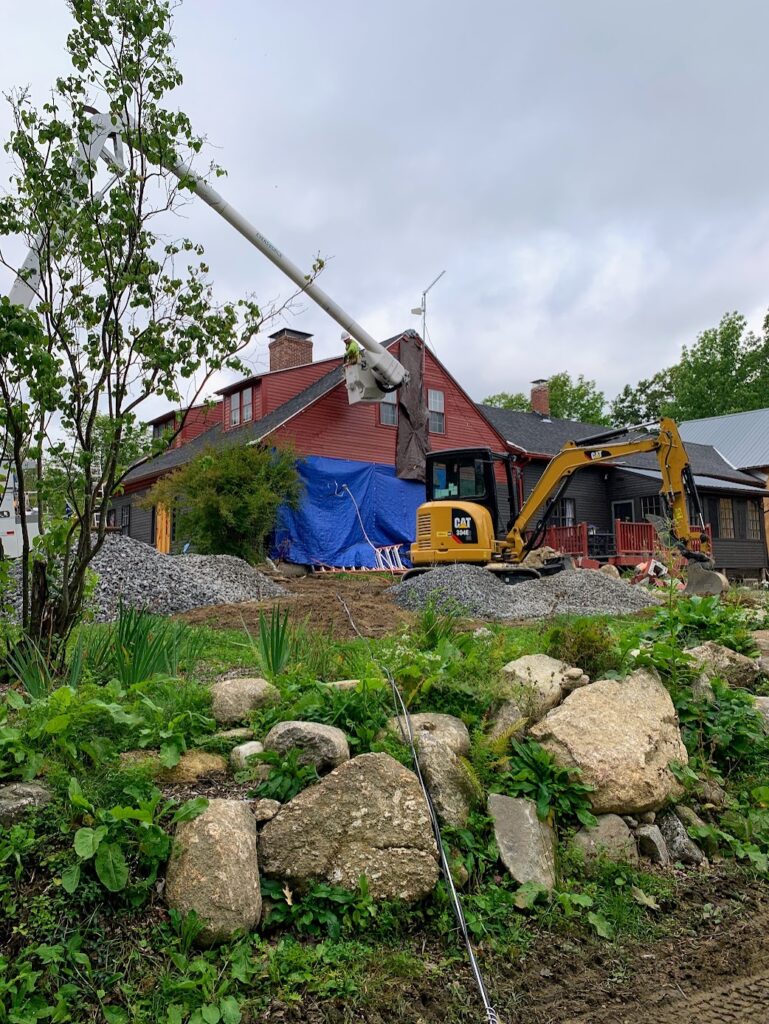
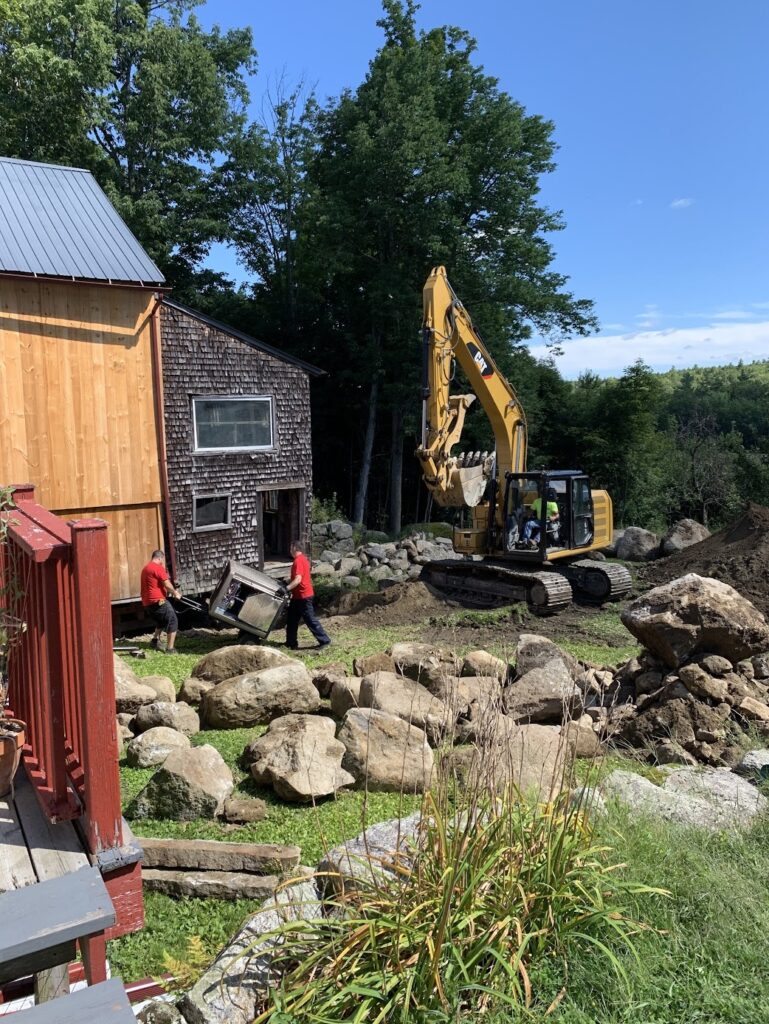
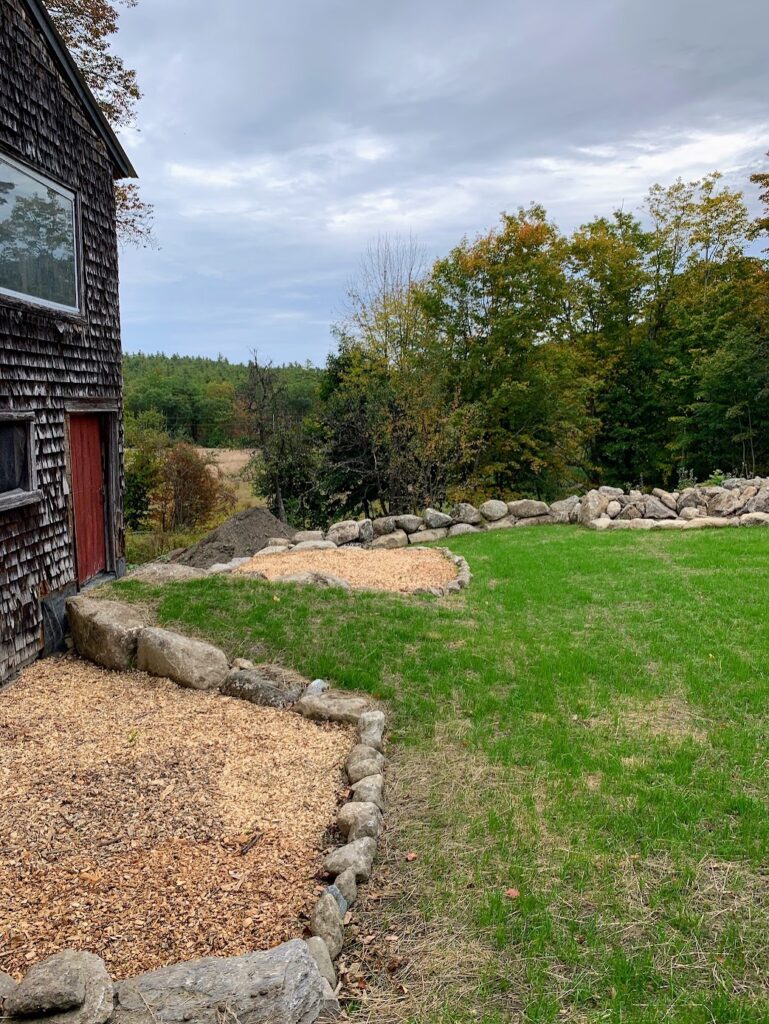
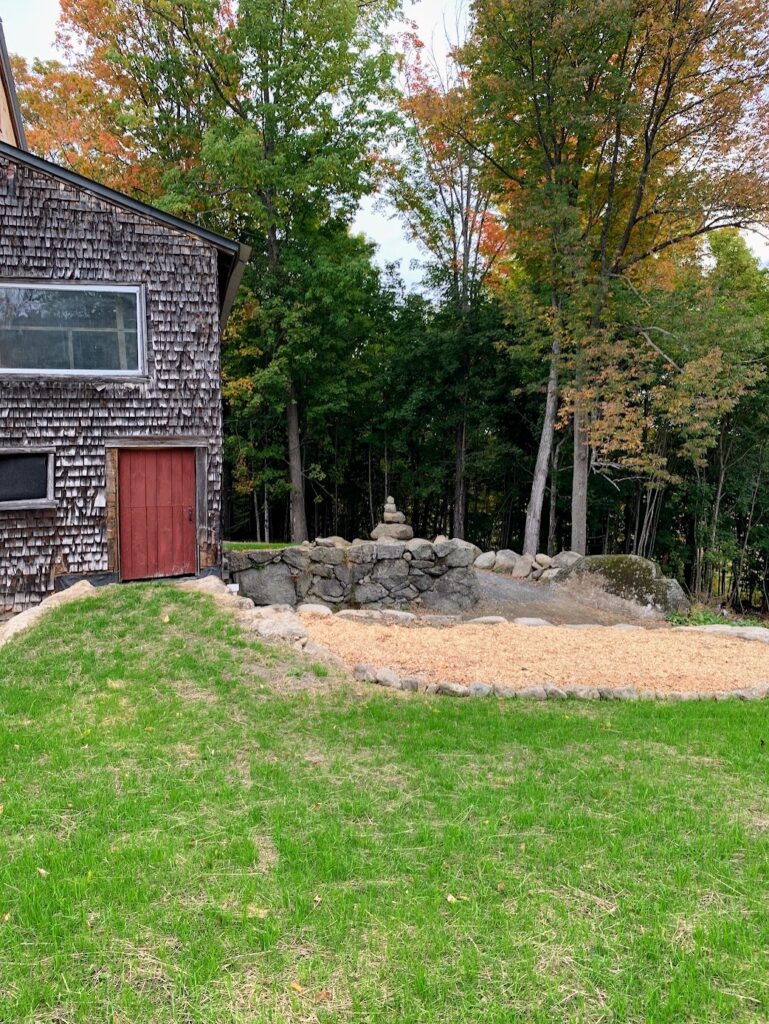
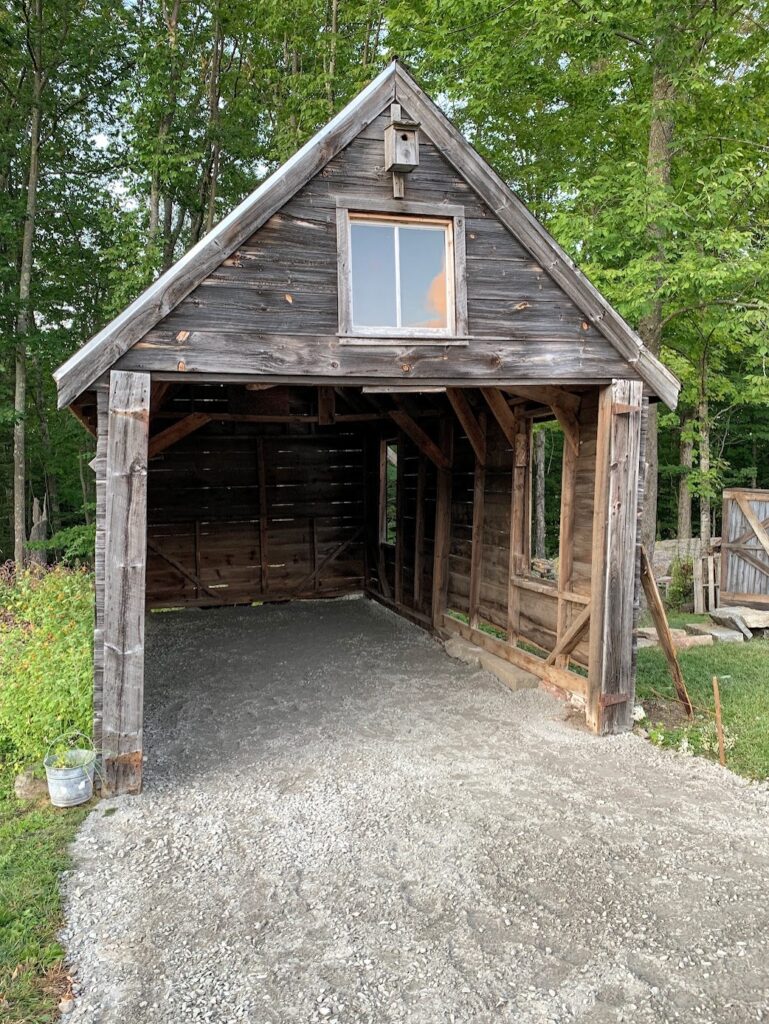
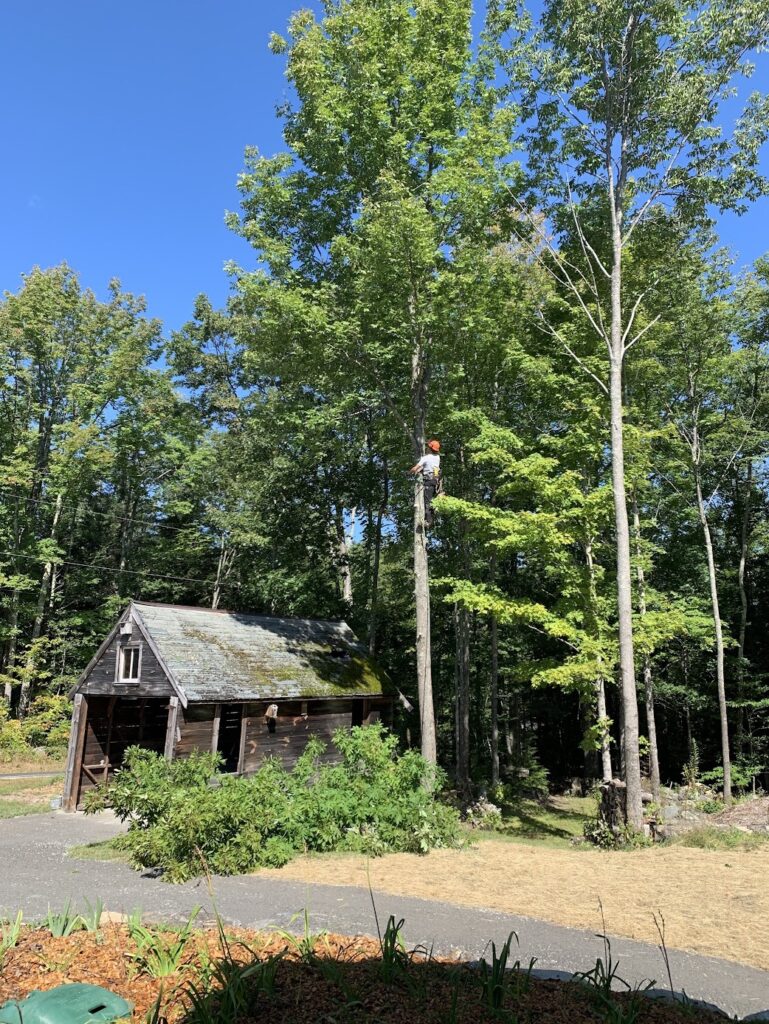
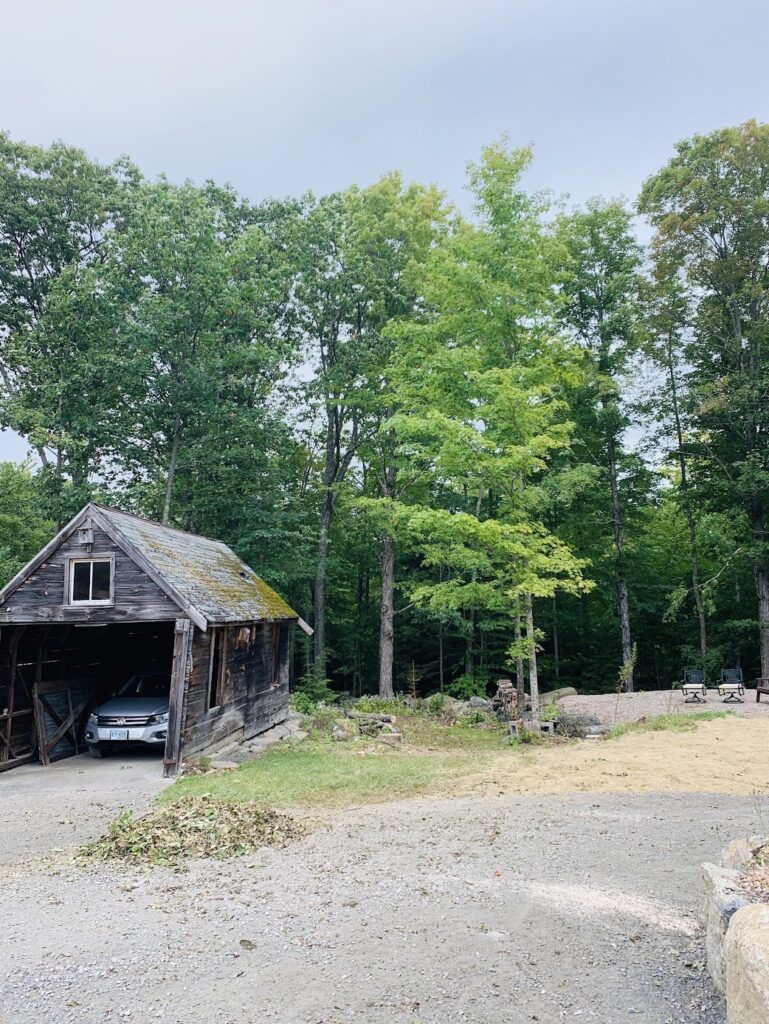
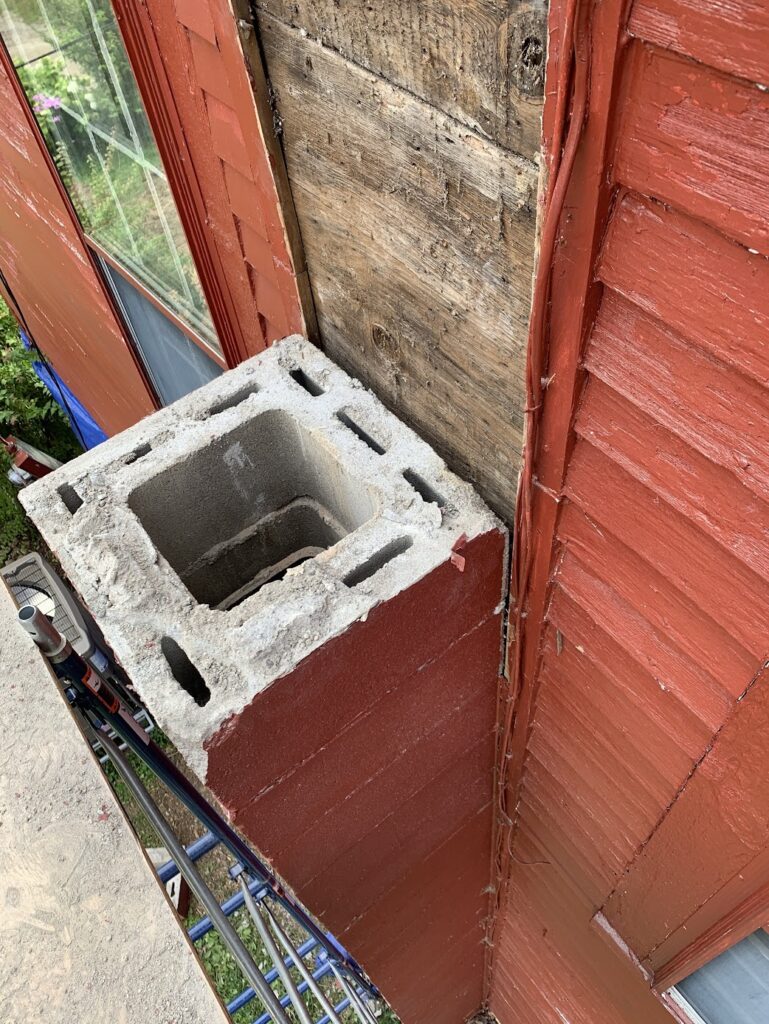
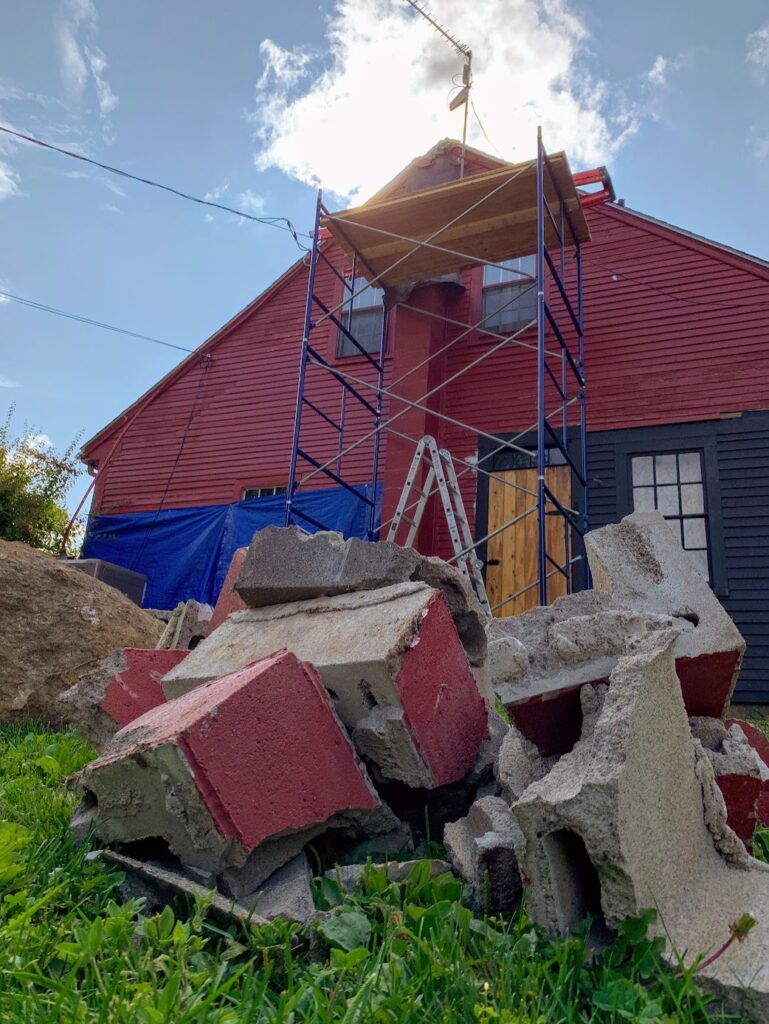
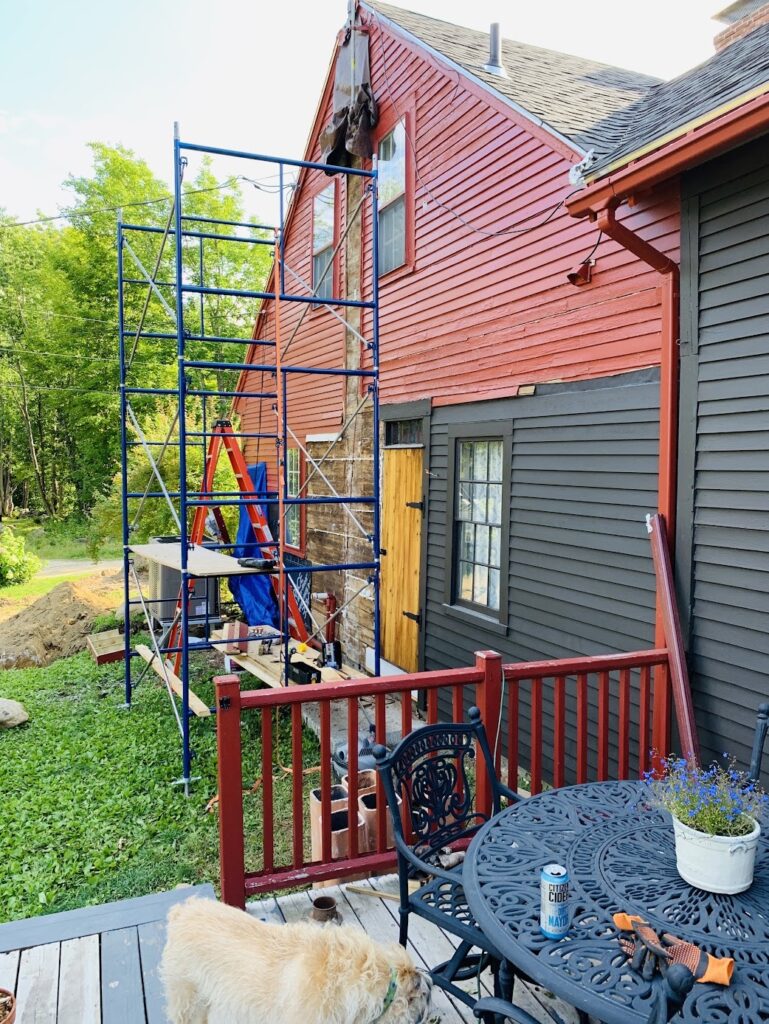
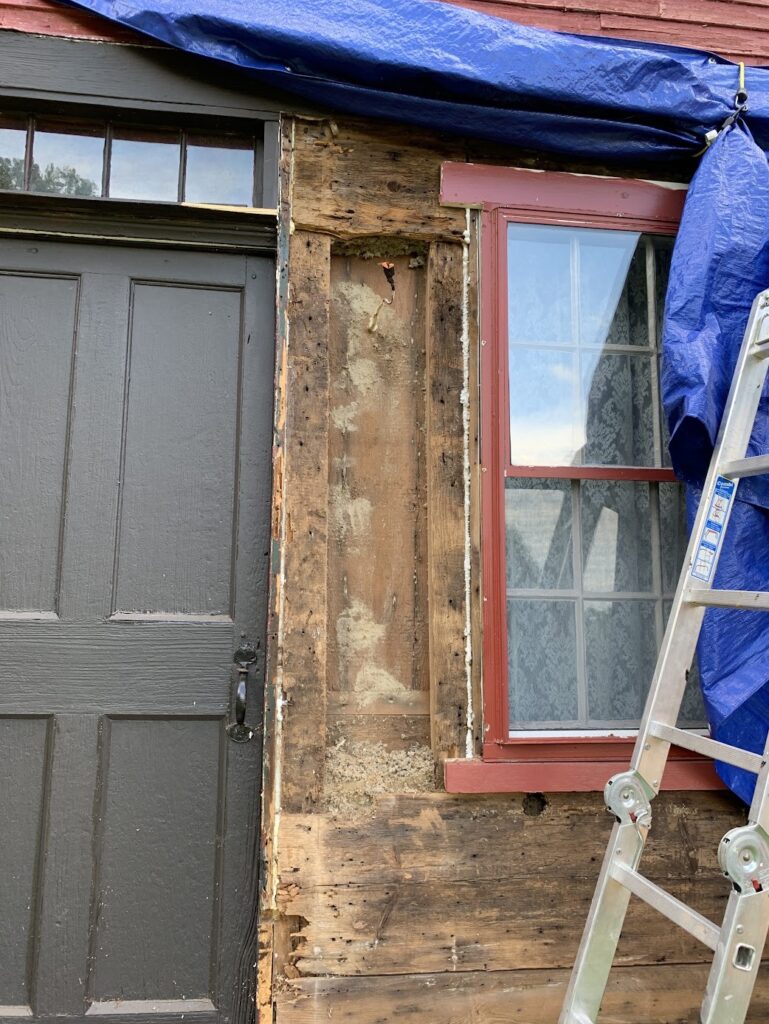
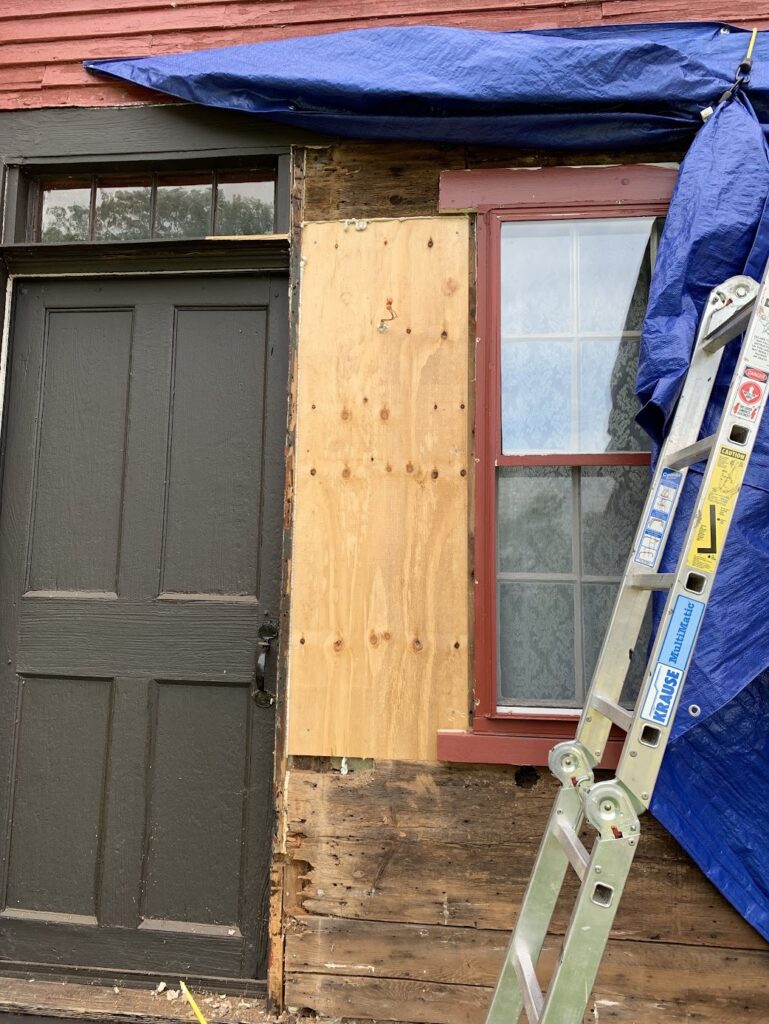
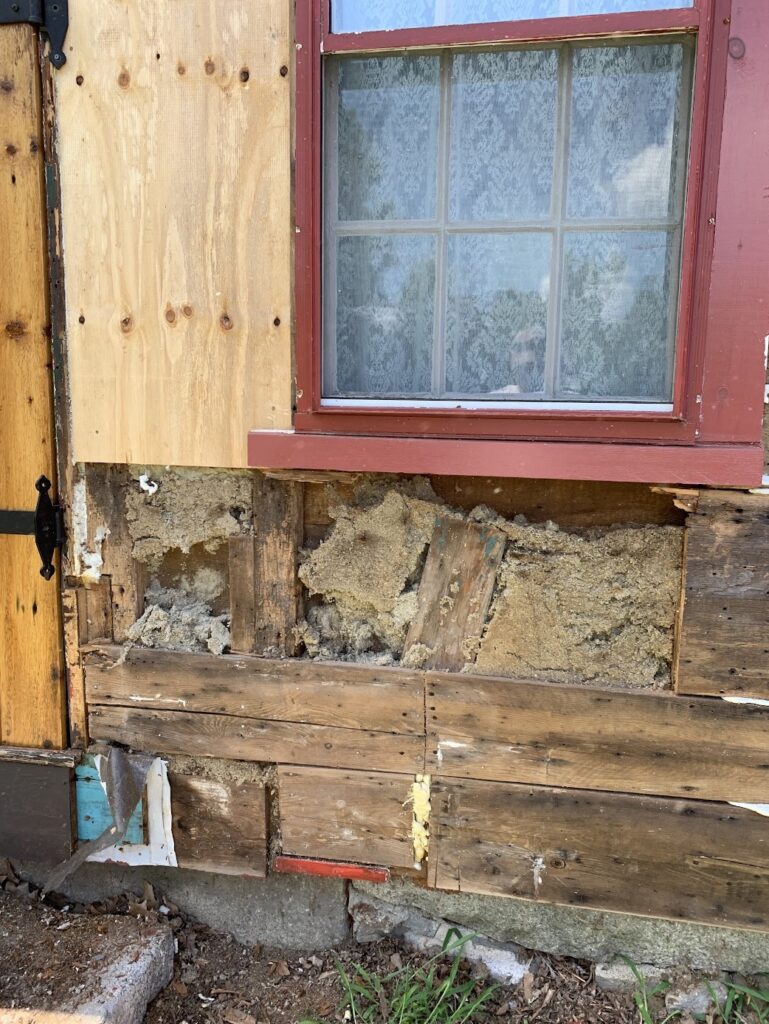
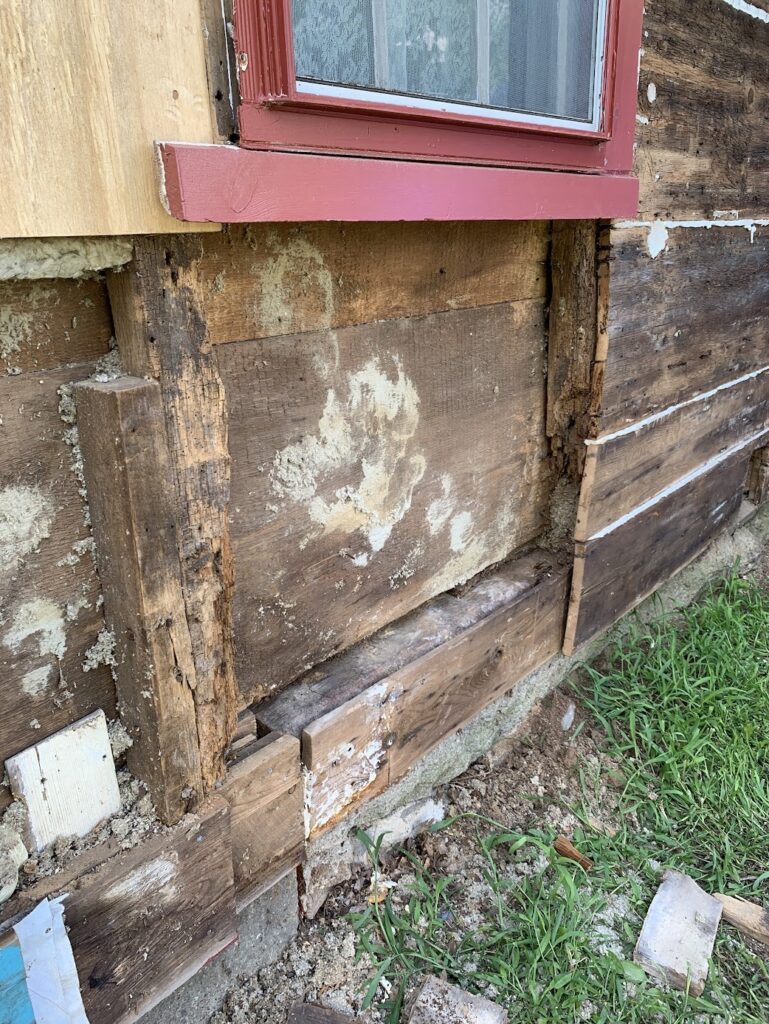
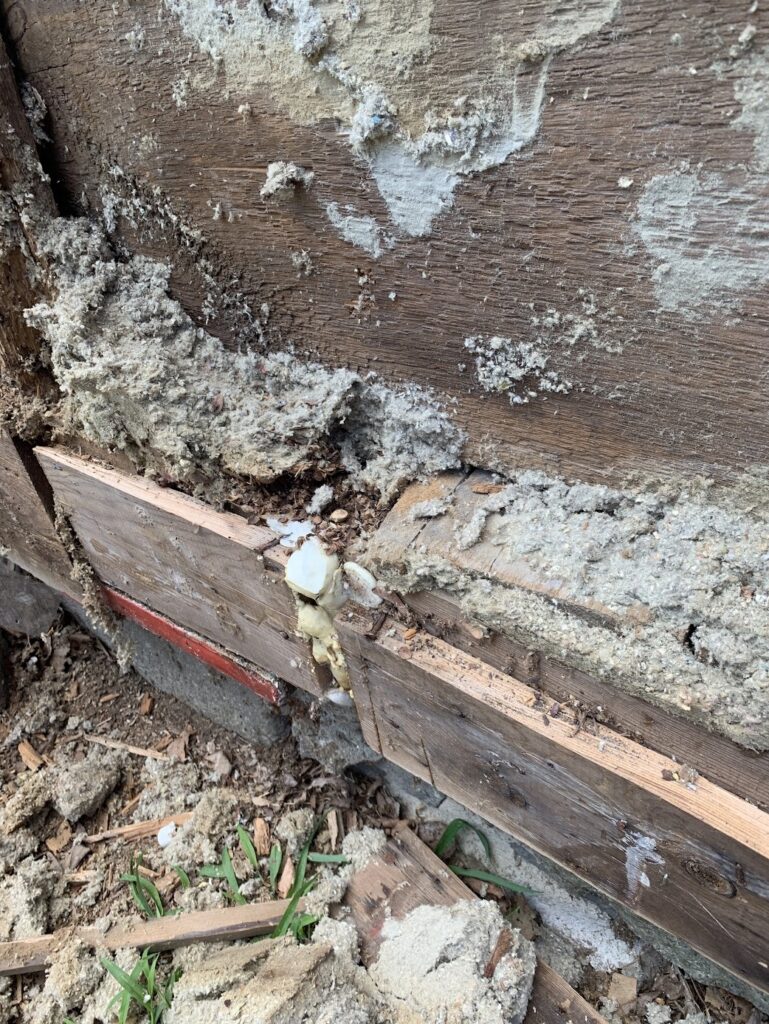
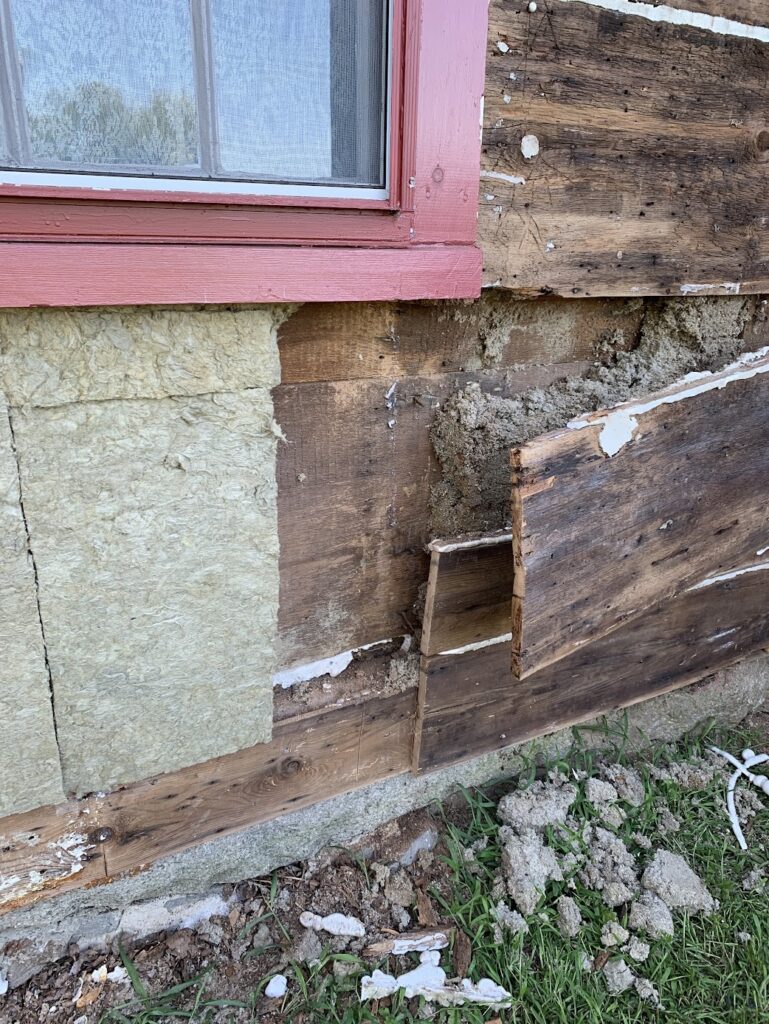
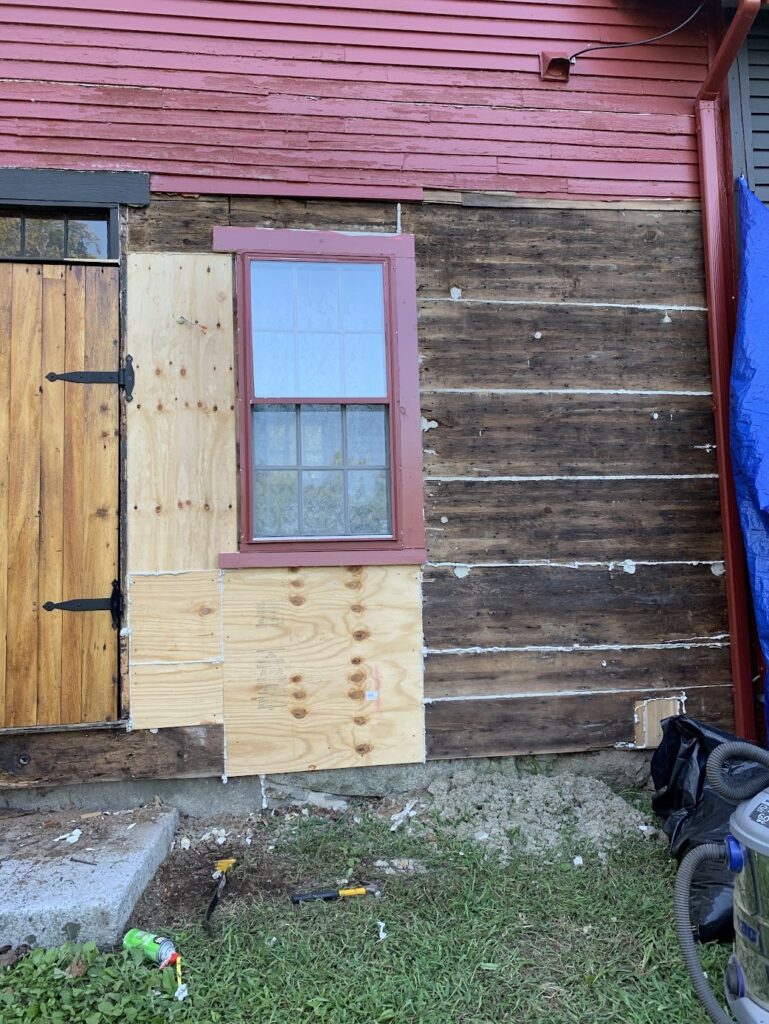
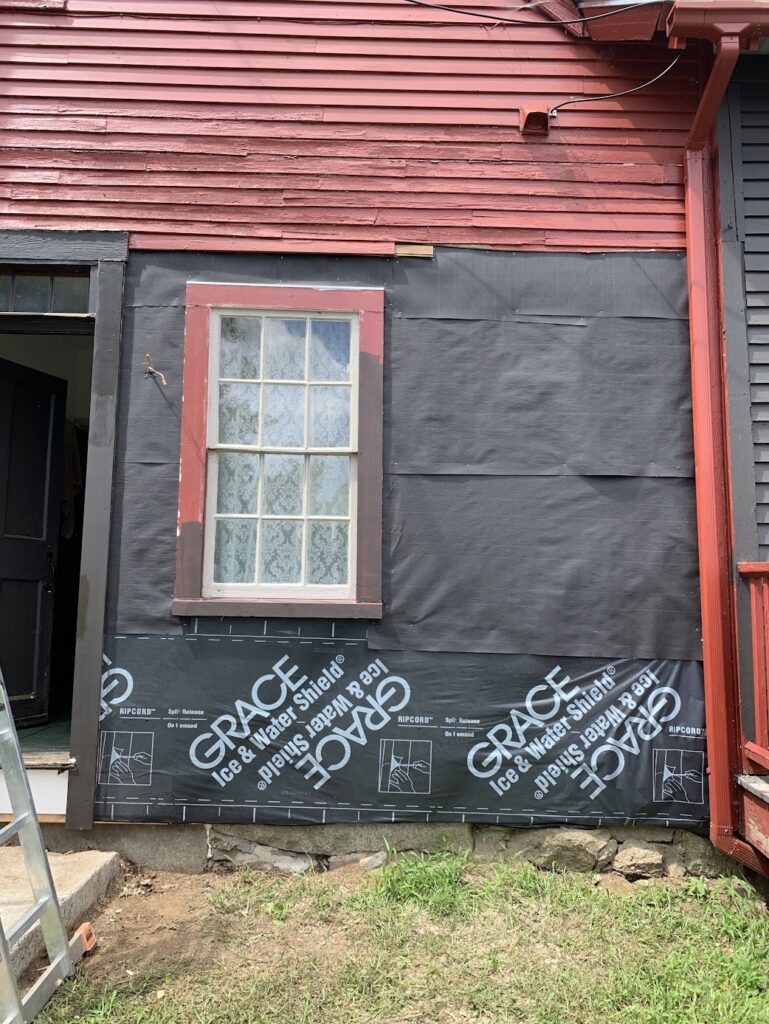
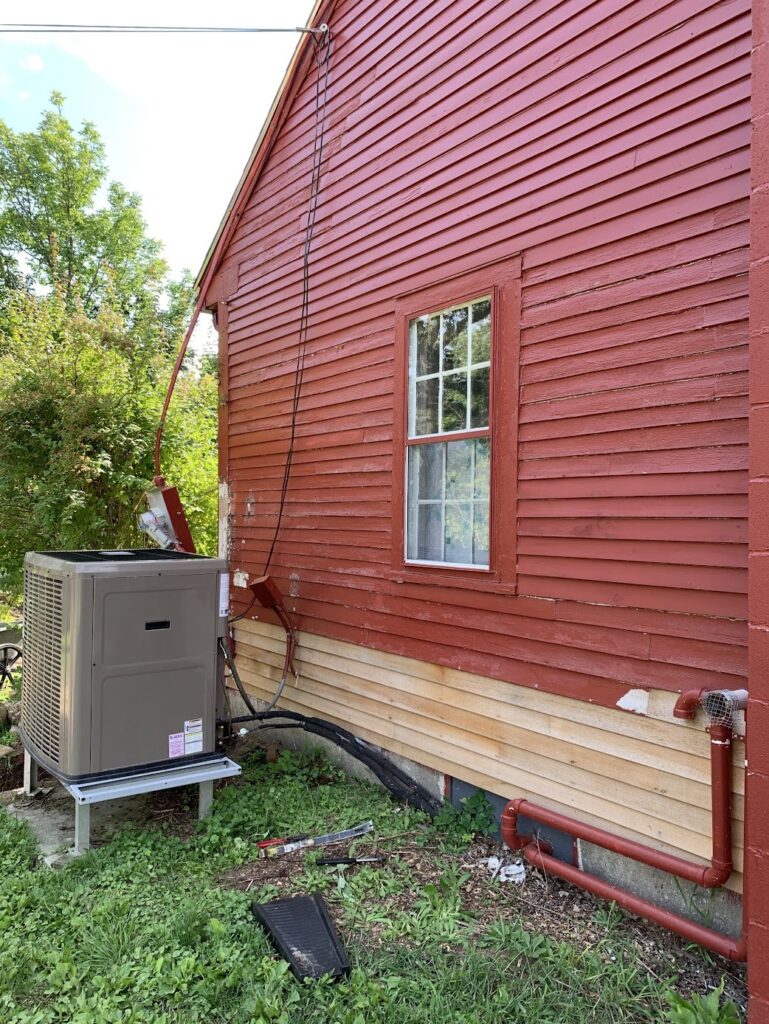
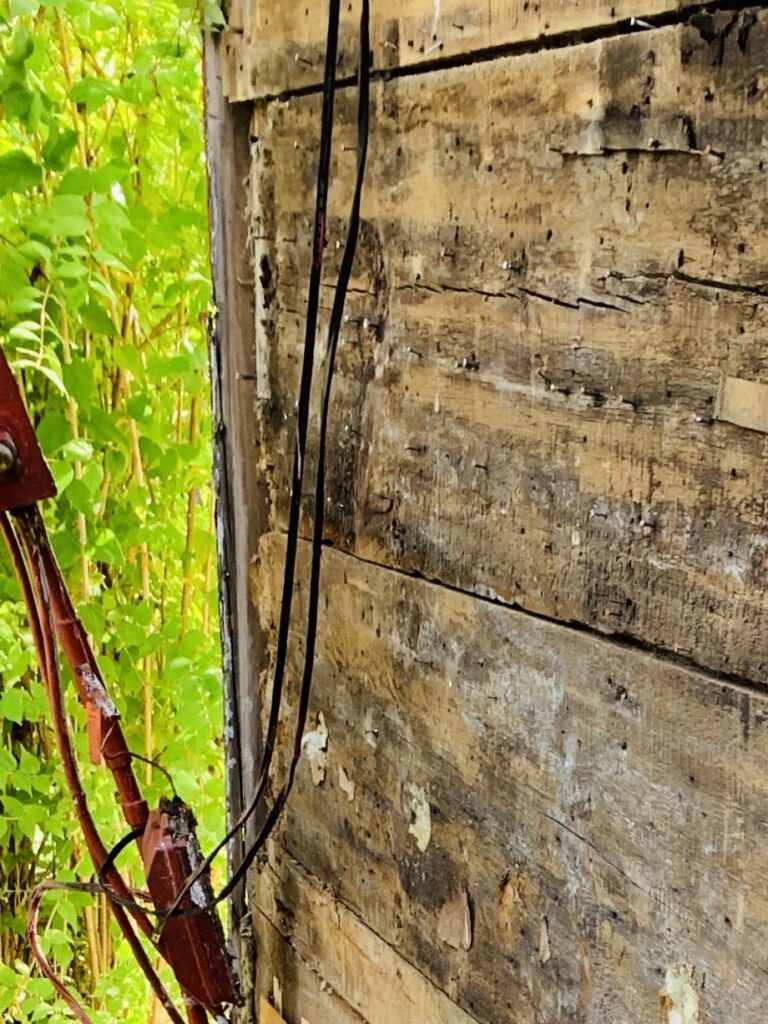
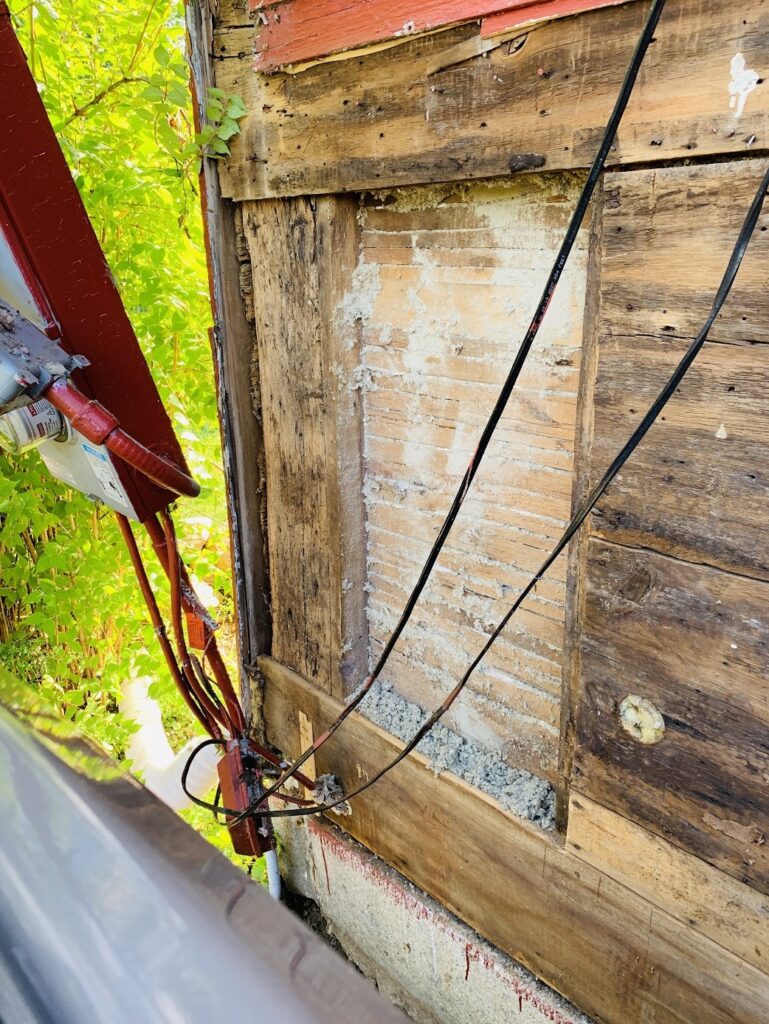
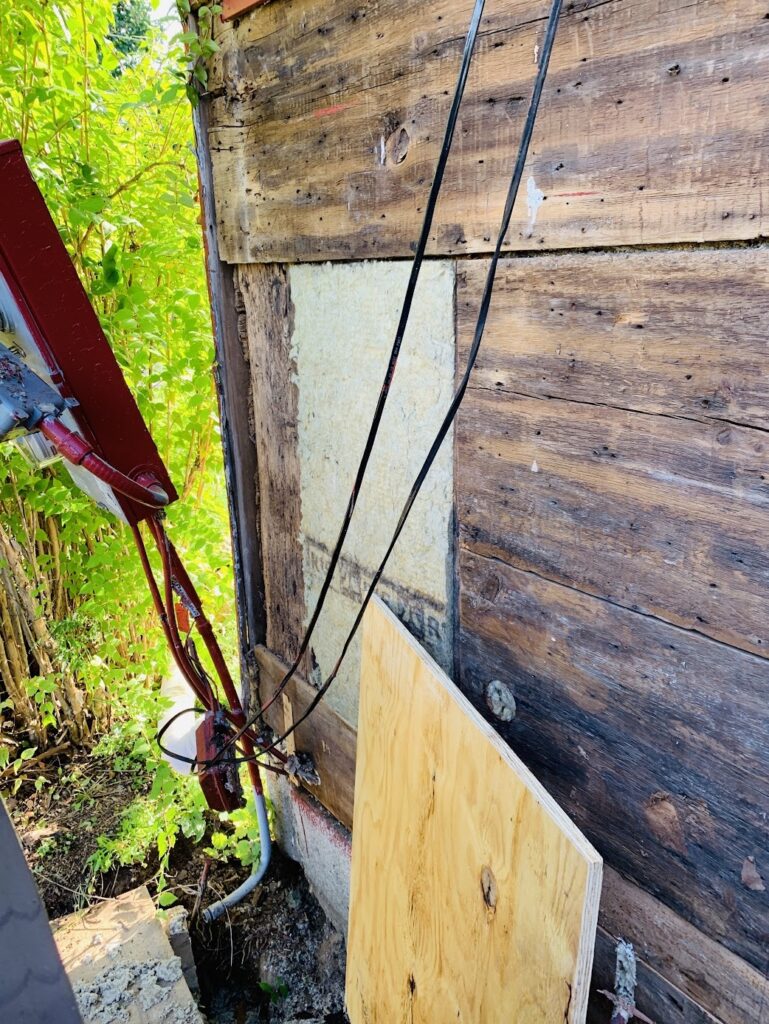
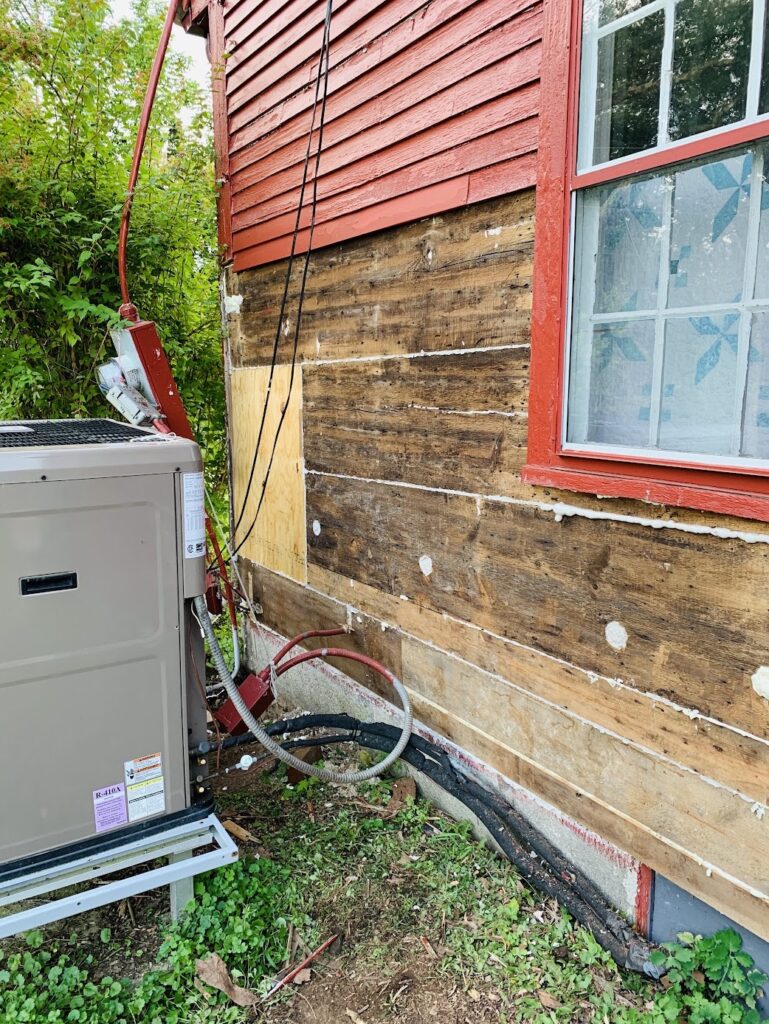
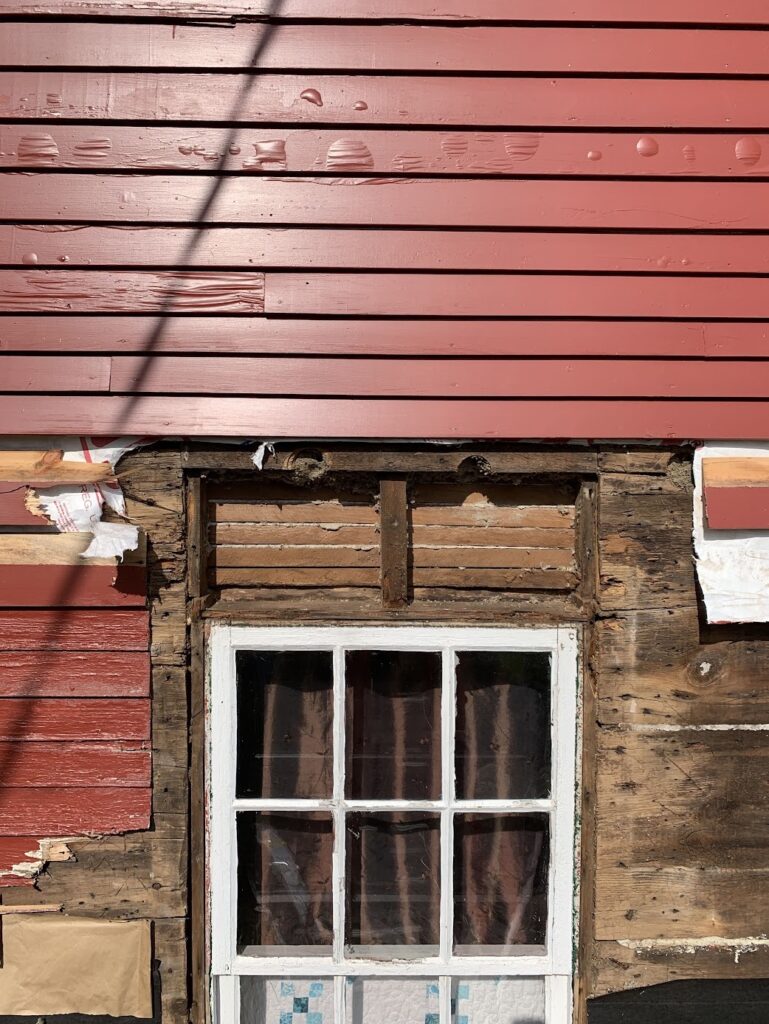
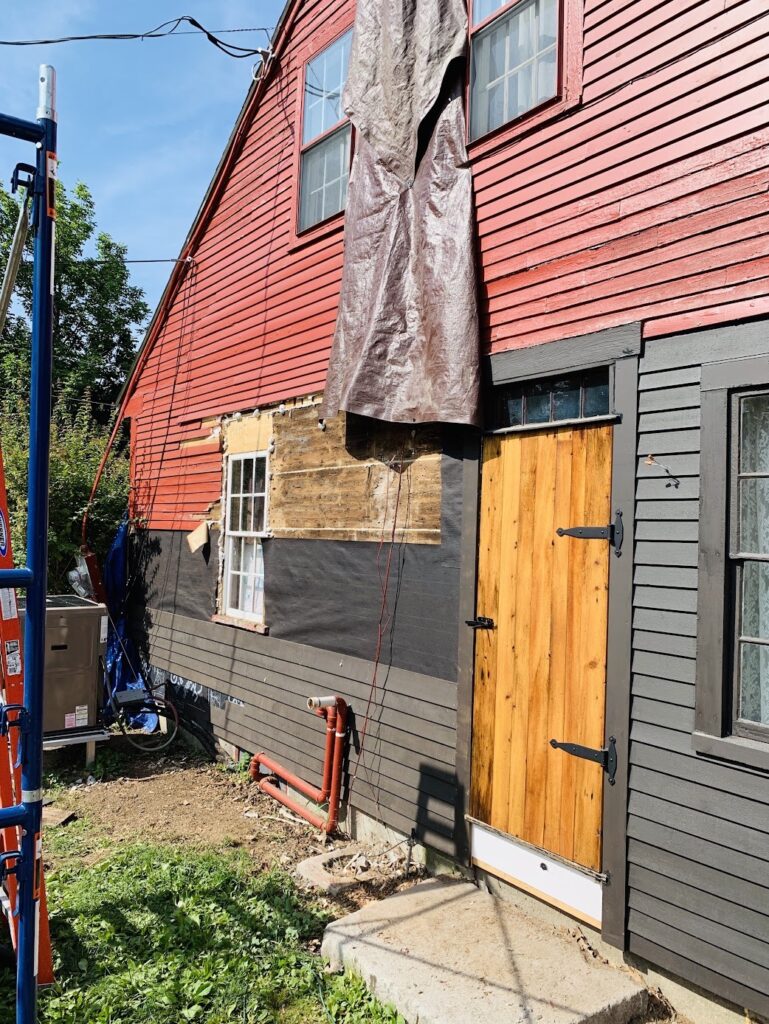
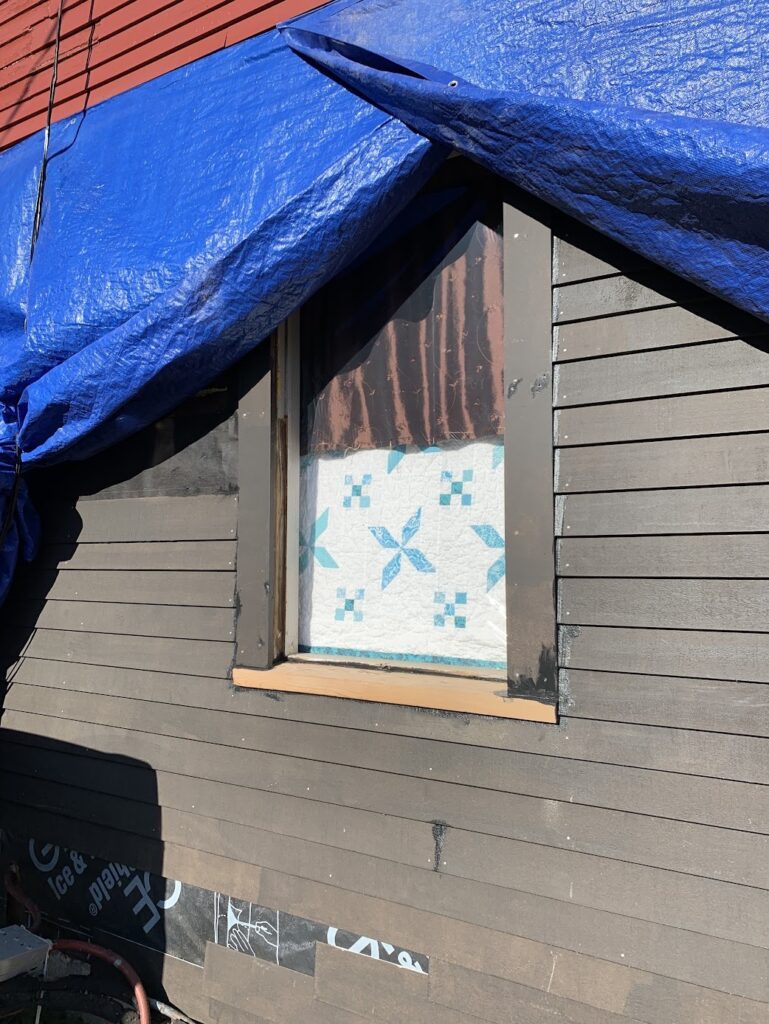
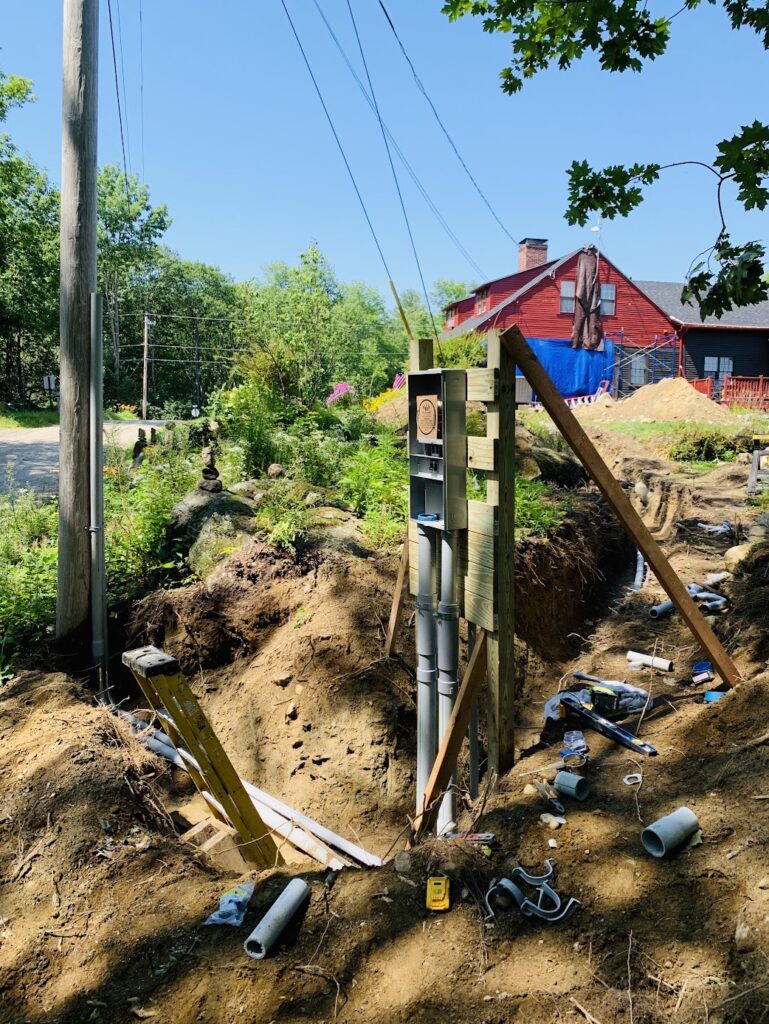
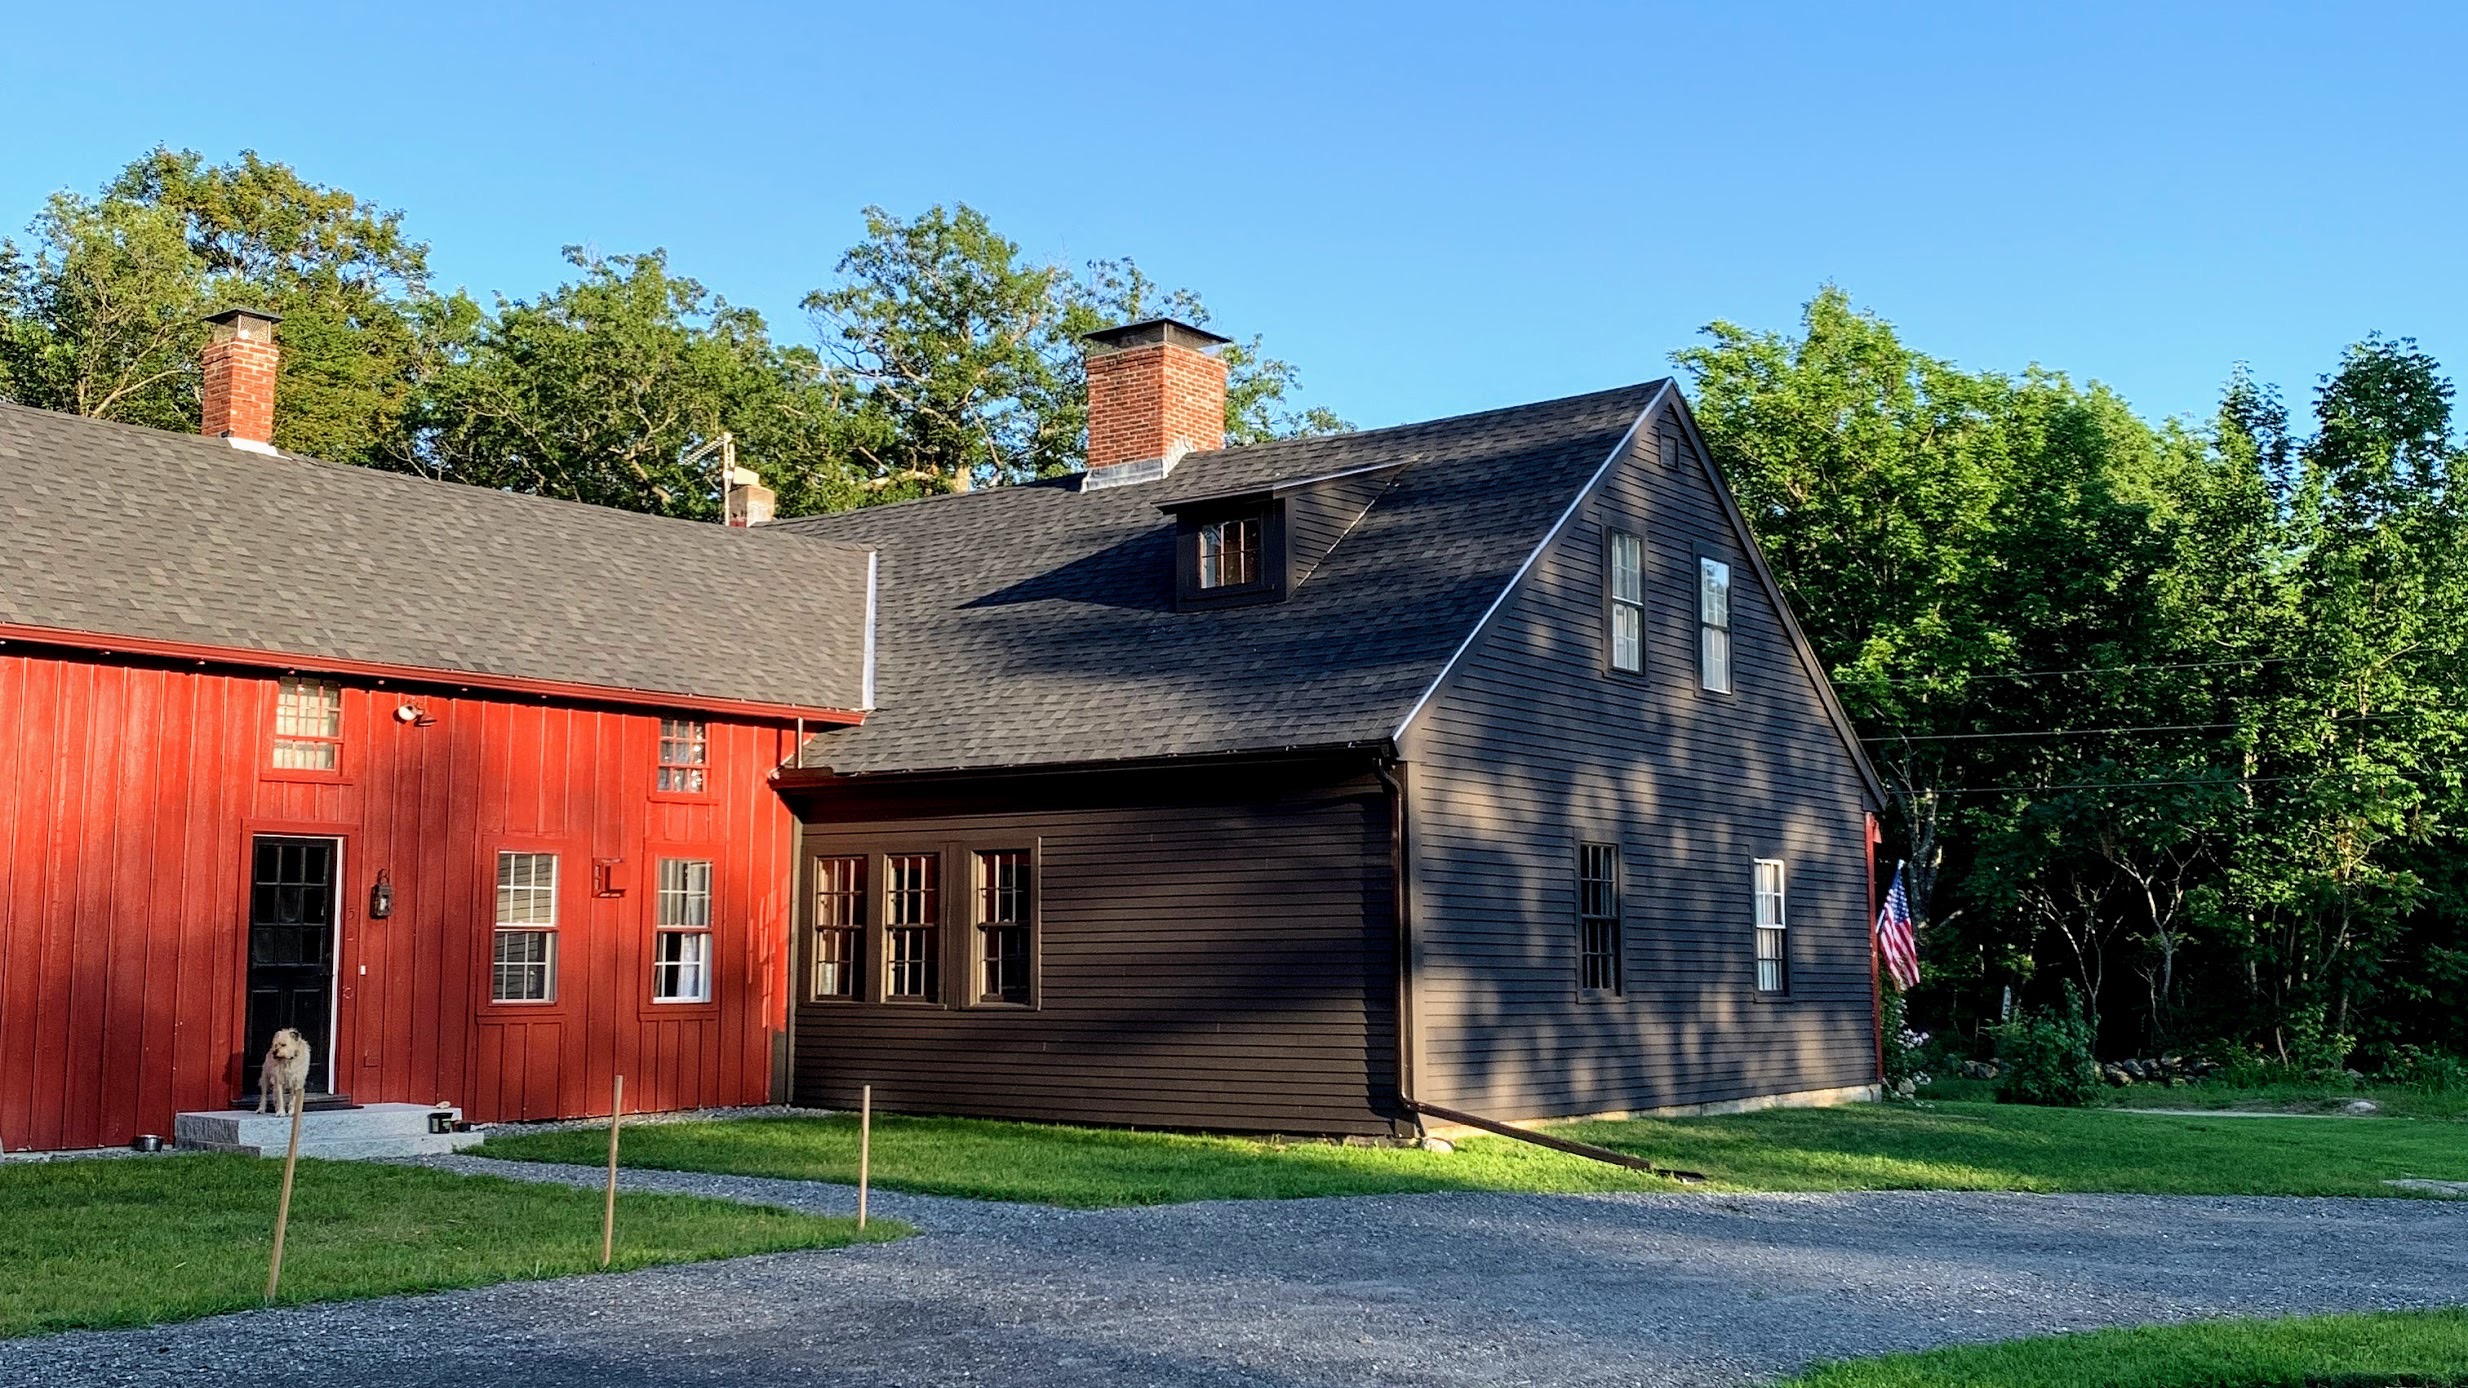
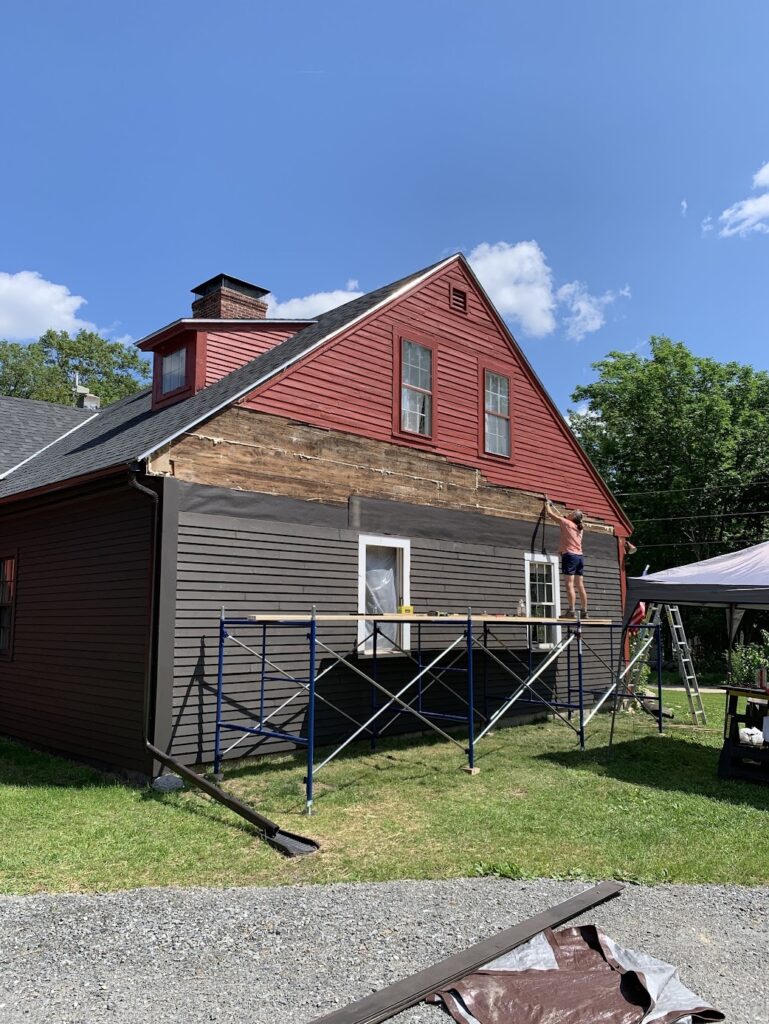
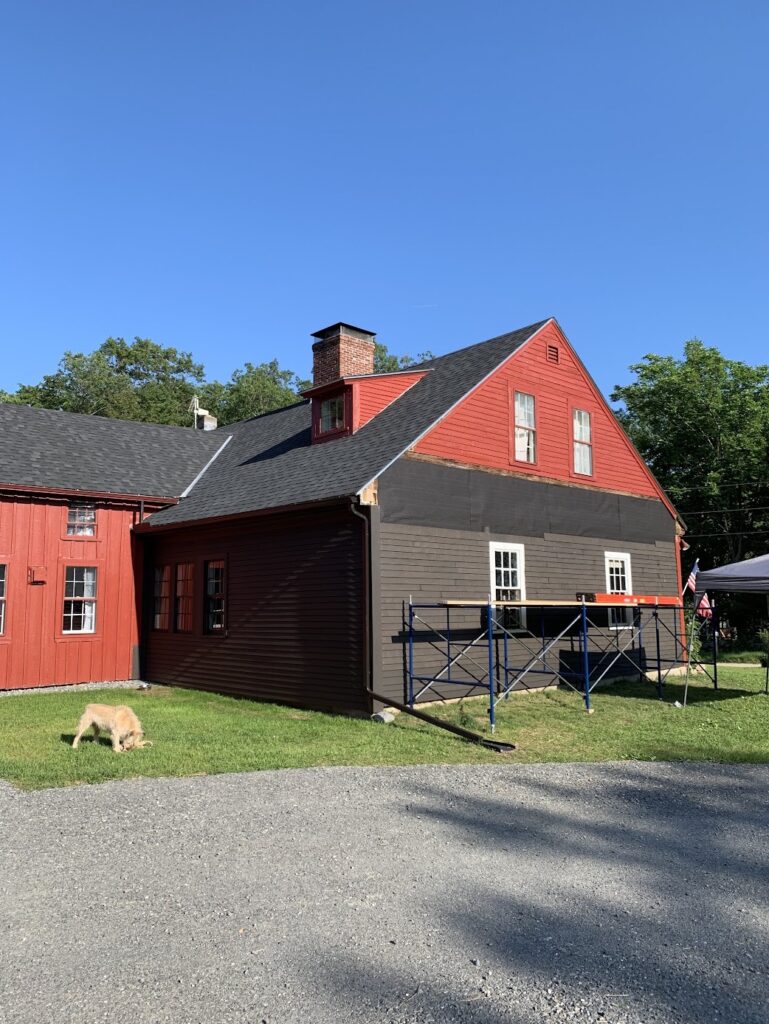
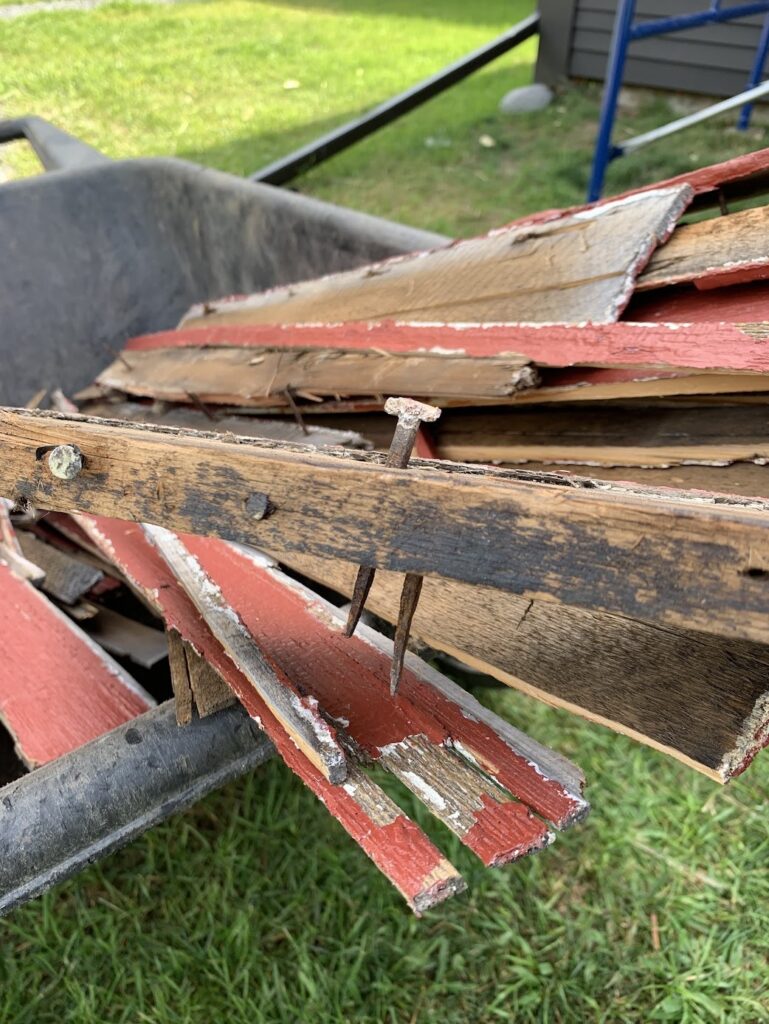
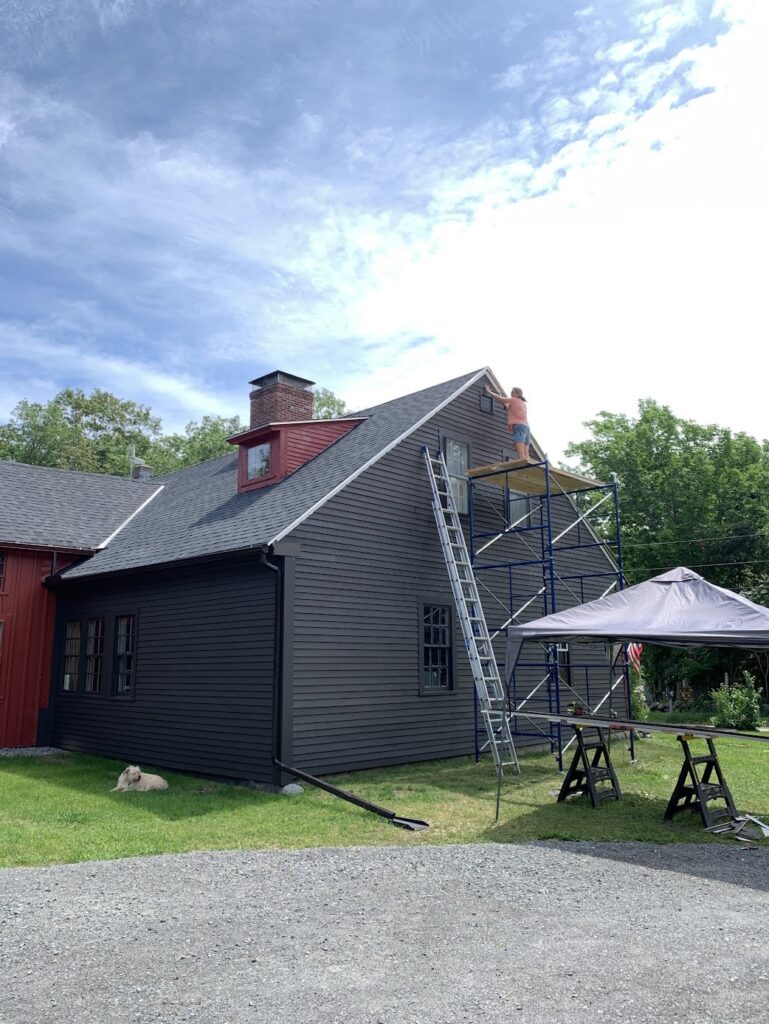
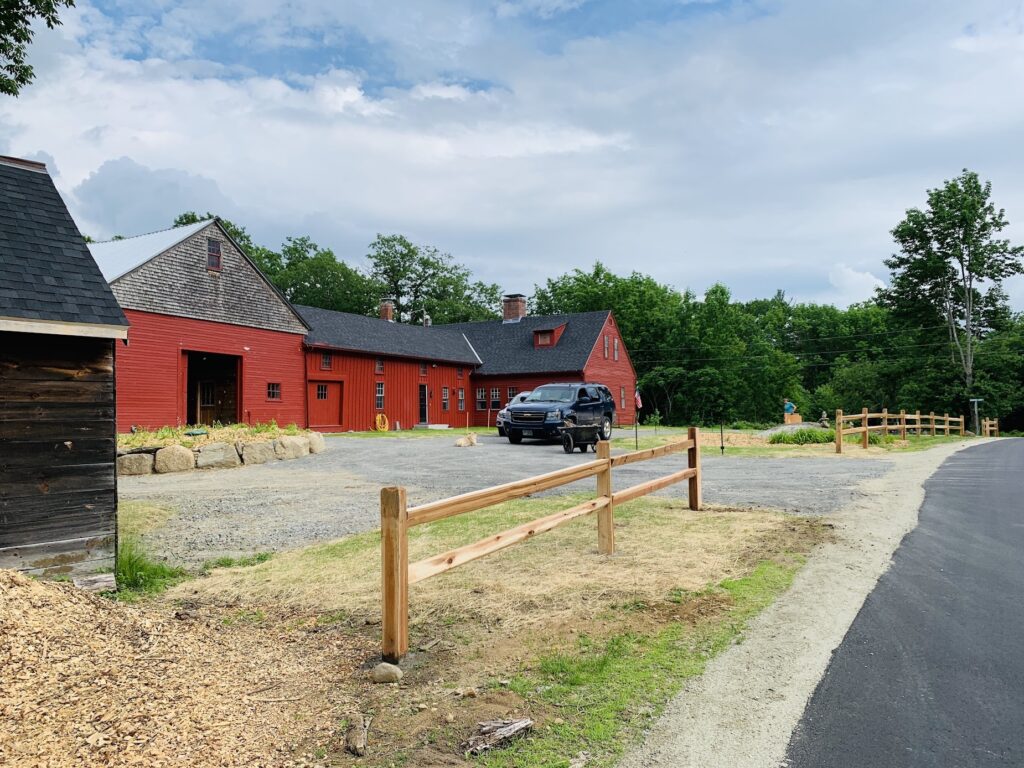
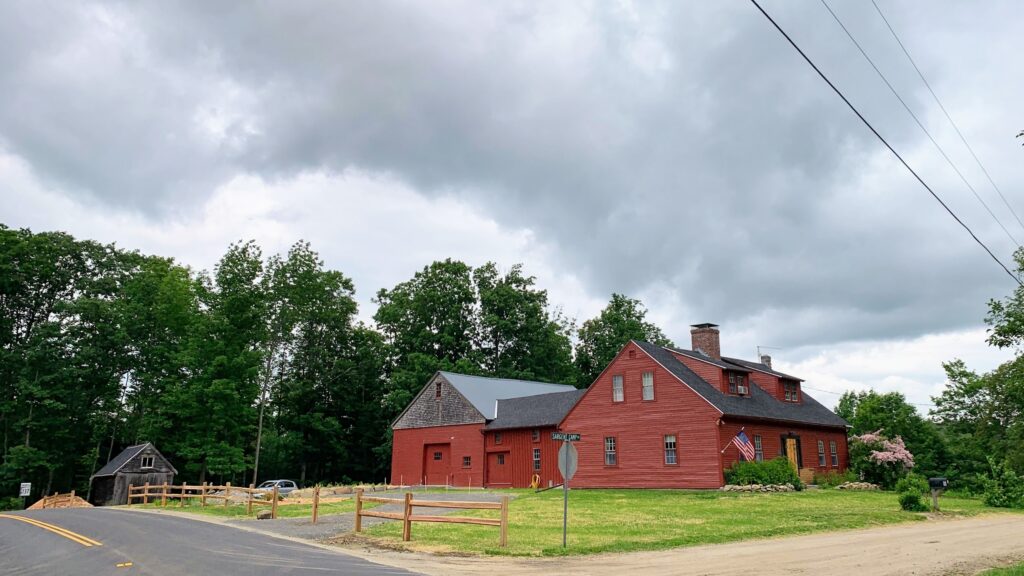
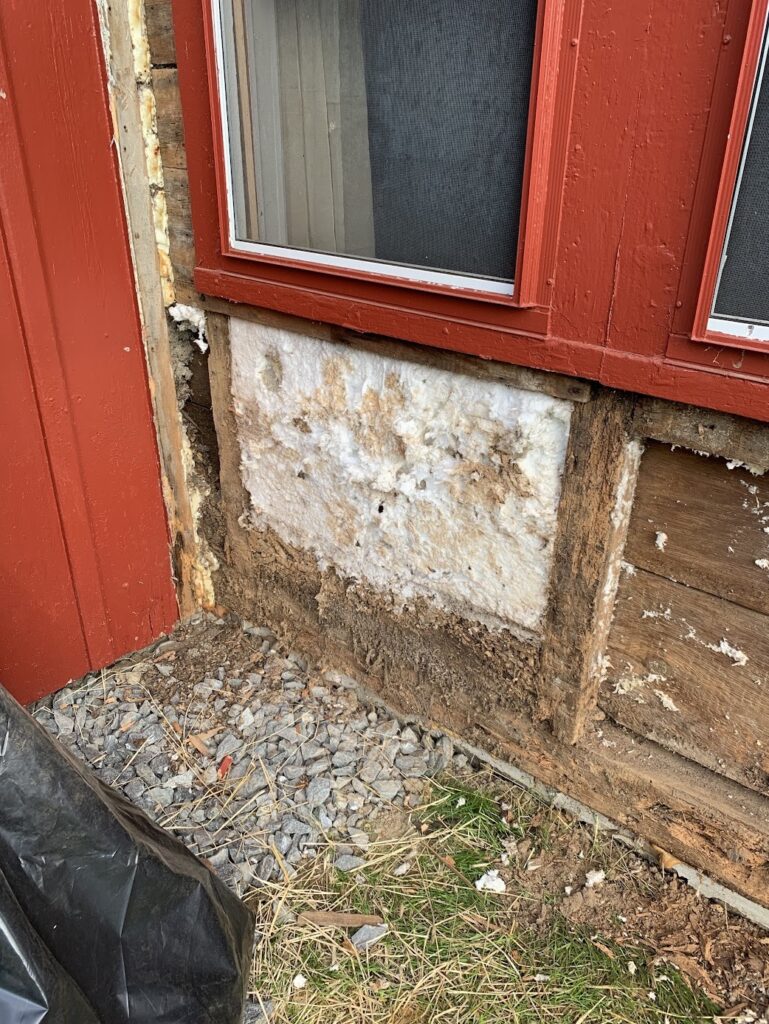
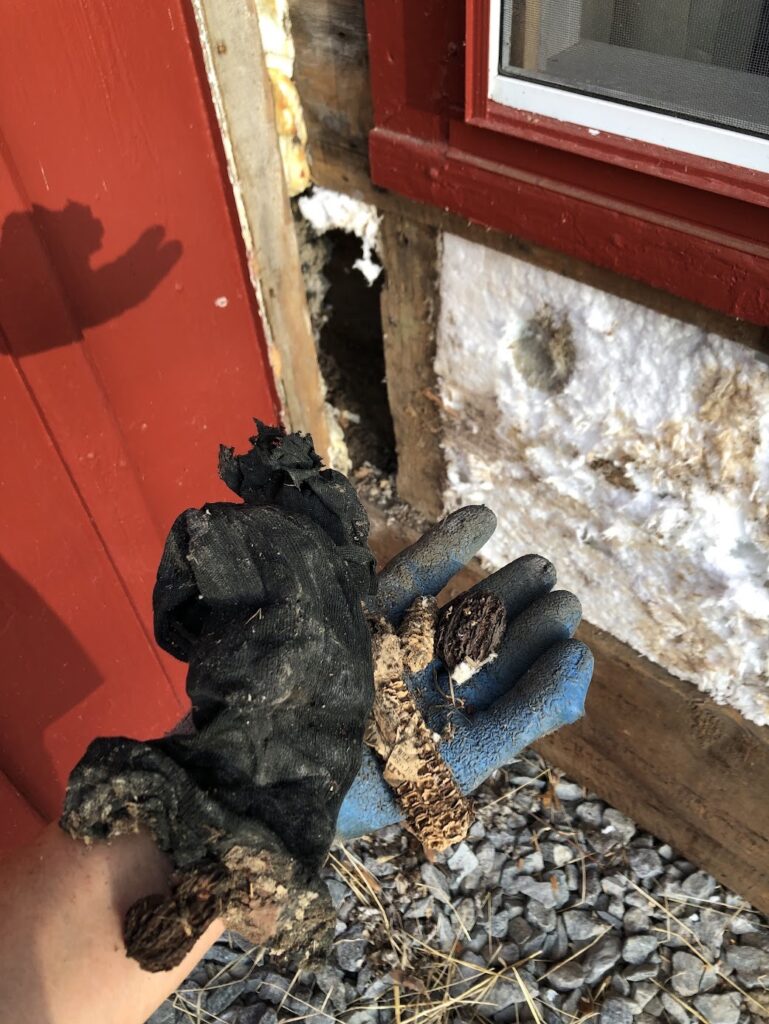
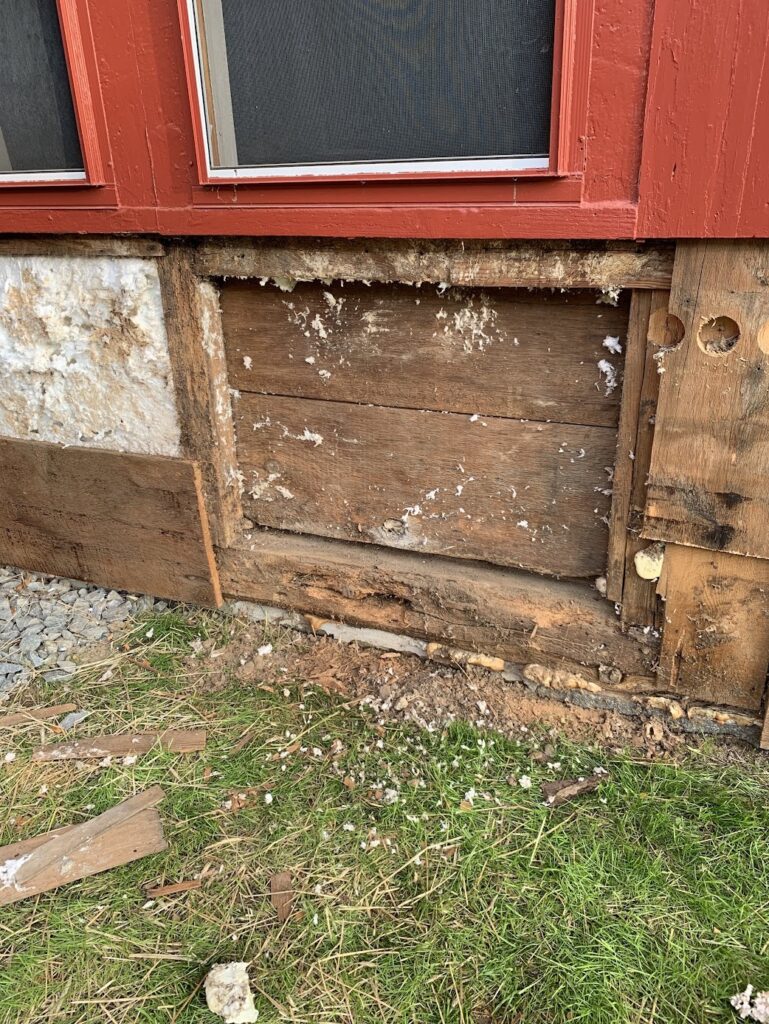
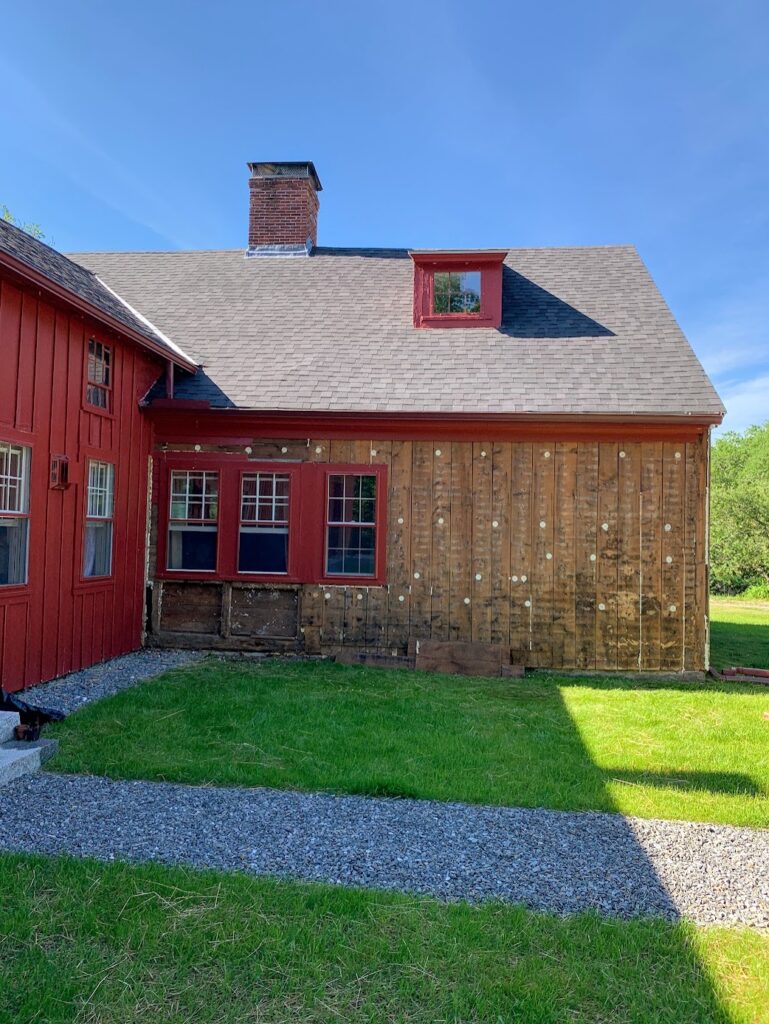
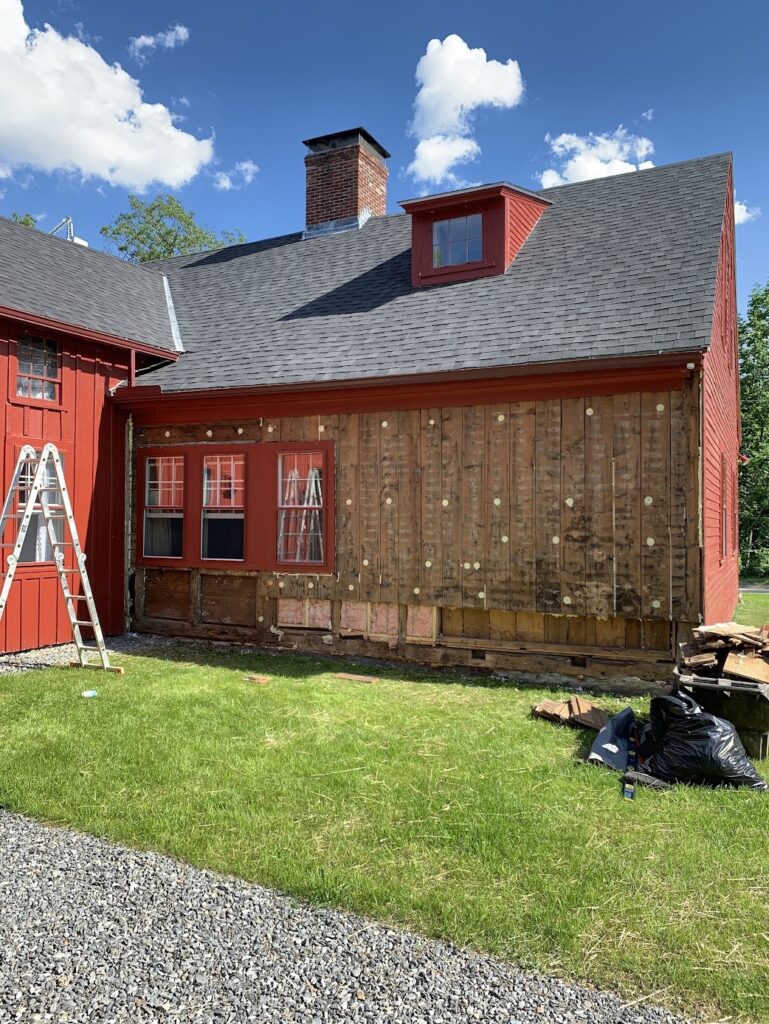
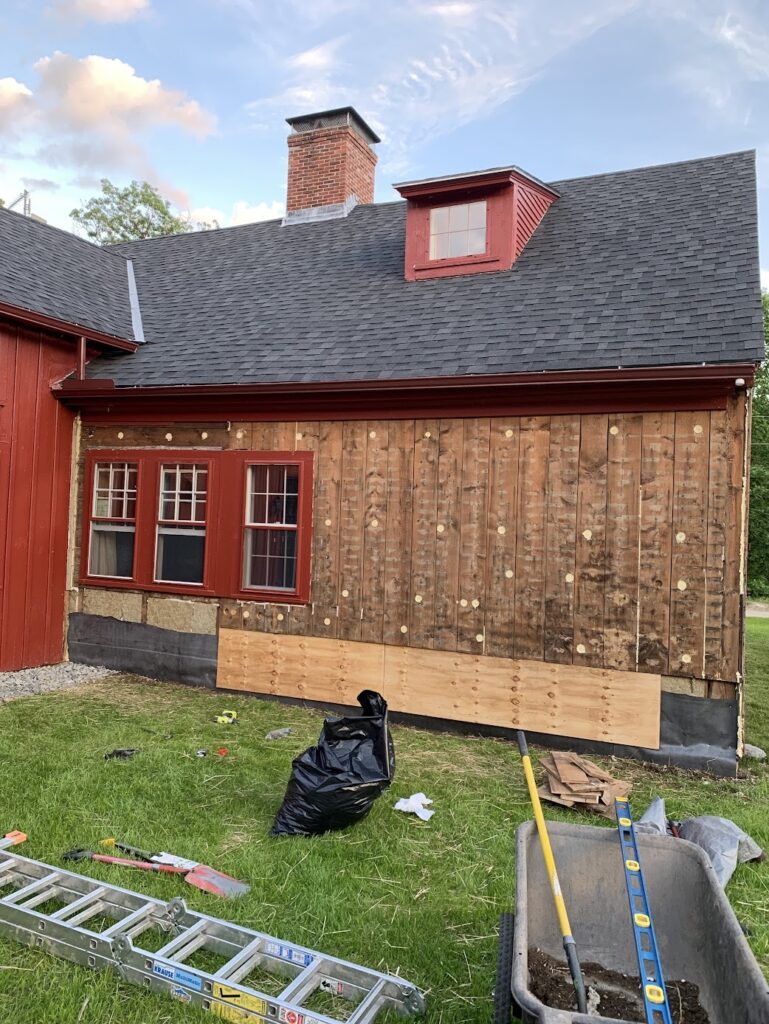
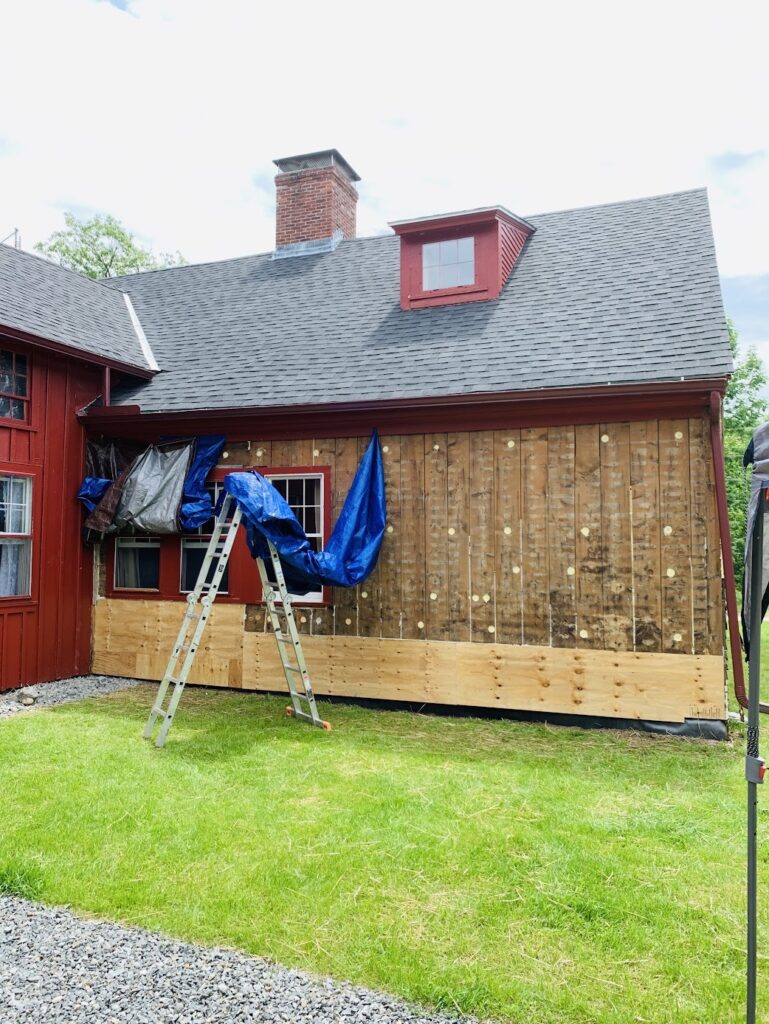
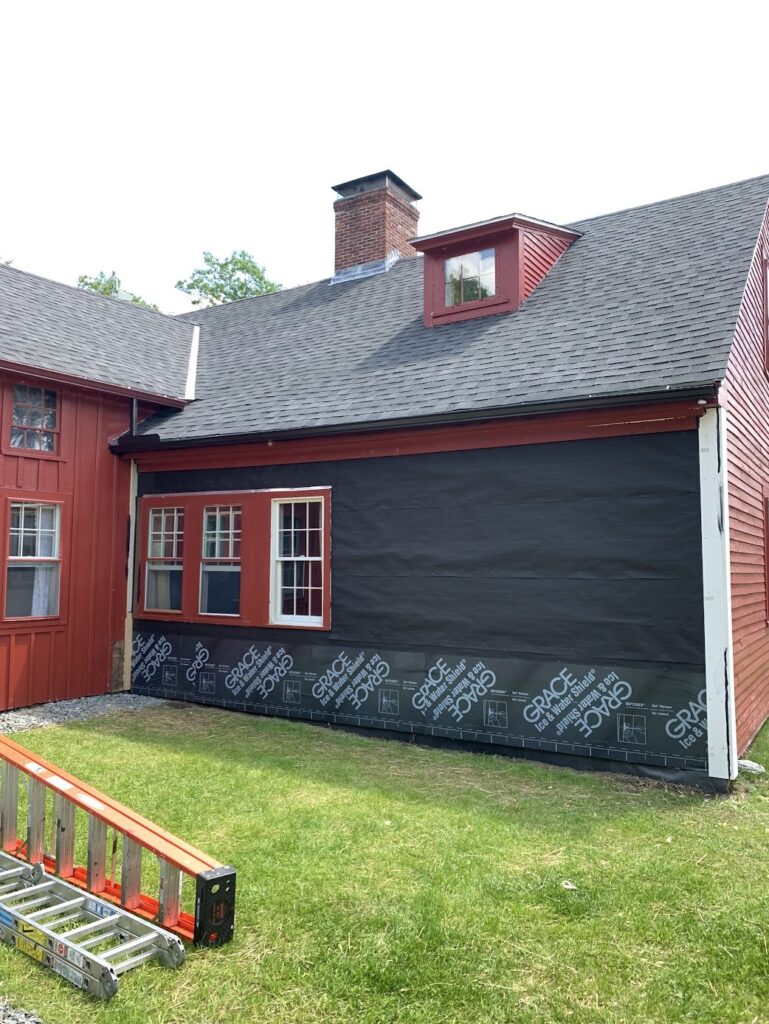
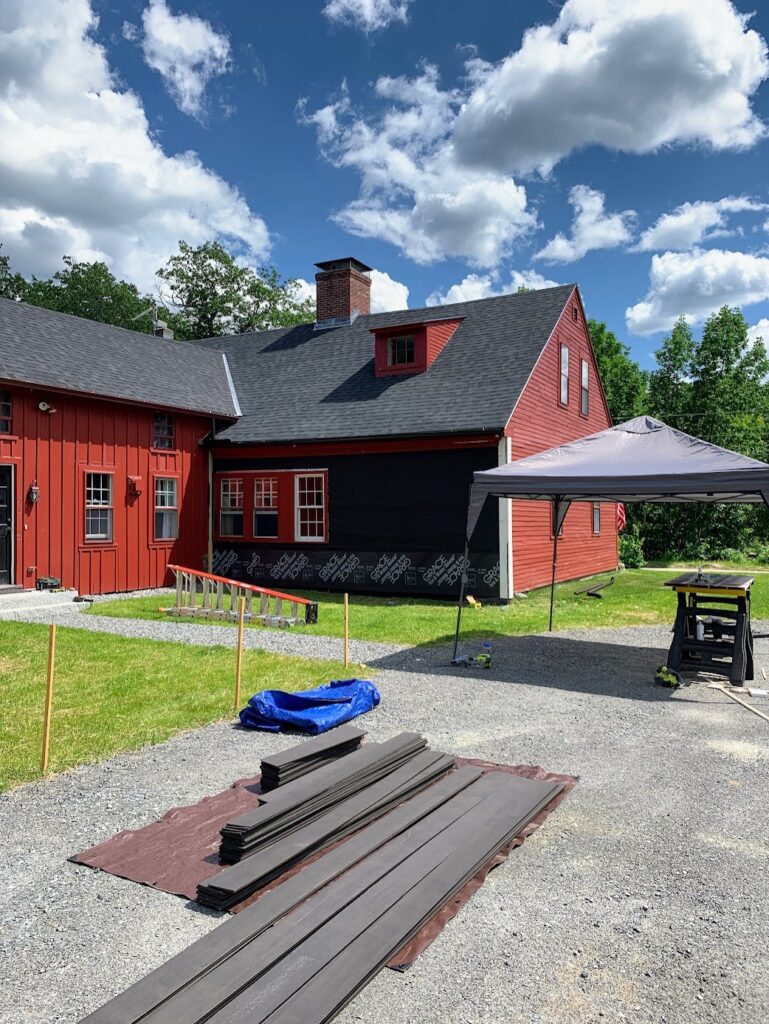
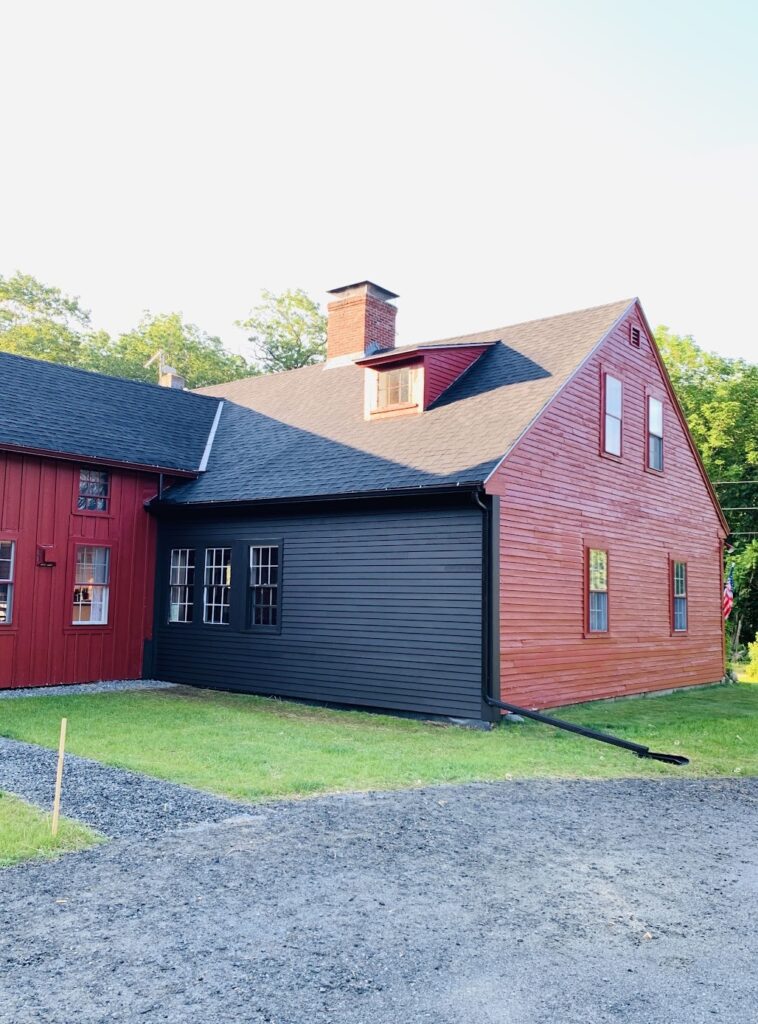
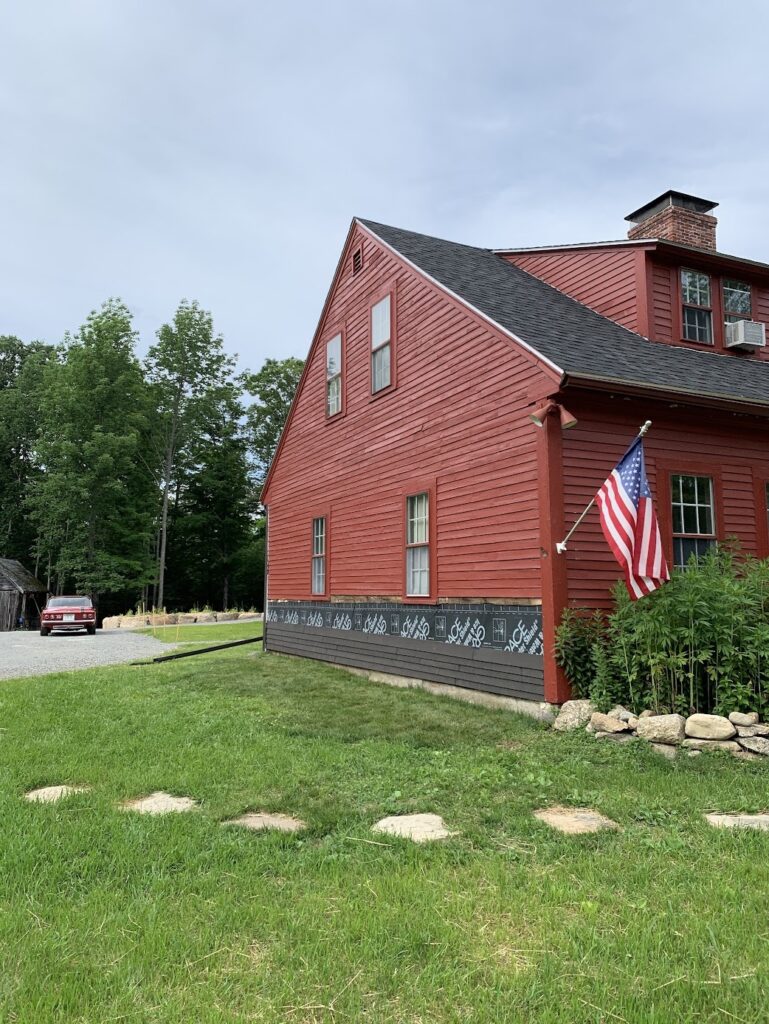
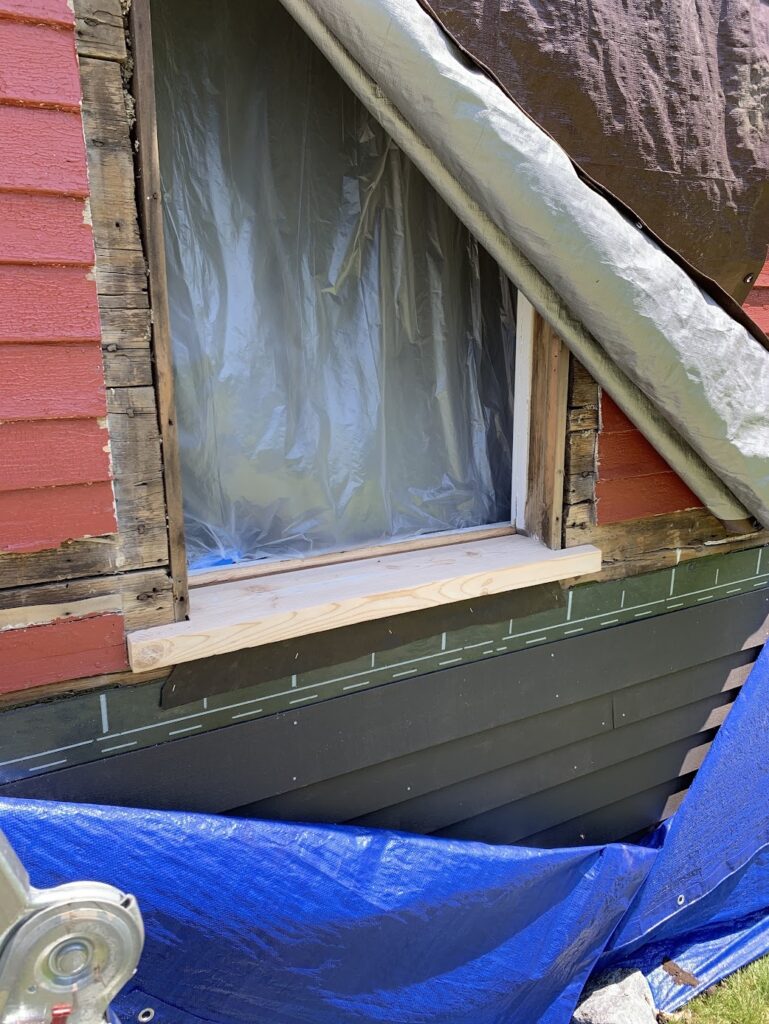
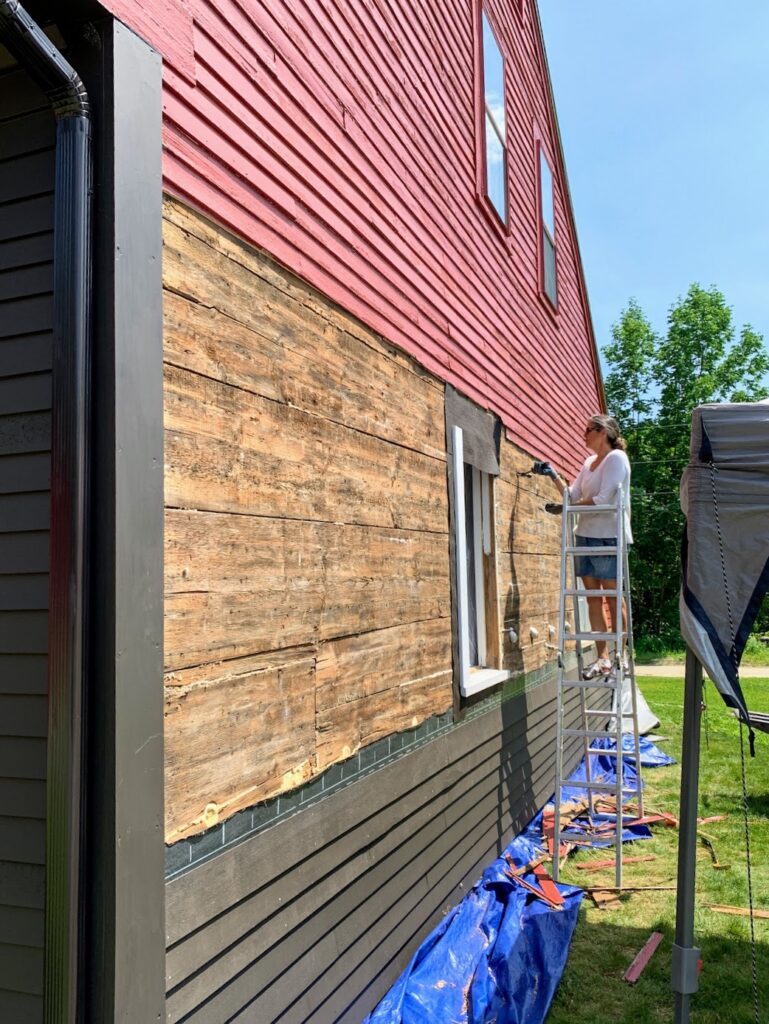
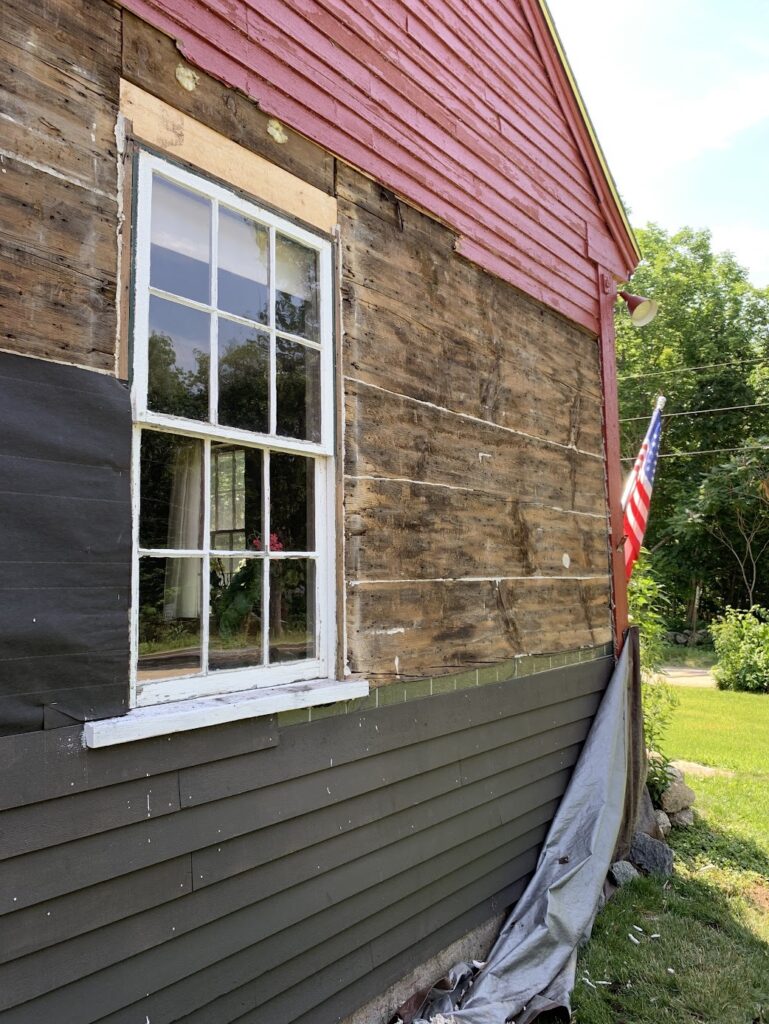
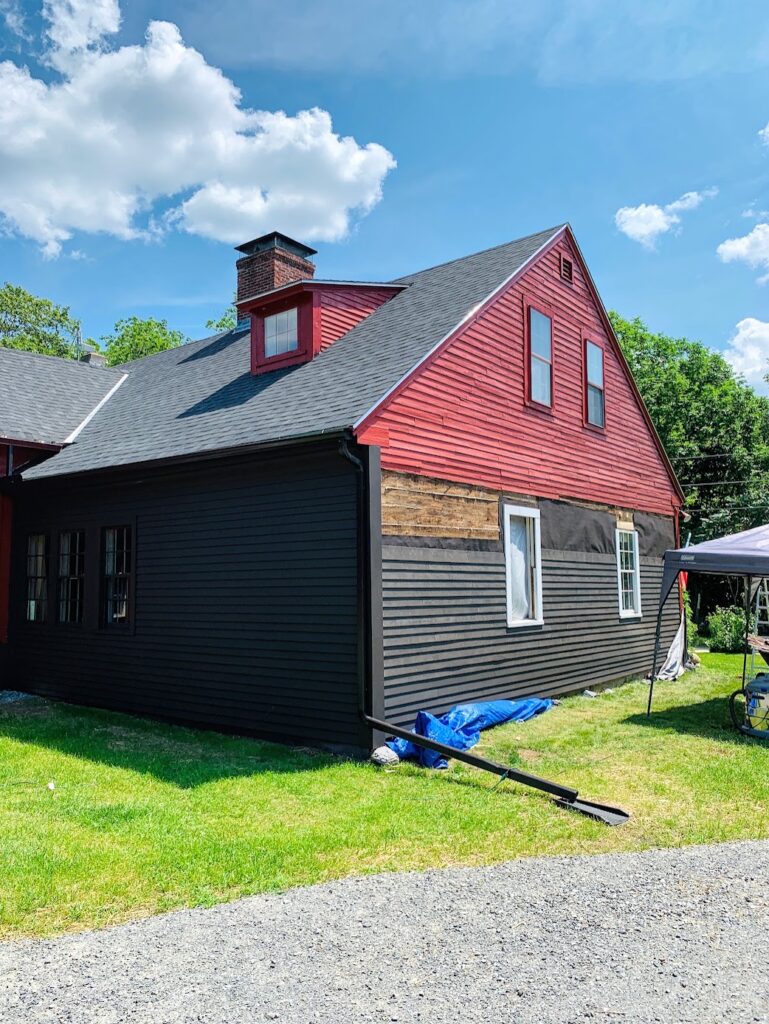
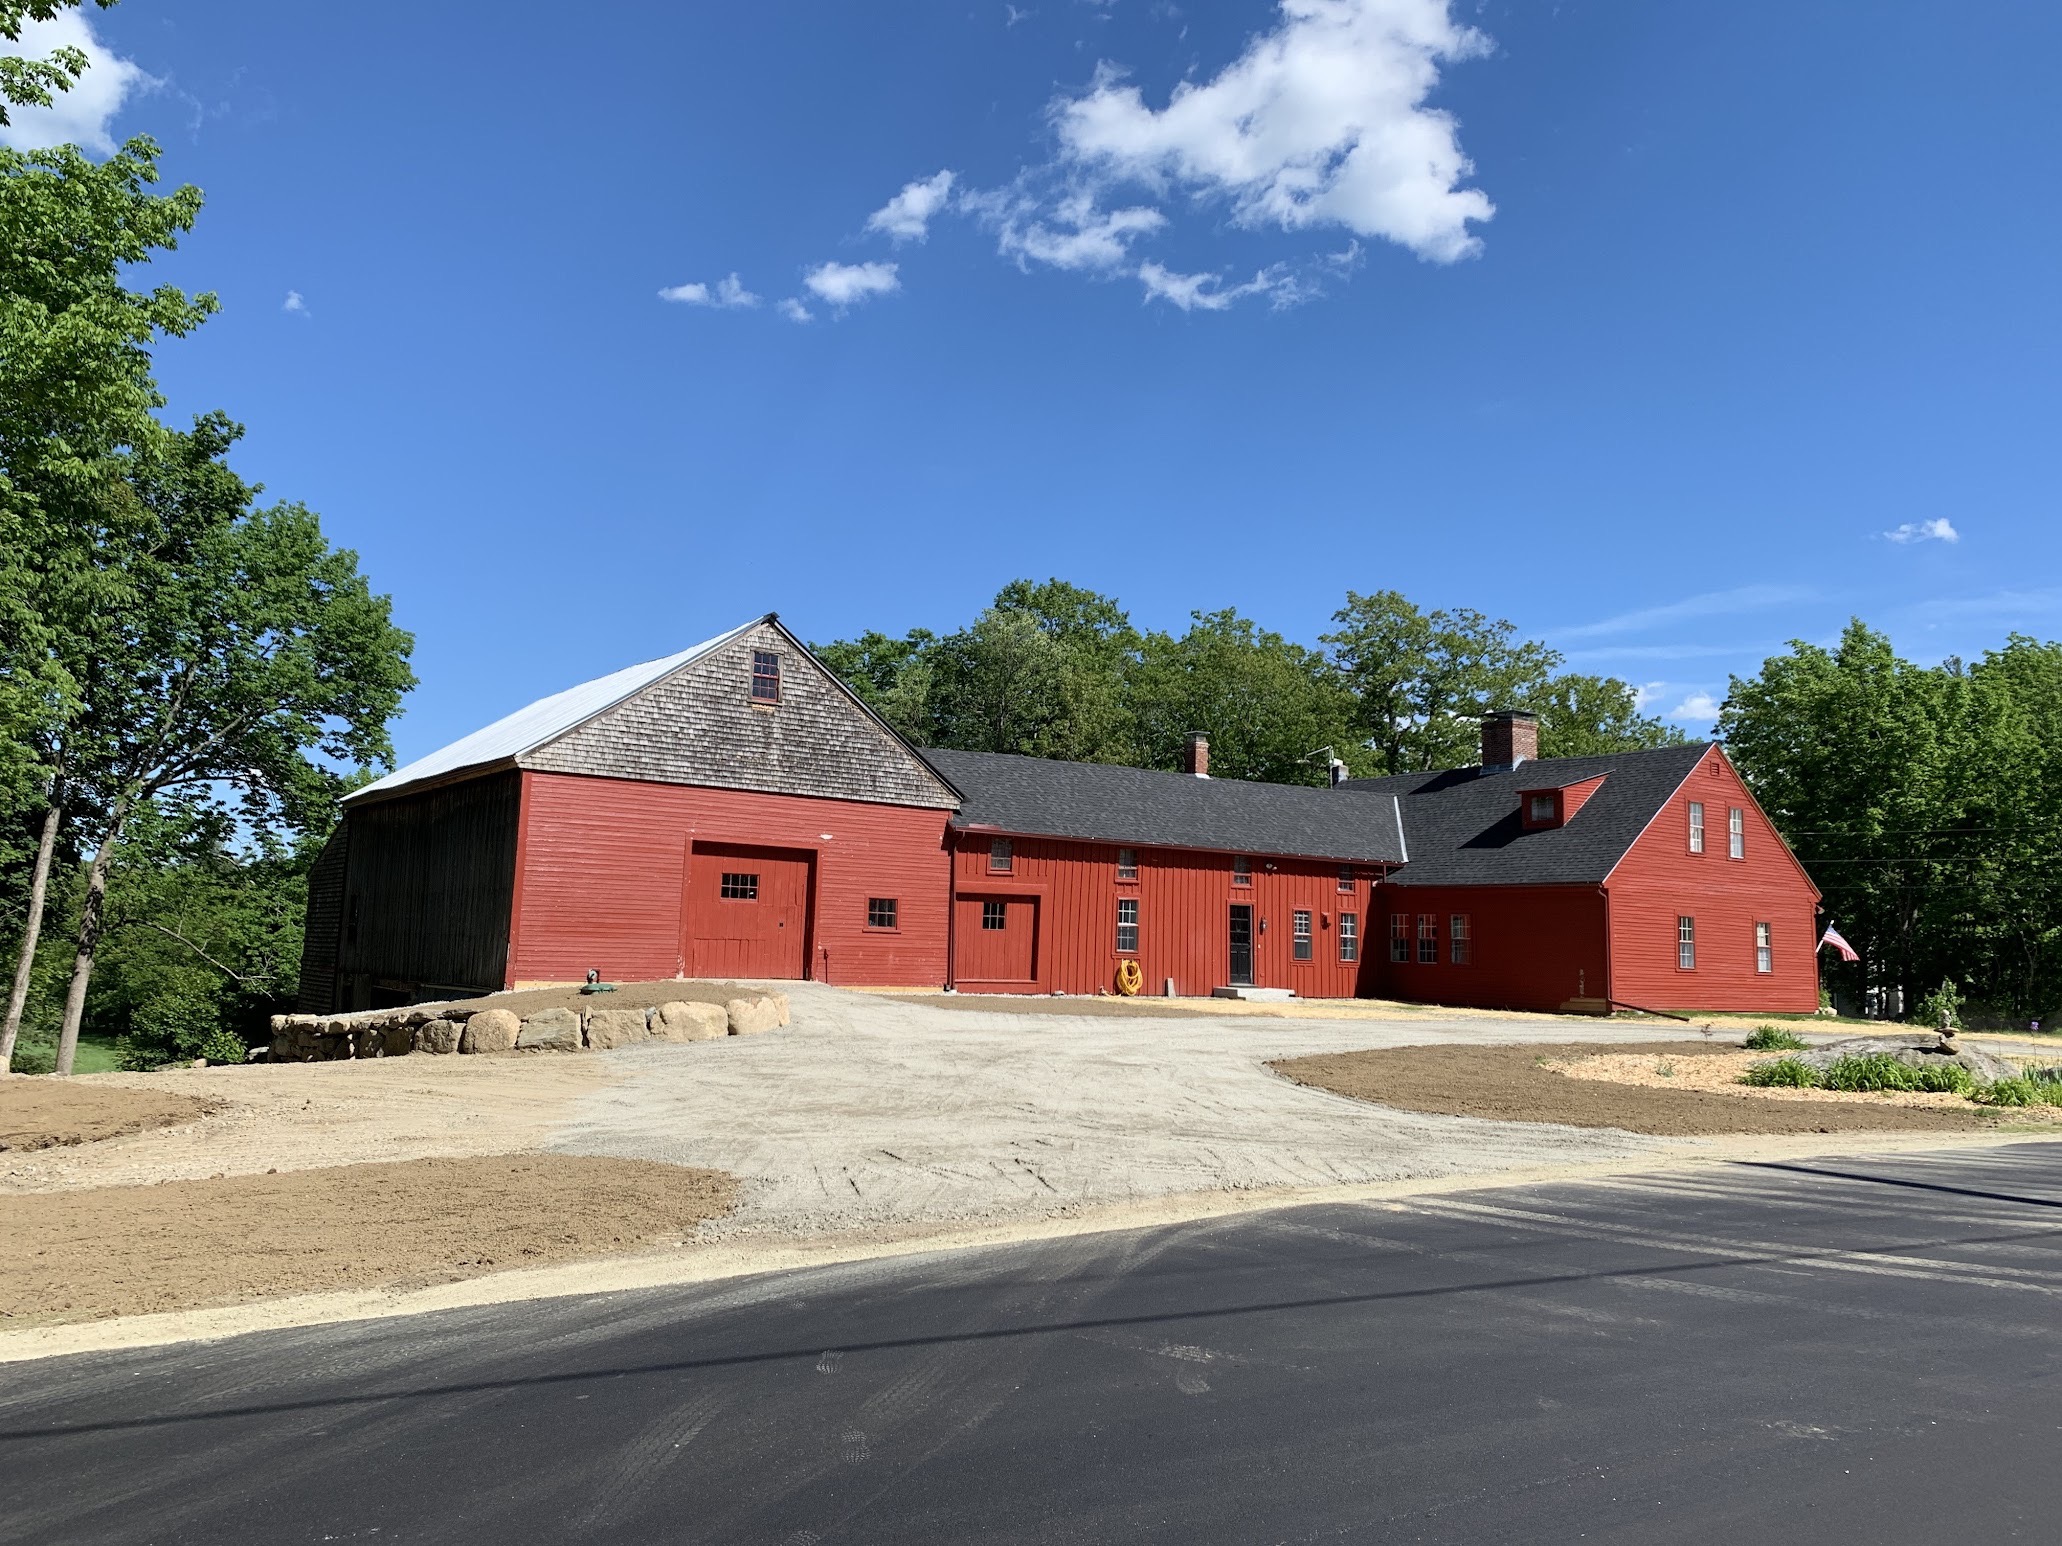
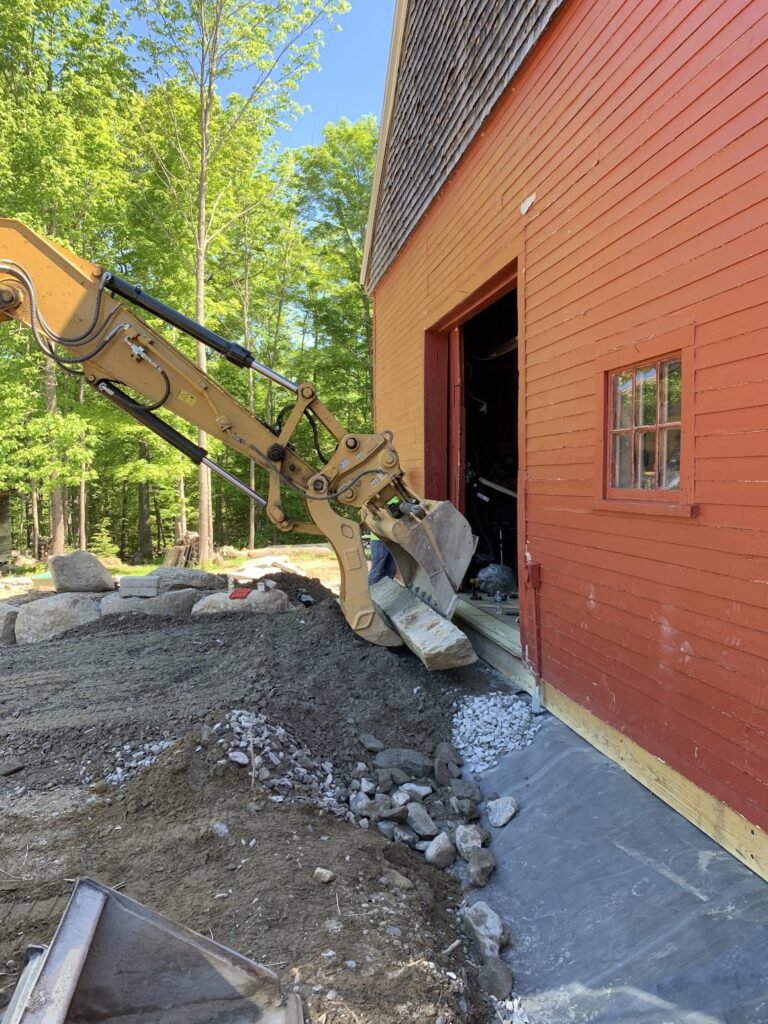
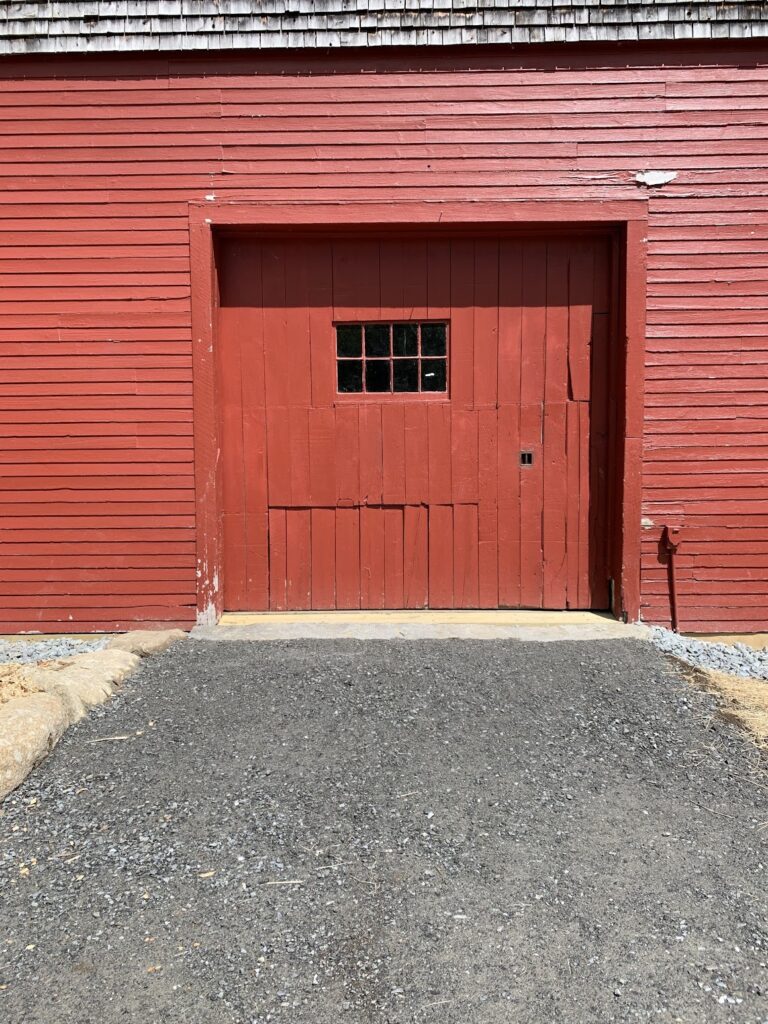
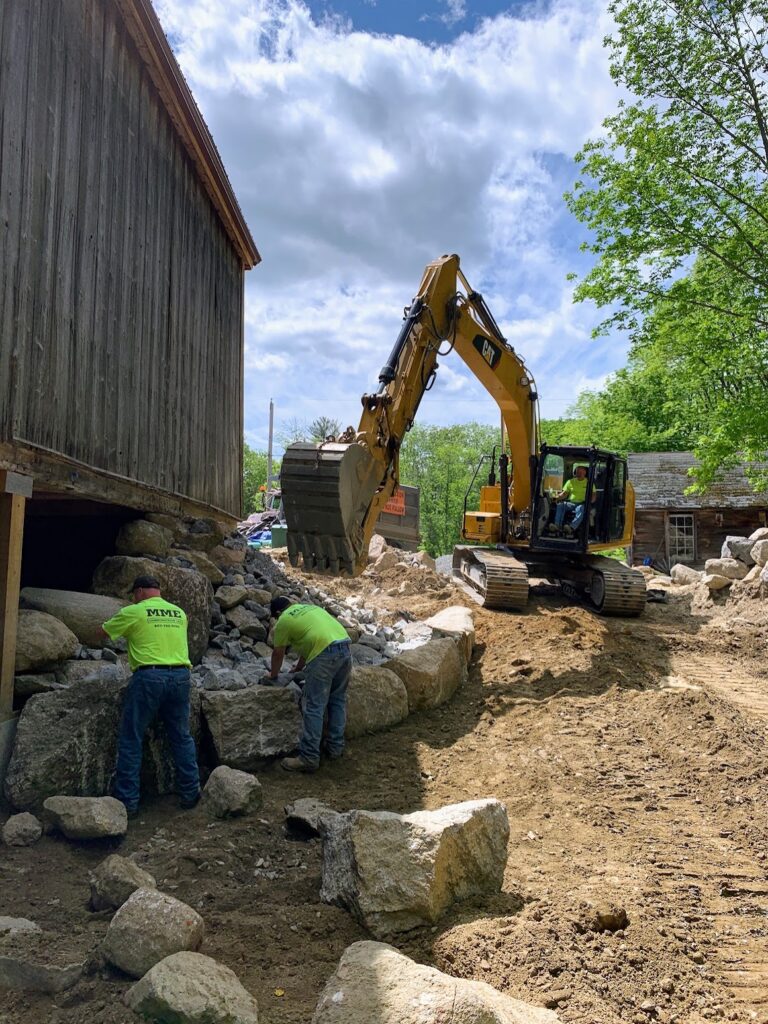
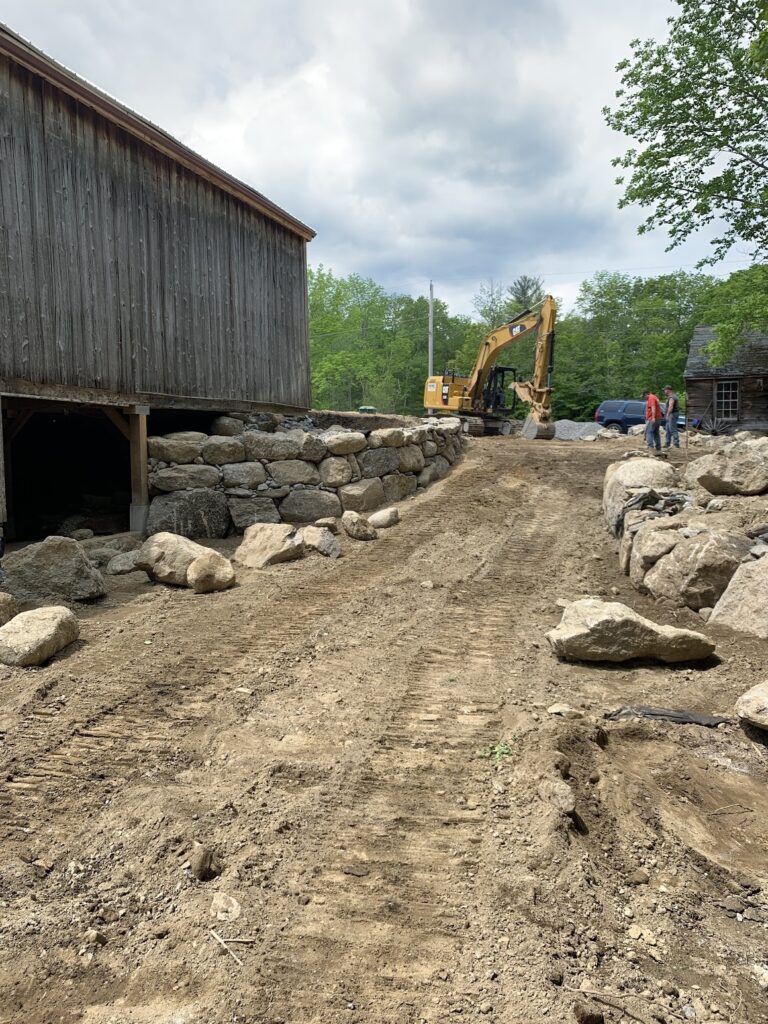
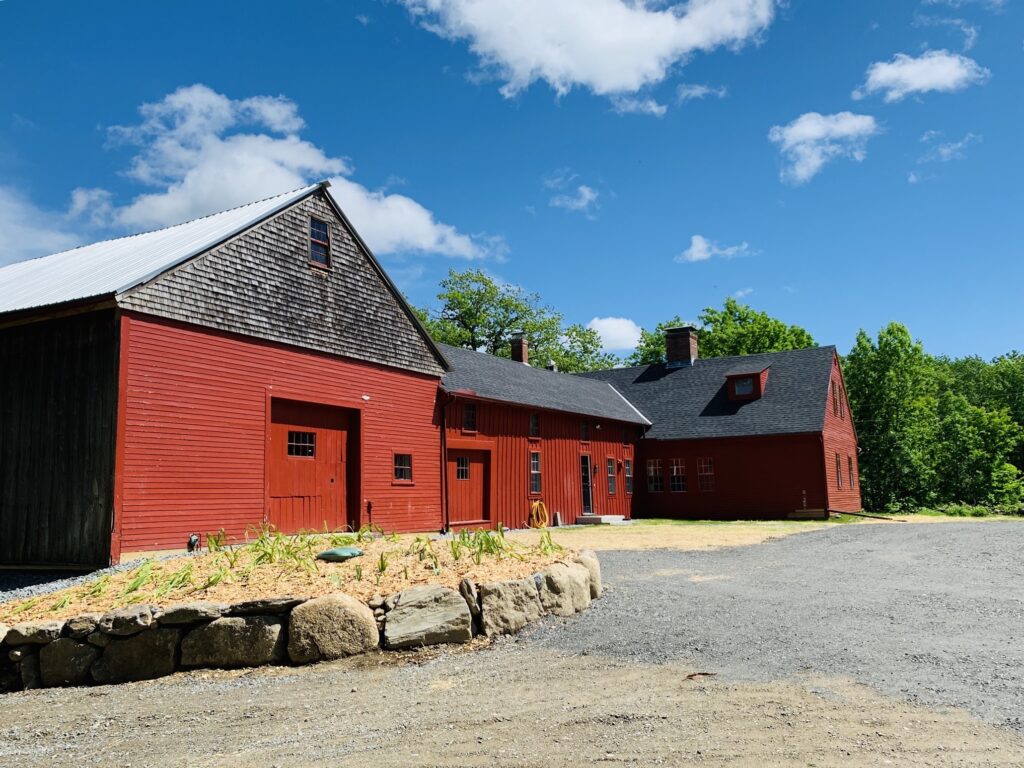
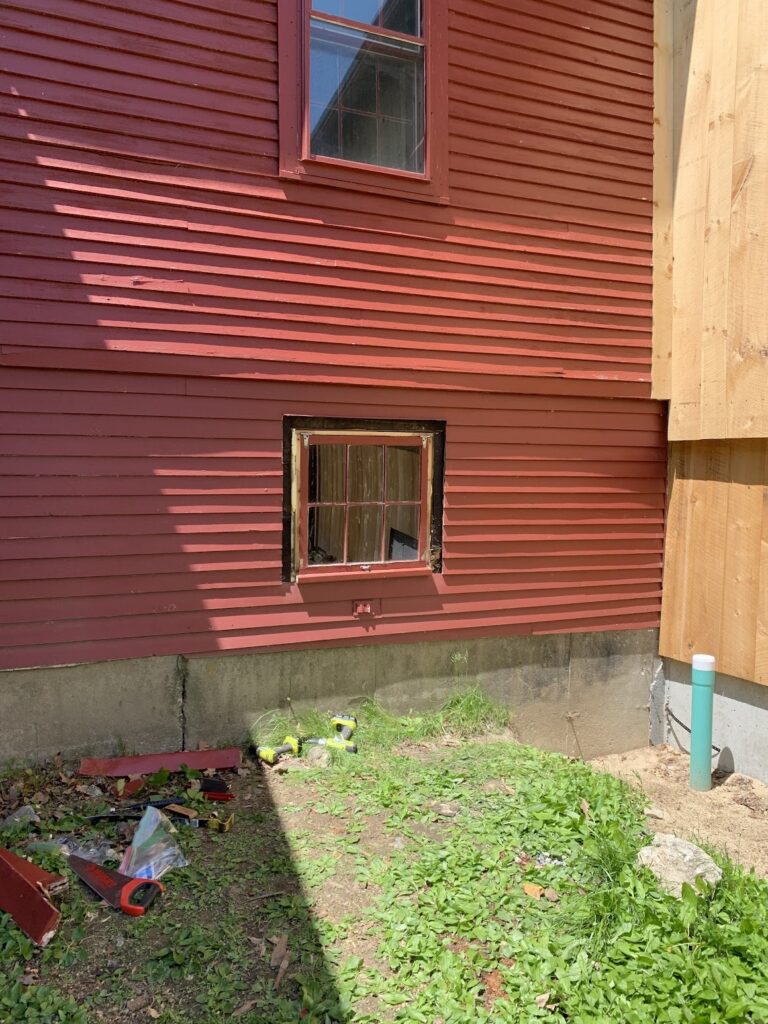
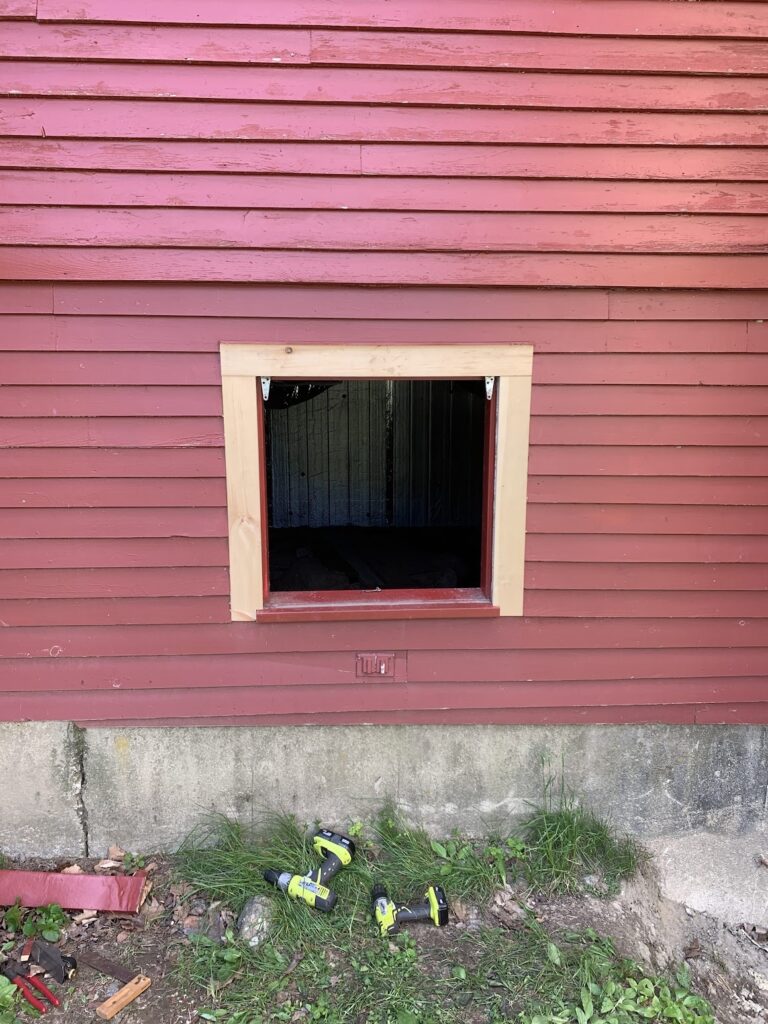
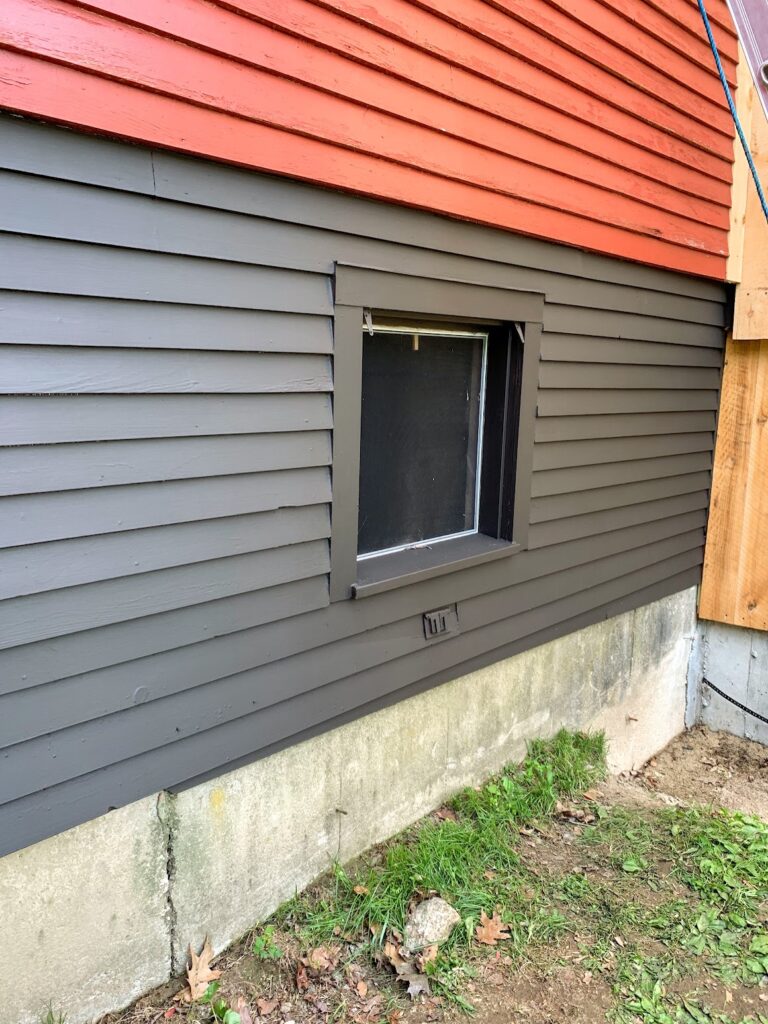
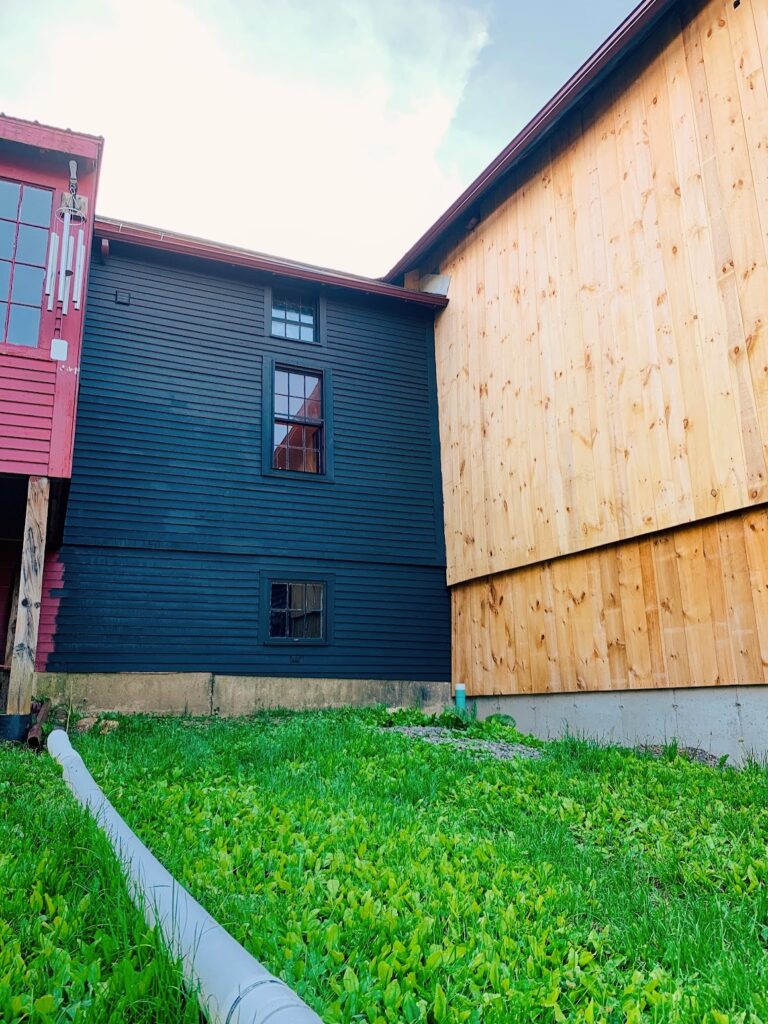
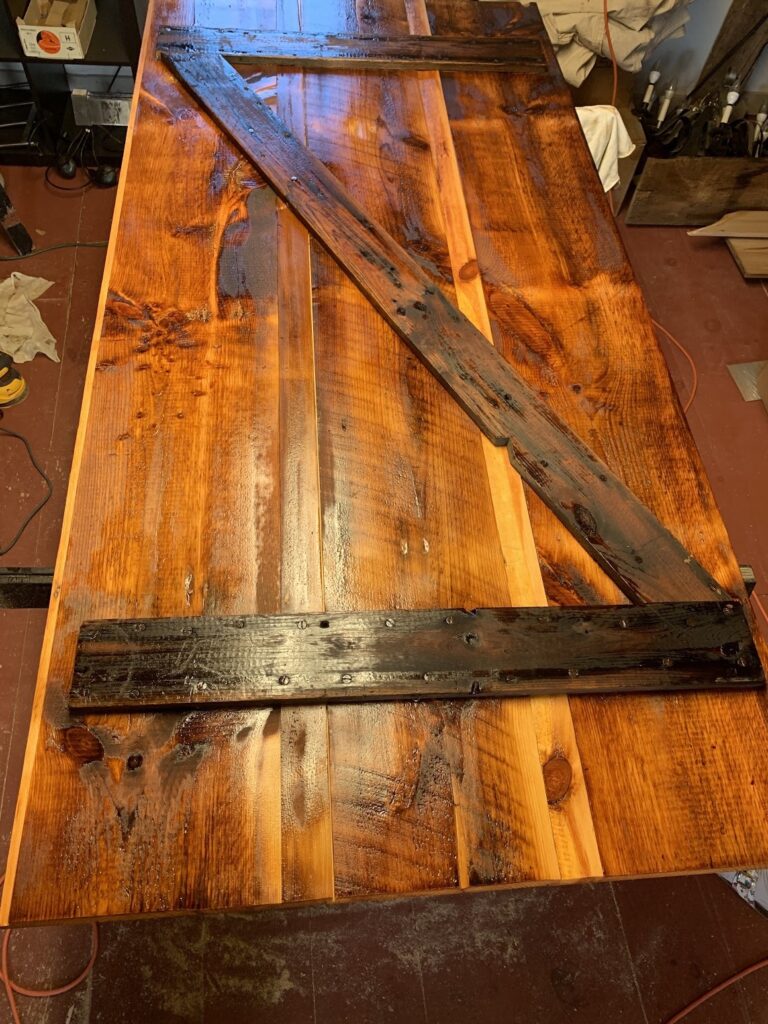
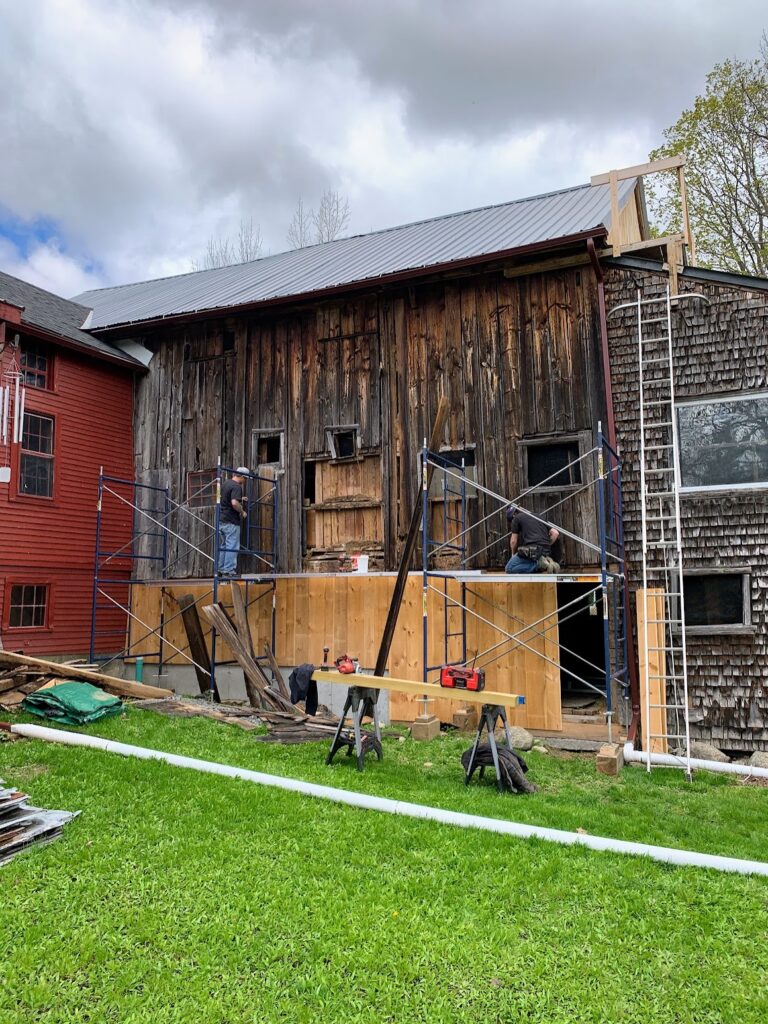
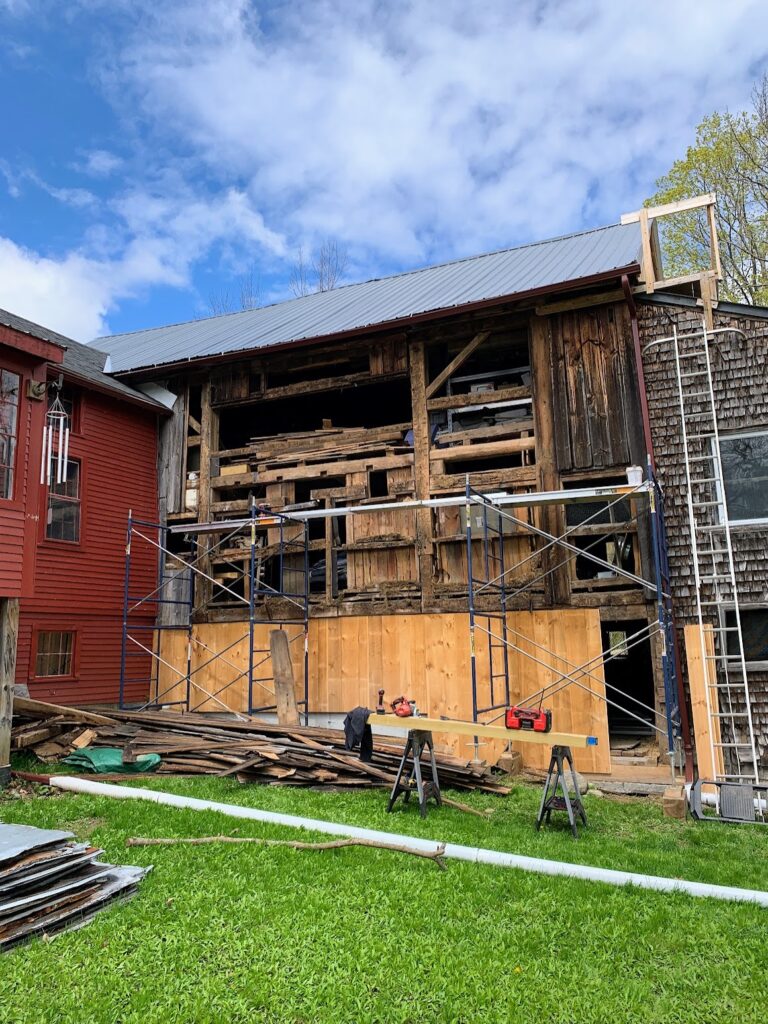
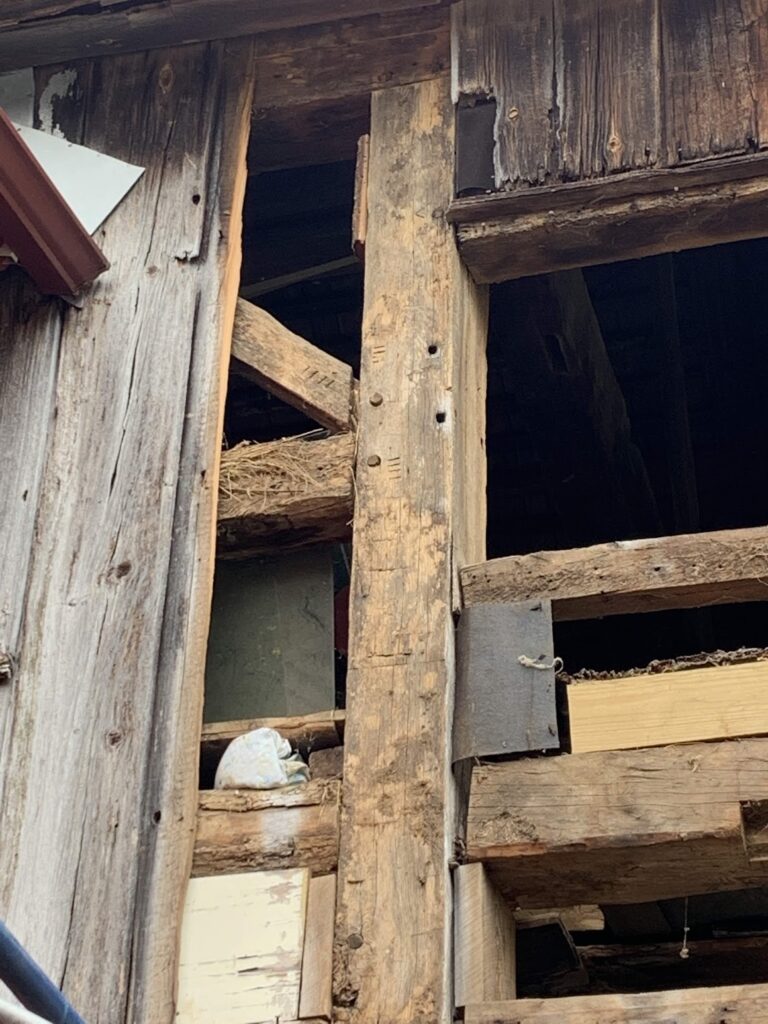
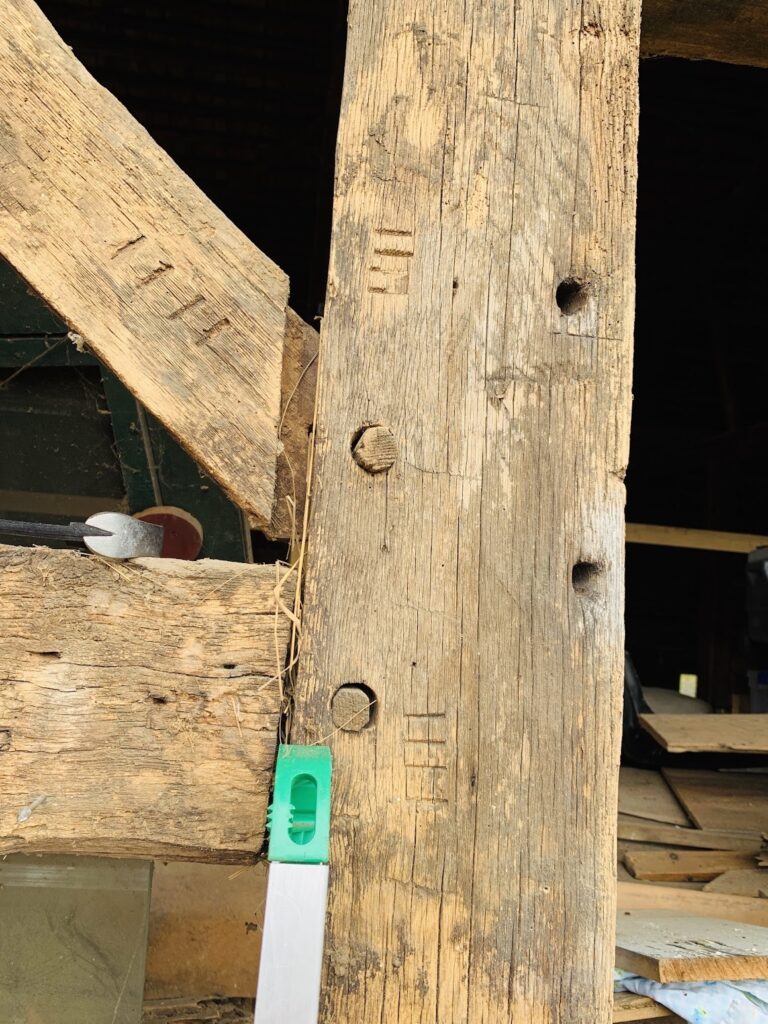
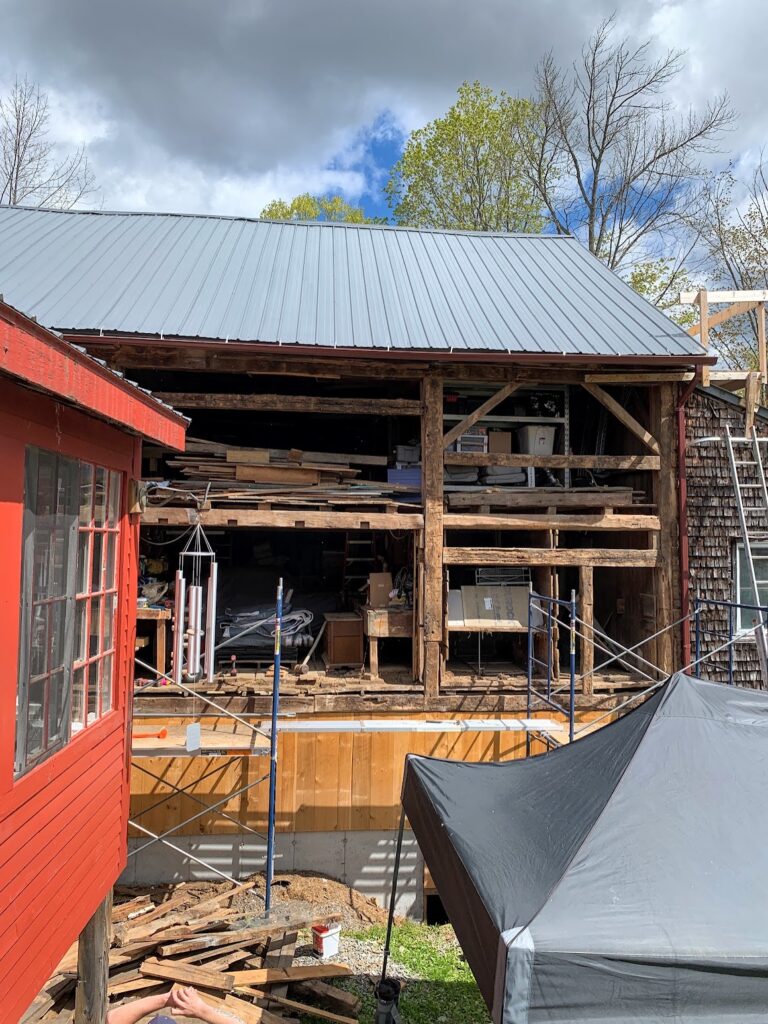
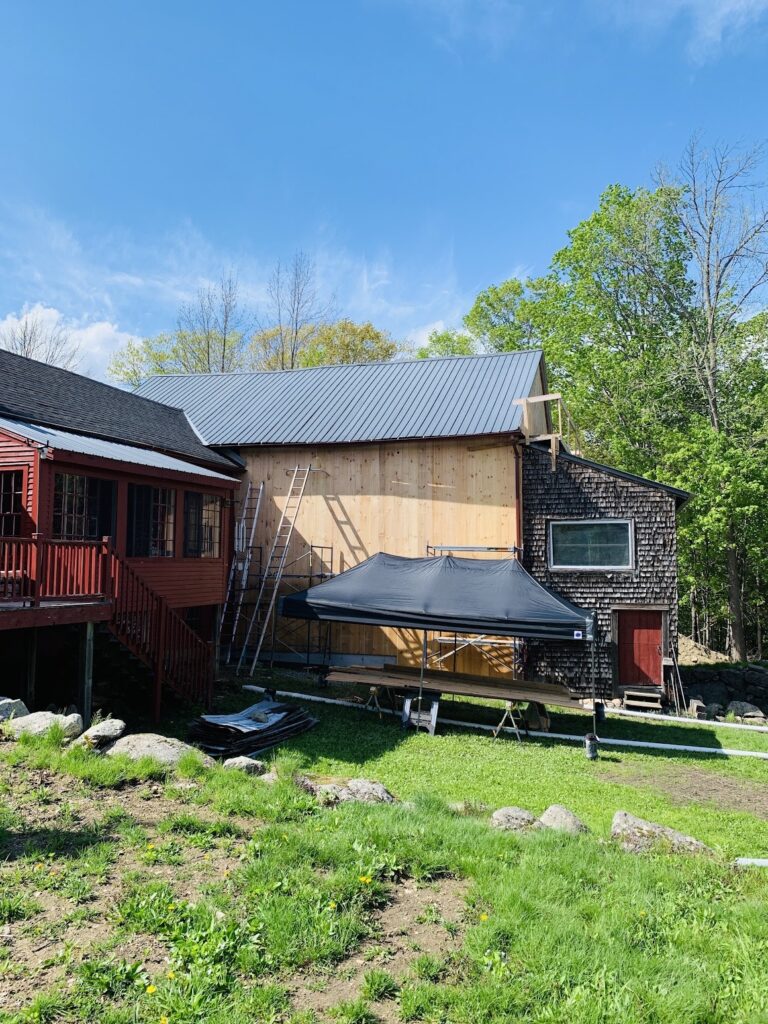
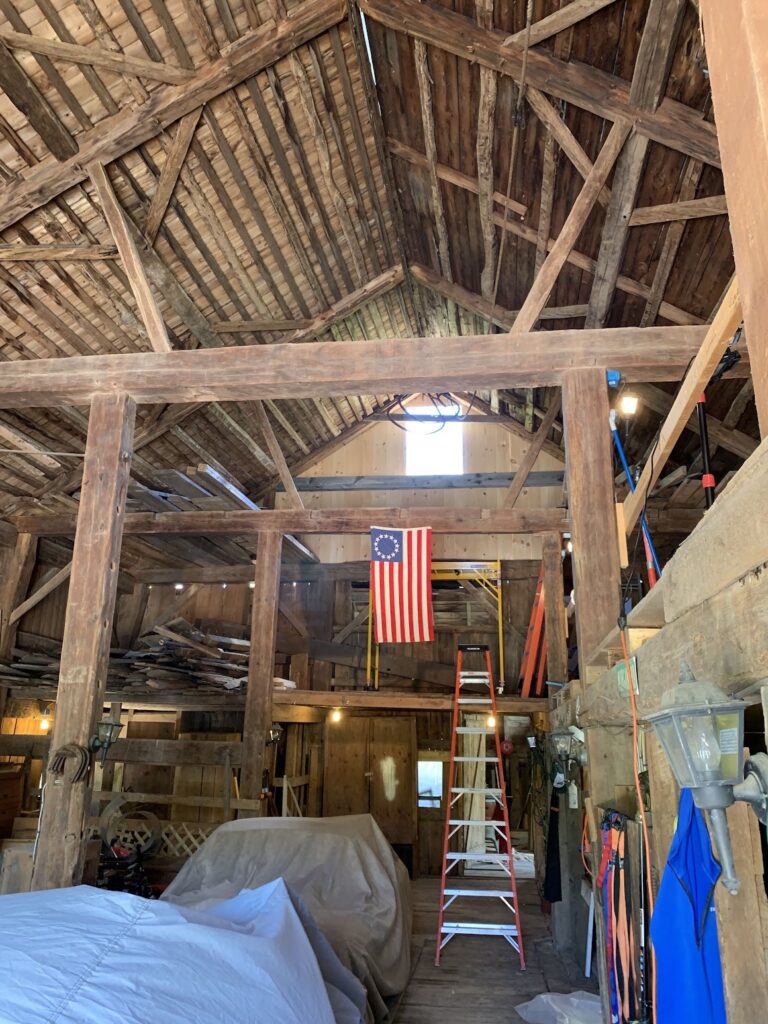
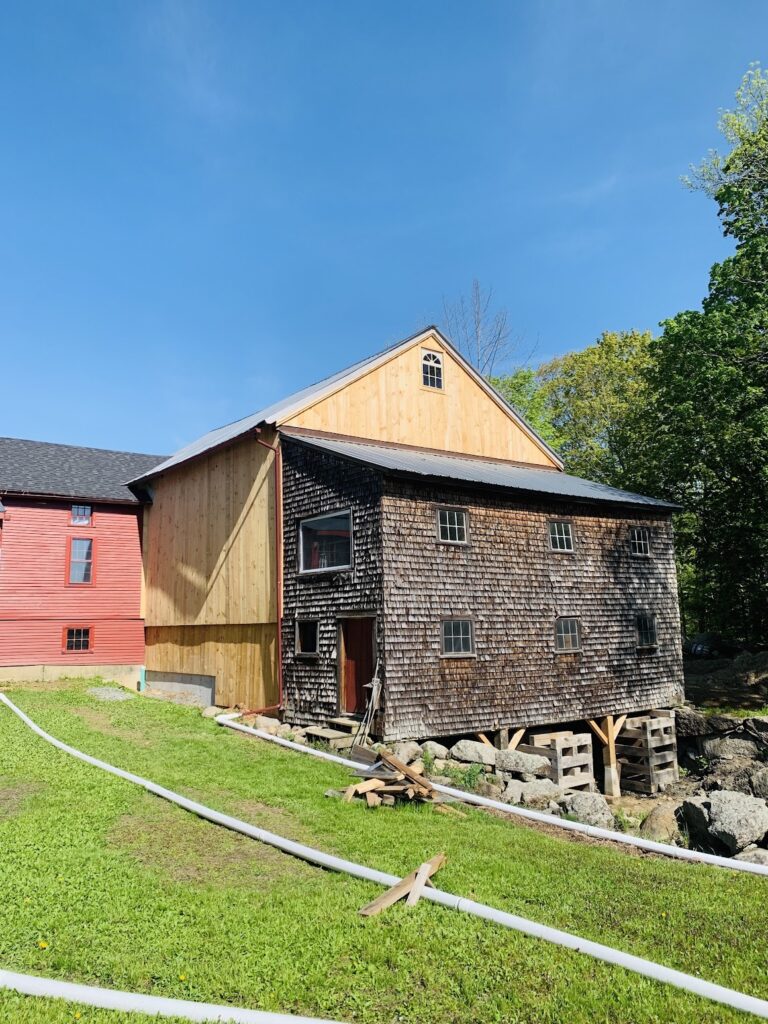
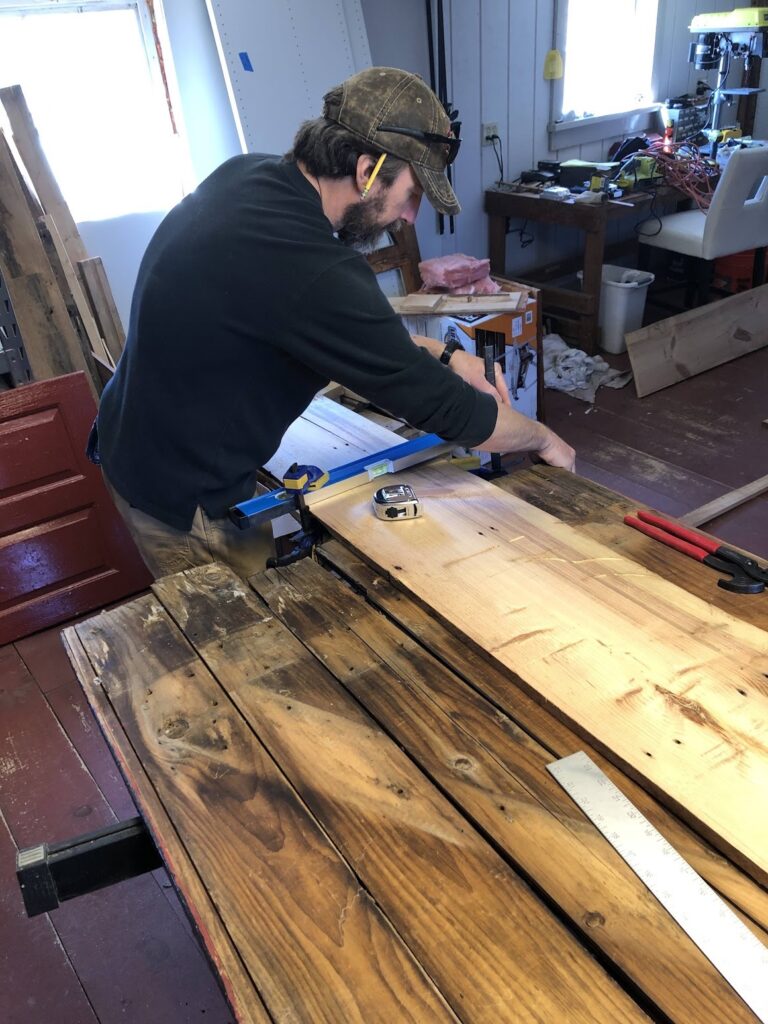
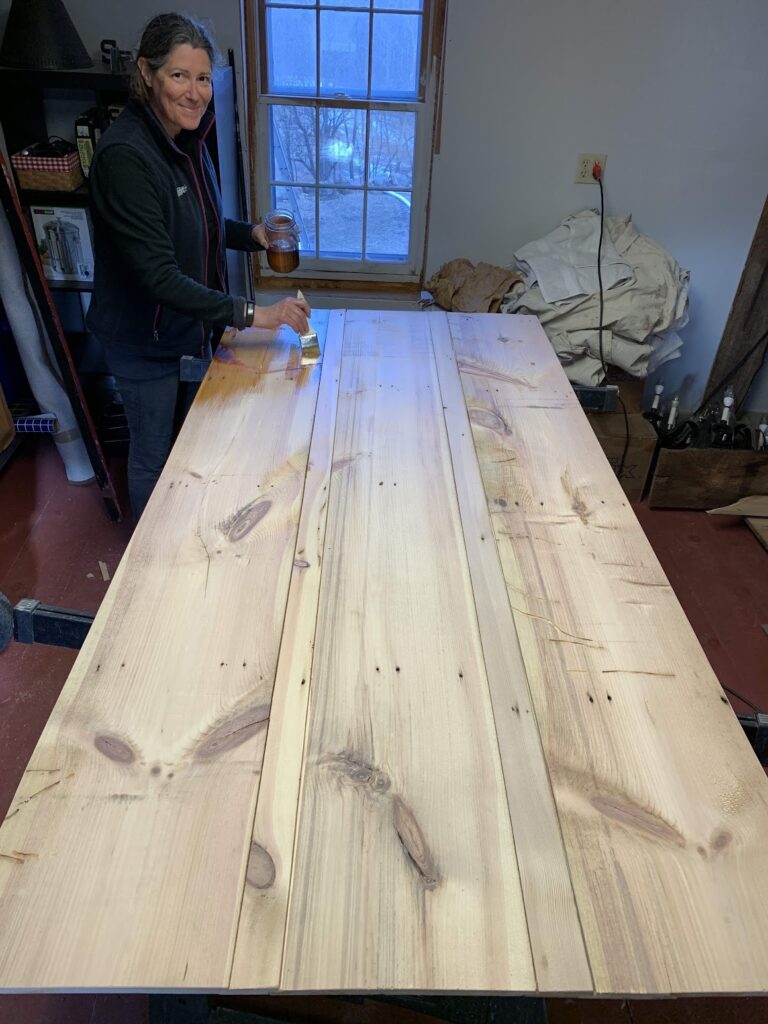
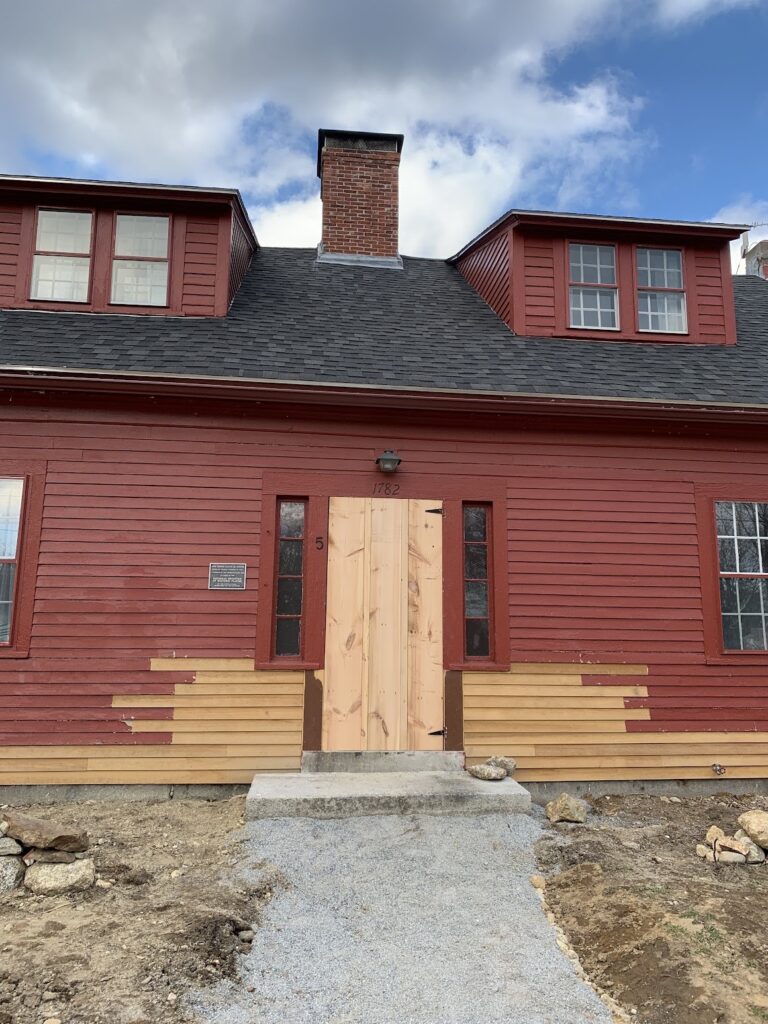
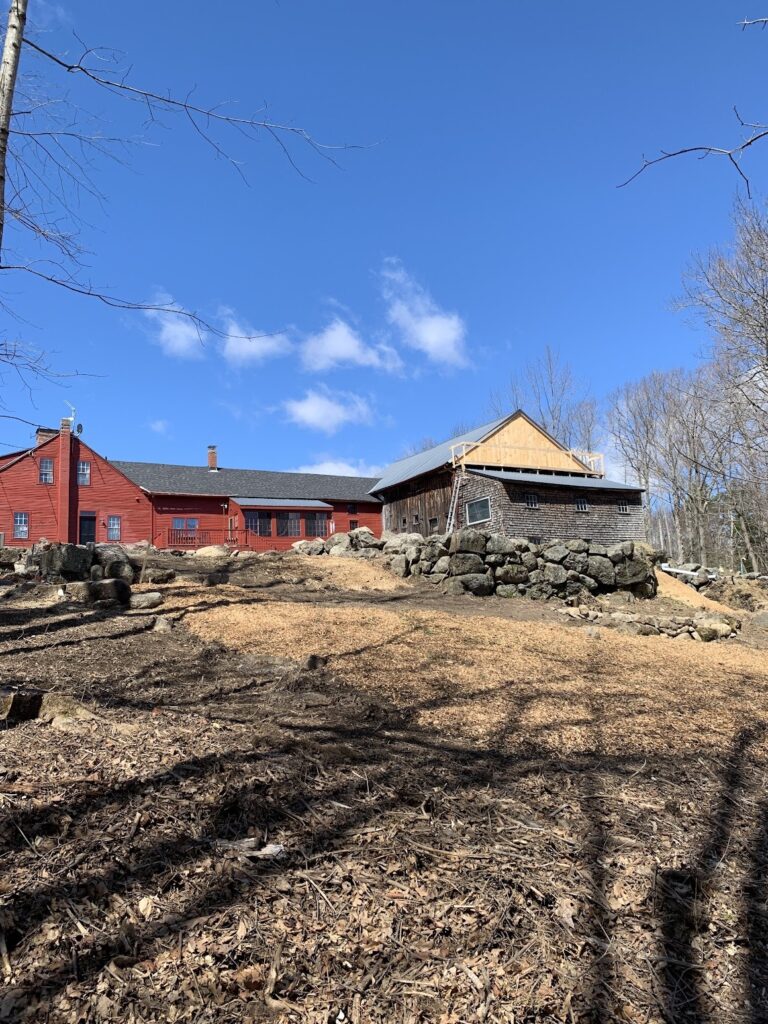
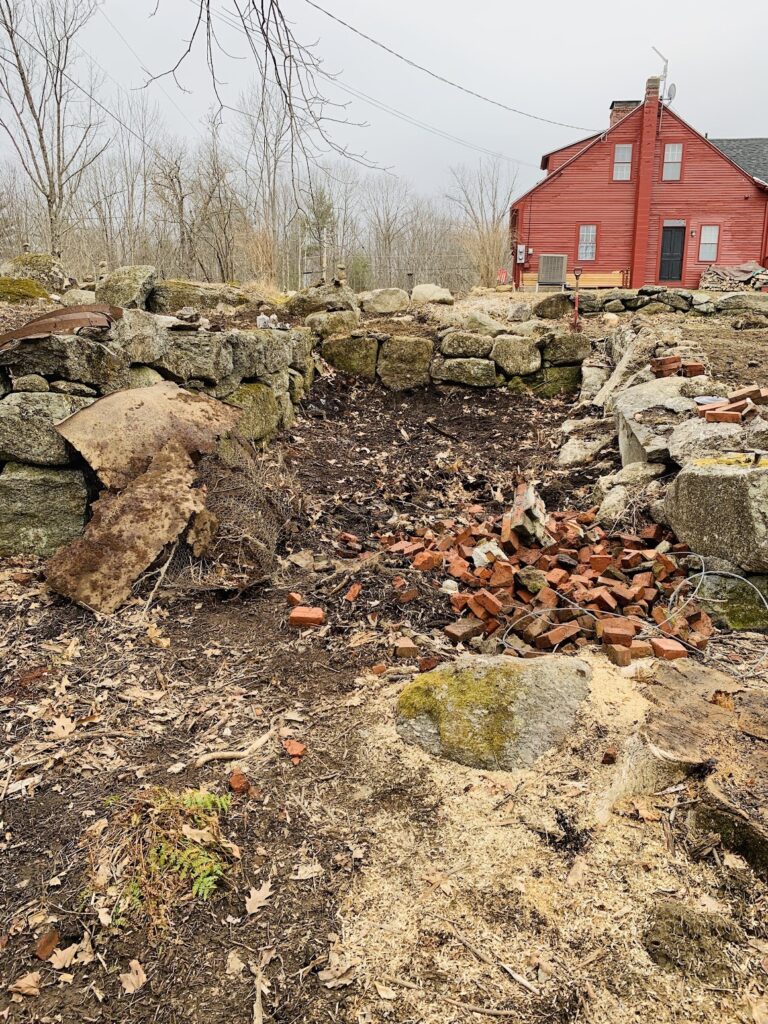
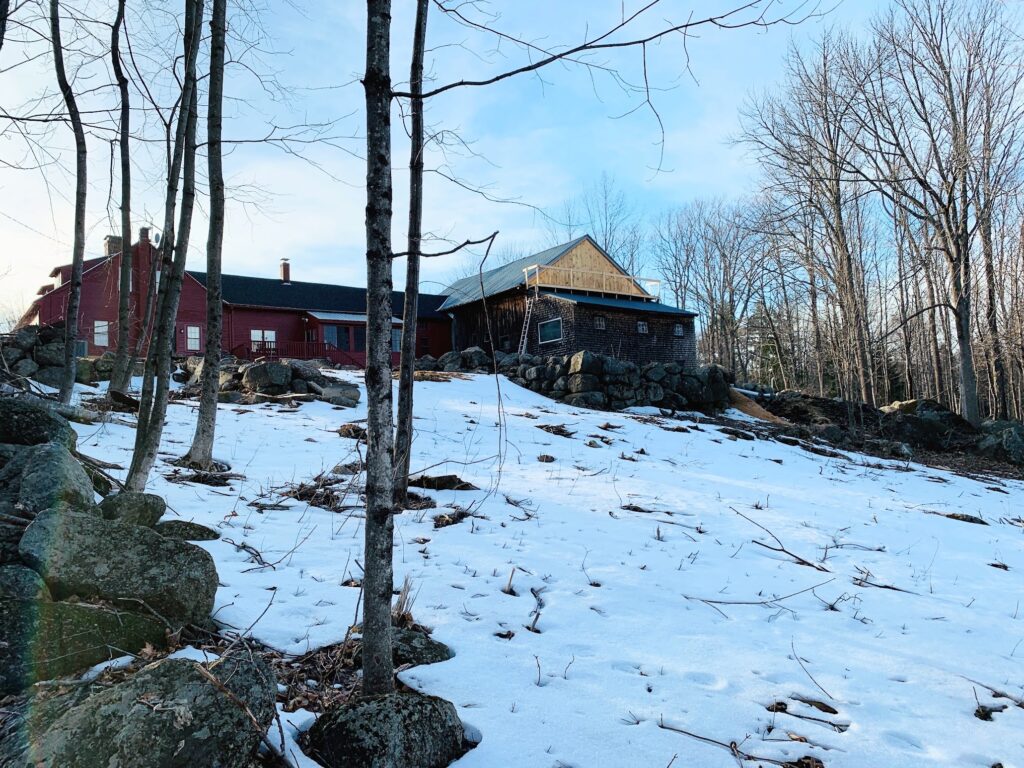
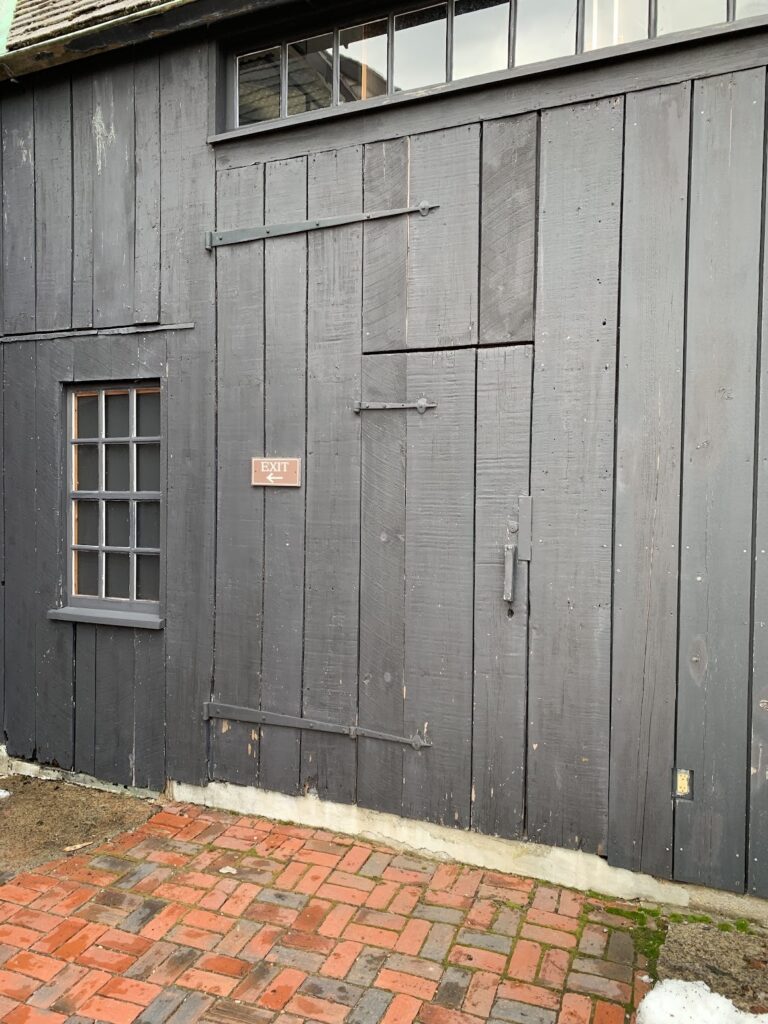
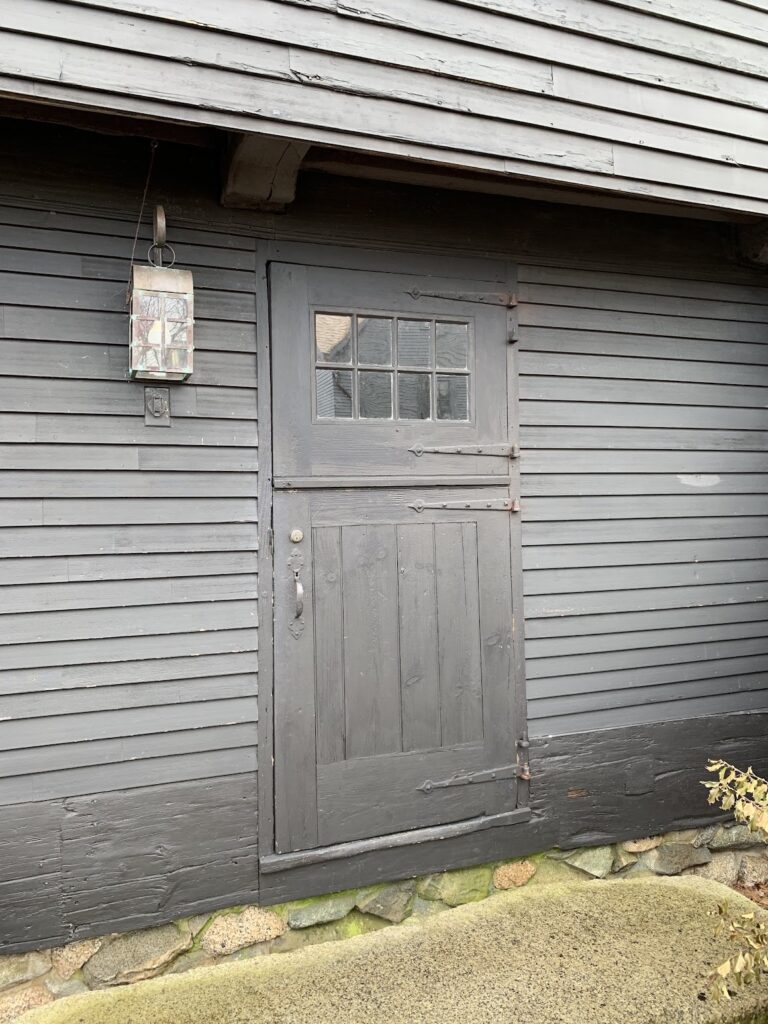
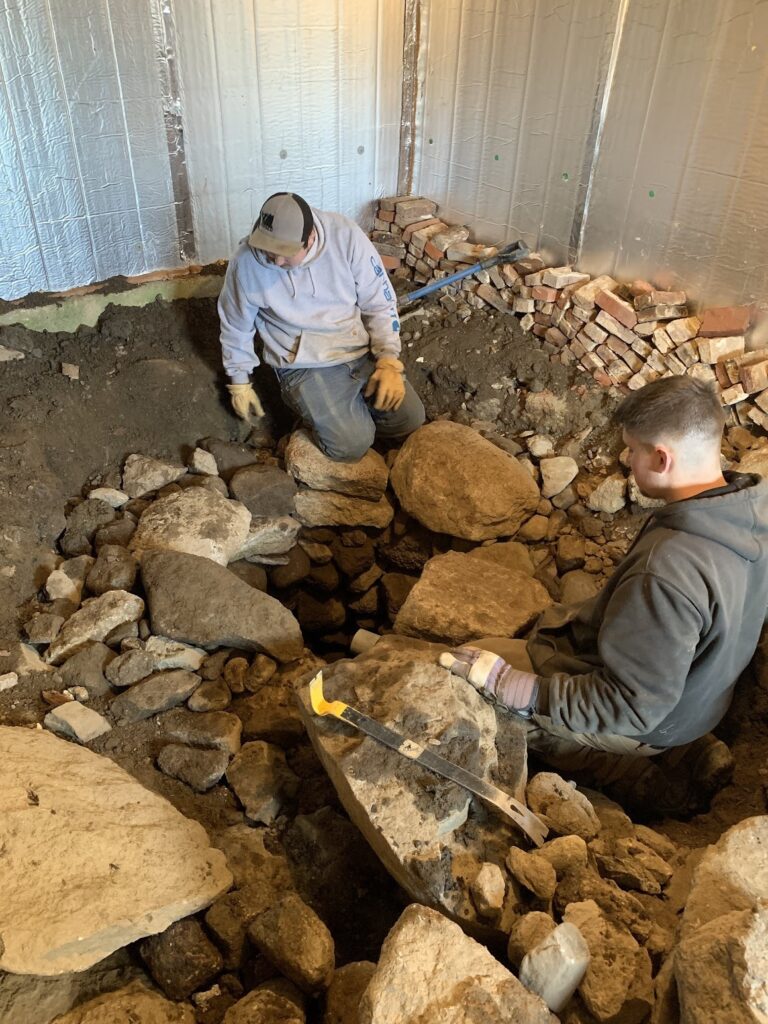
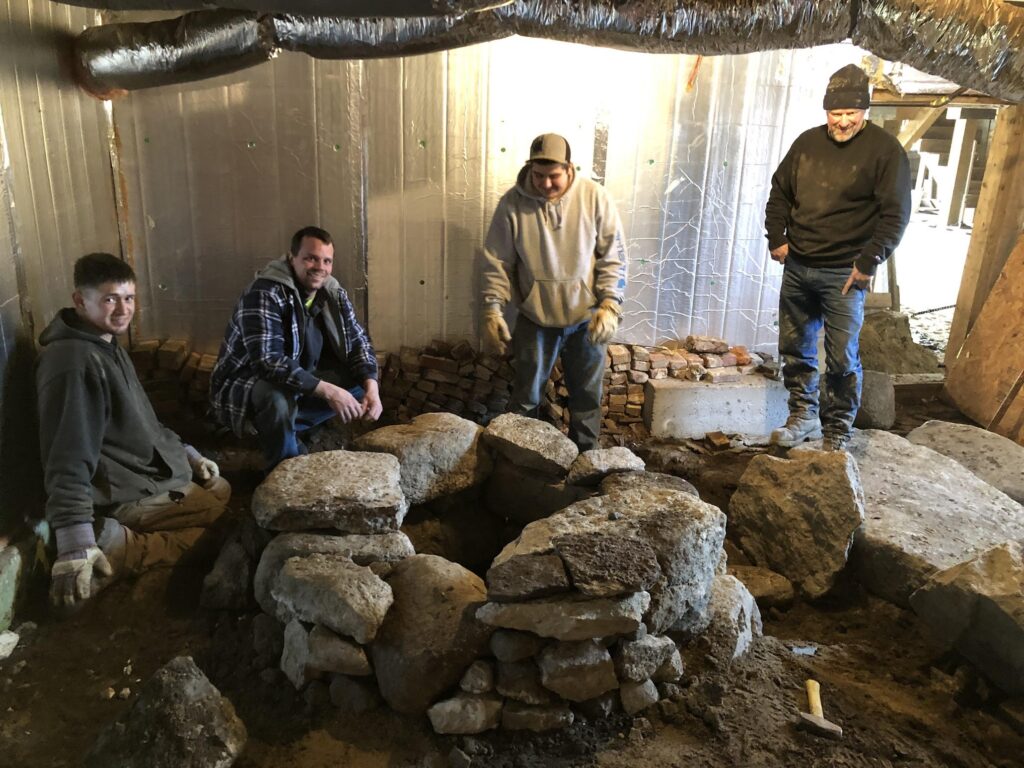
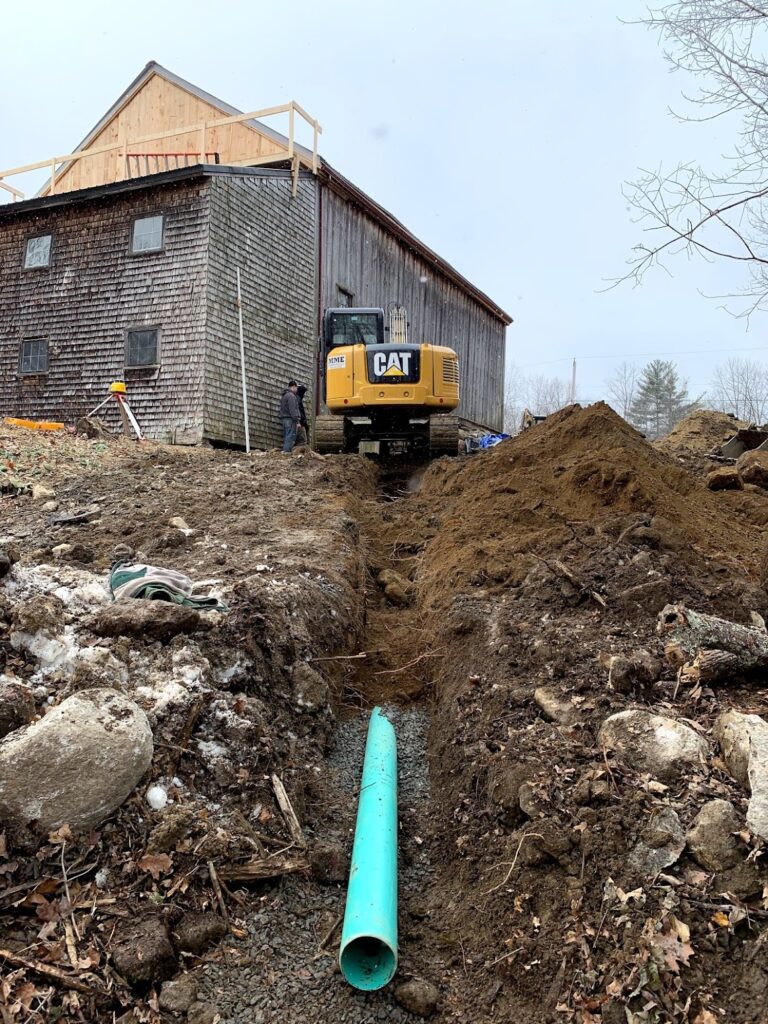
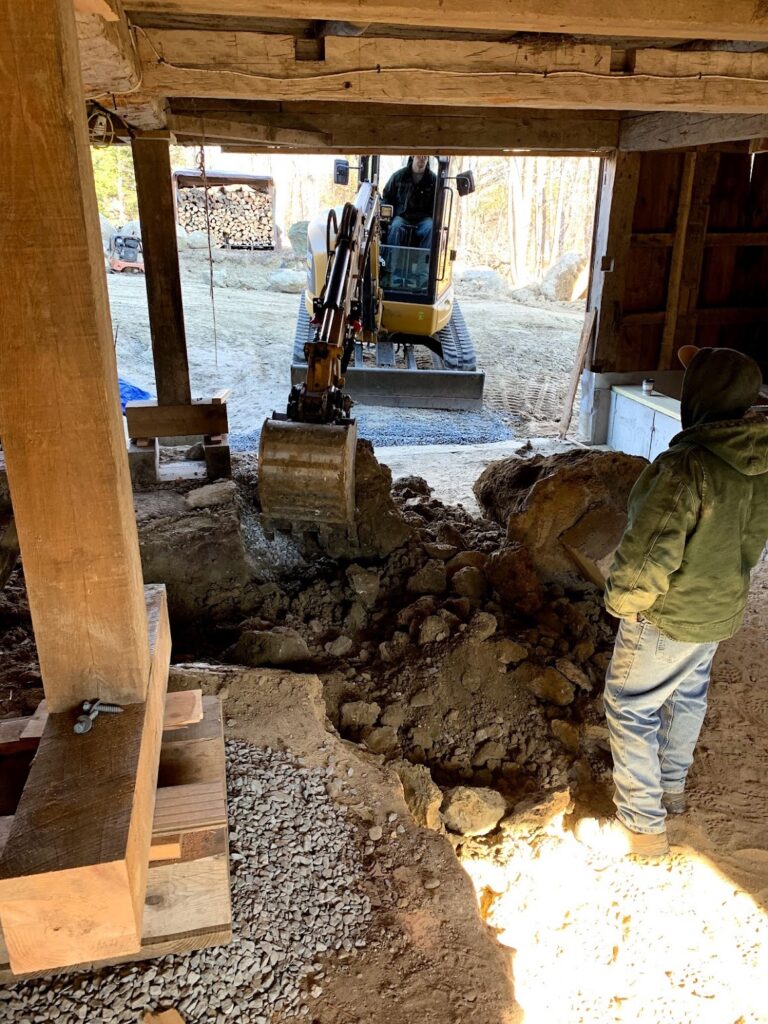
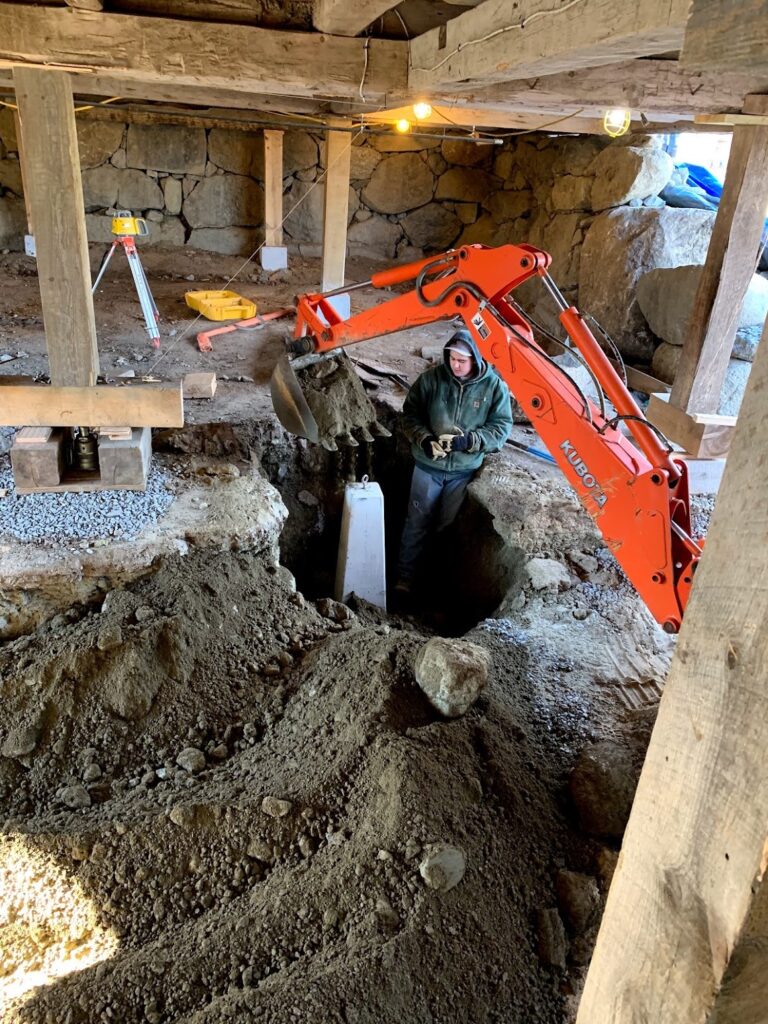
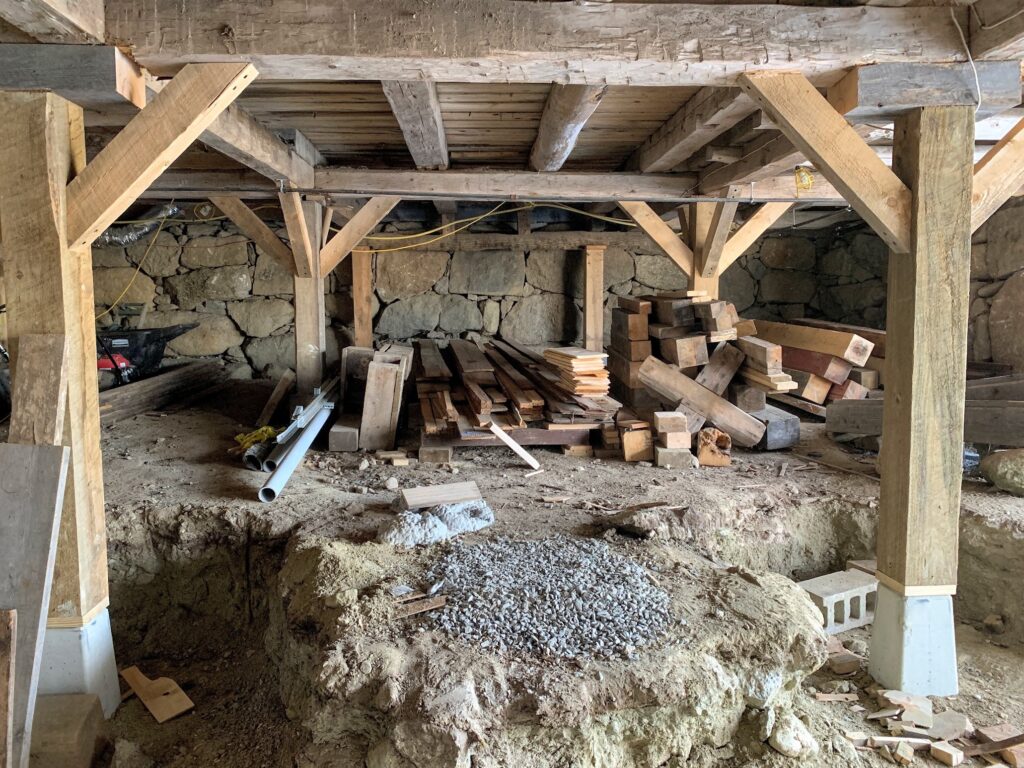
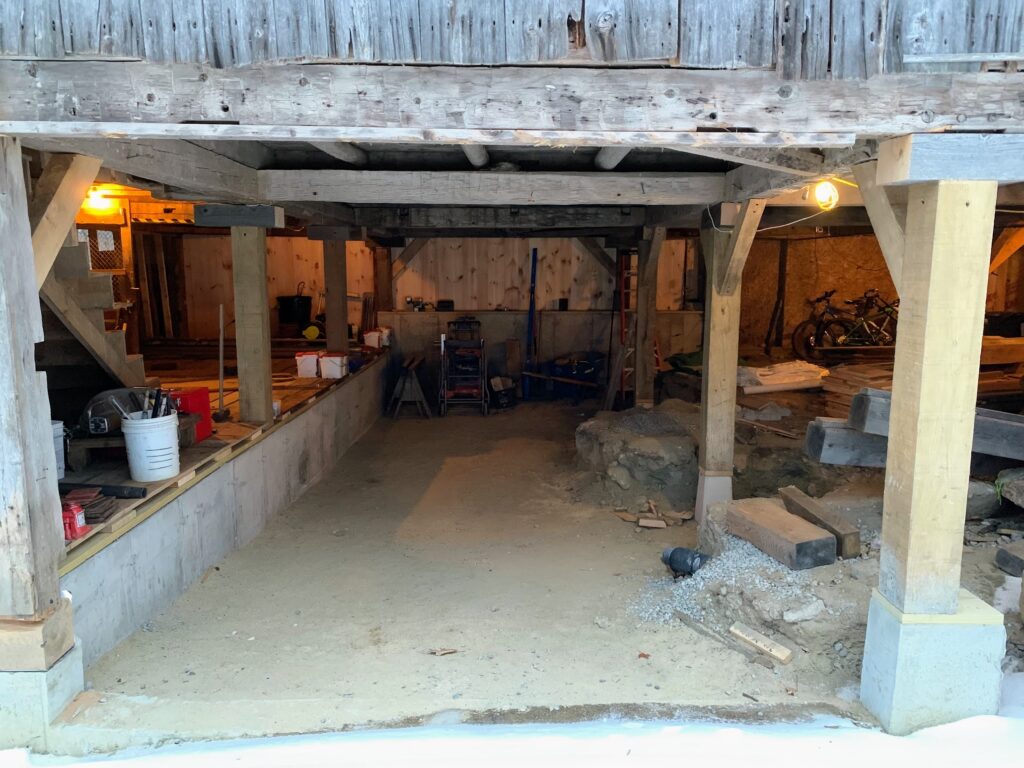
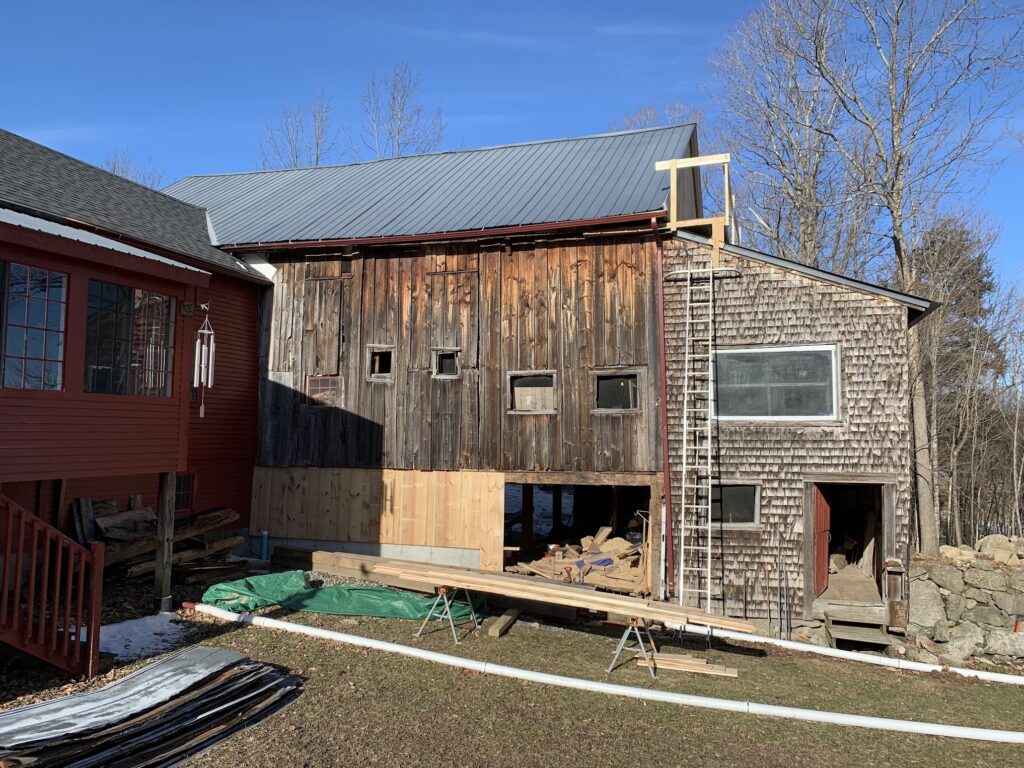
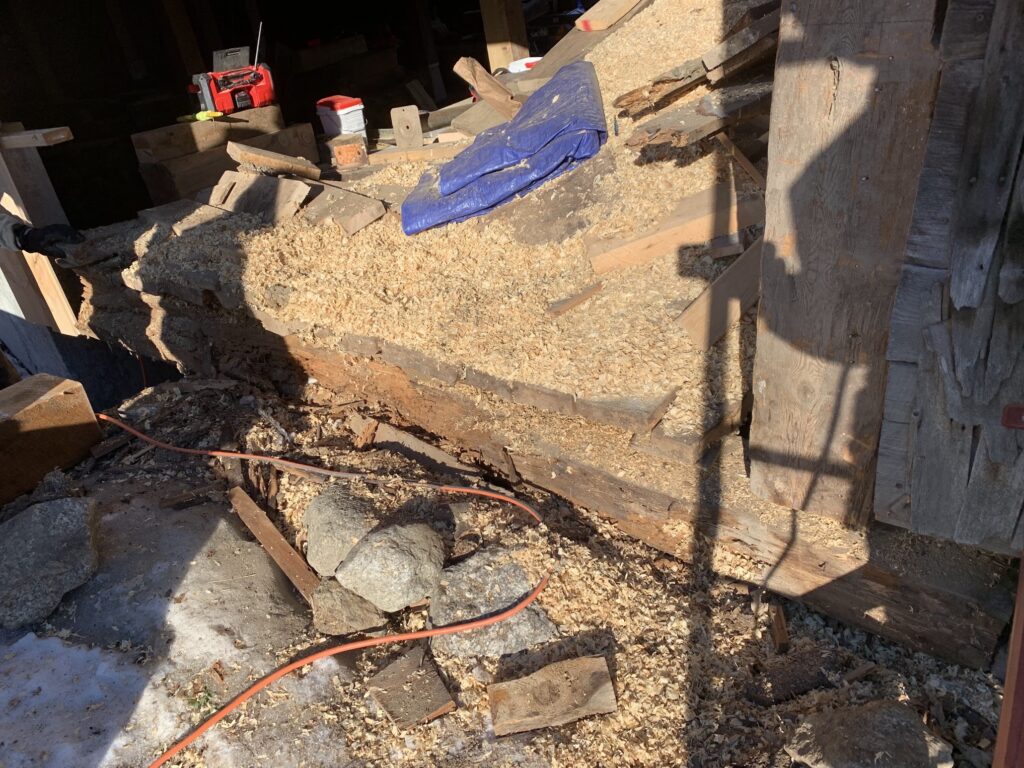
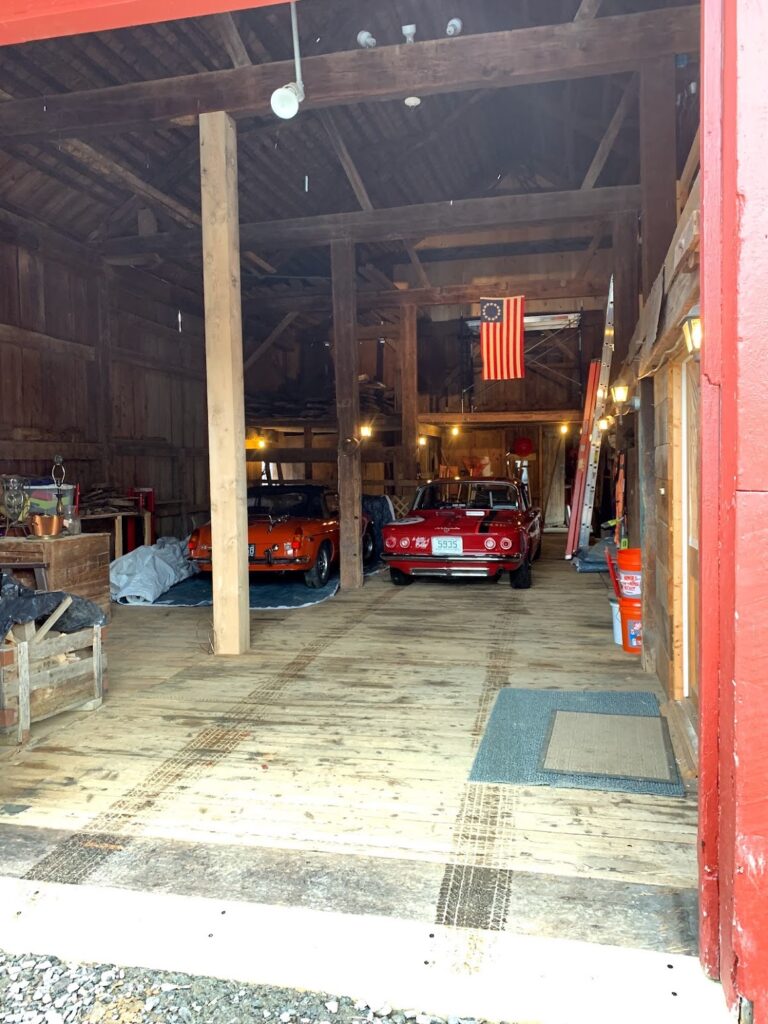
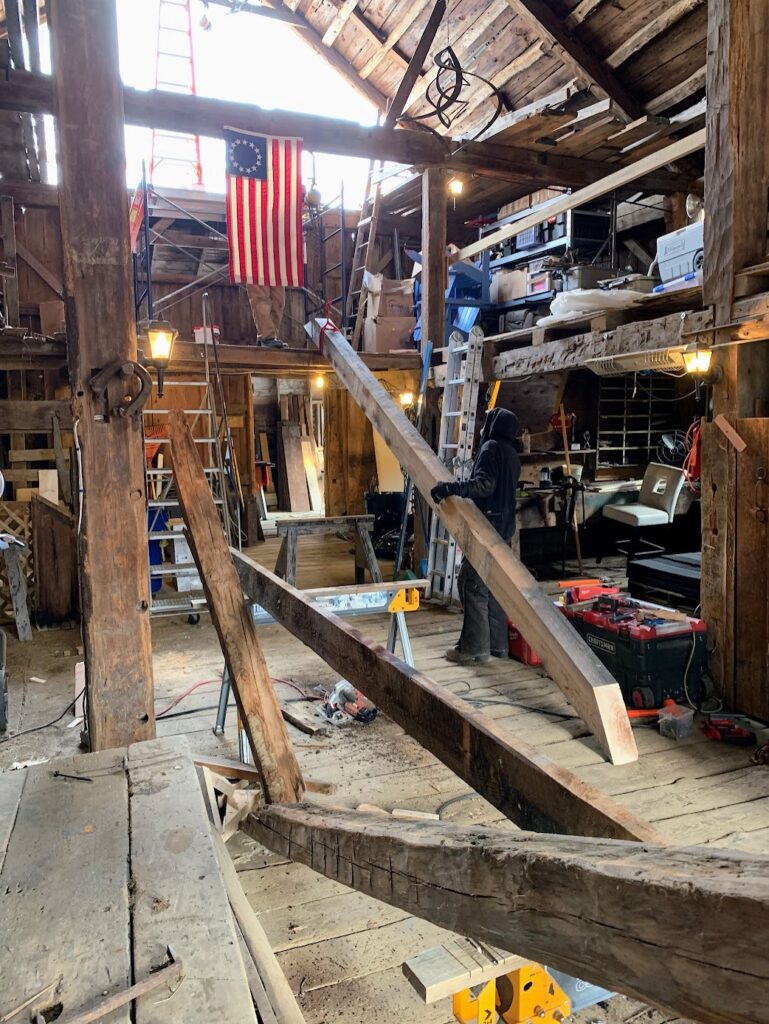
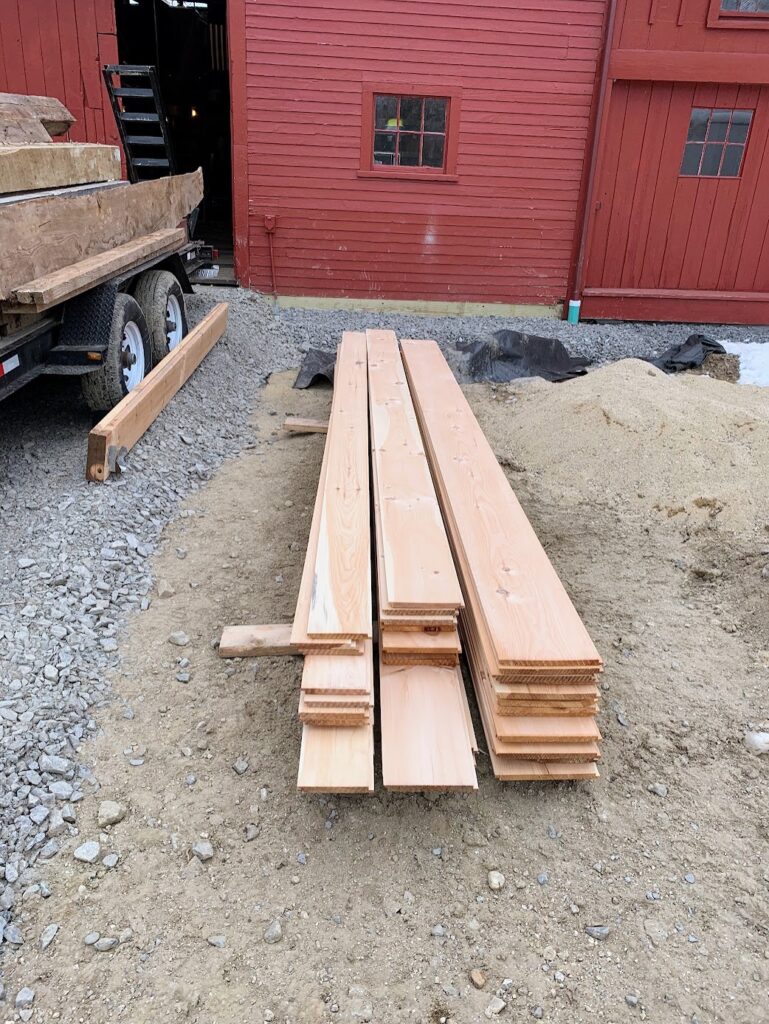
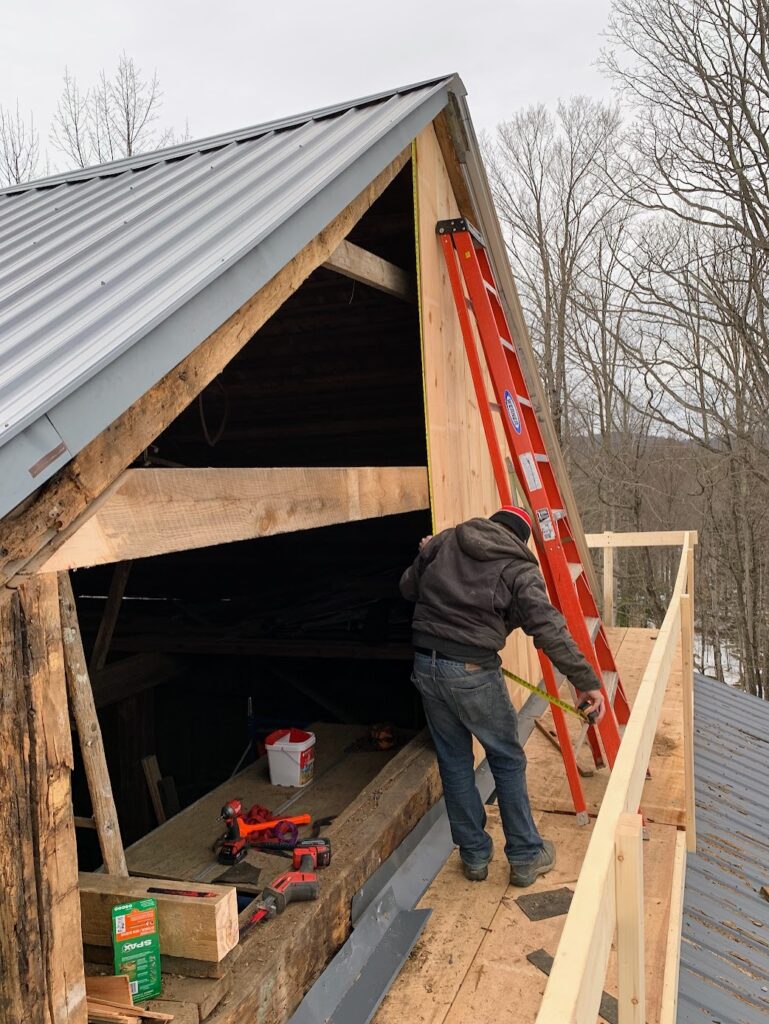
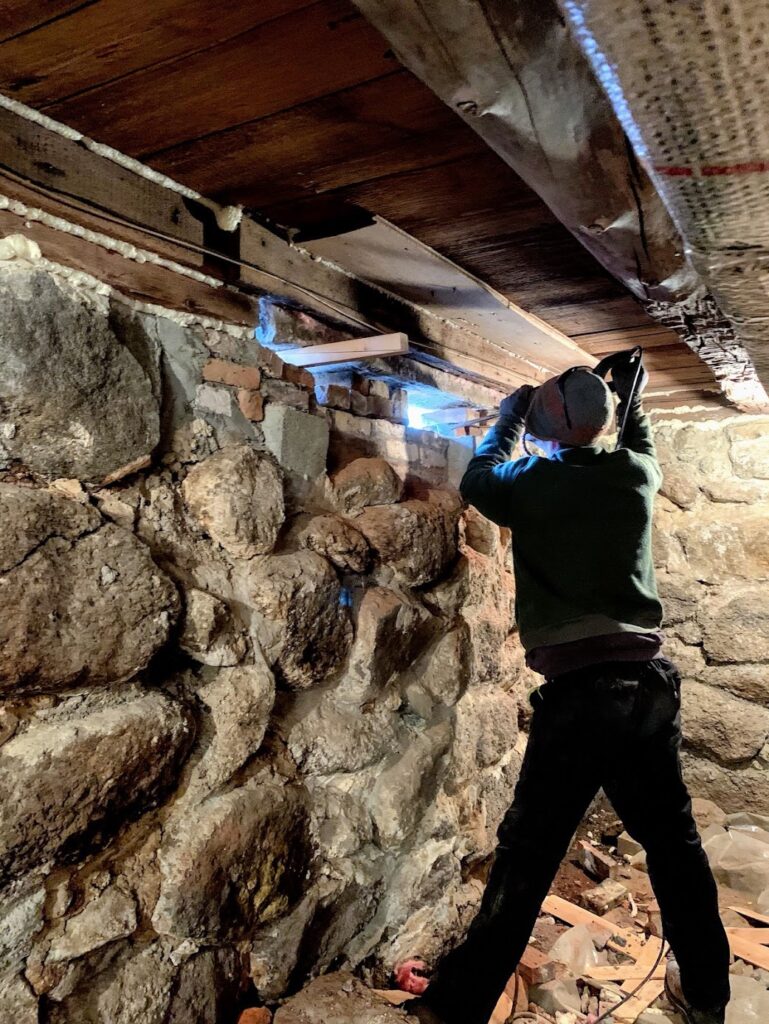
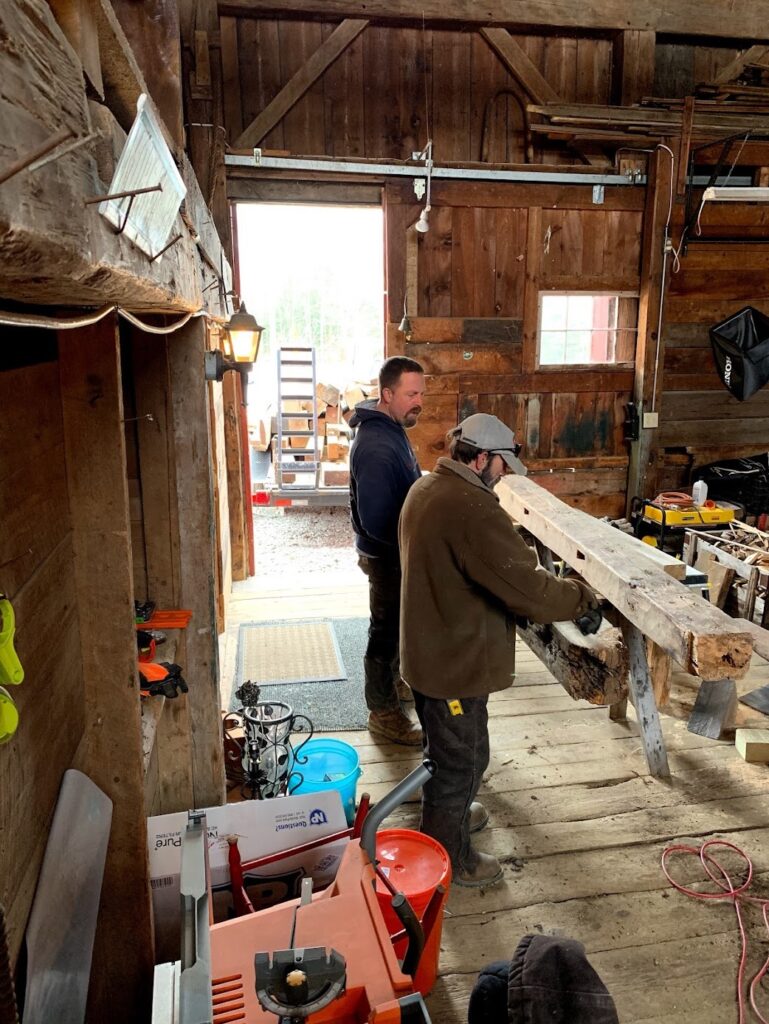
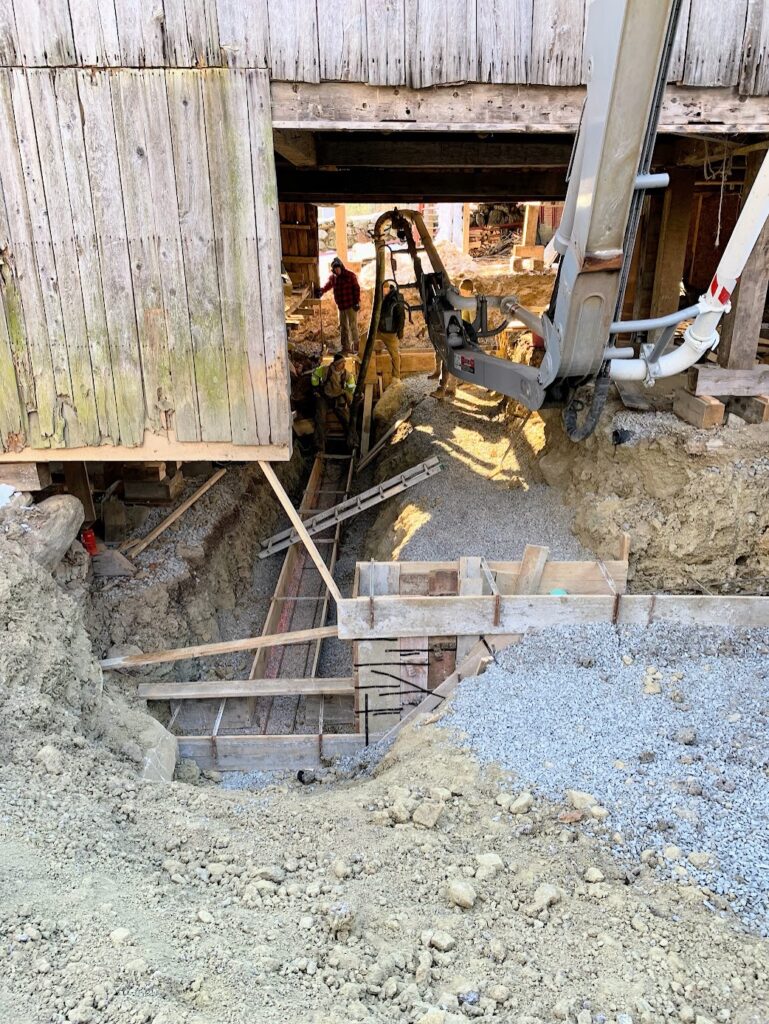
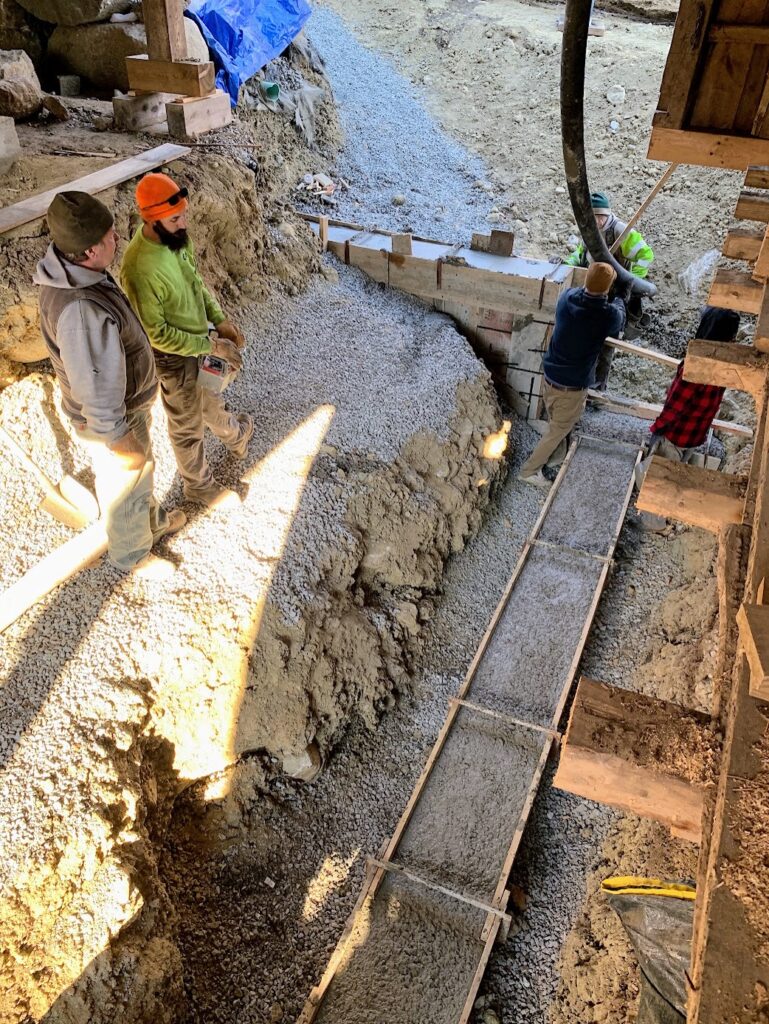
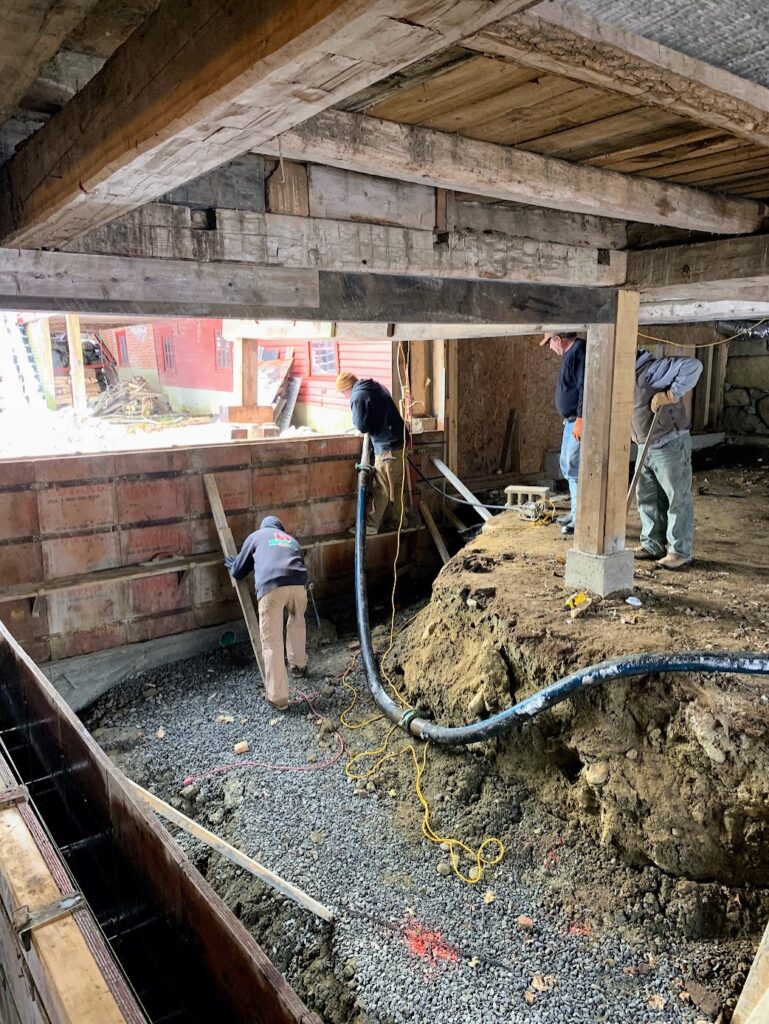
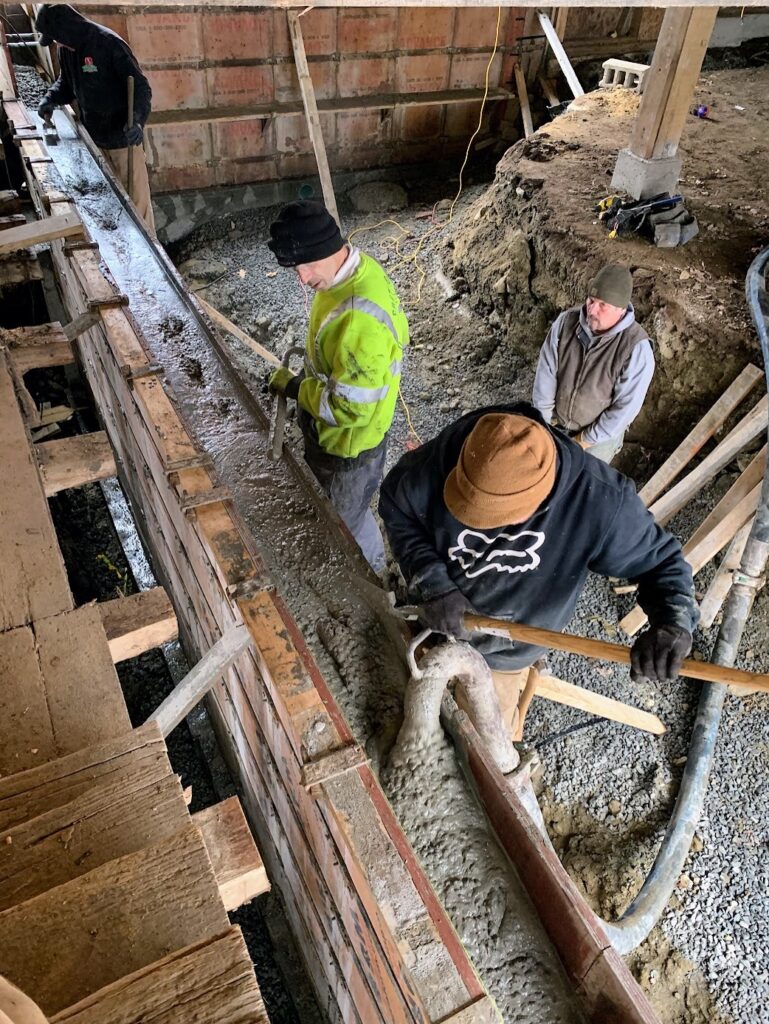
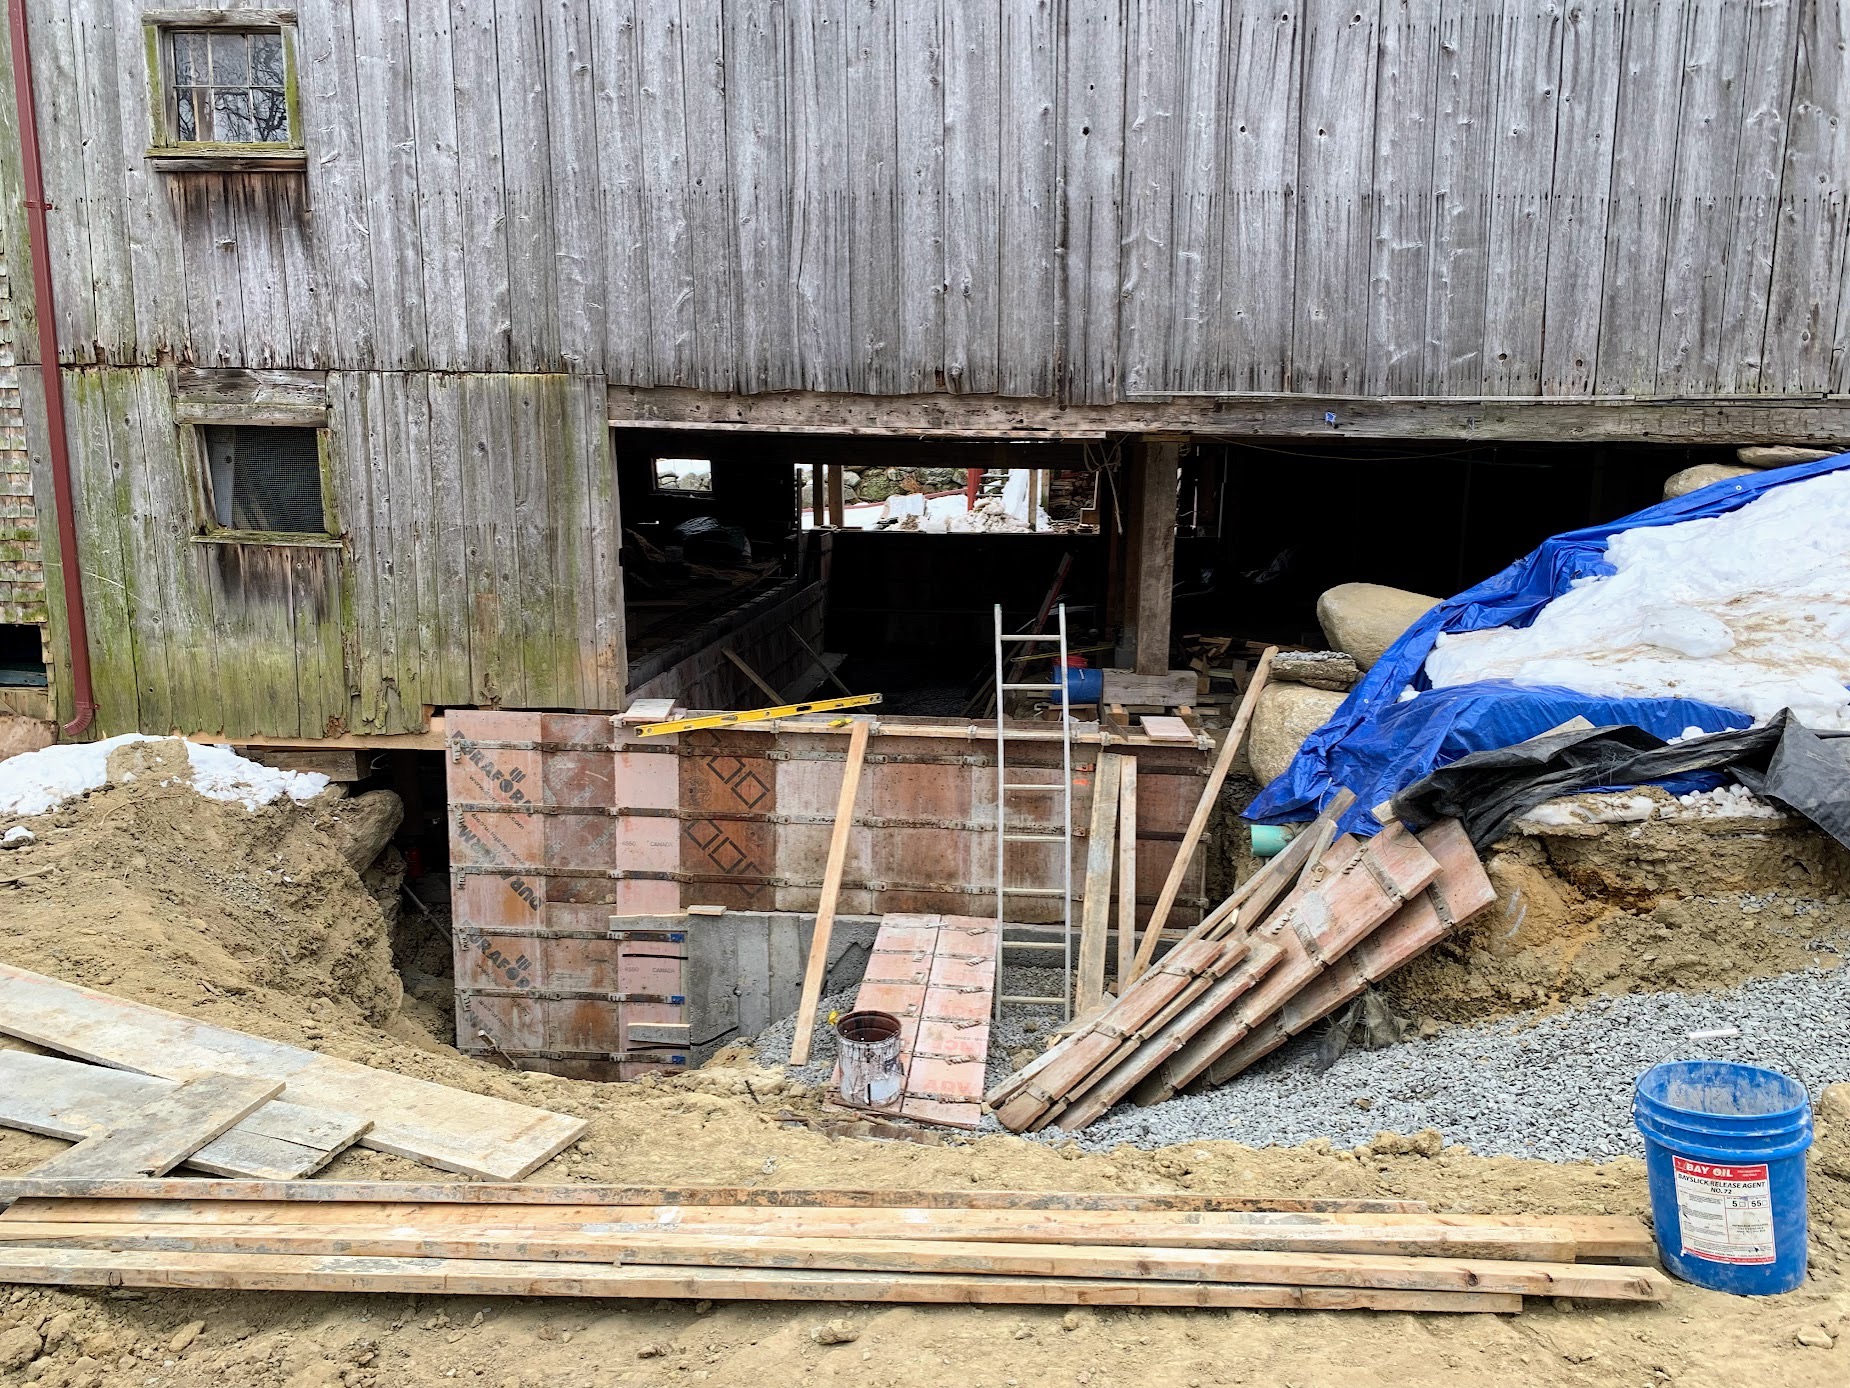
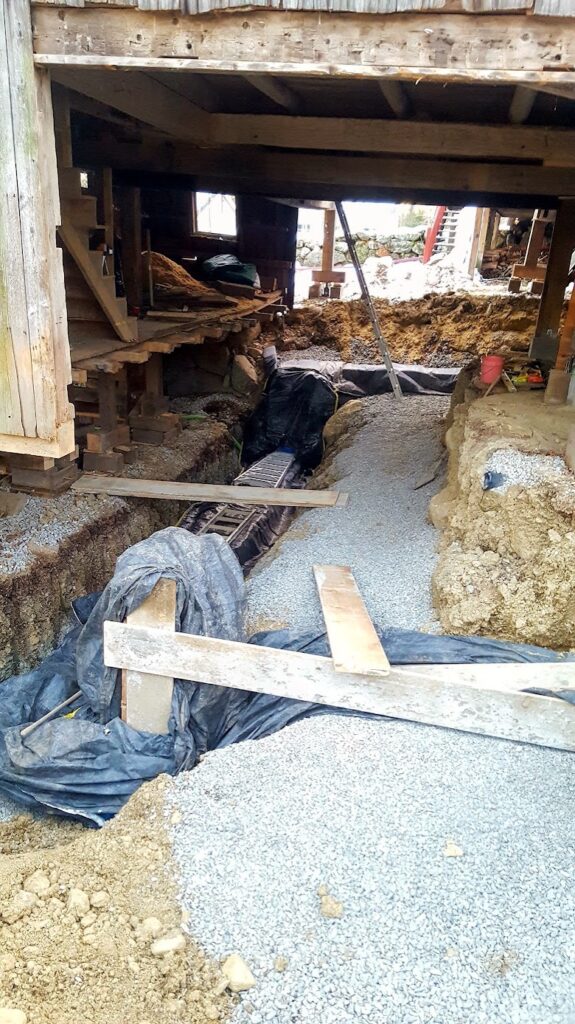
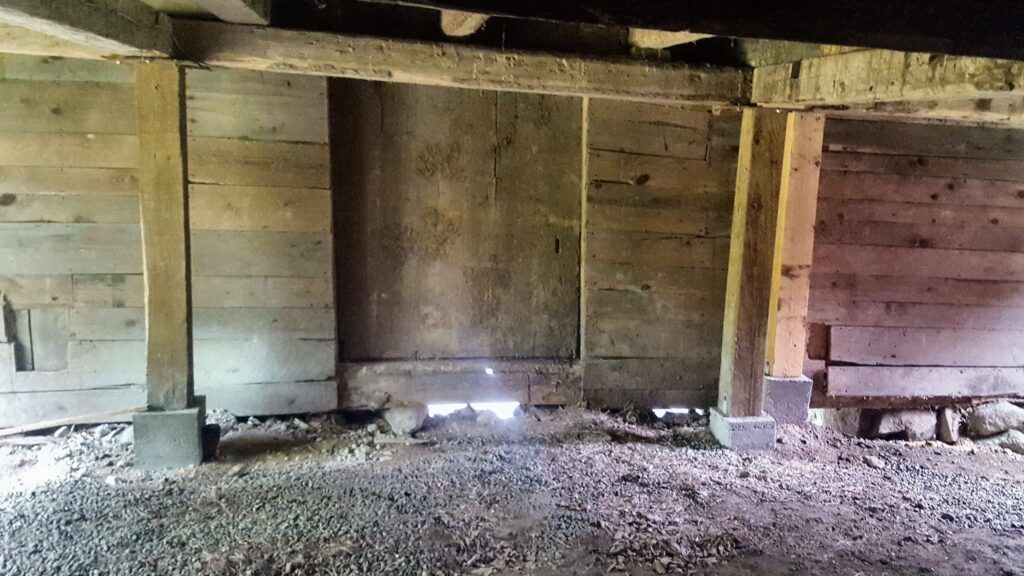
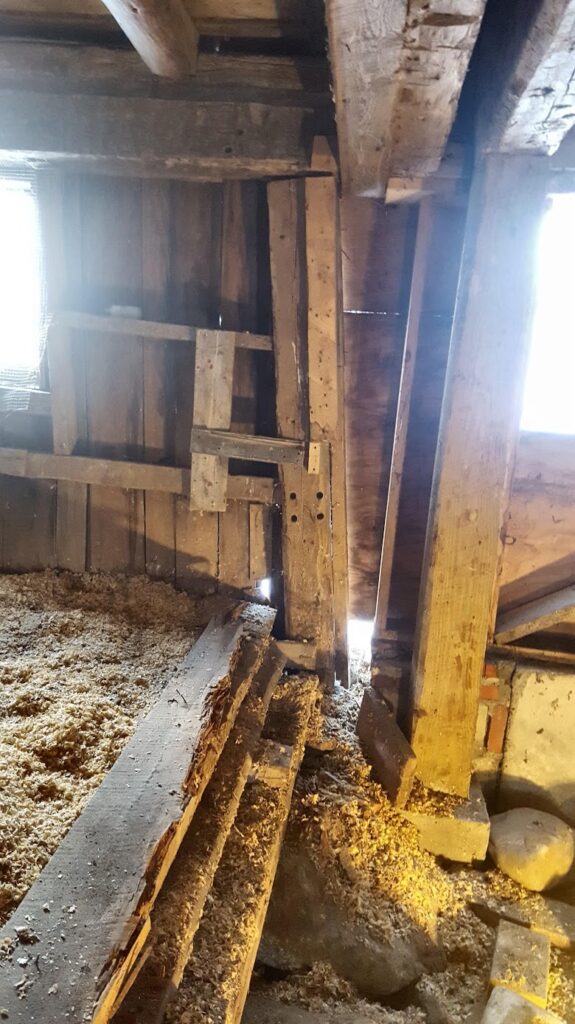
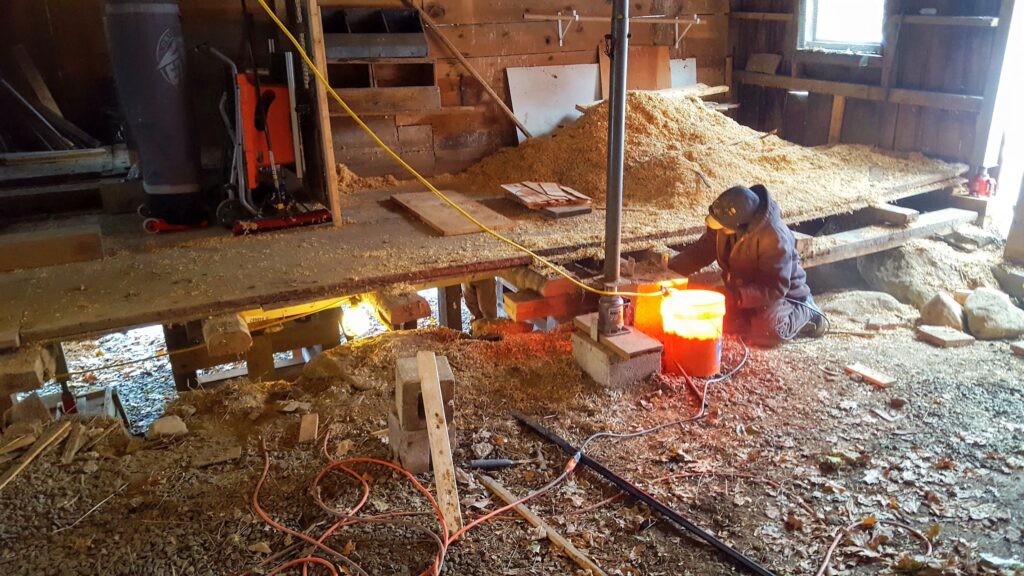
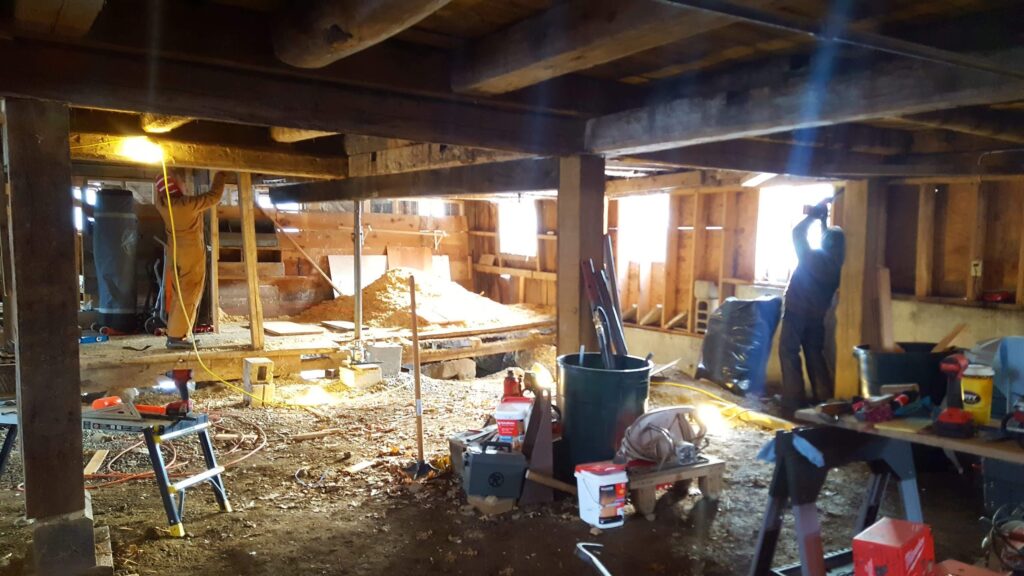
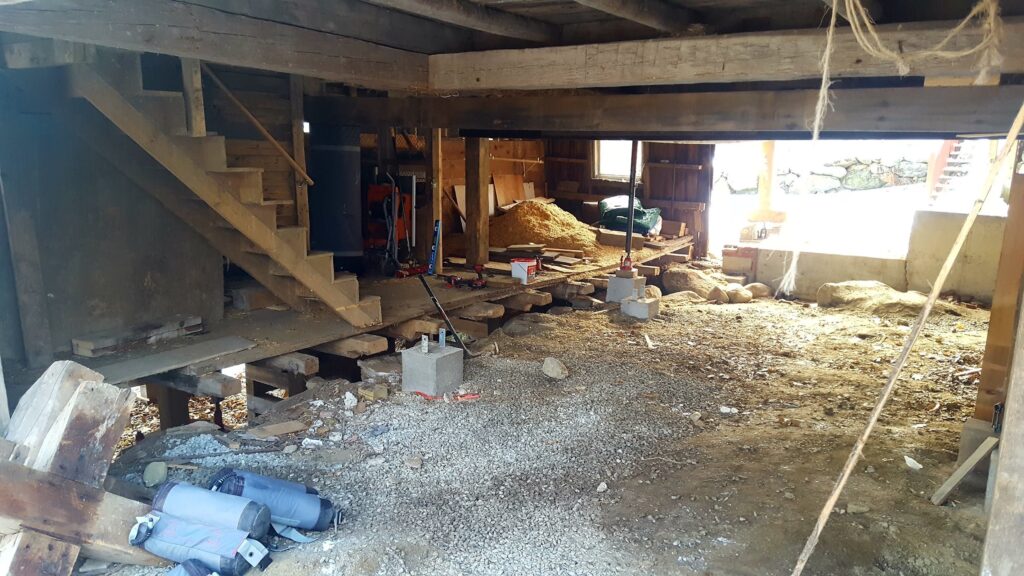
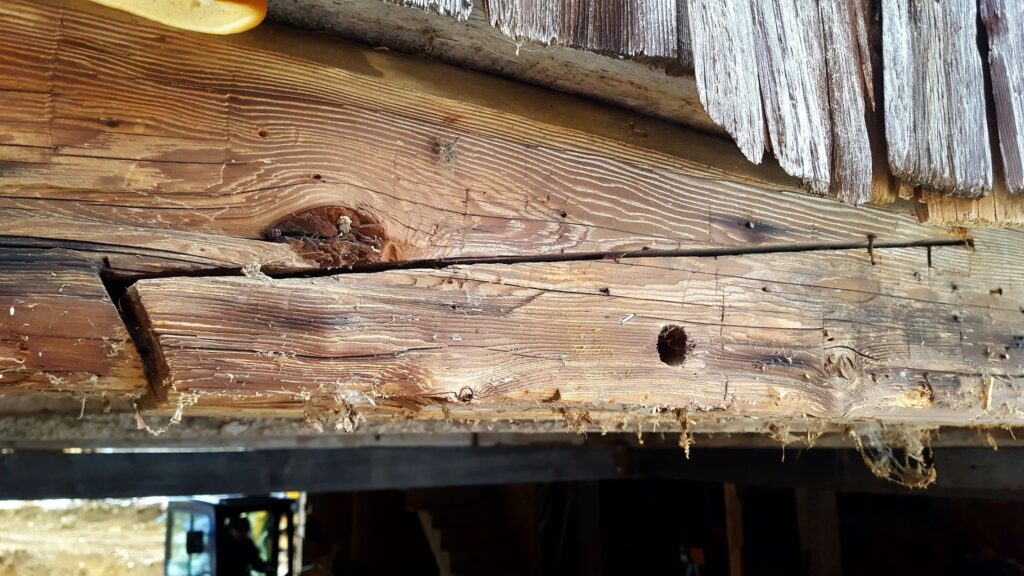
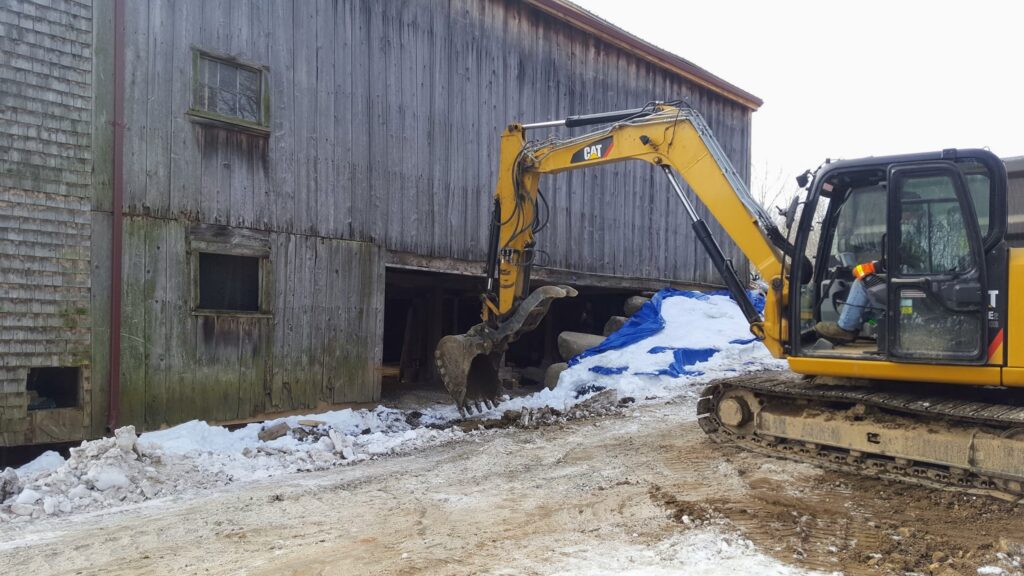
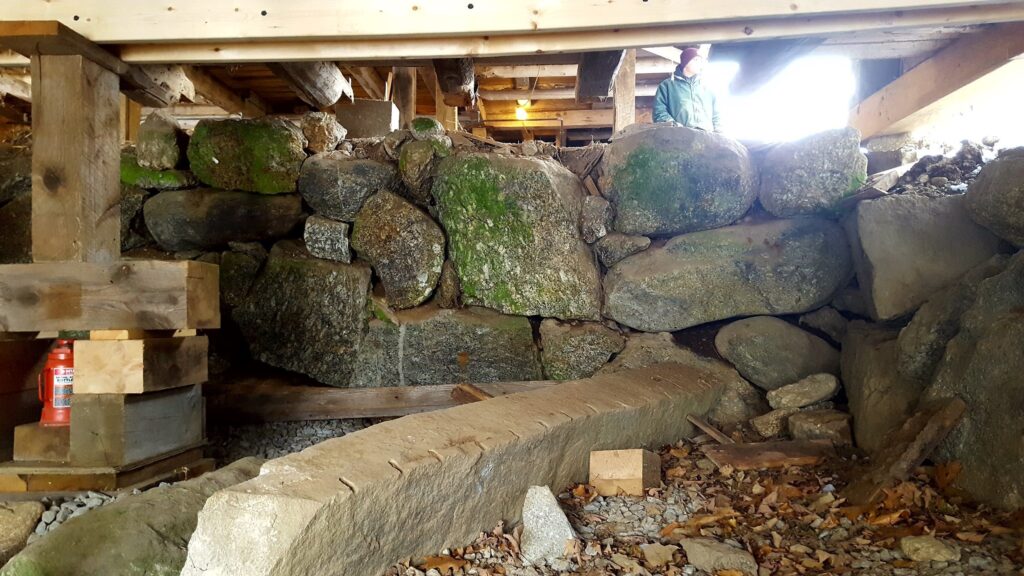
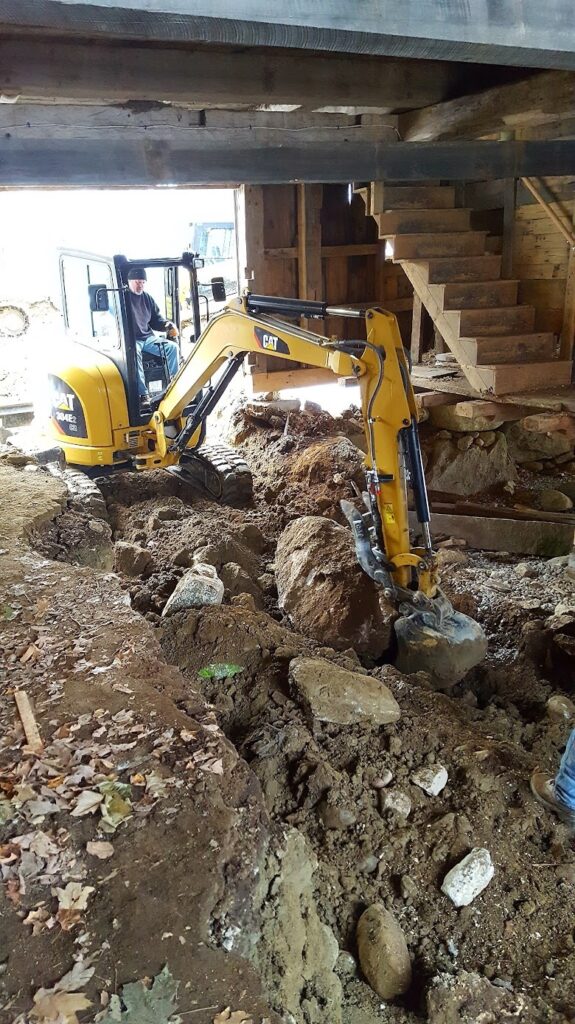
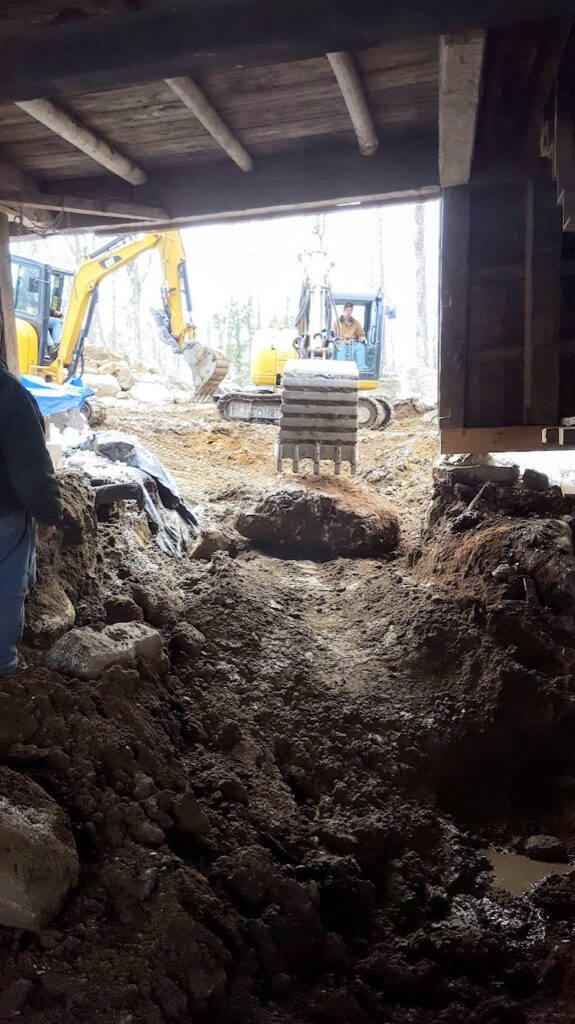
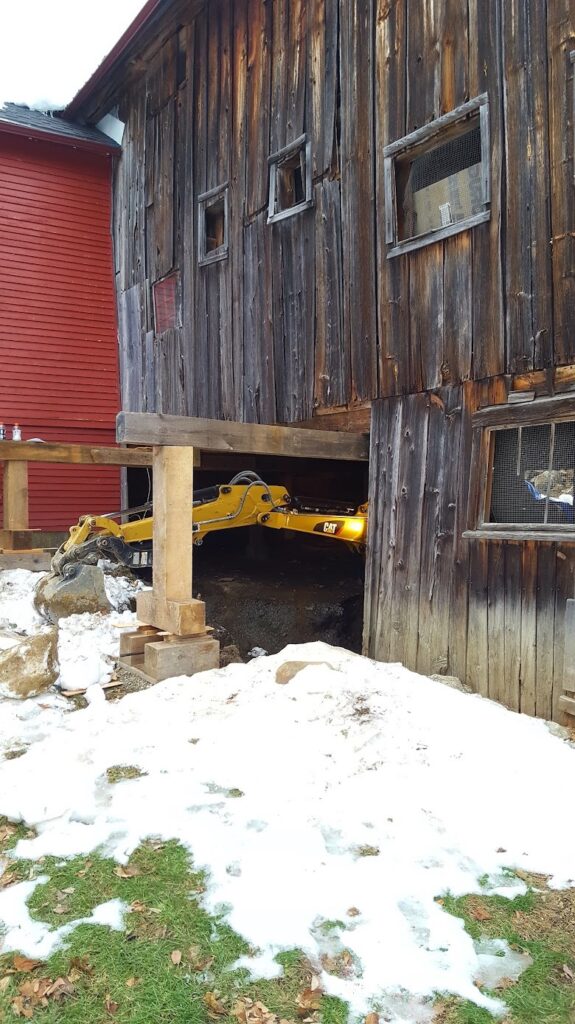
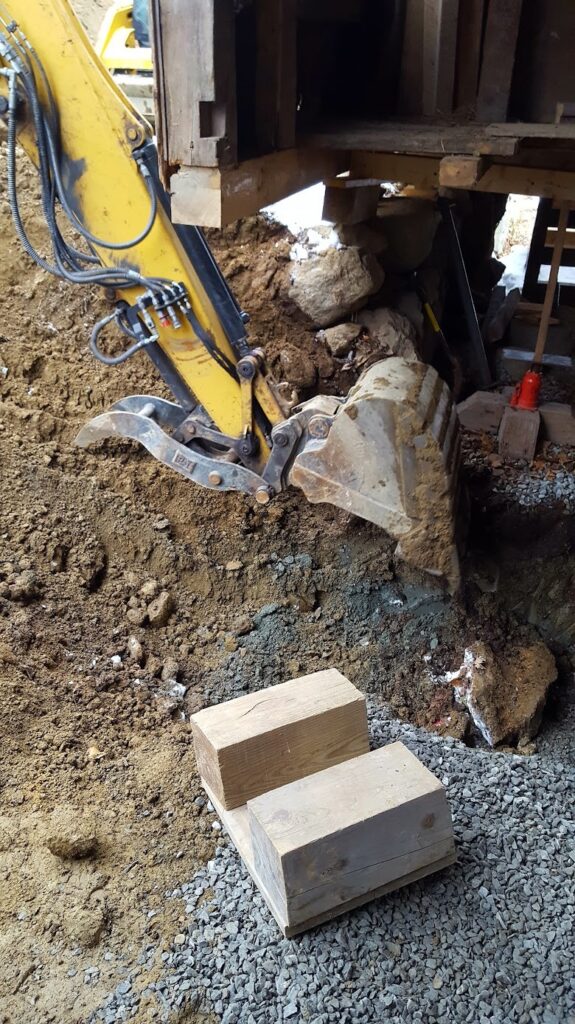
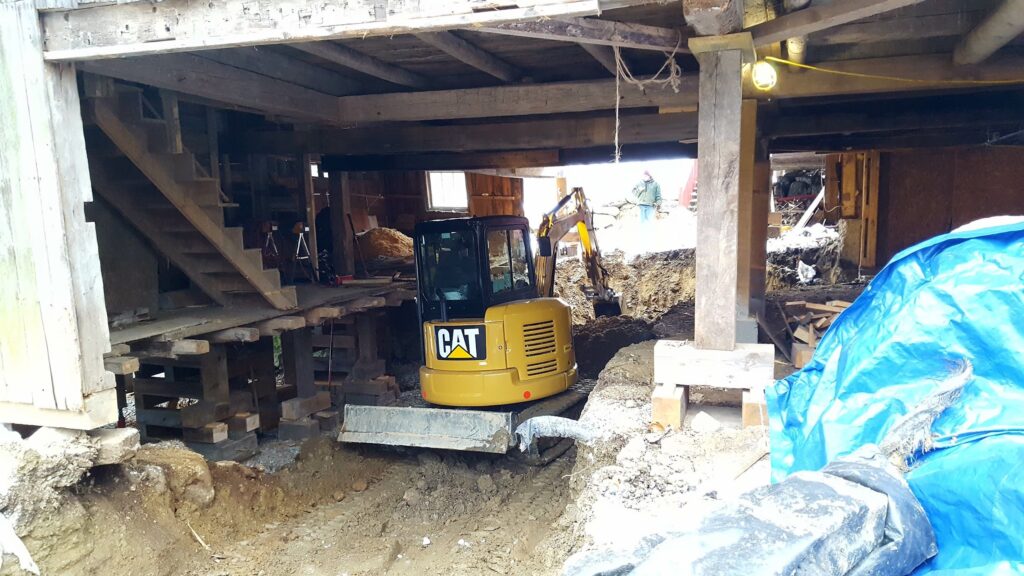
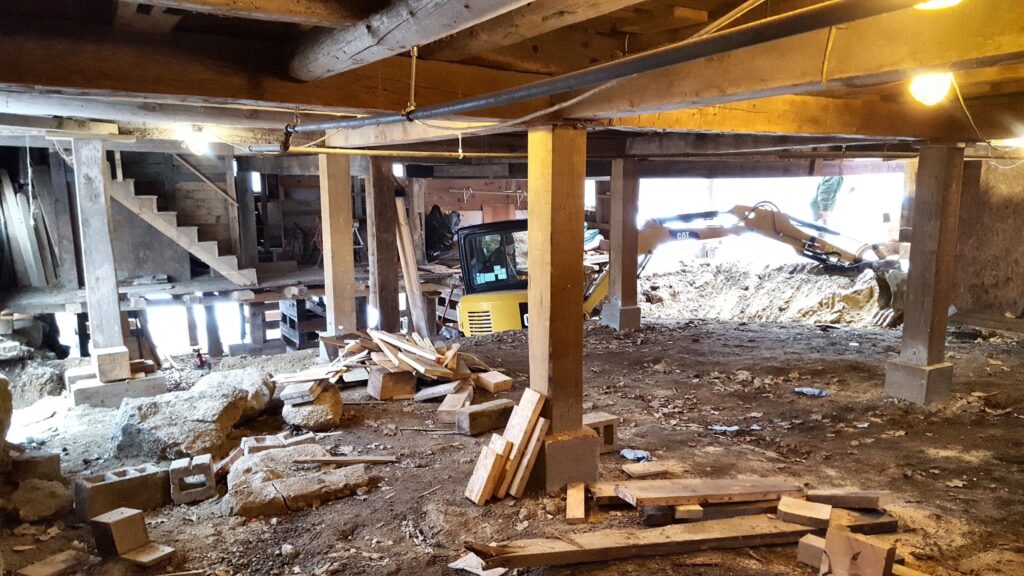
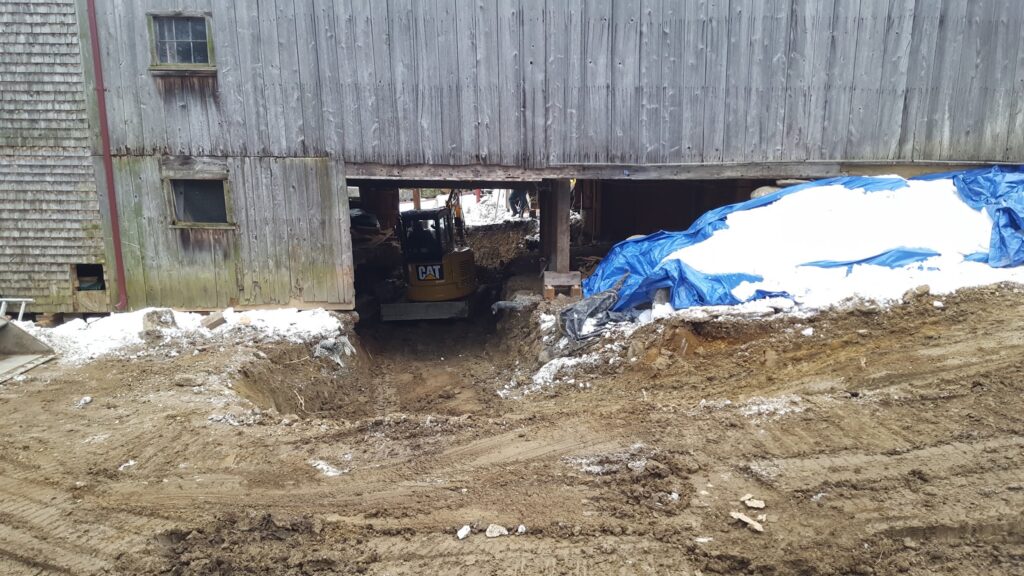
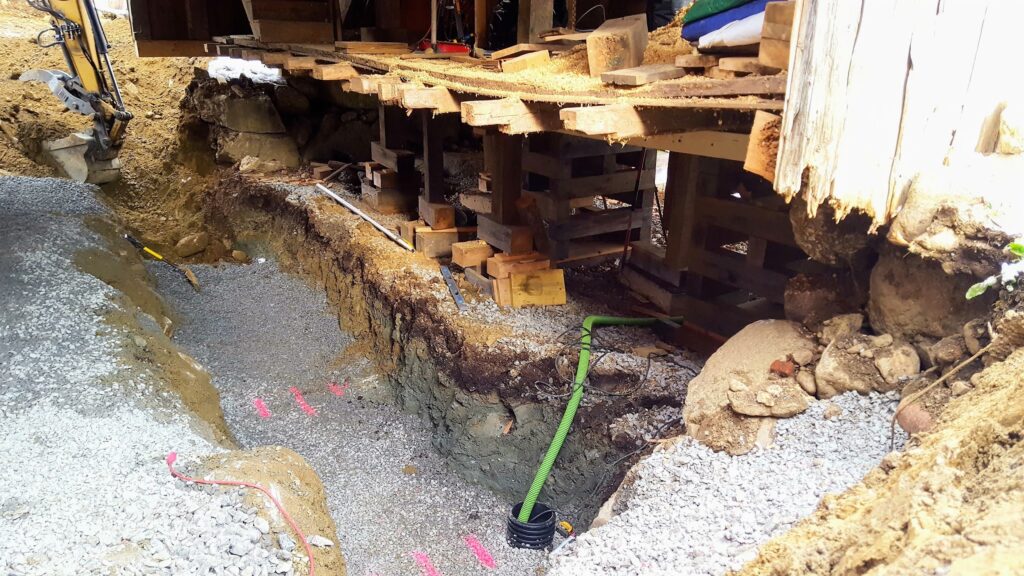
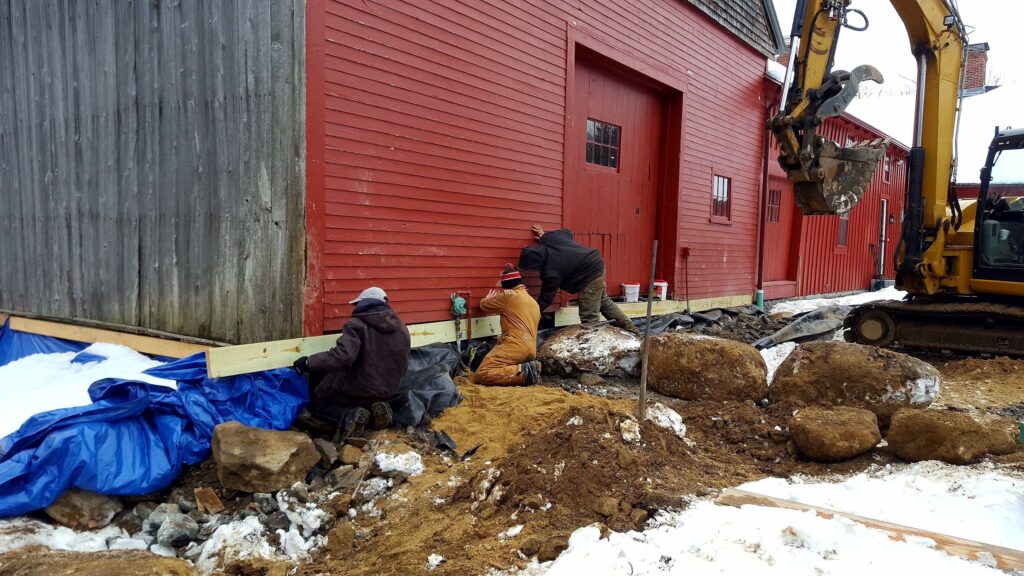
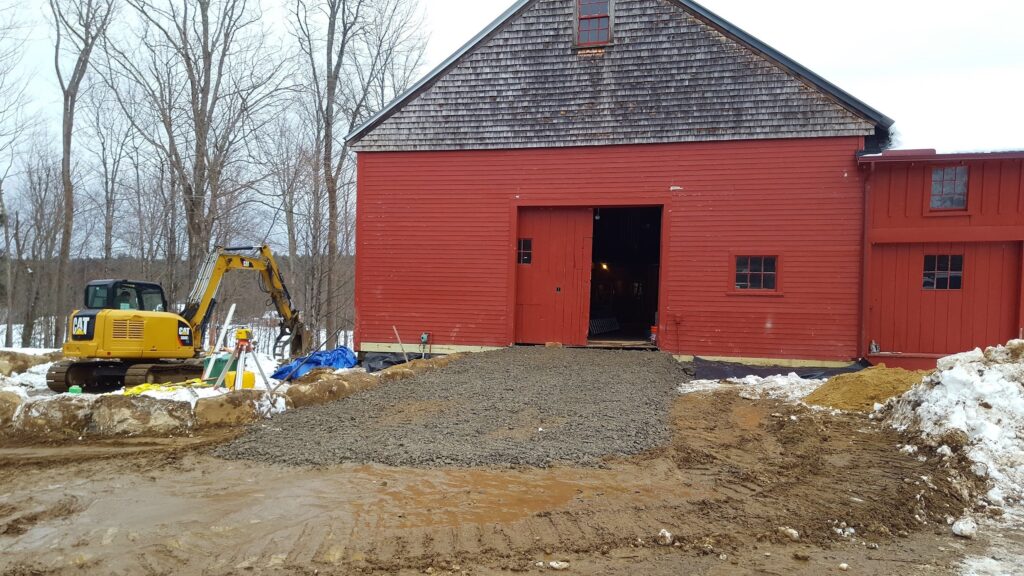
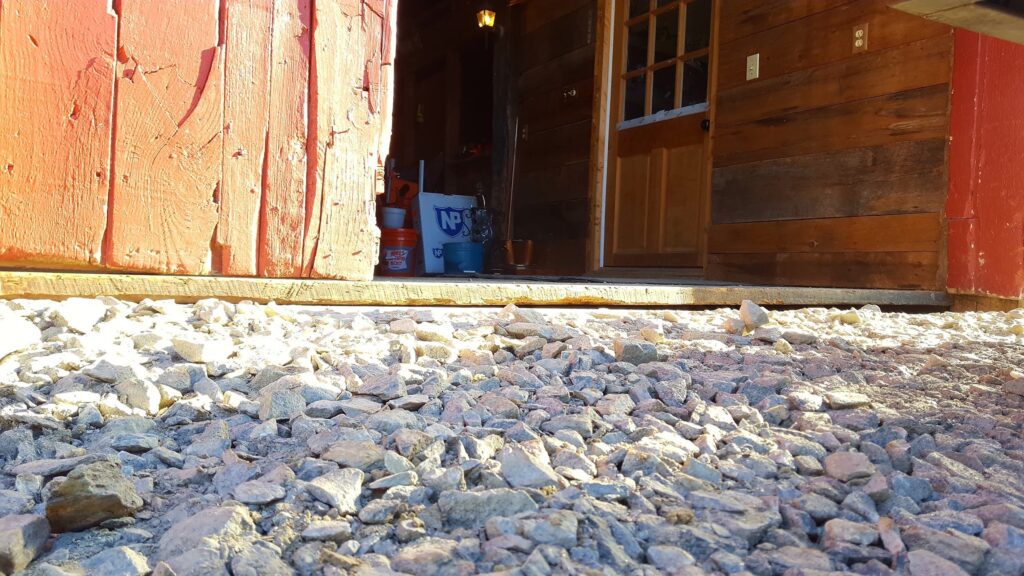
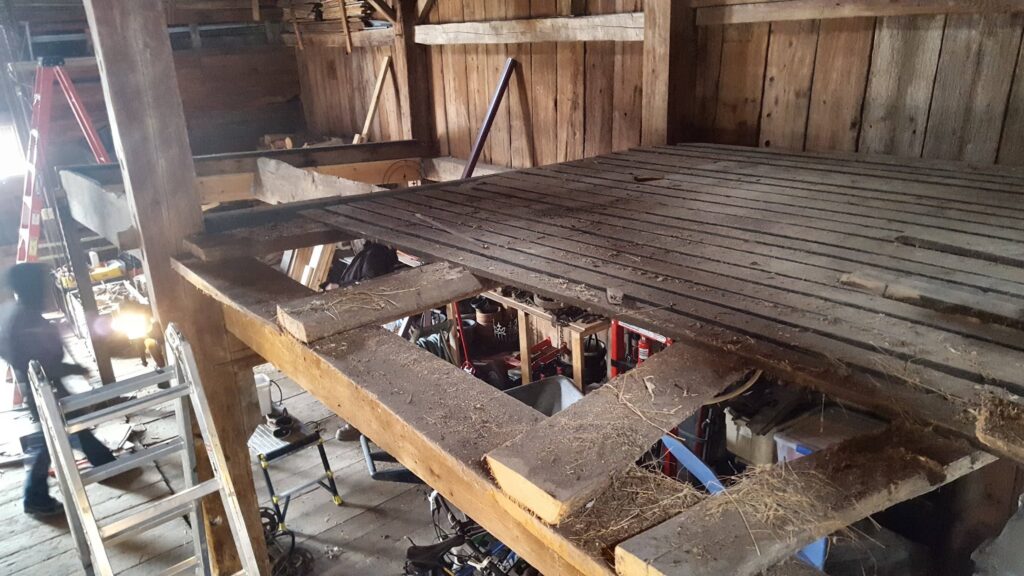
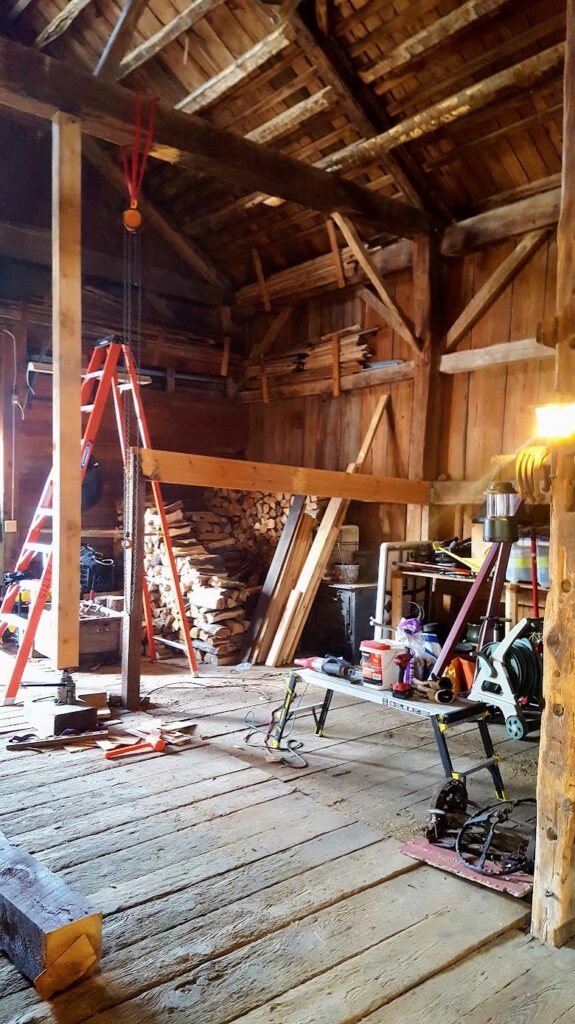
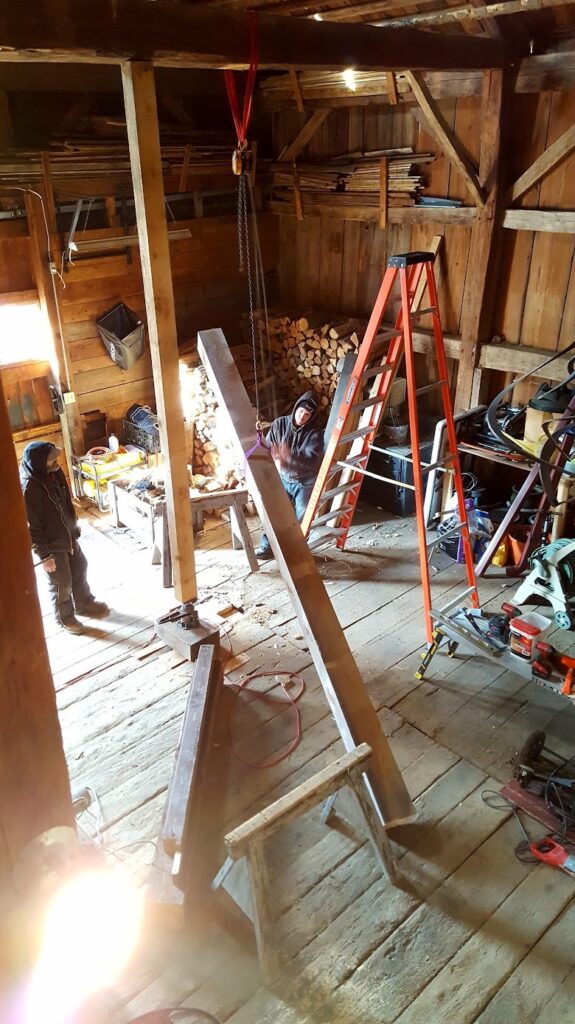
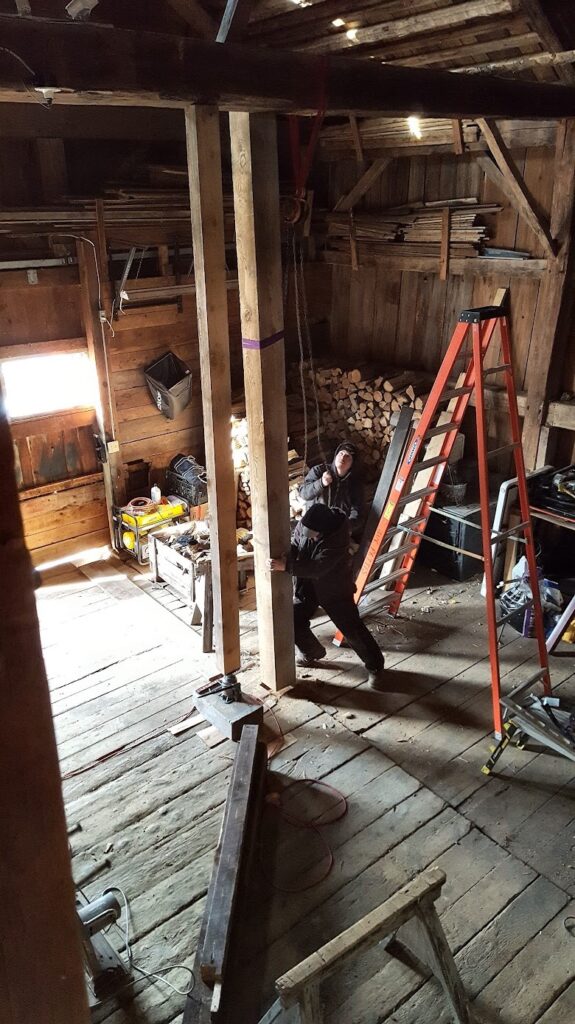
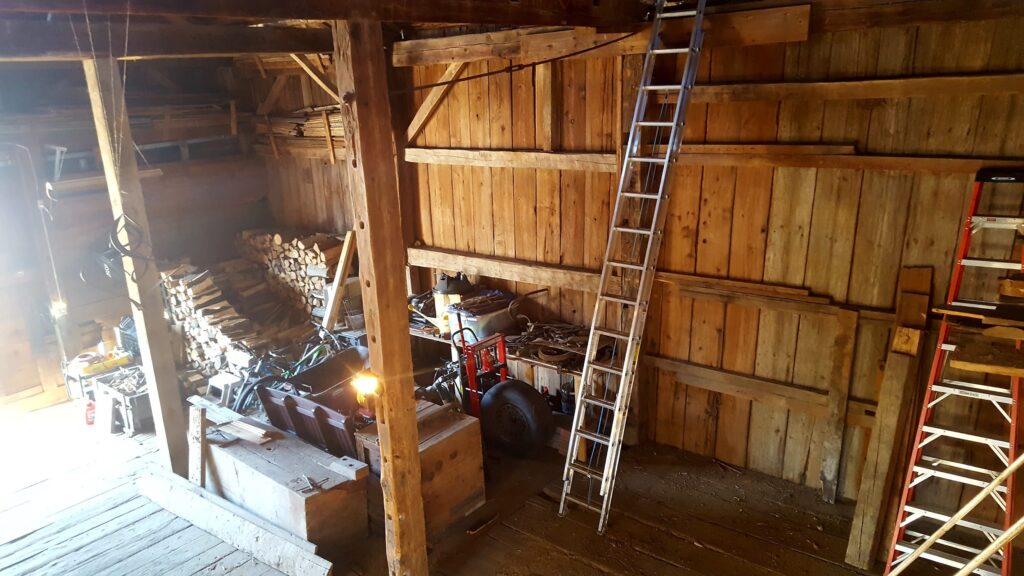
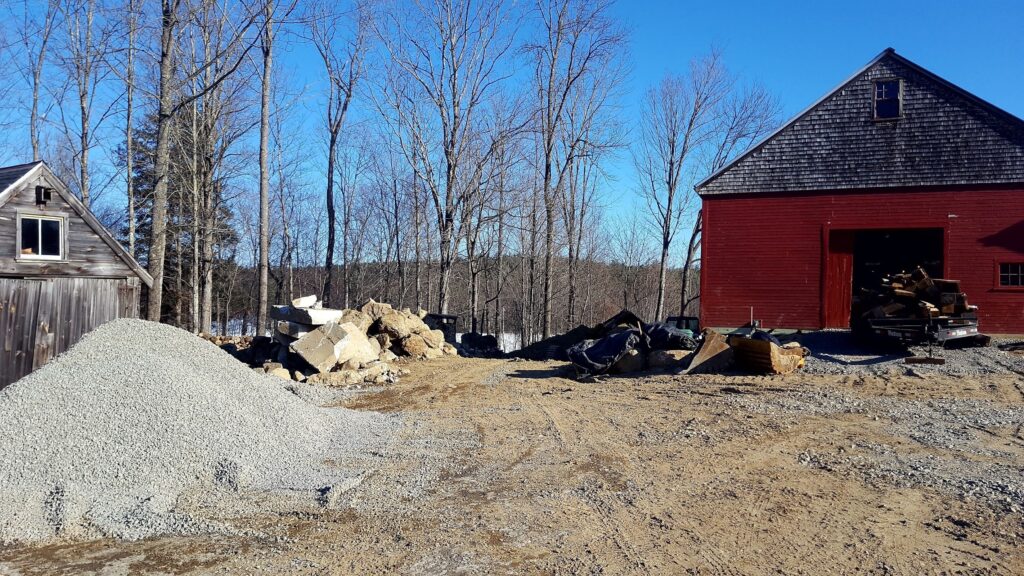
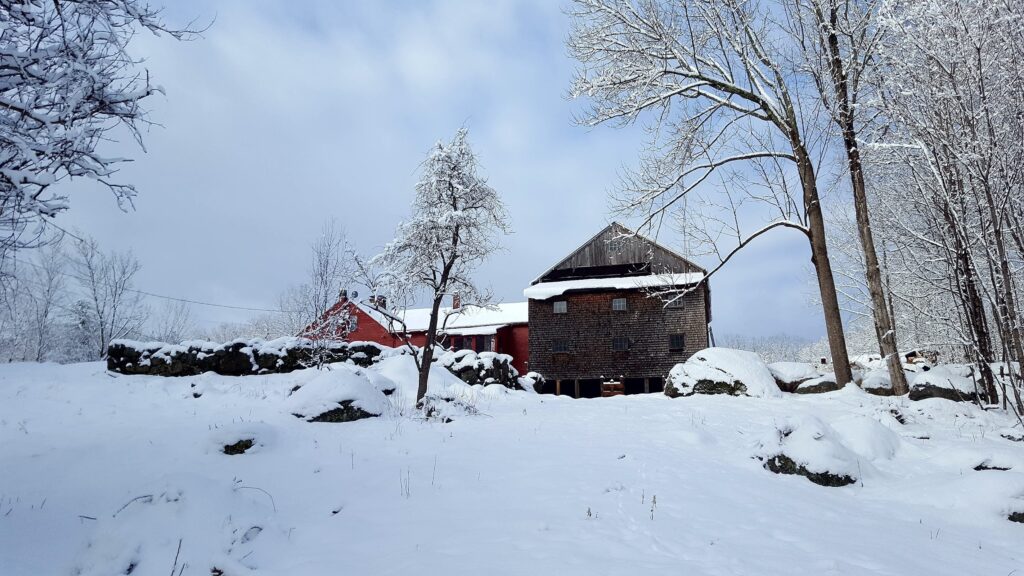
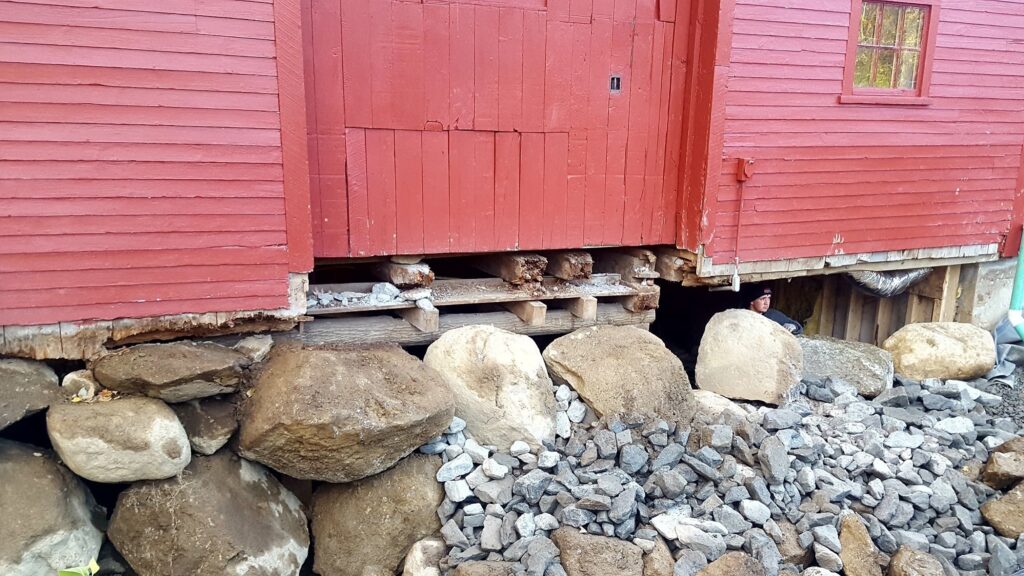
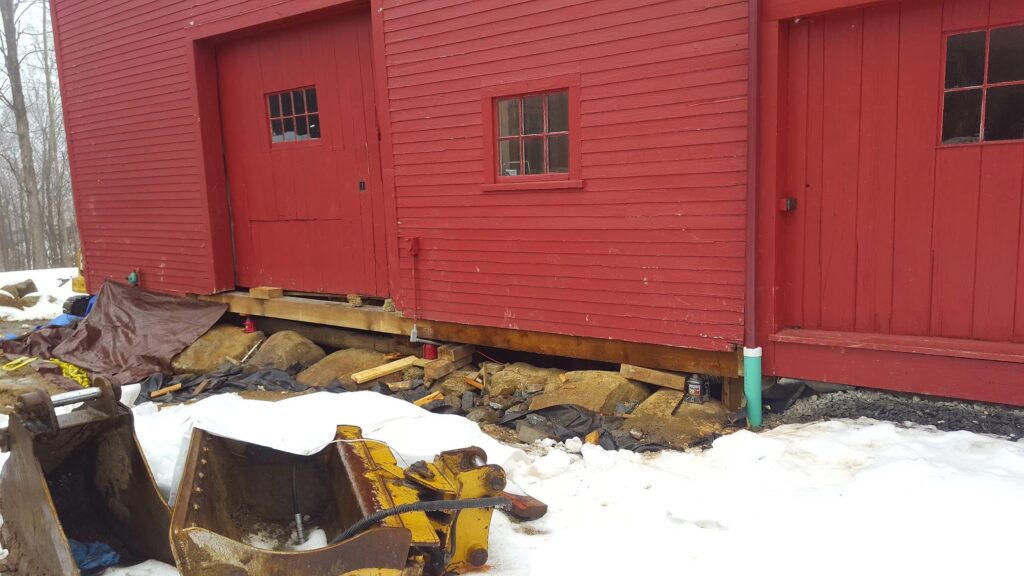
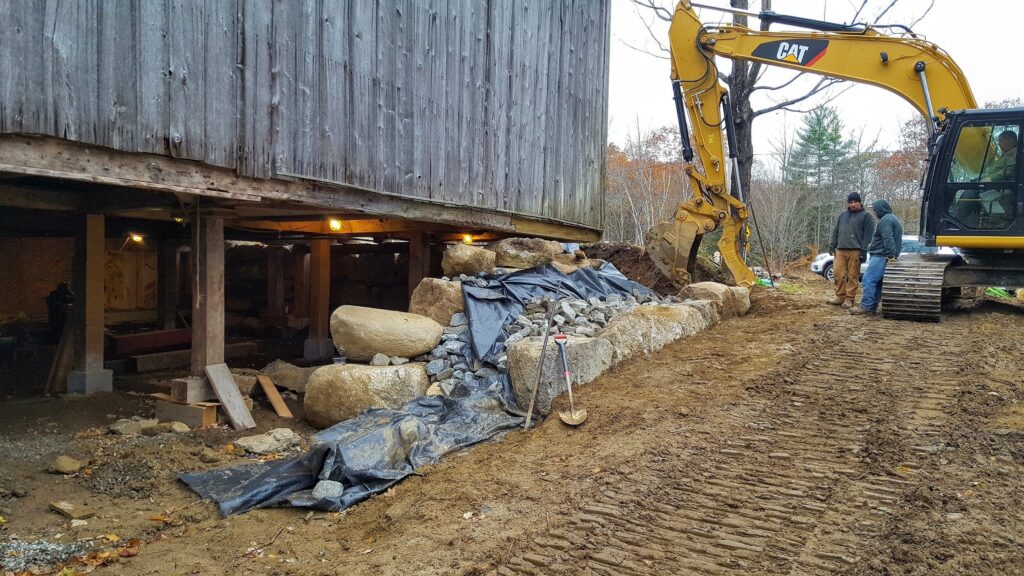
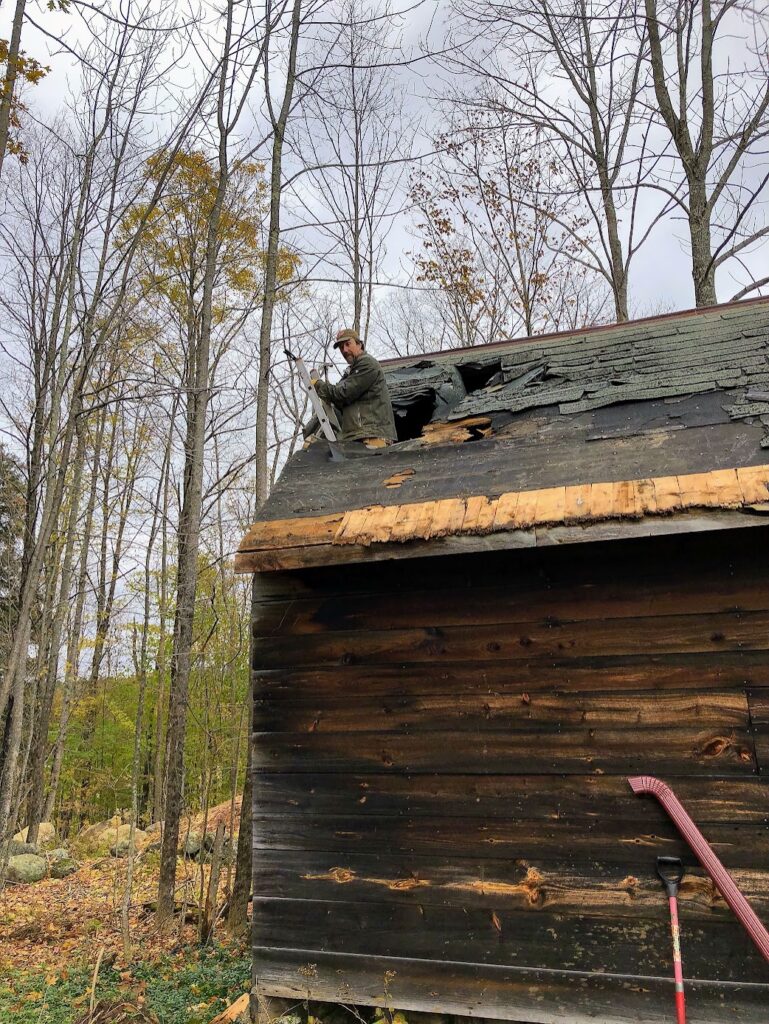
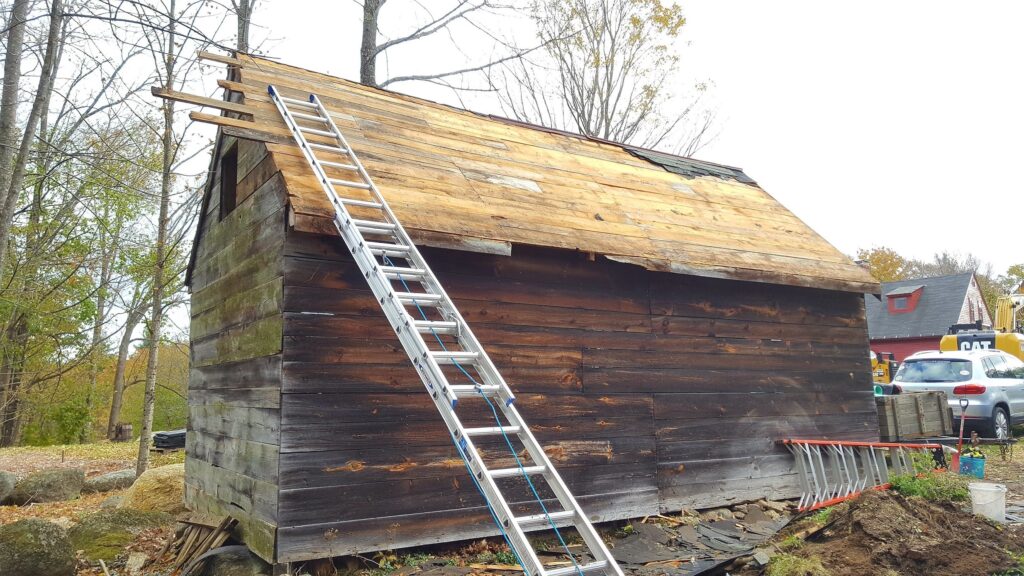
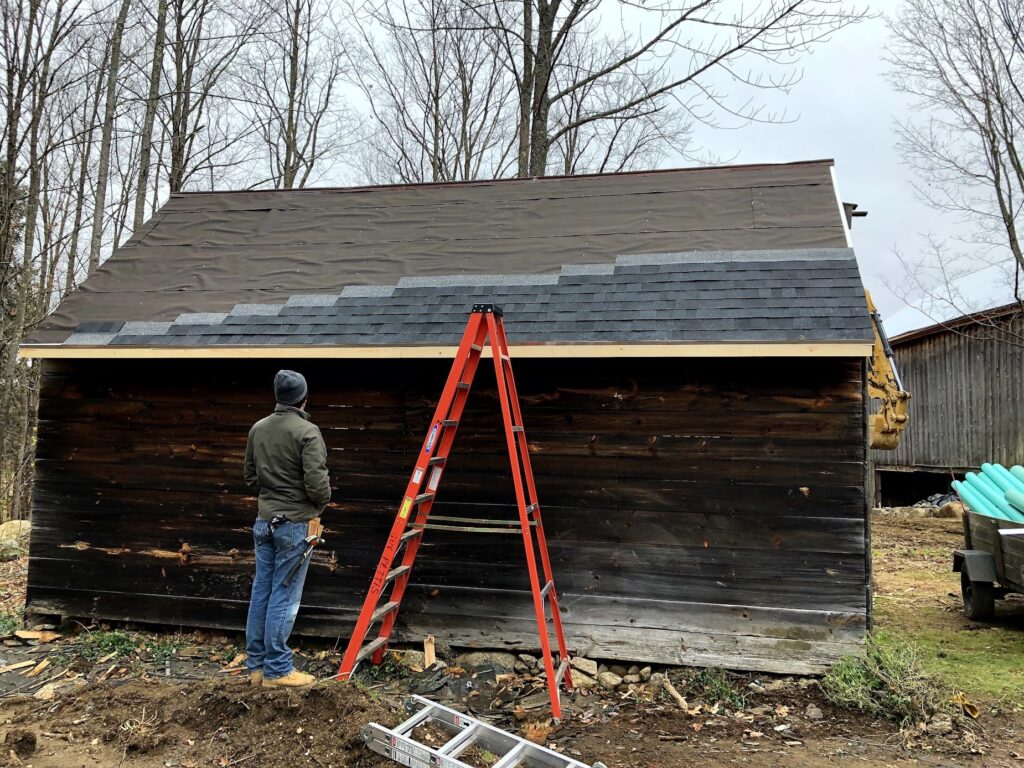
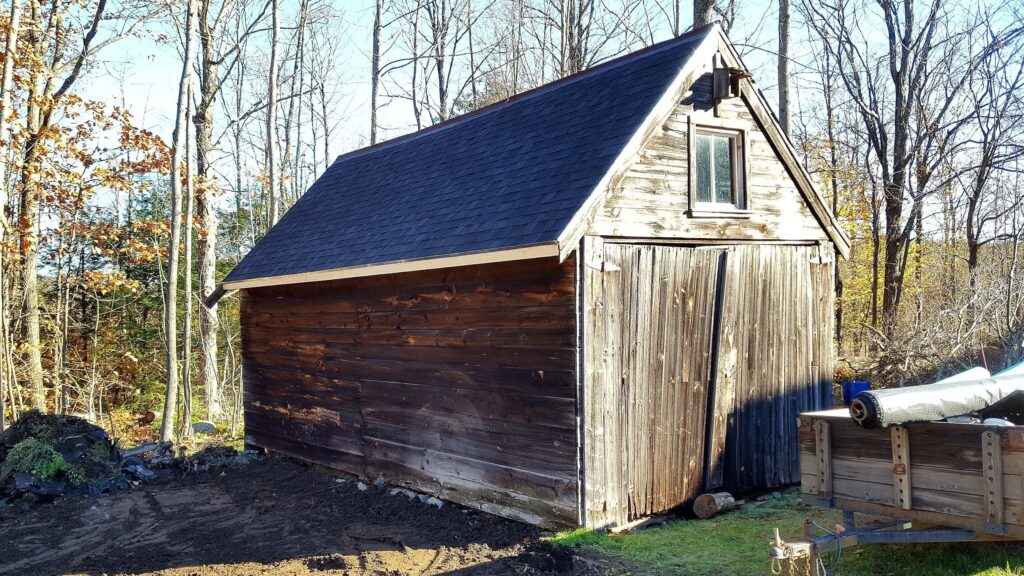
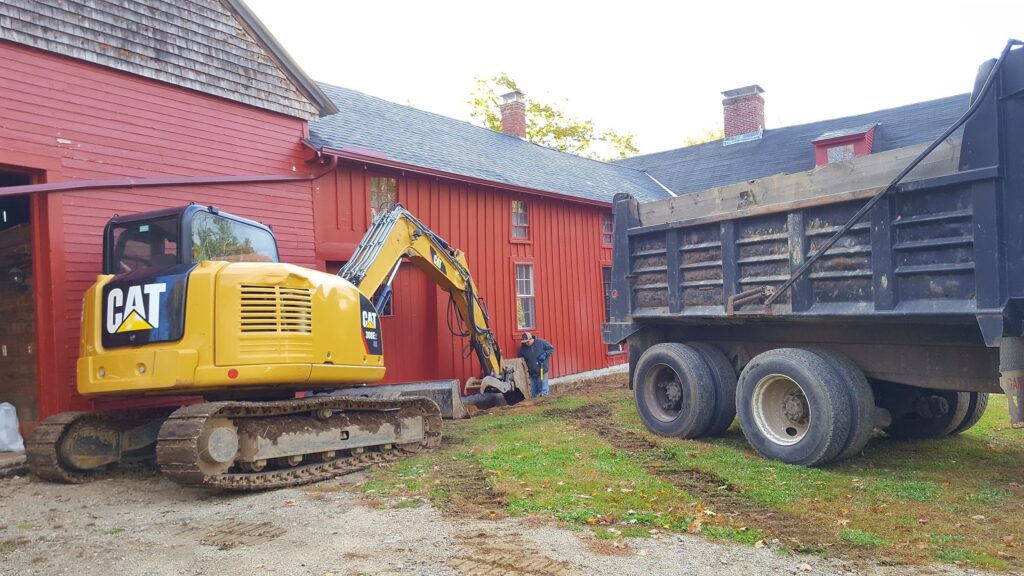
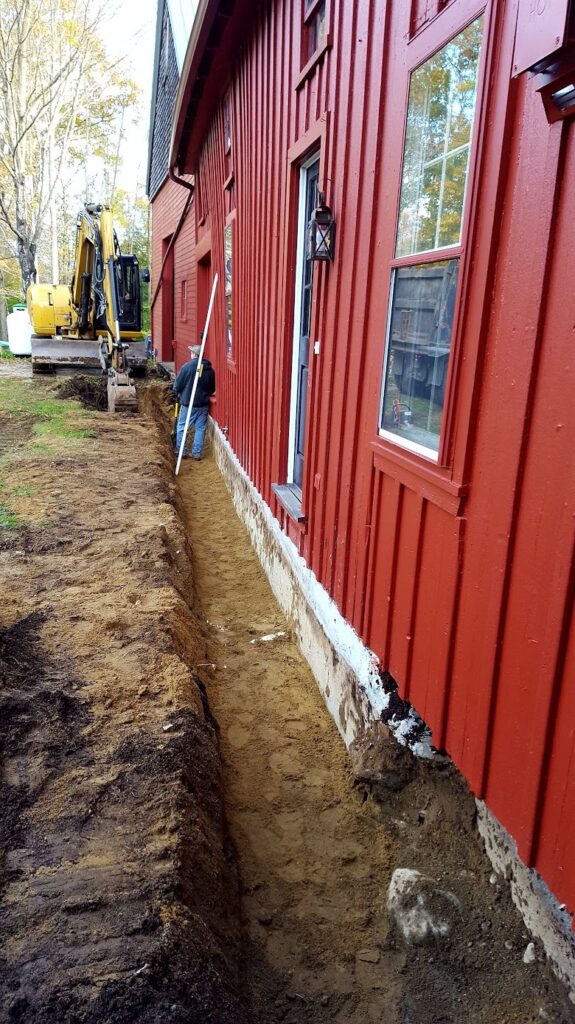
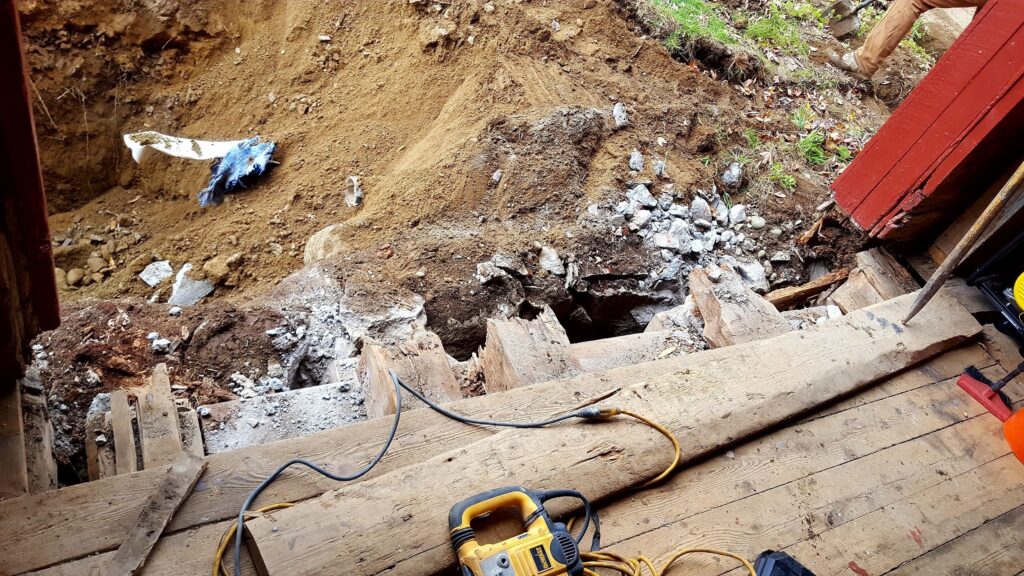
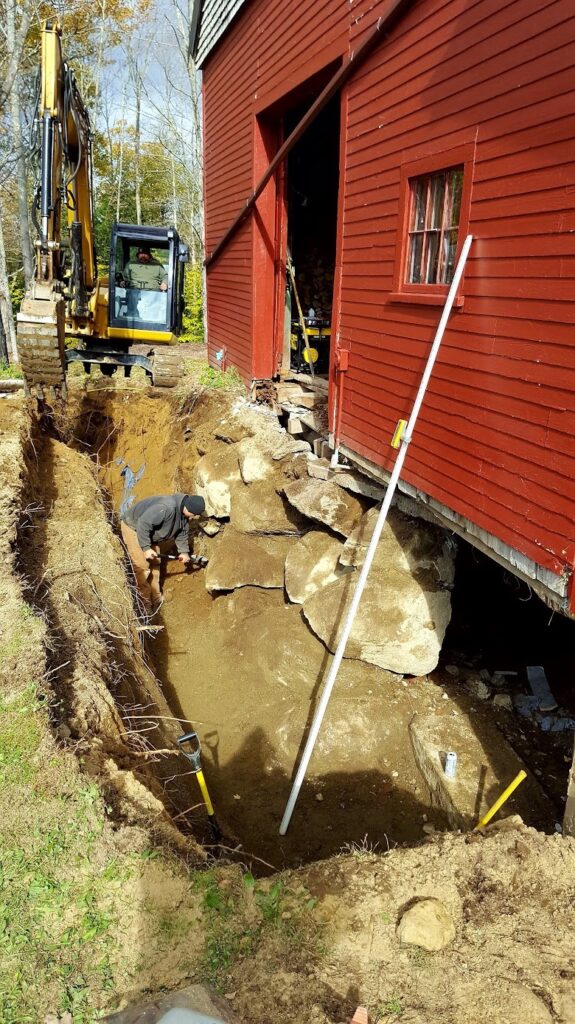
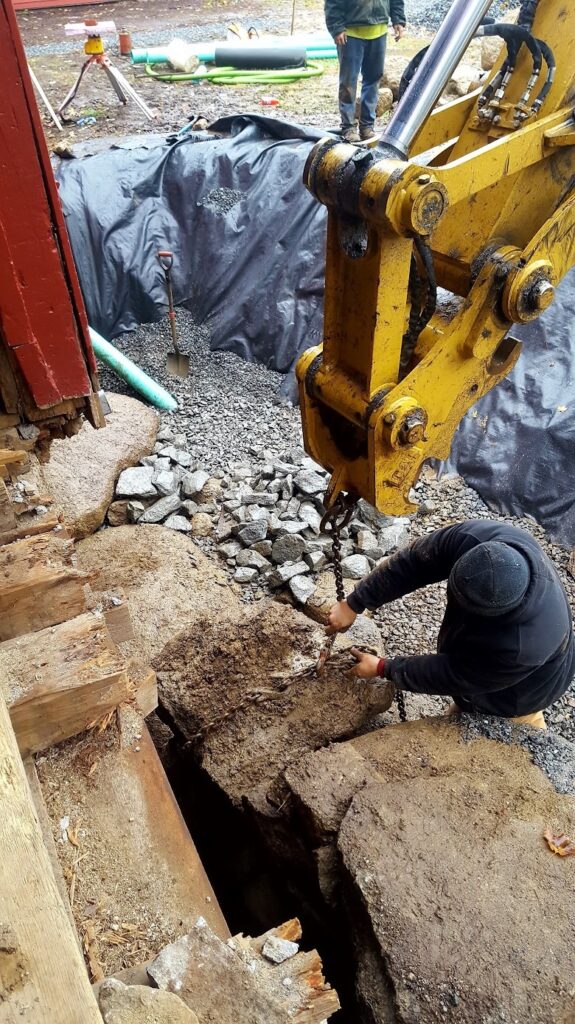
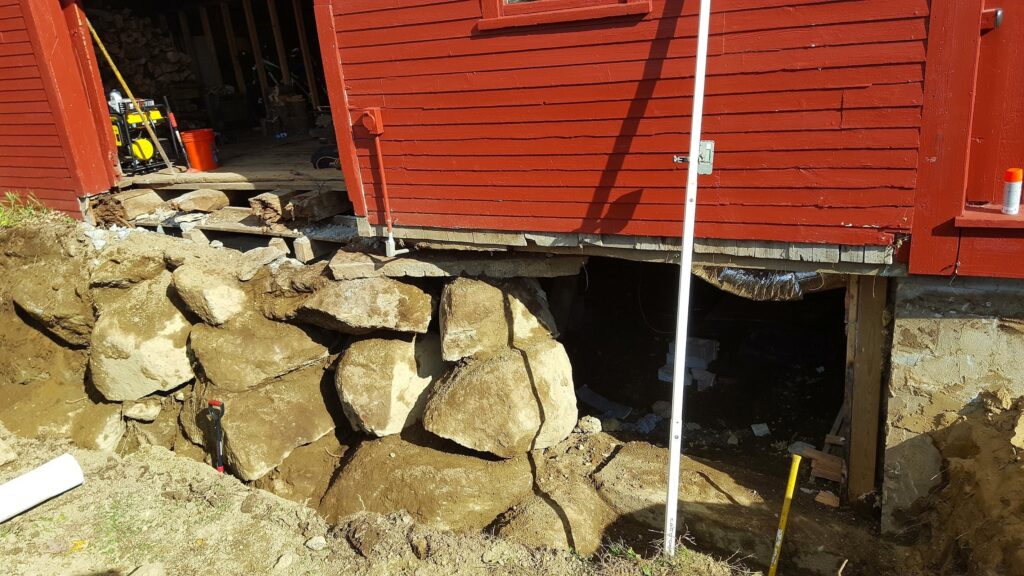
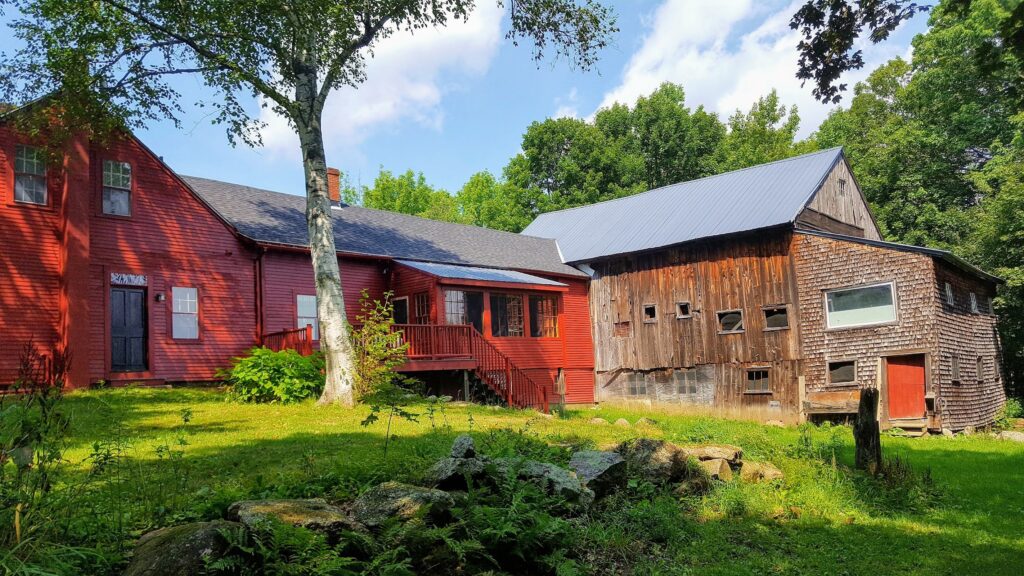
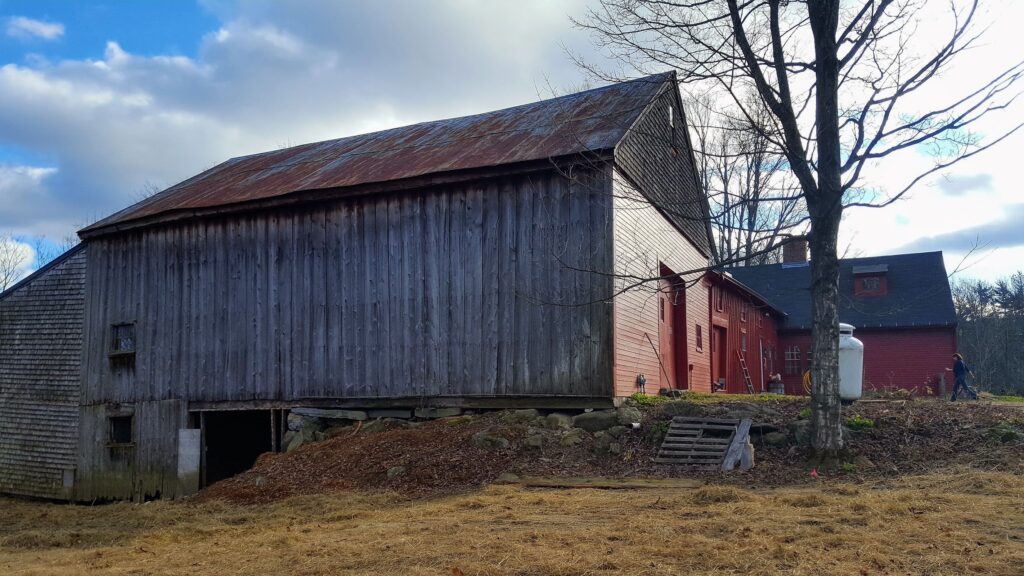
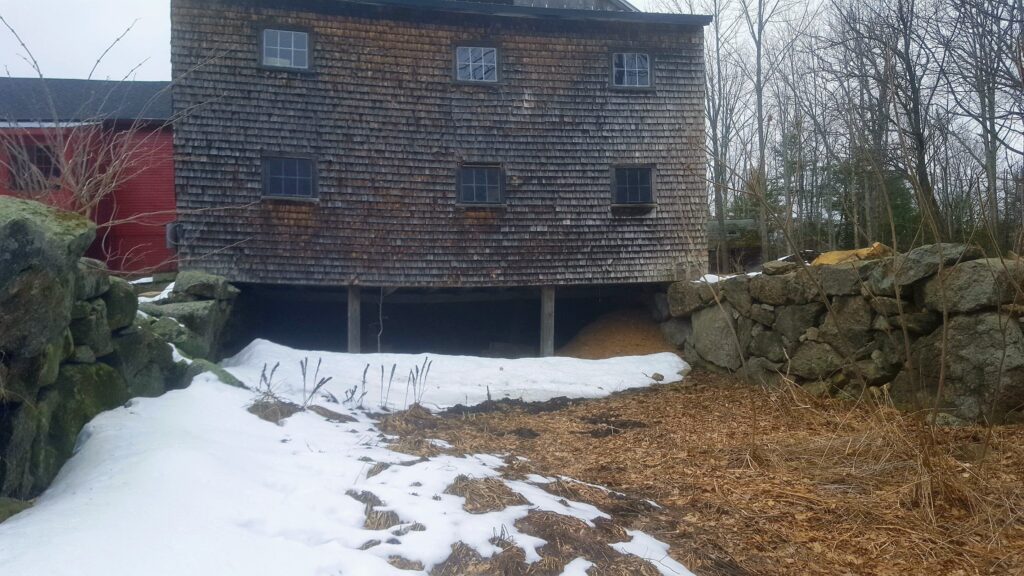
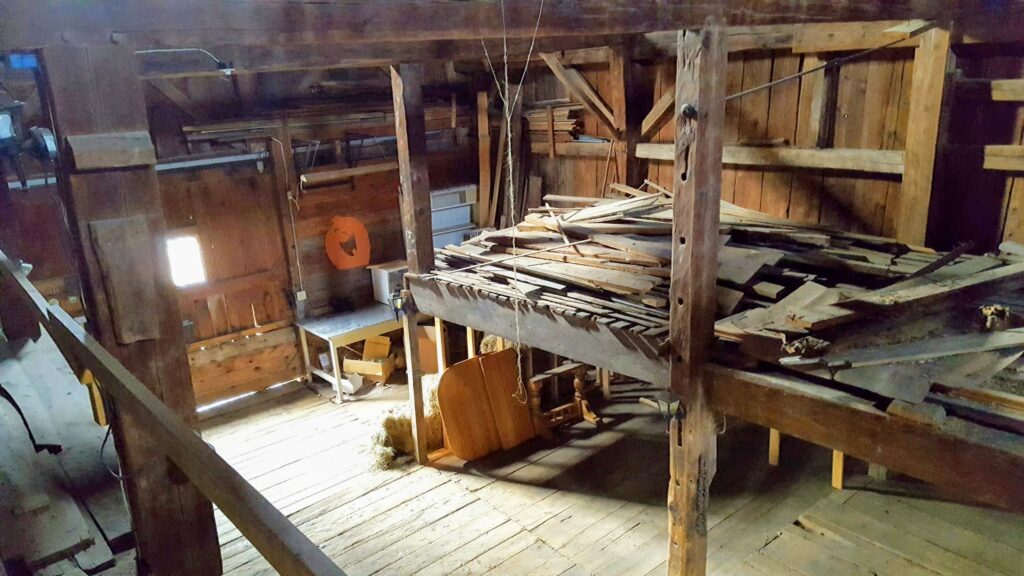
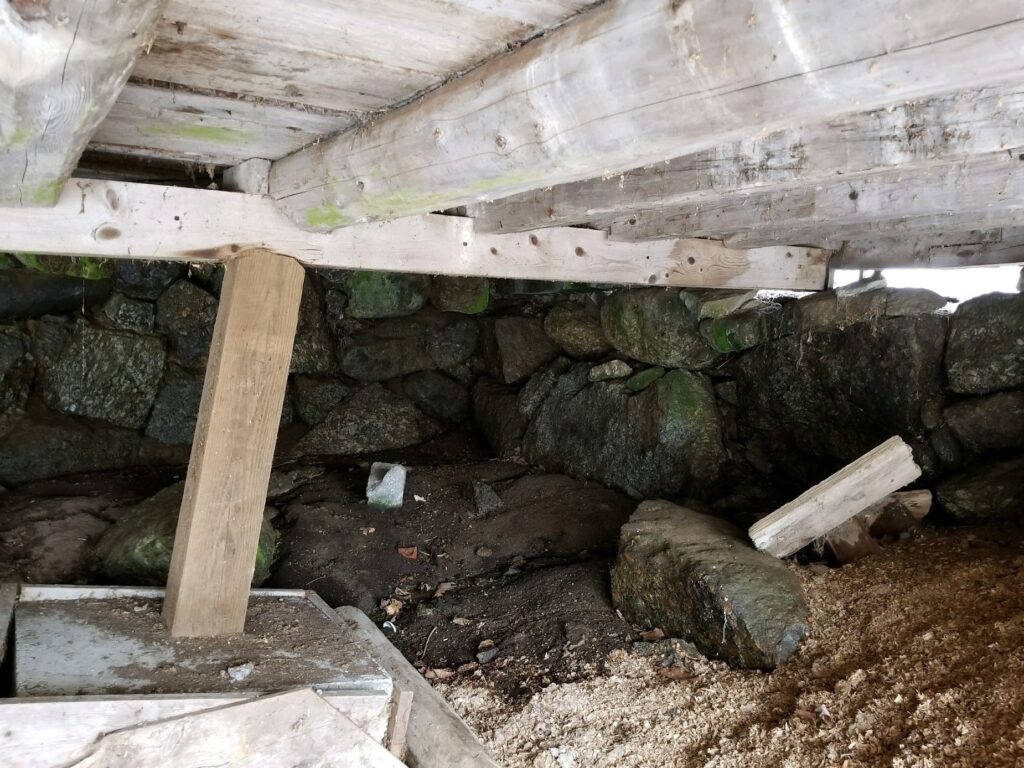
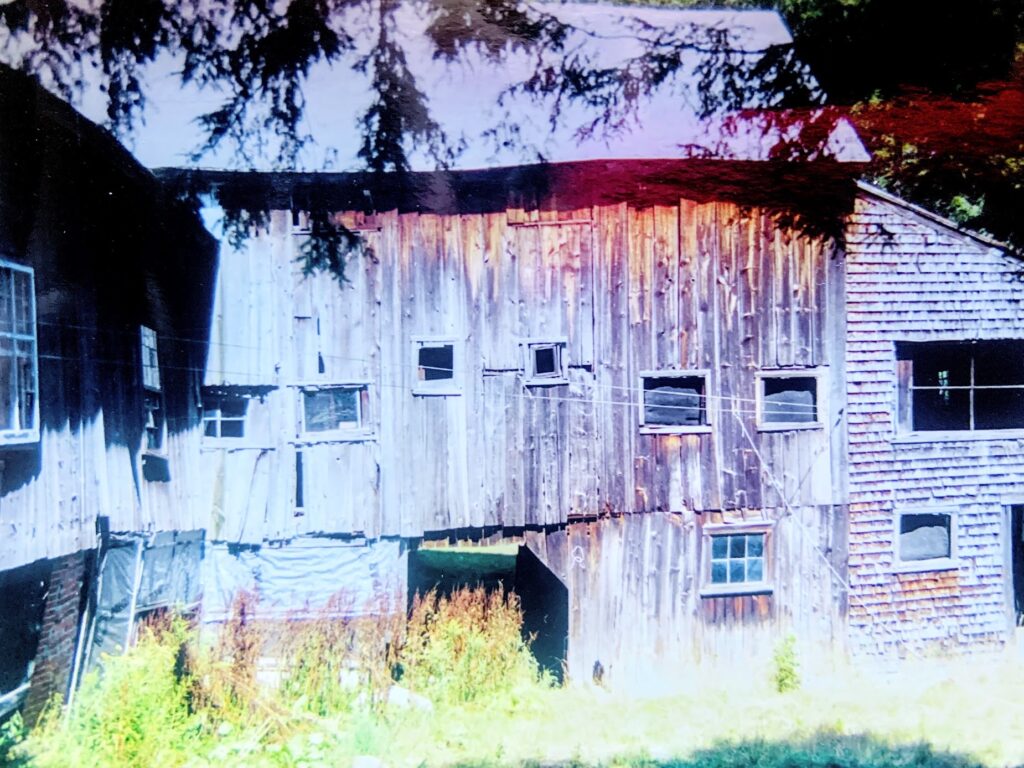
We recently started work on the north side of the barn- replacing rotted and missing floors, replacing unsafe stairs, taking out the old outhouse, and adding a door and window to access the north side. We also replaced the siding on the lower wall, as well as this side of the barn addition. The rest of the barn and addition we re-sided a couple of years ago. We also framed in and added a couple of windows for the upper part of the addition, which is our woodshop. The north light that floods through these is just stunning. For any framing or structure, we always try to use rough-sawn dimensional hemlock from our local sawmill so it looks appropriate. Next up is the vertical siding on the barn- the old siding is two layers thick, and you can still see daylight through it. We’ll add a window in the (new) stairwell that will sit just above the one we added in the lower wall.


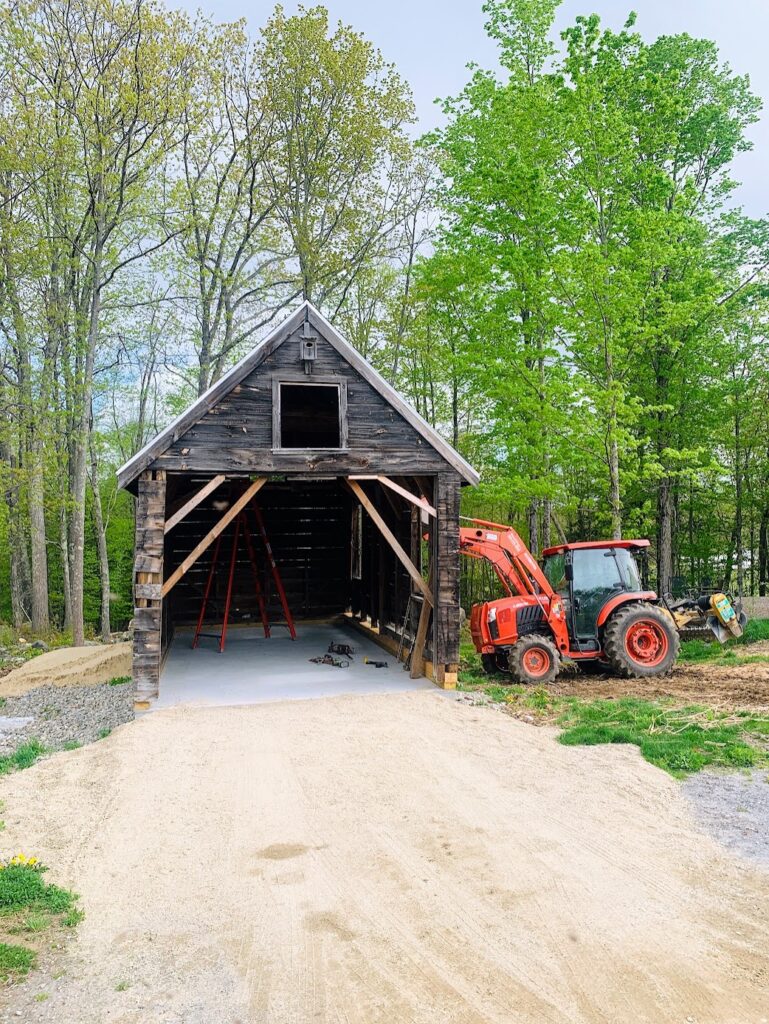
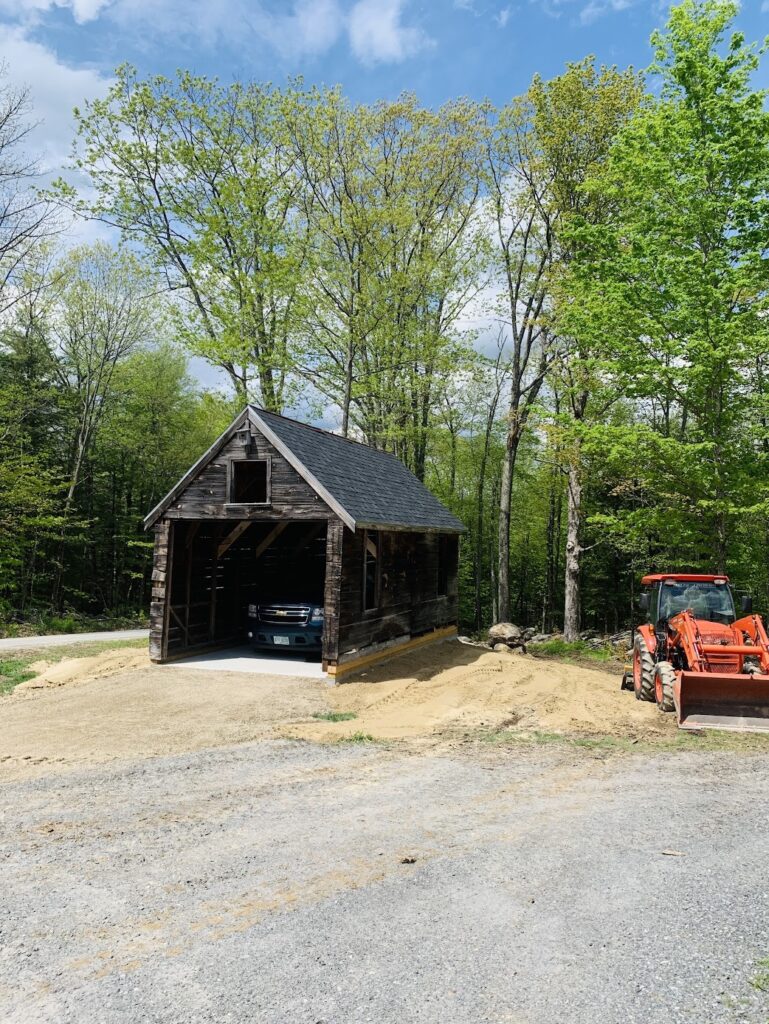
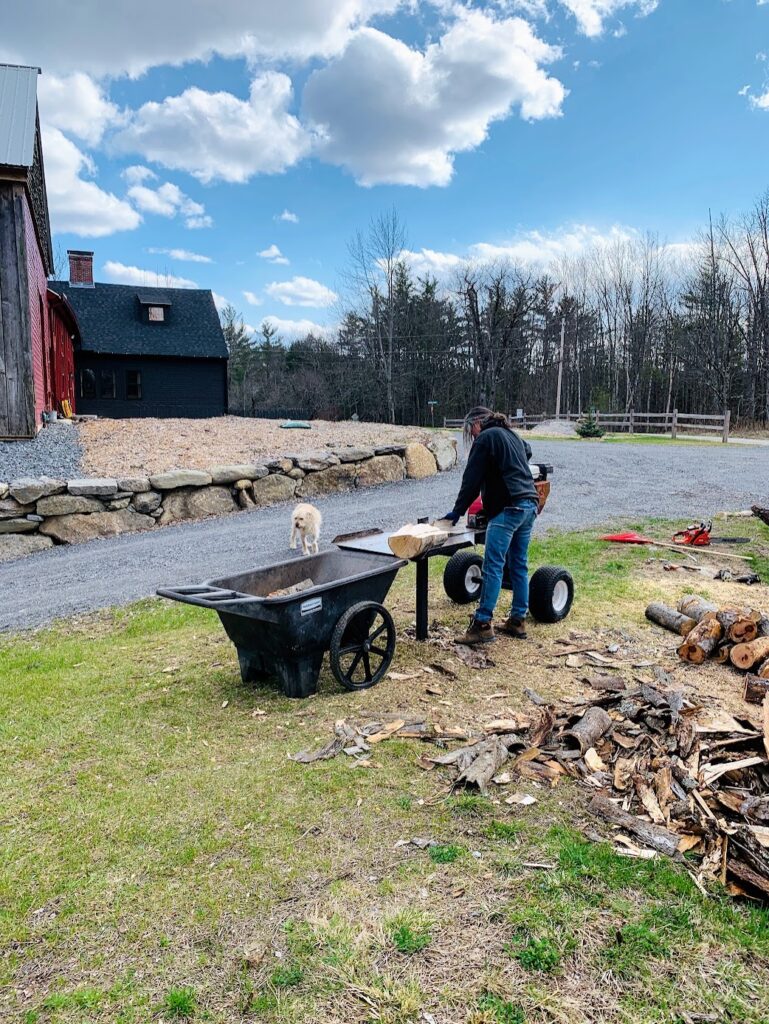
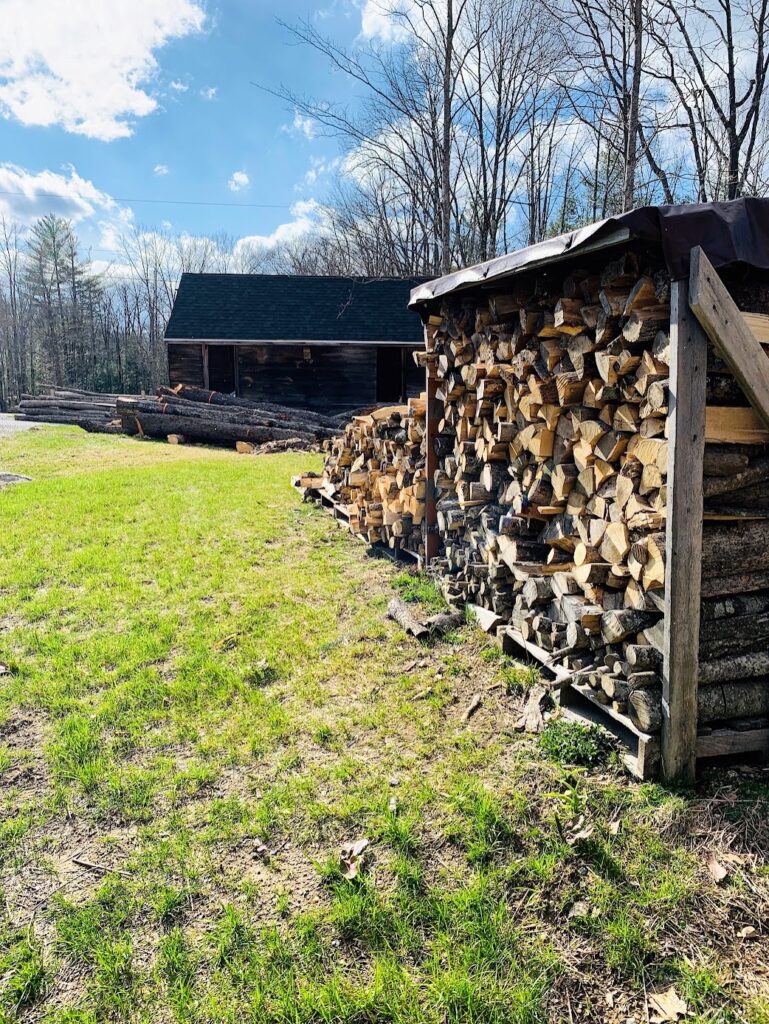
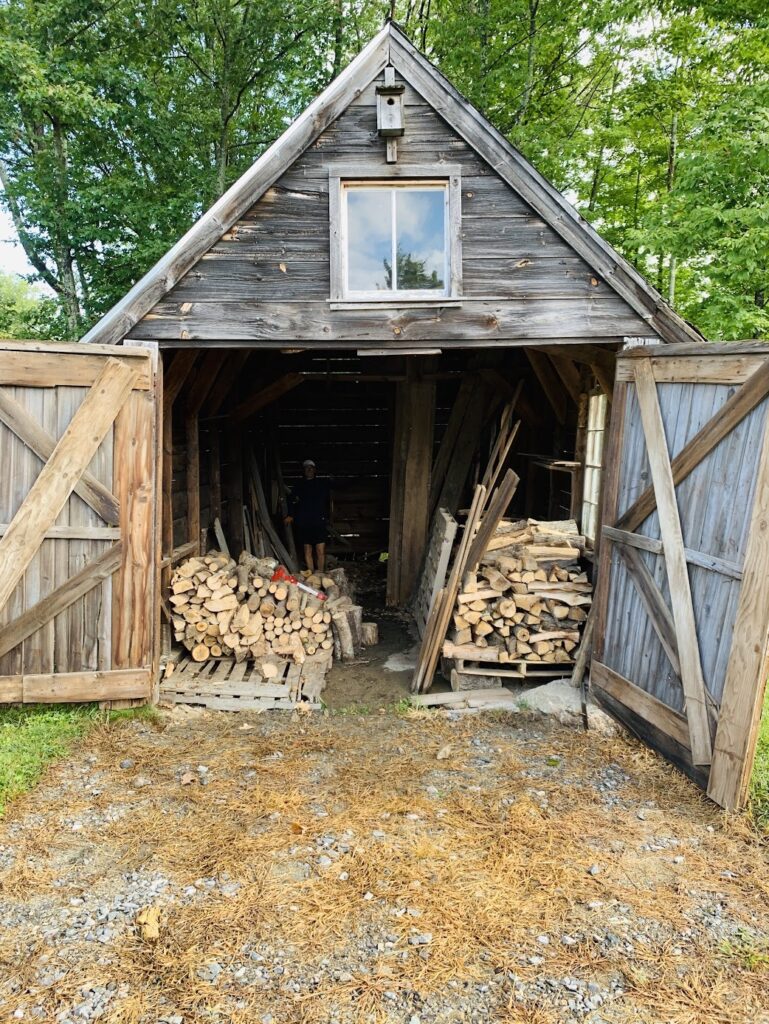
We built a woodshed next to the barn driveway, so it’s easy to get to. Like most everything we build around here, we used rough sawn hemlock from our local sawmill, so it looks like it’s always been here. It’s large enough to hold about eight cords, or nearly two years worth.


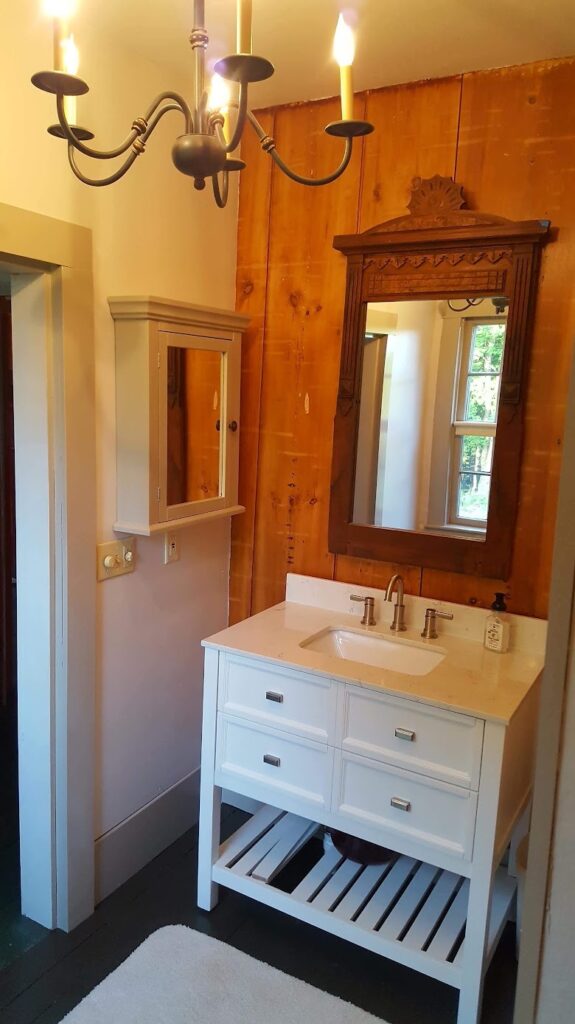
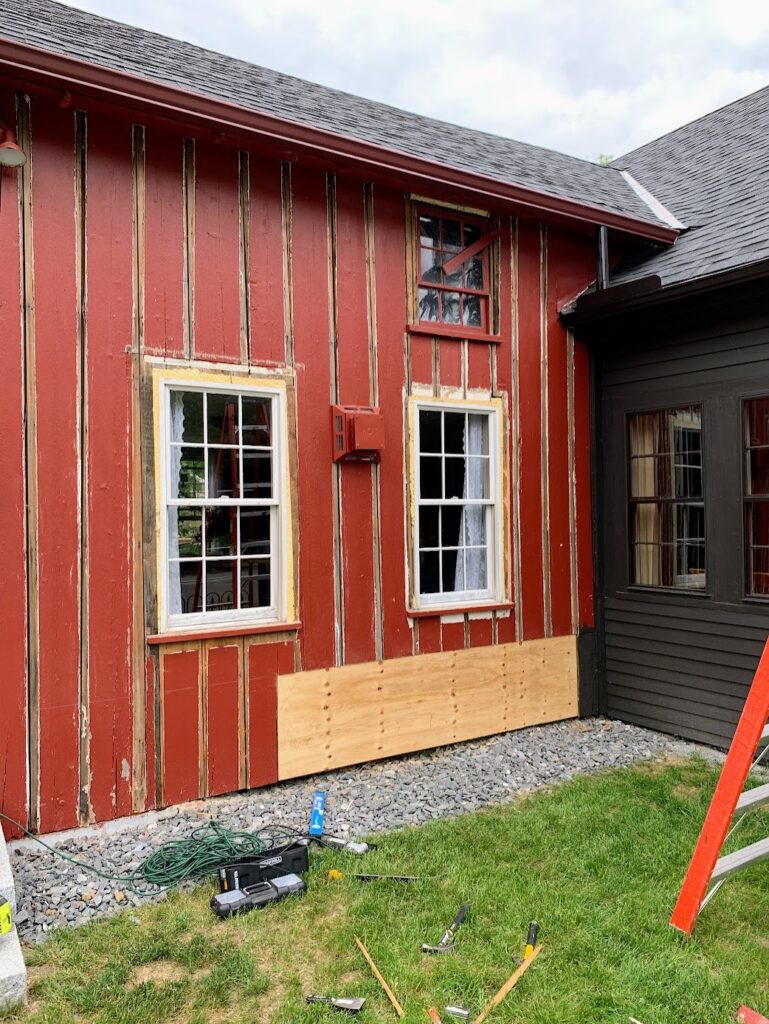
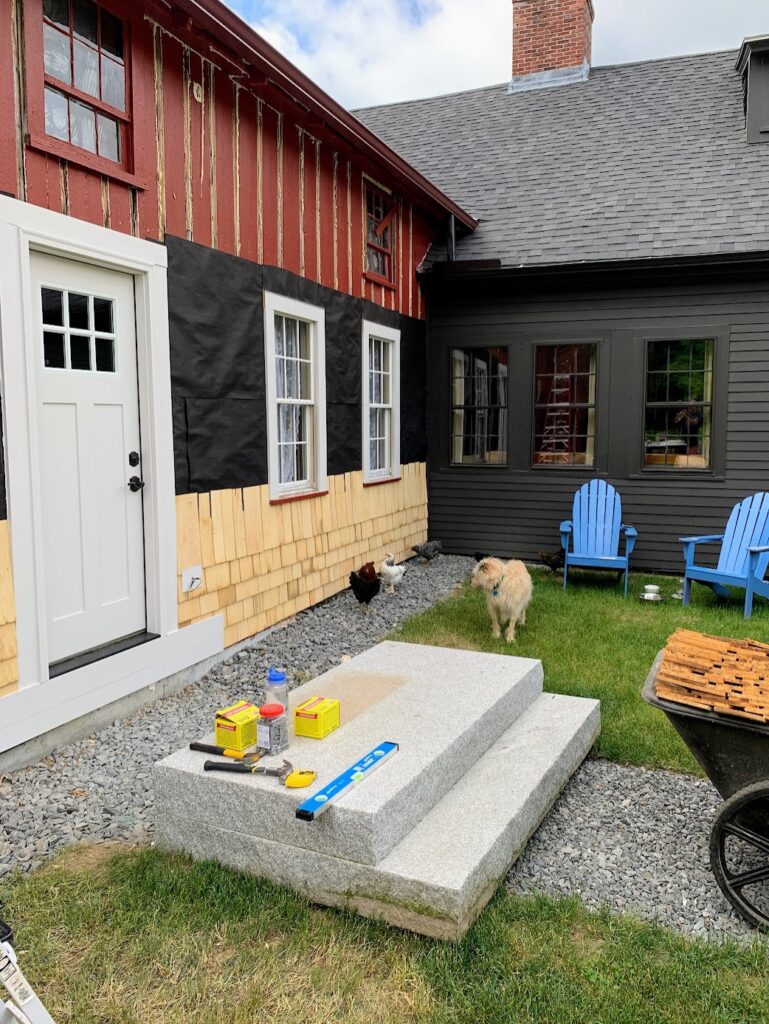
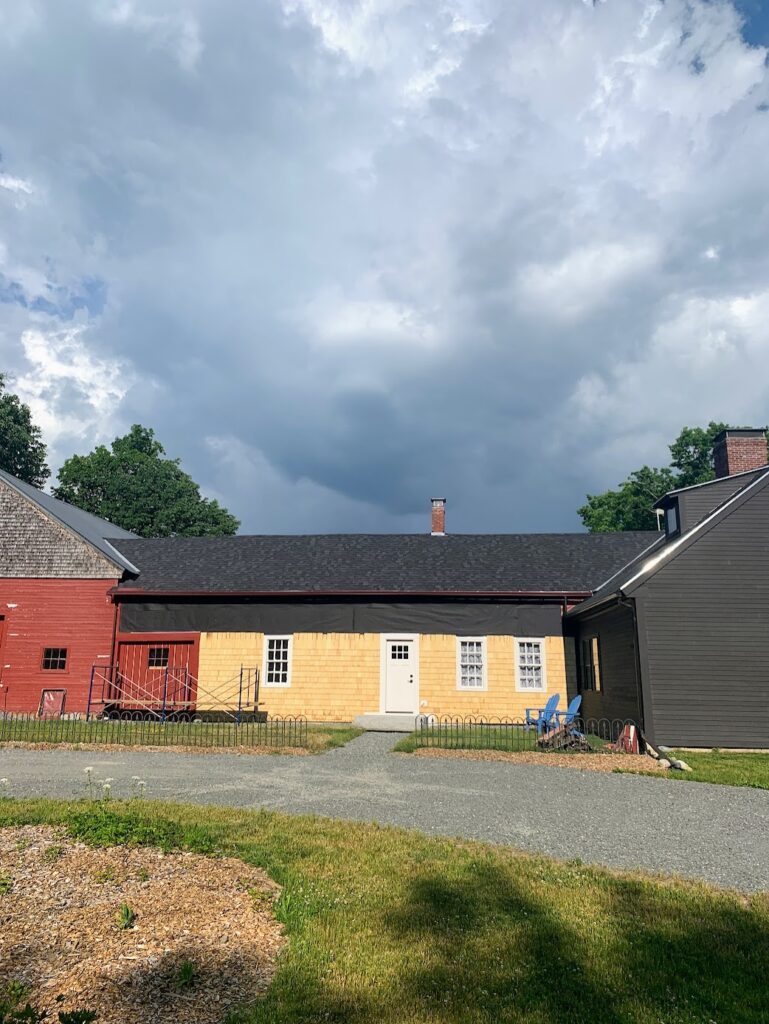
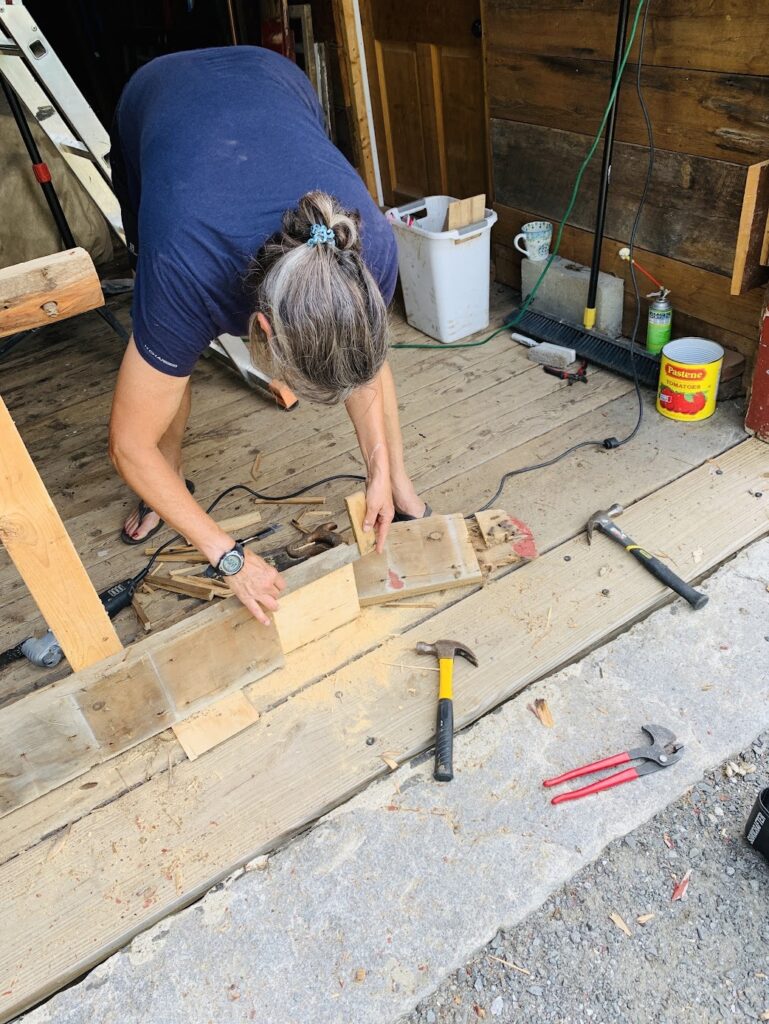
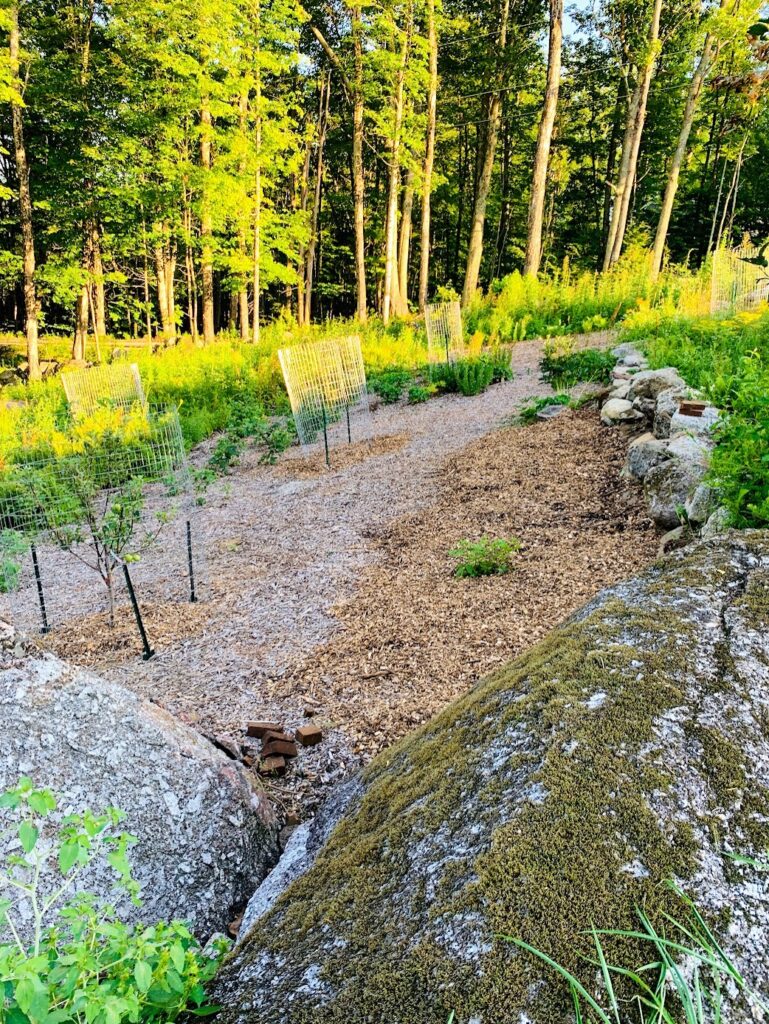
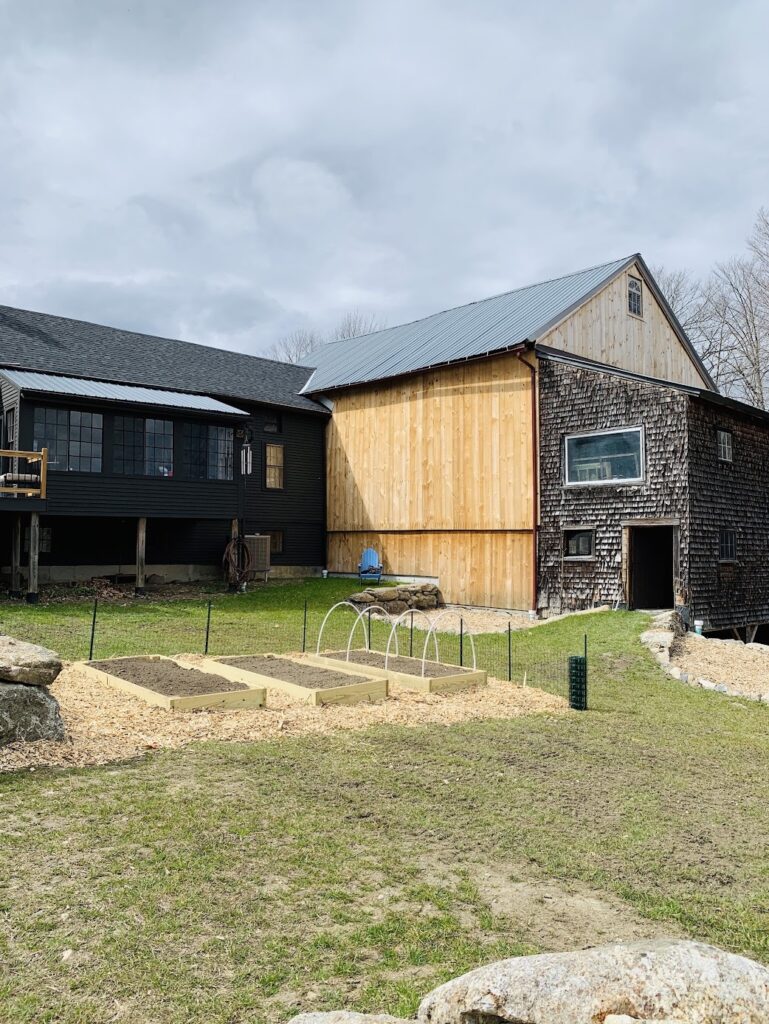
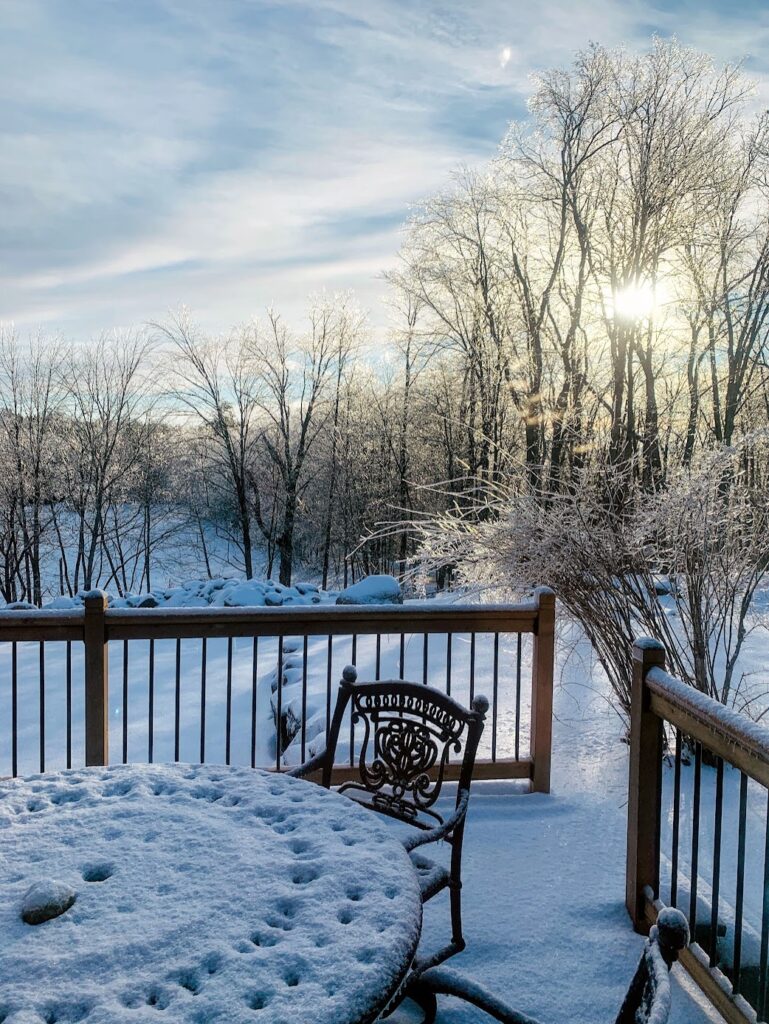
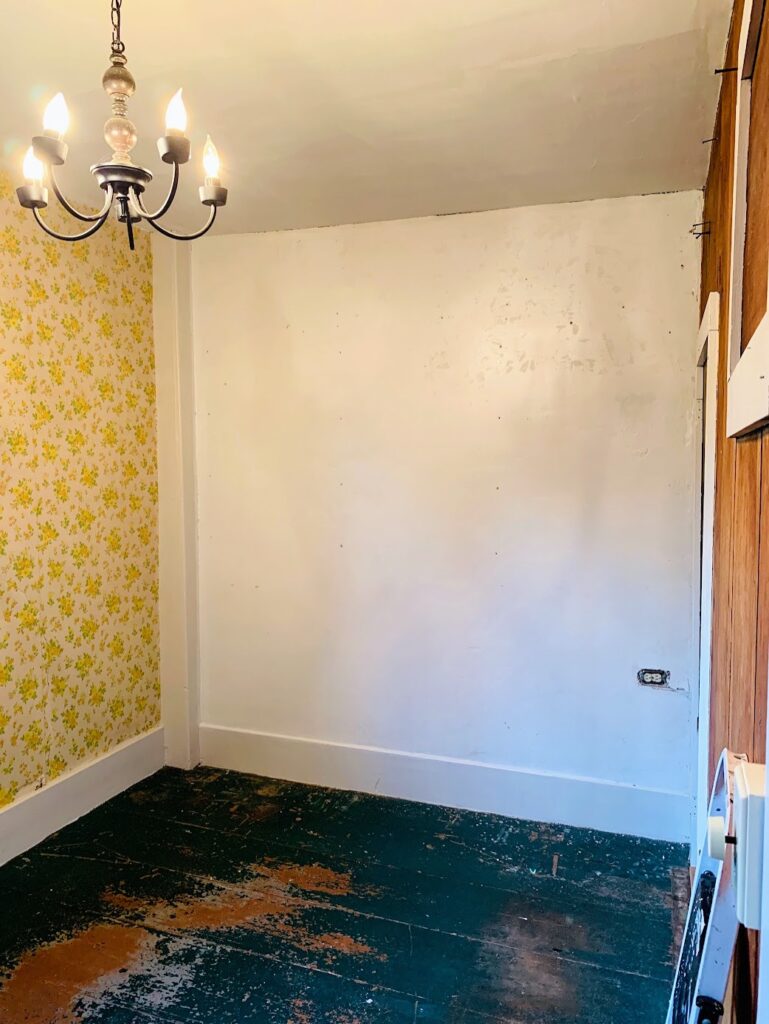
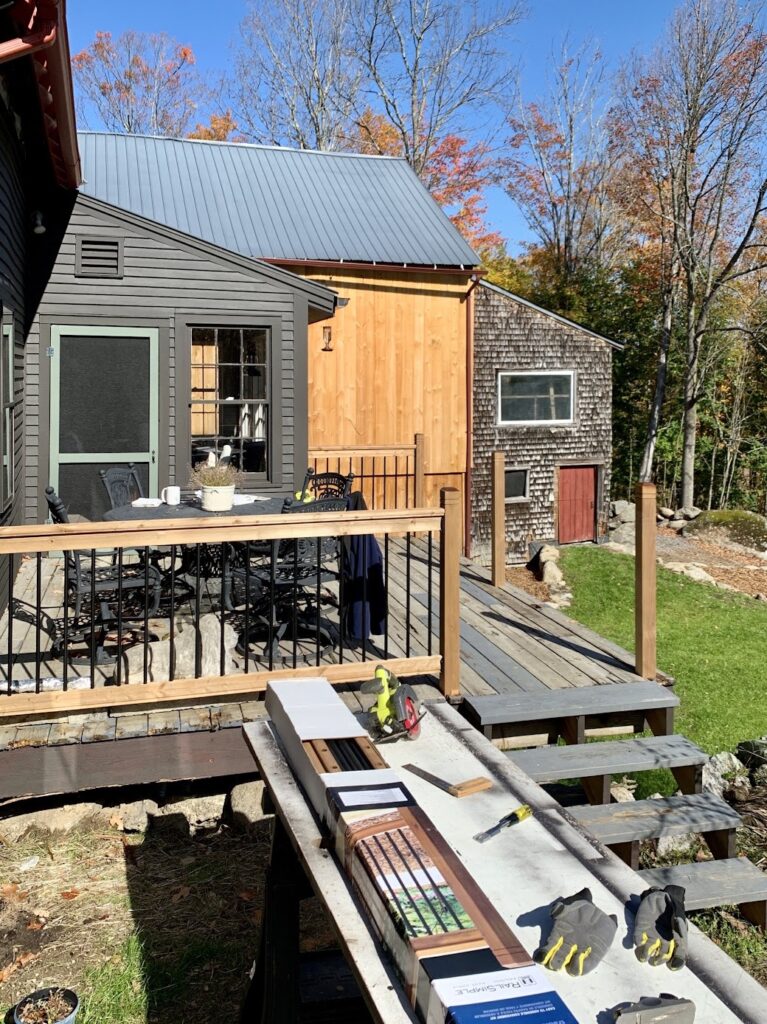
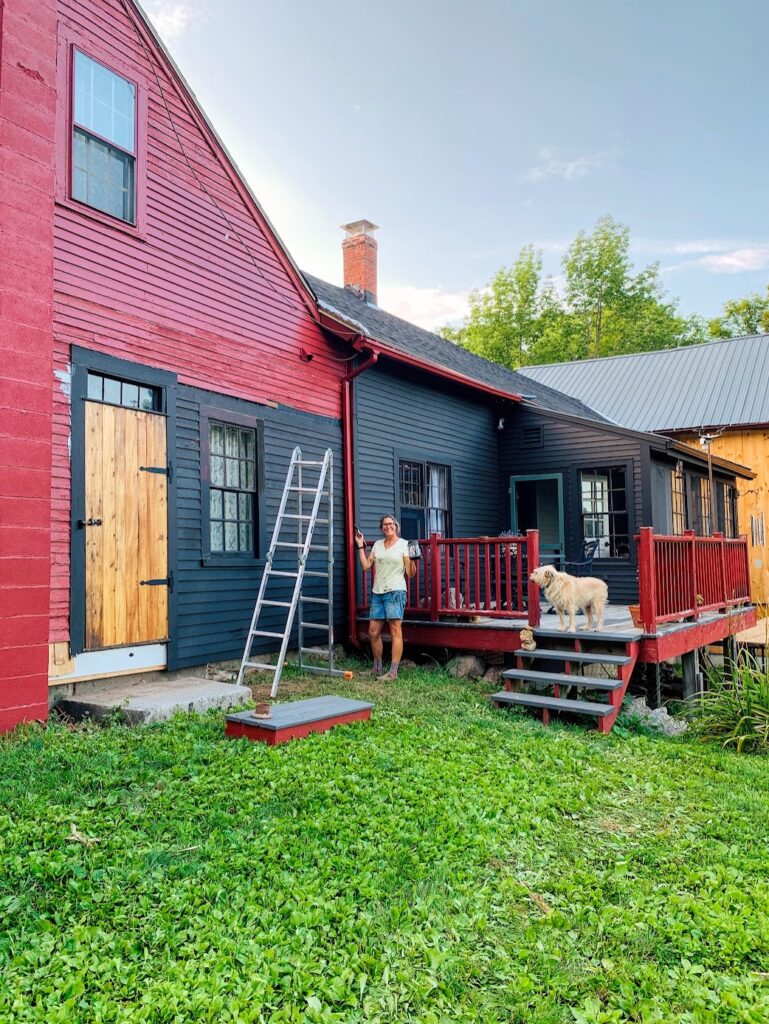
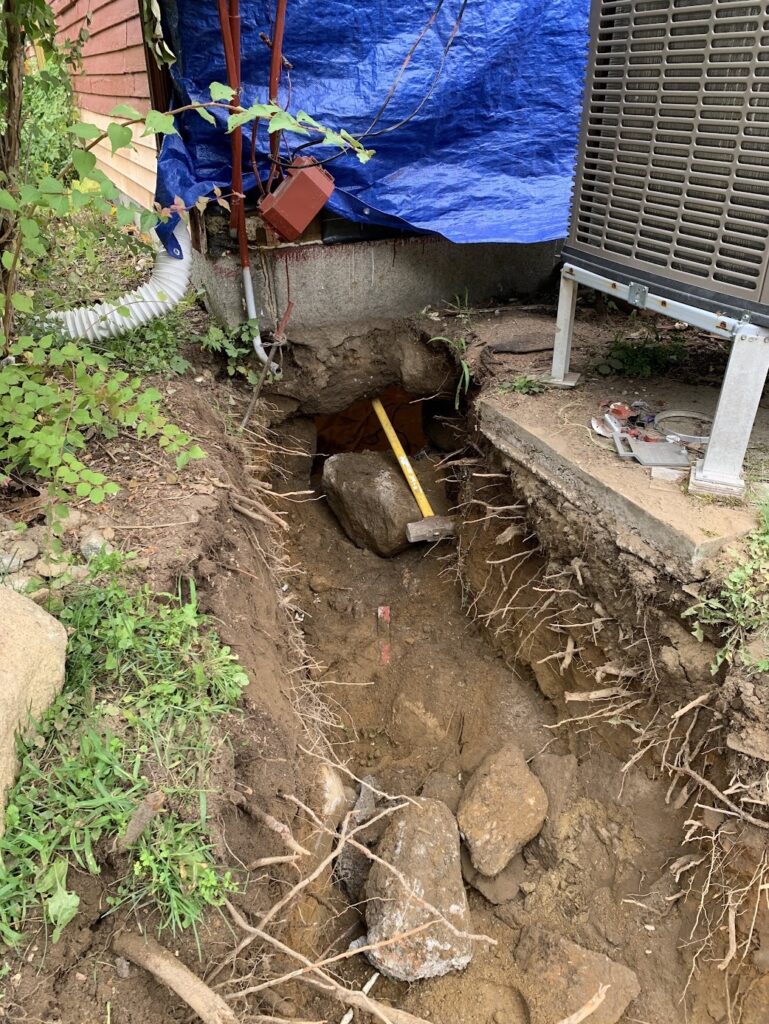
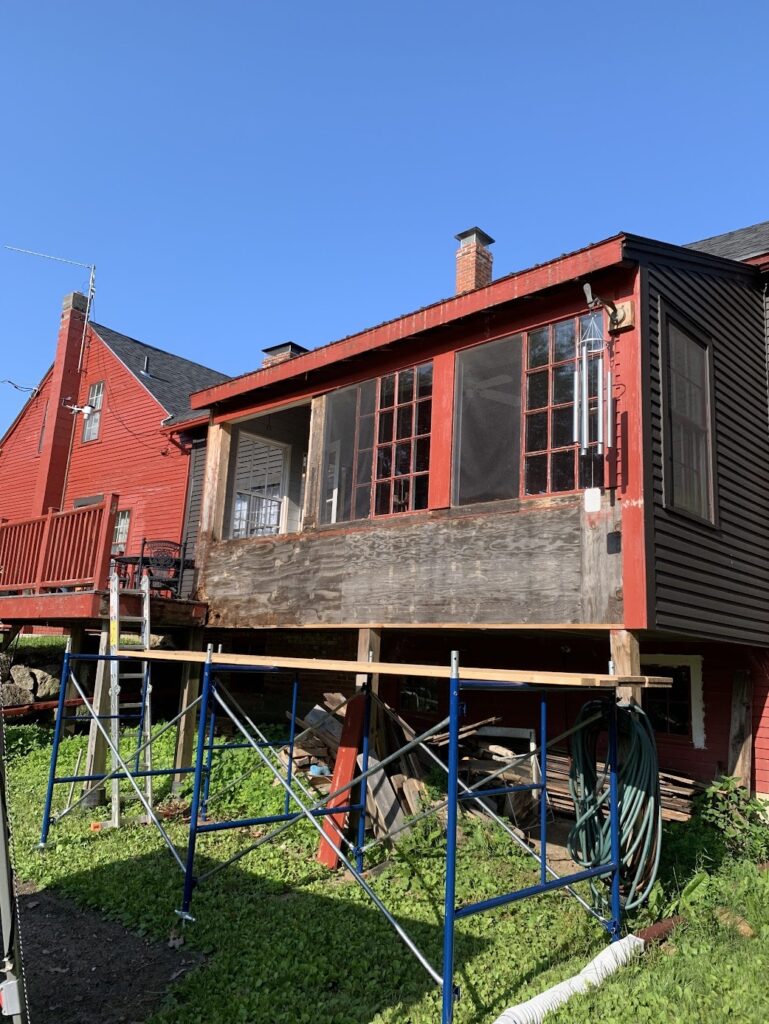
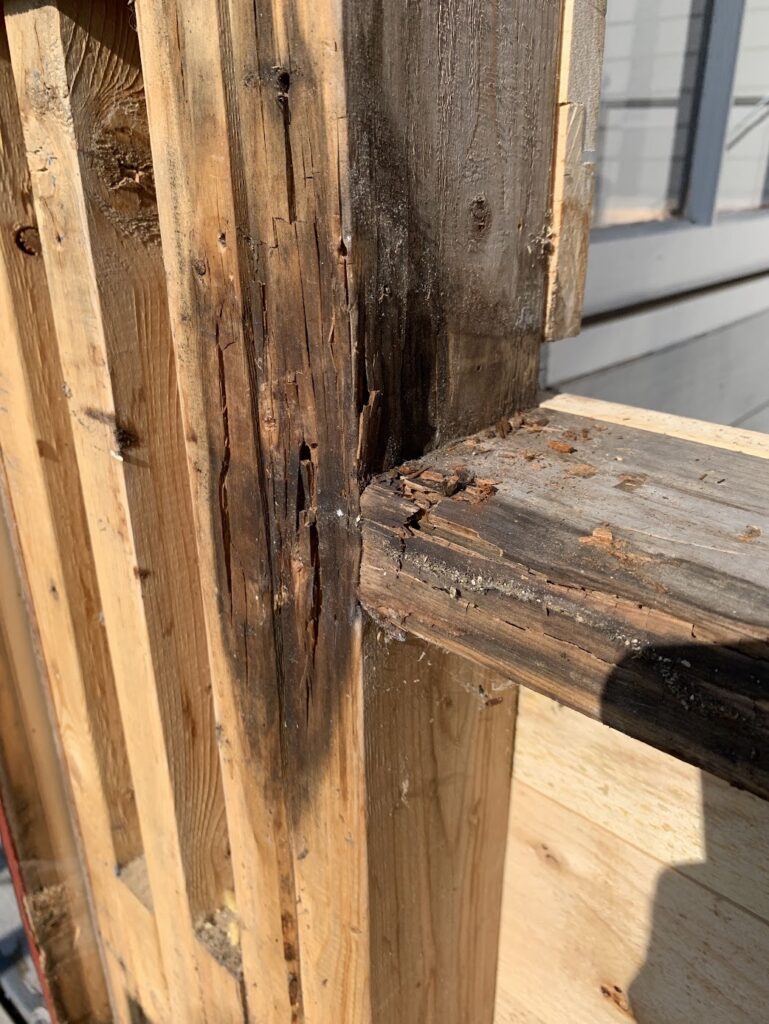
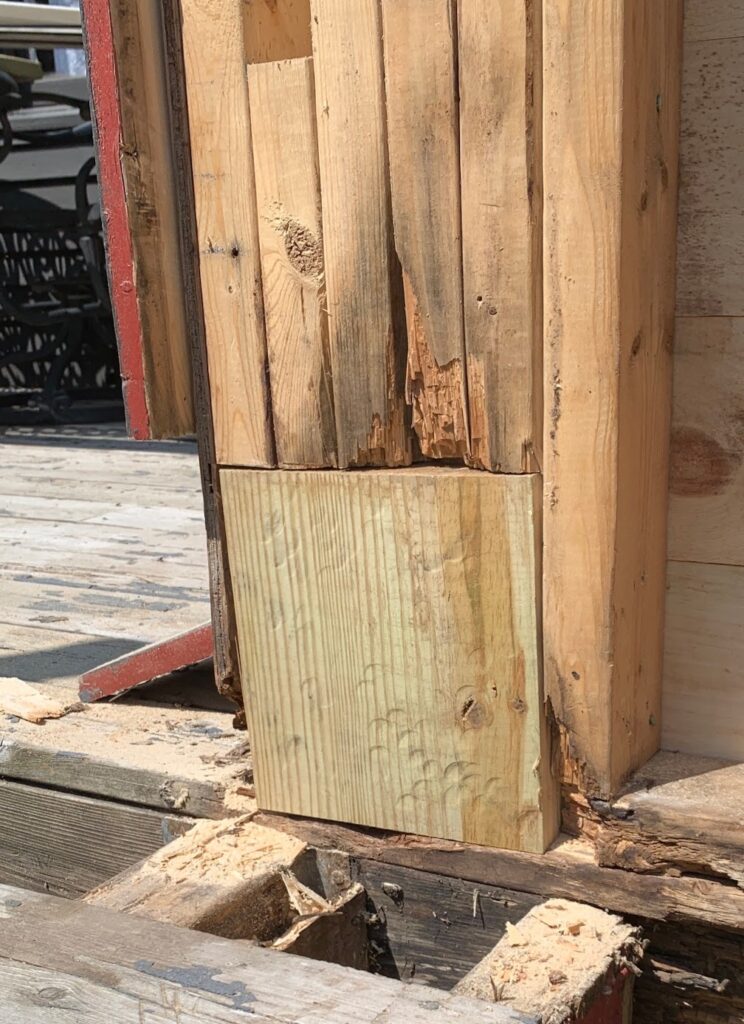
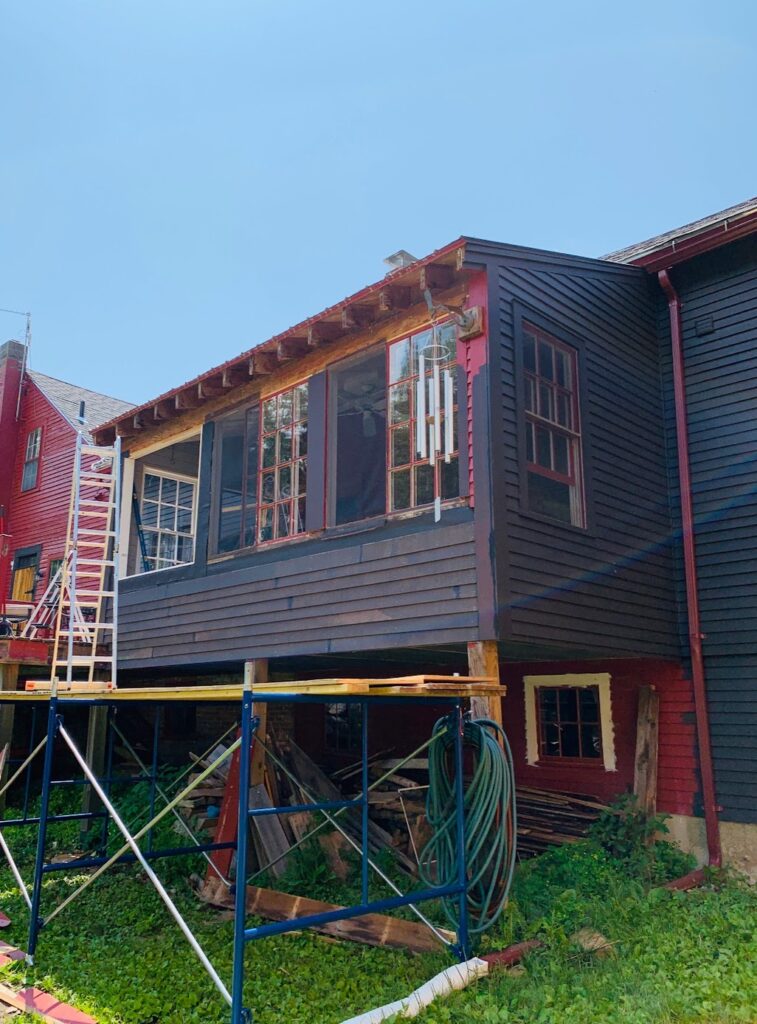
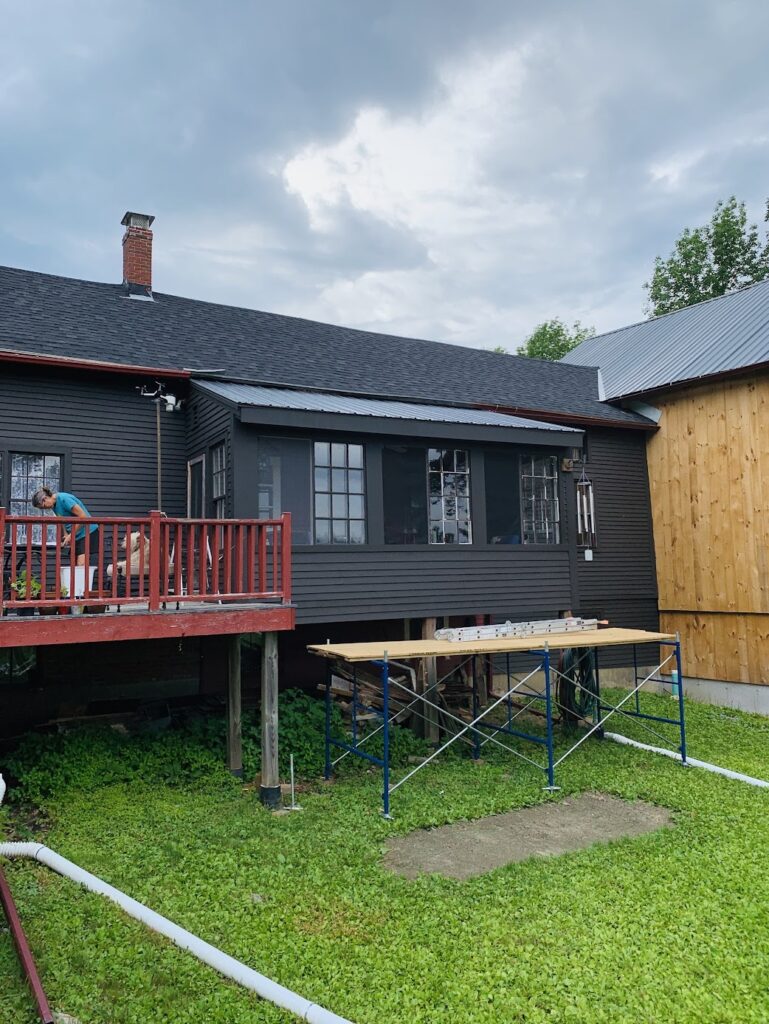
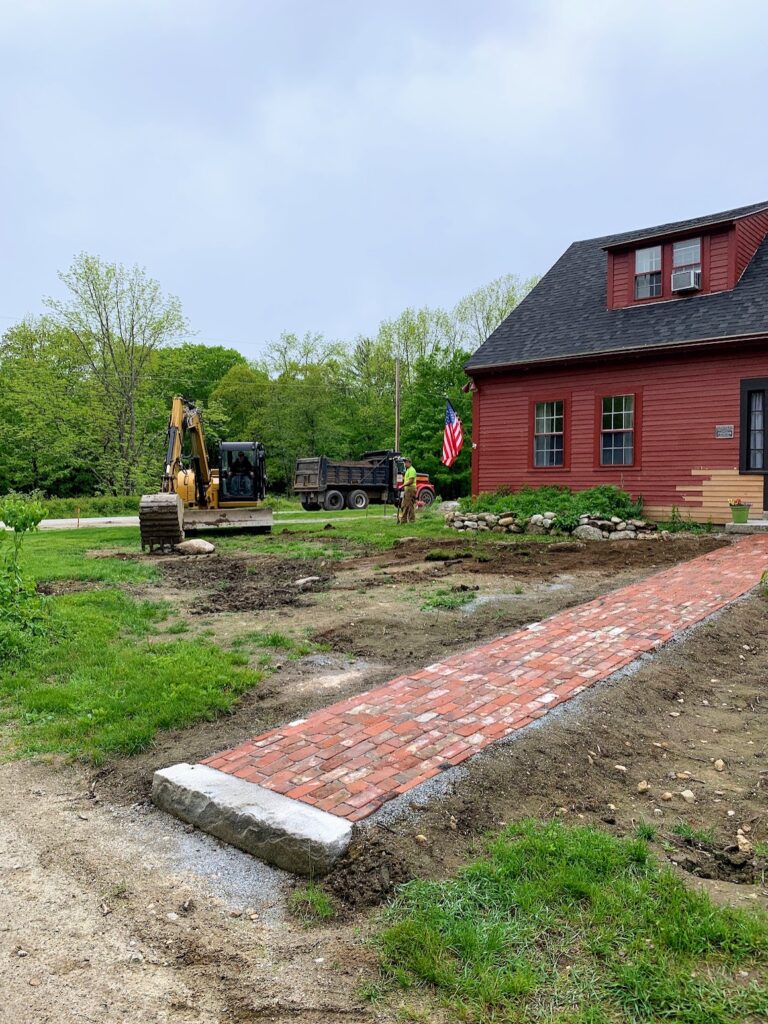
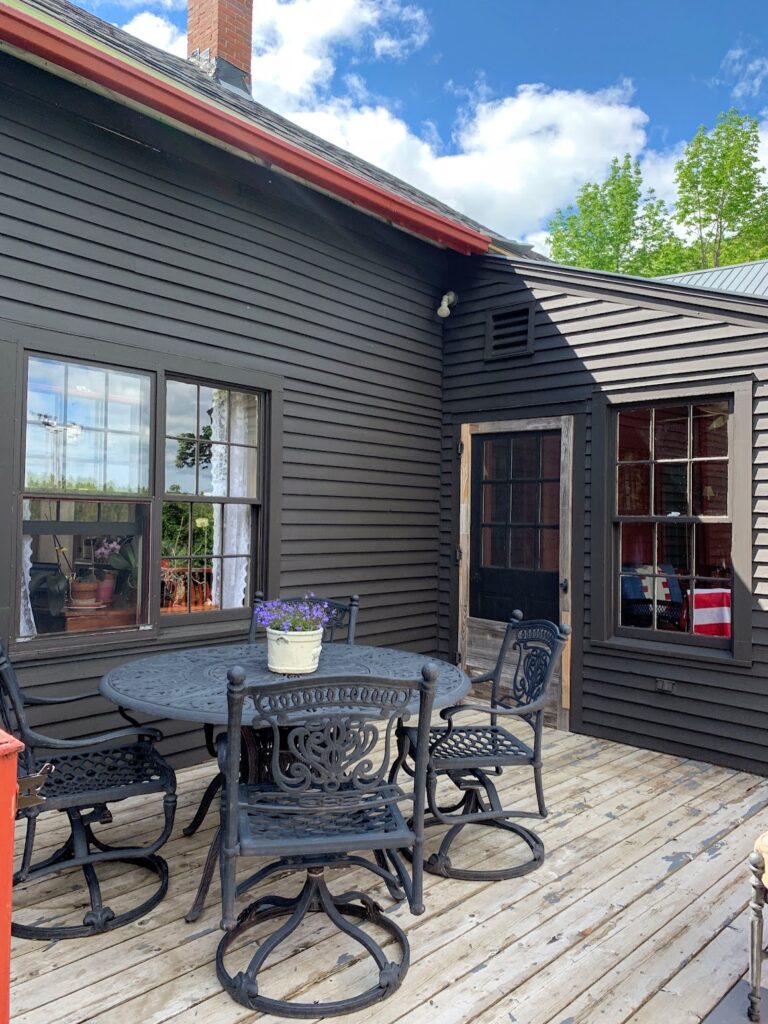
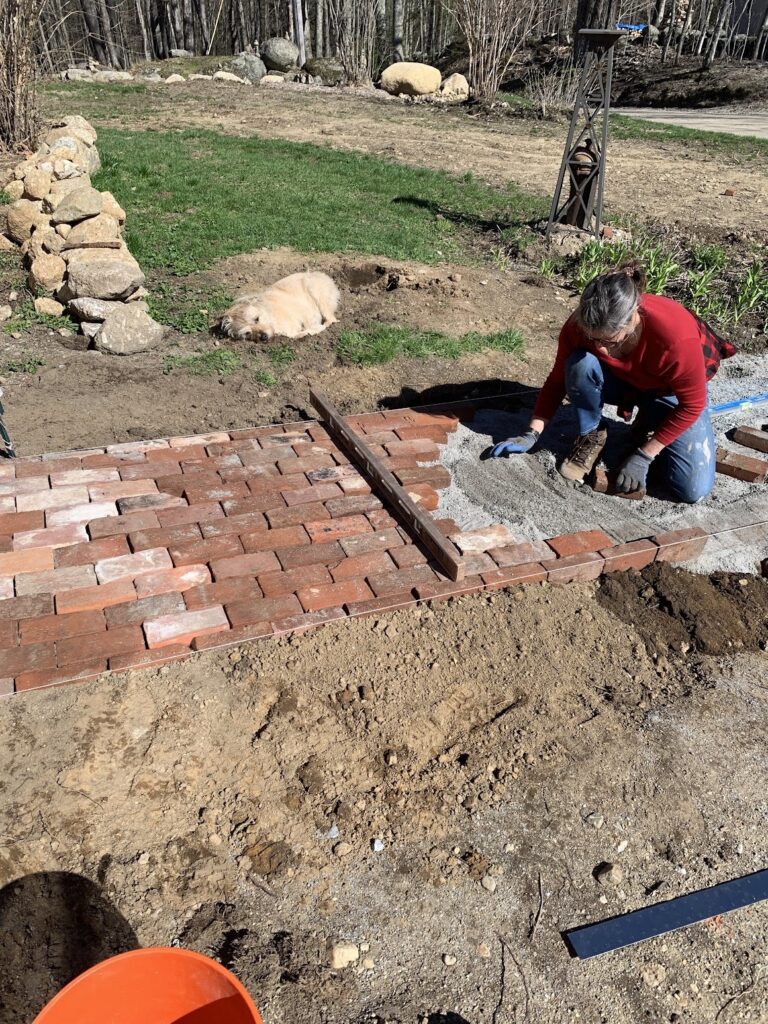
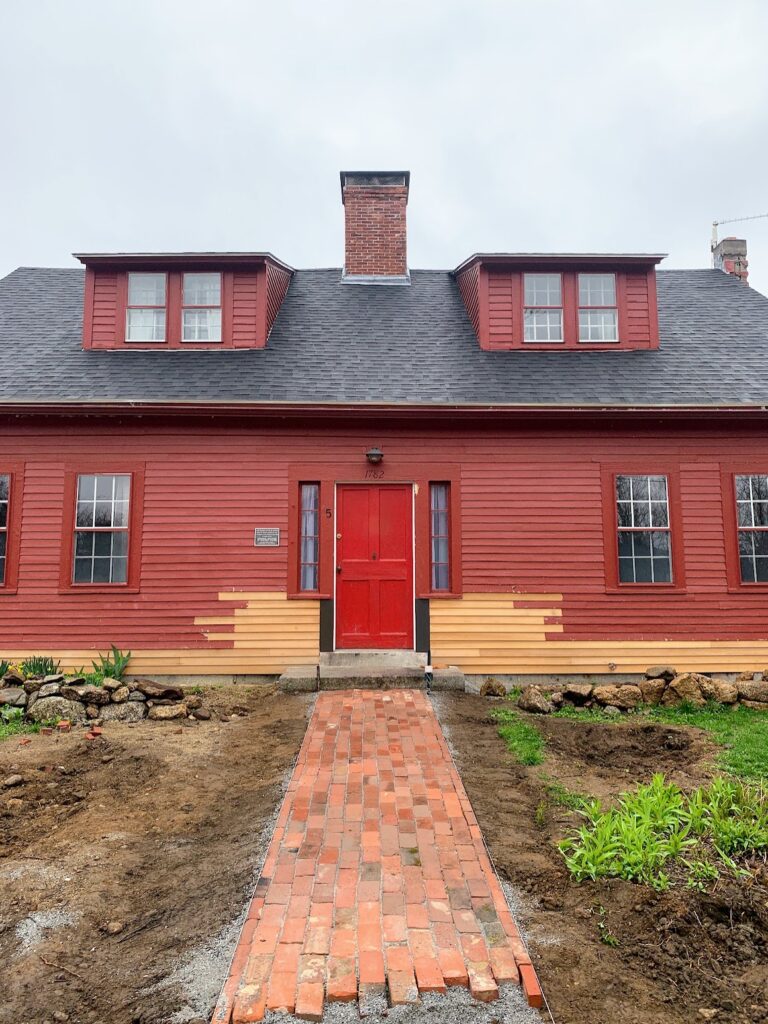
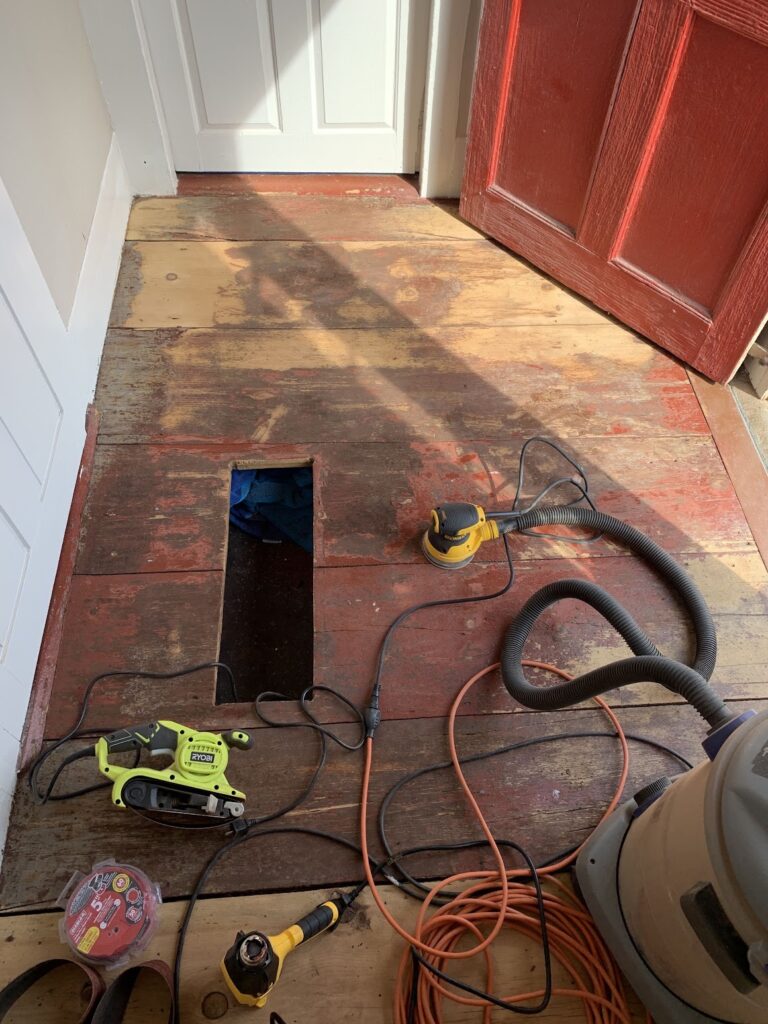
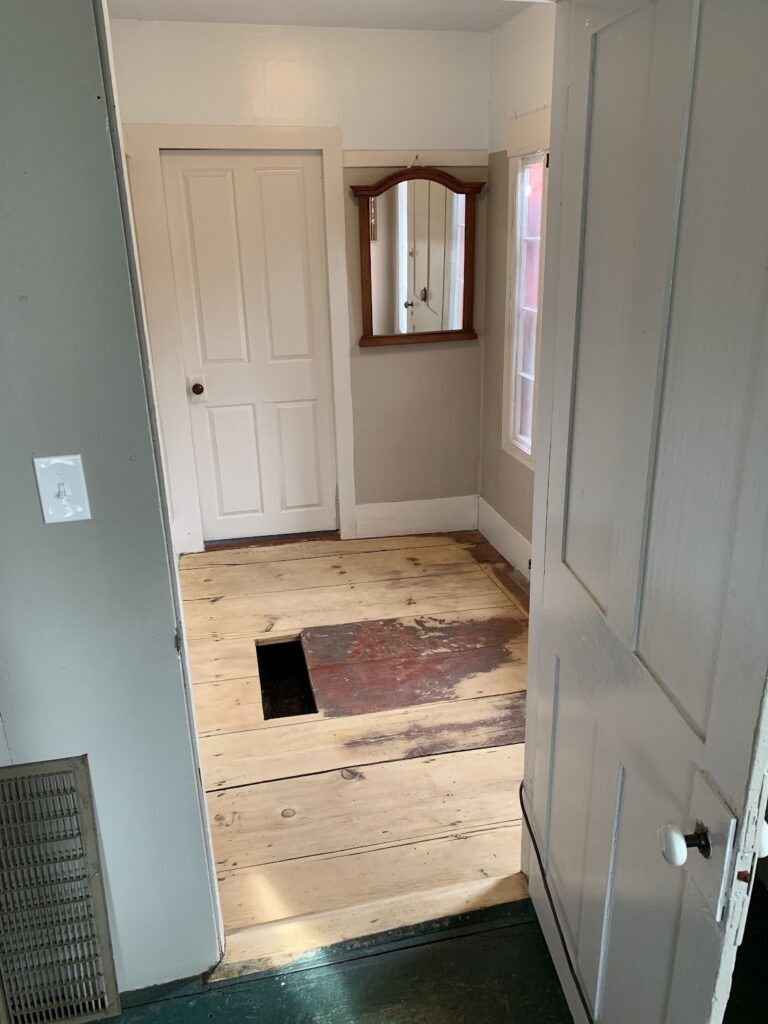
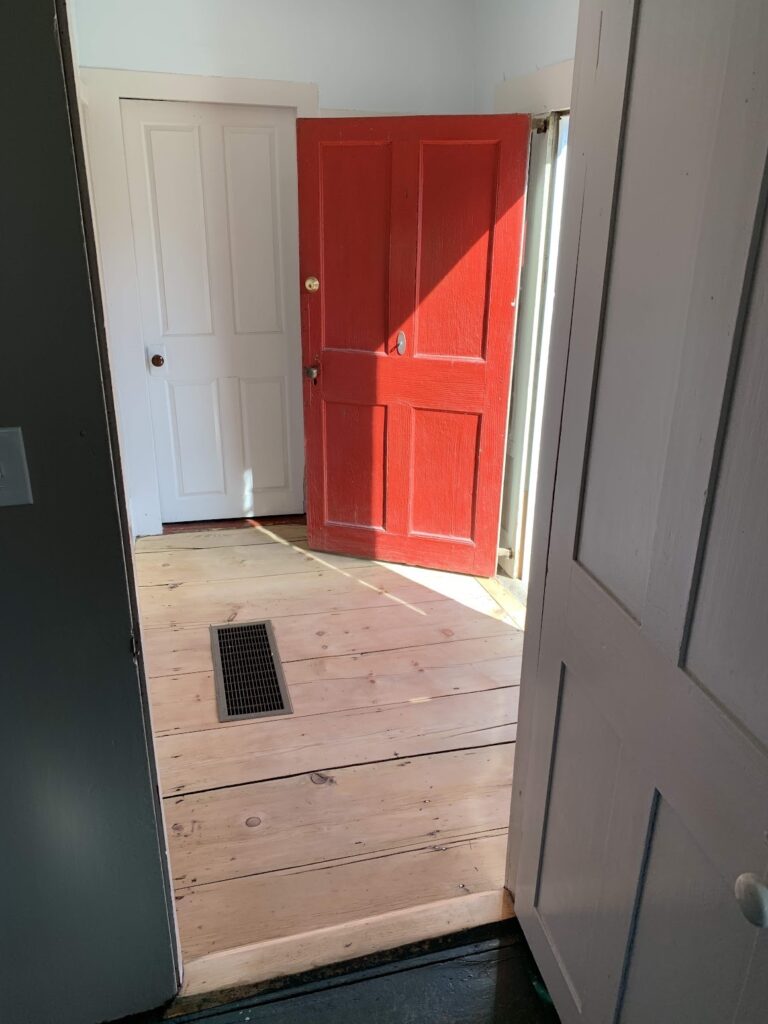
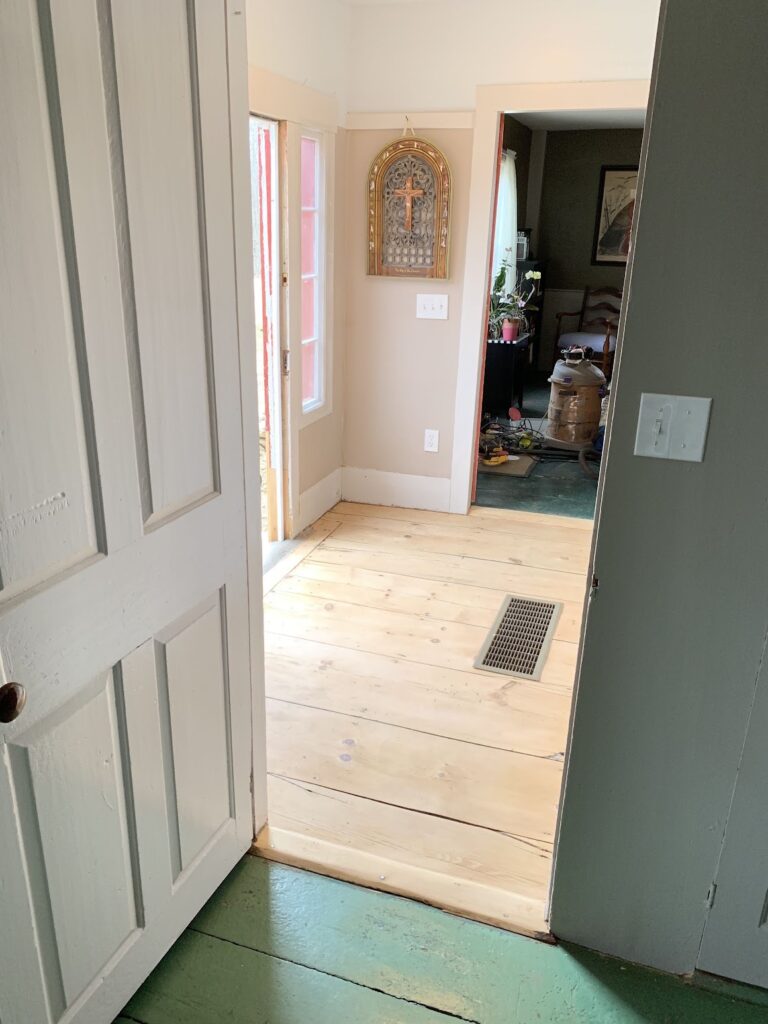
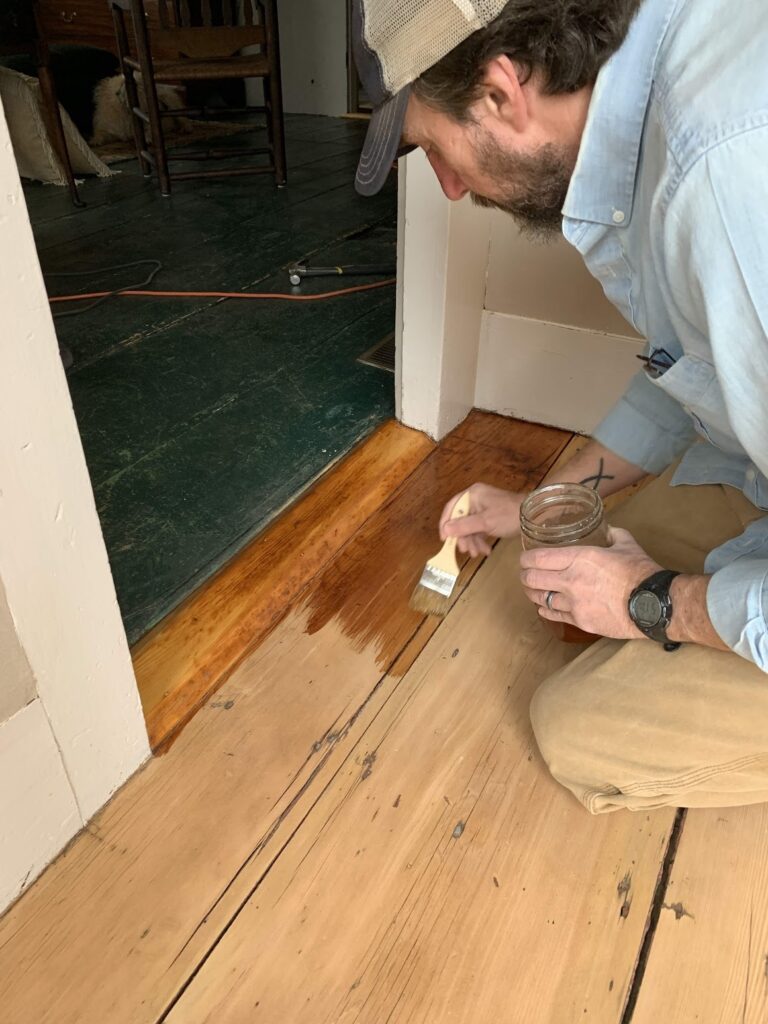
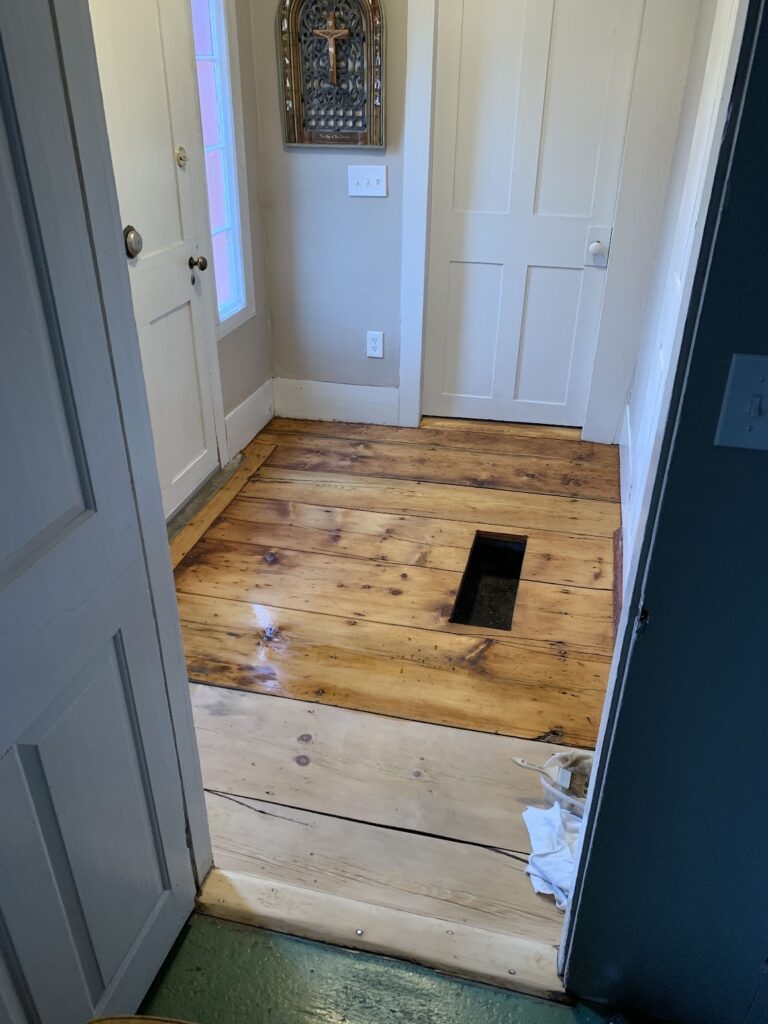
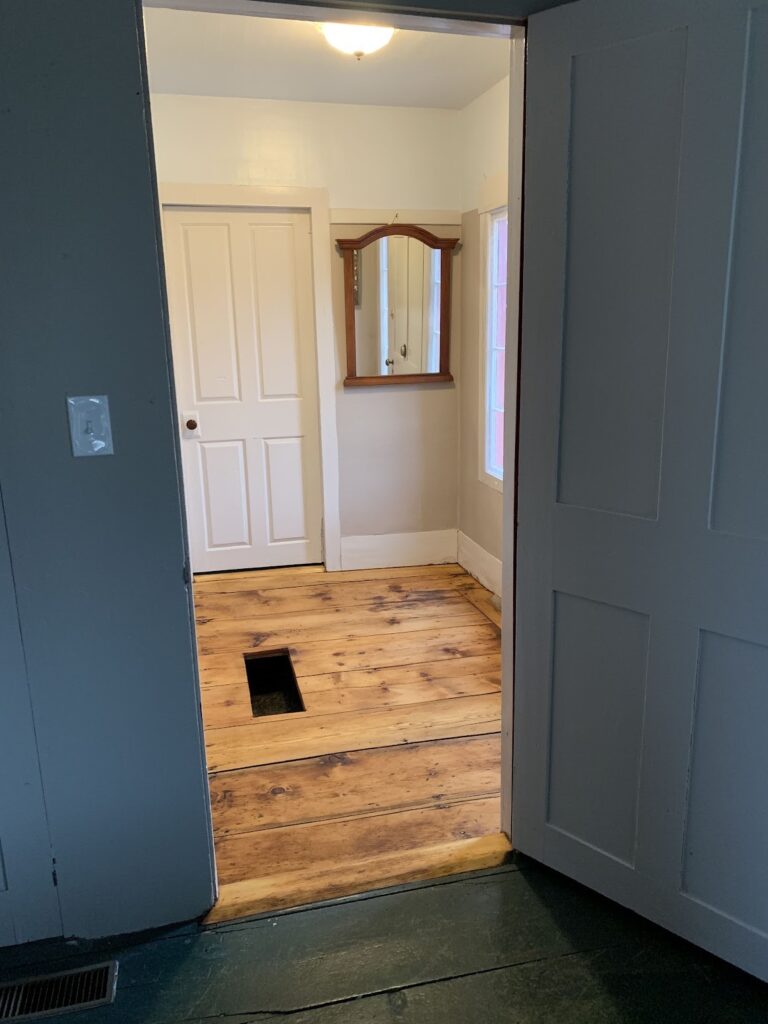
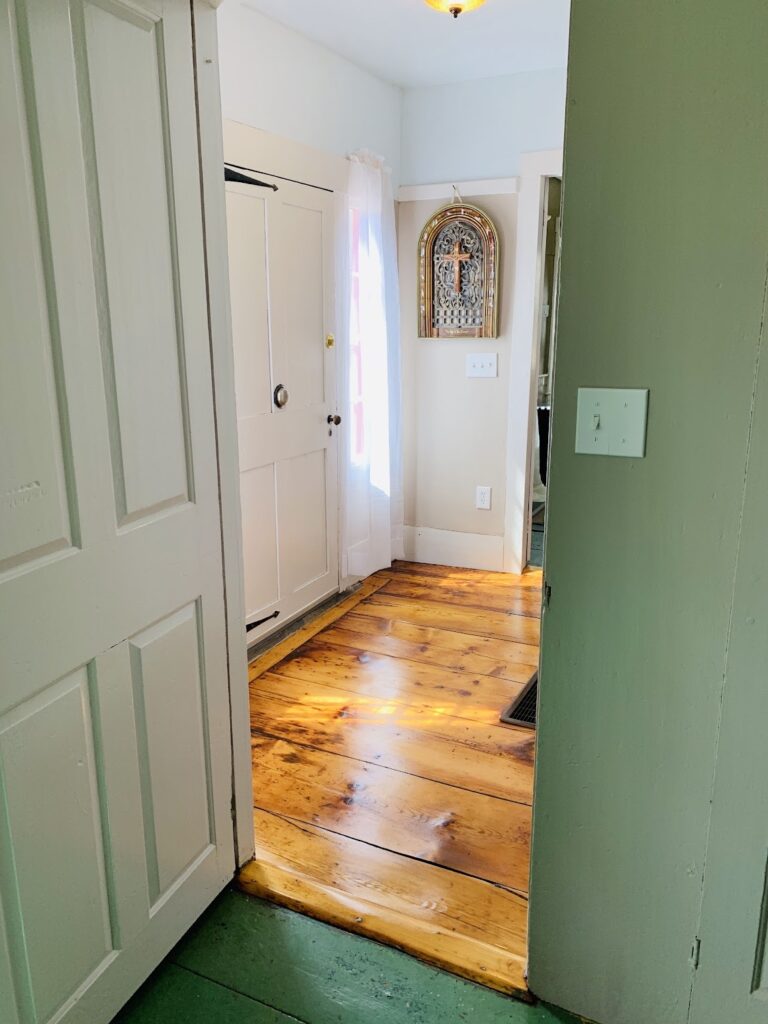
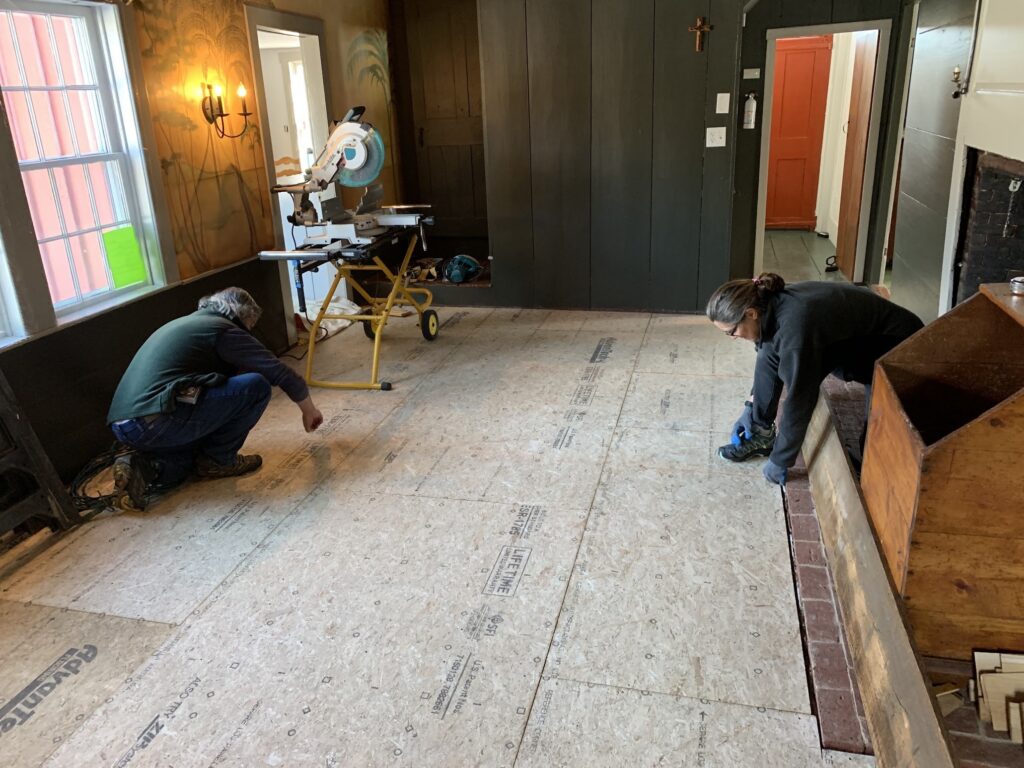
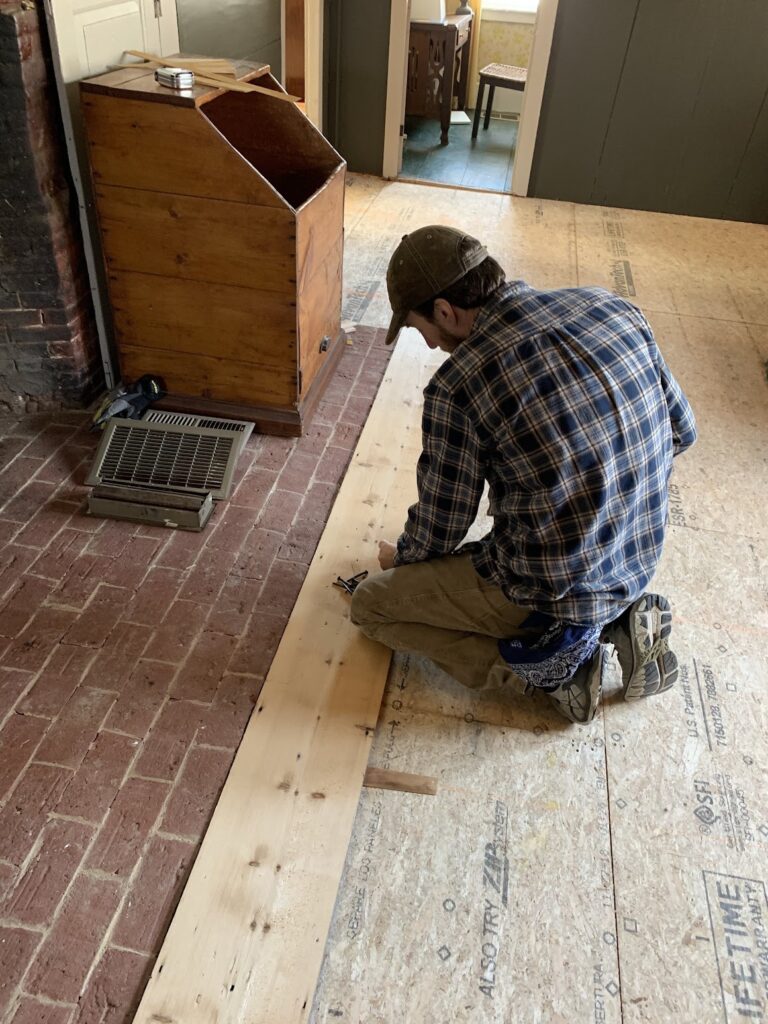
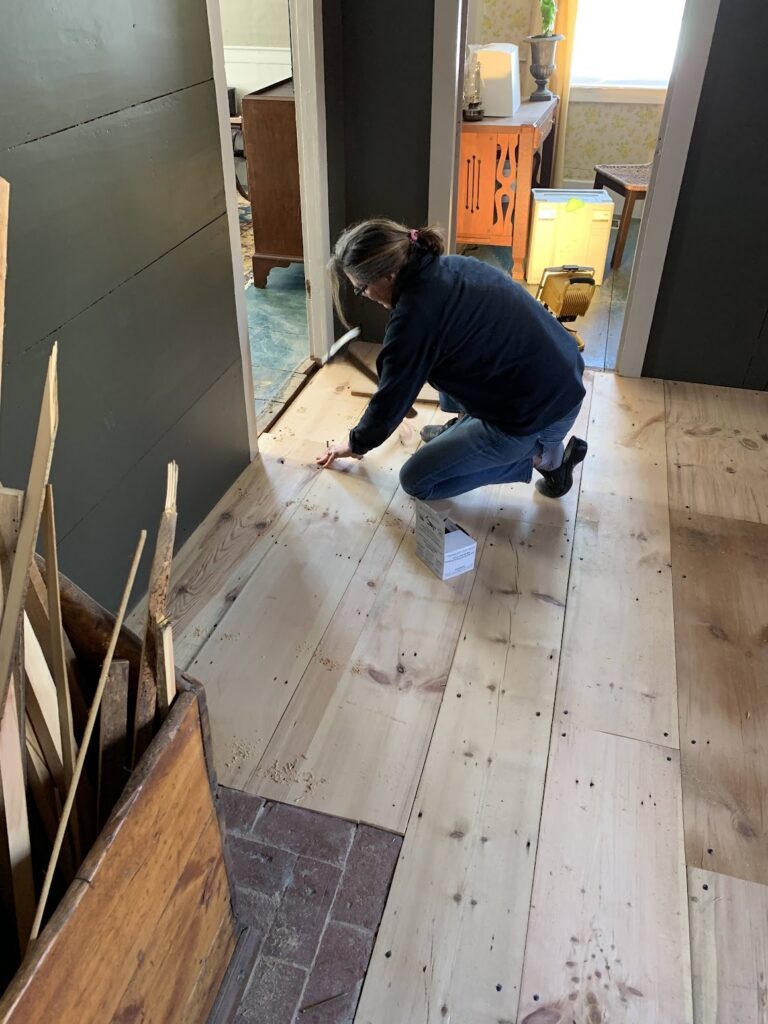
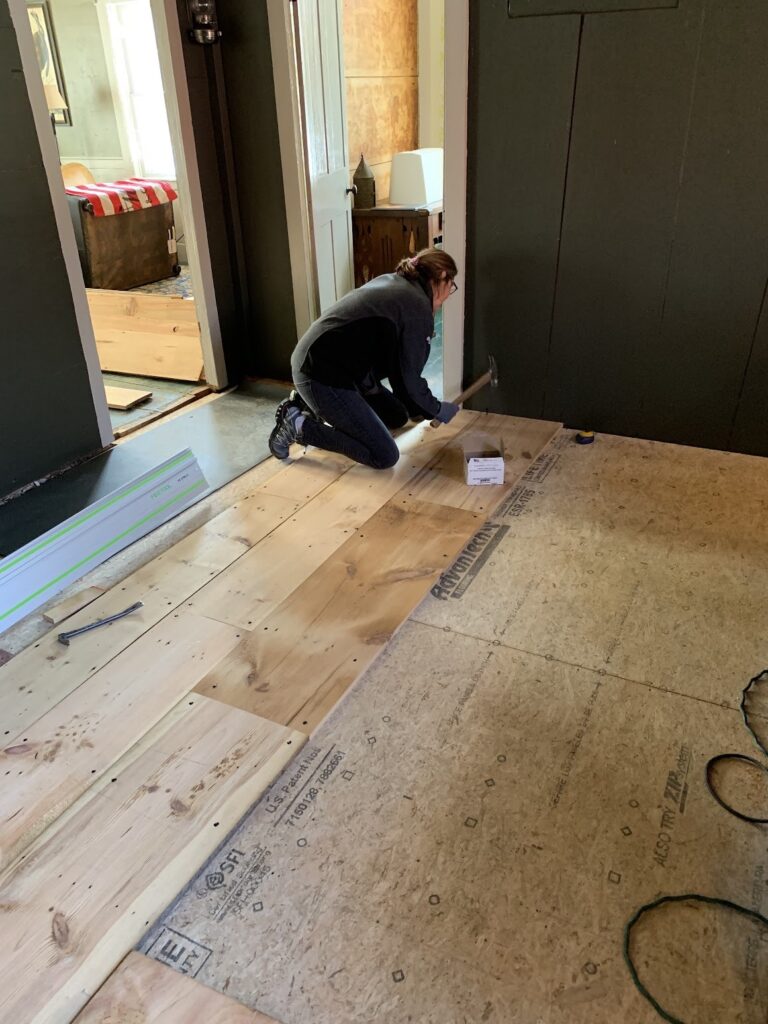
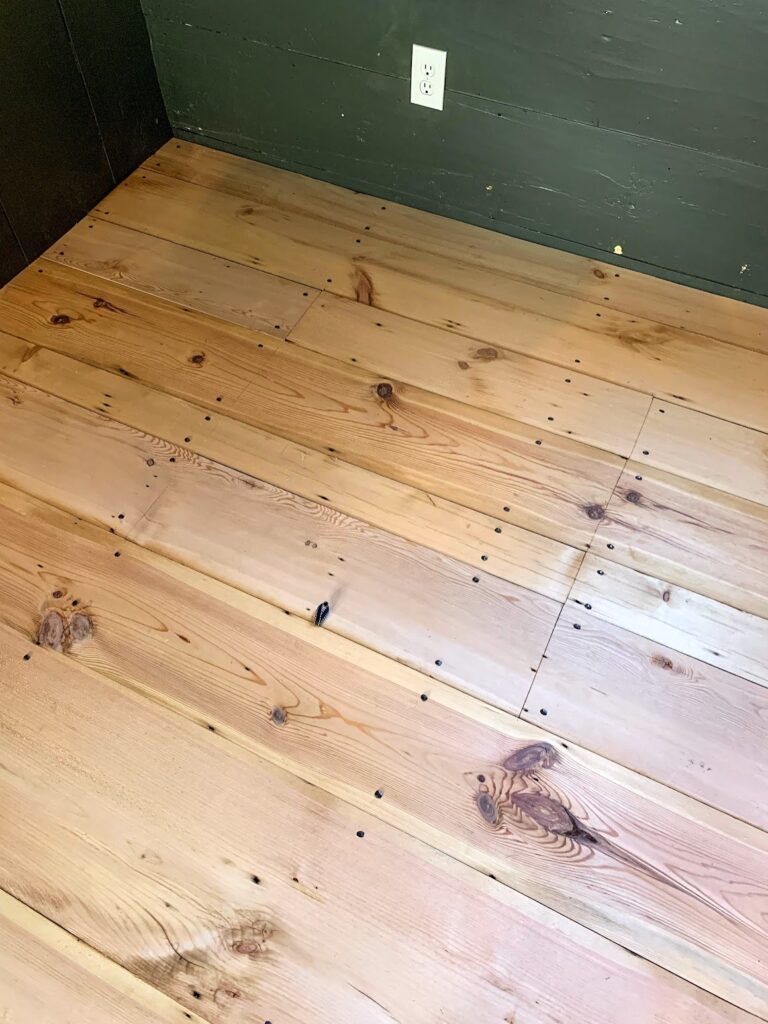
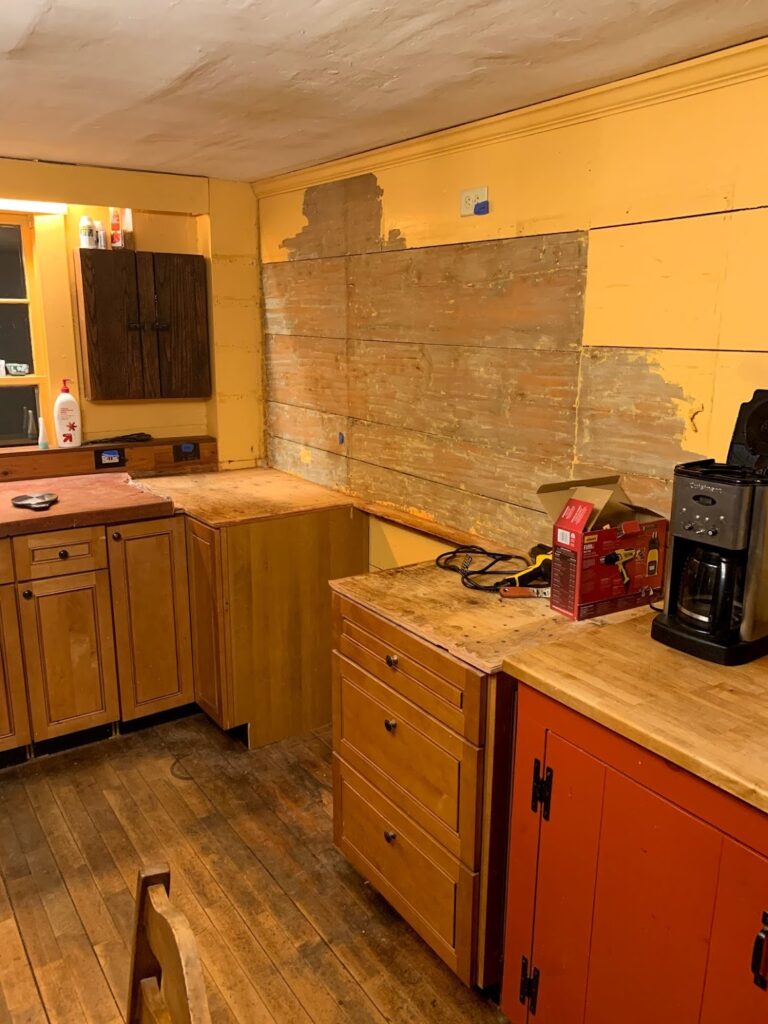
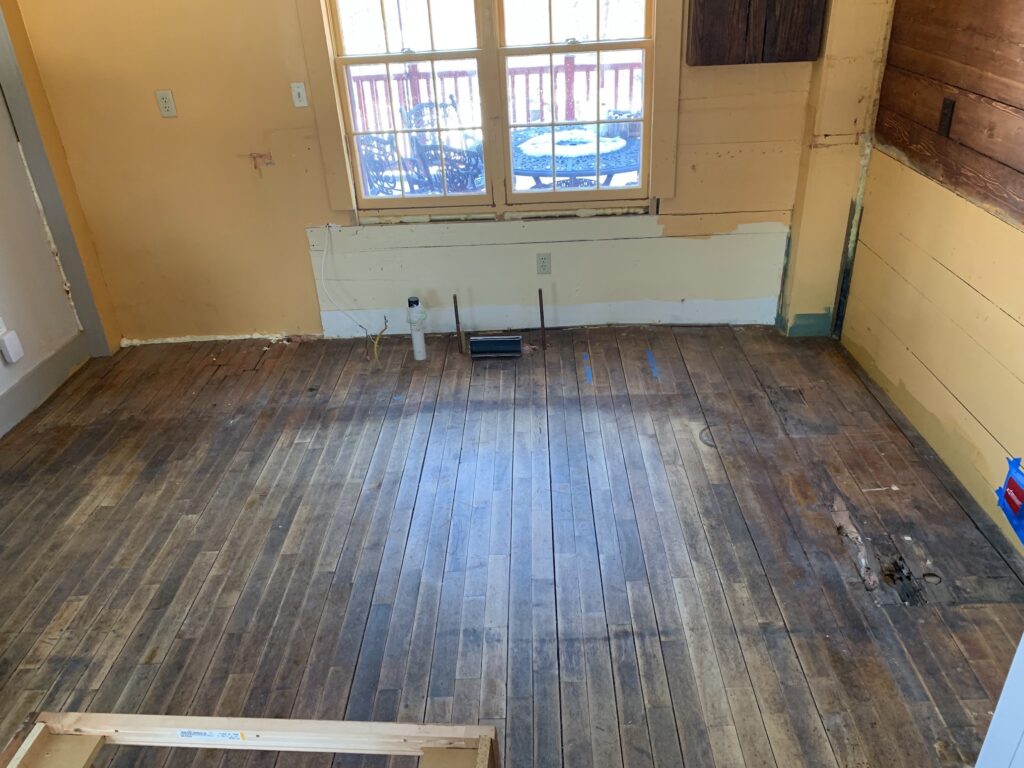
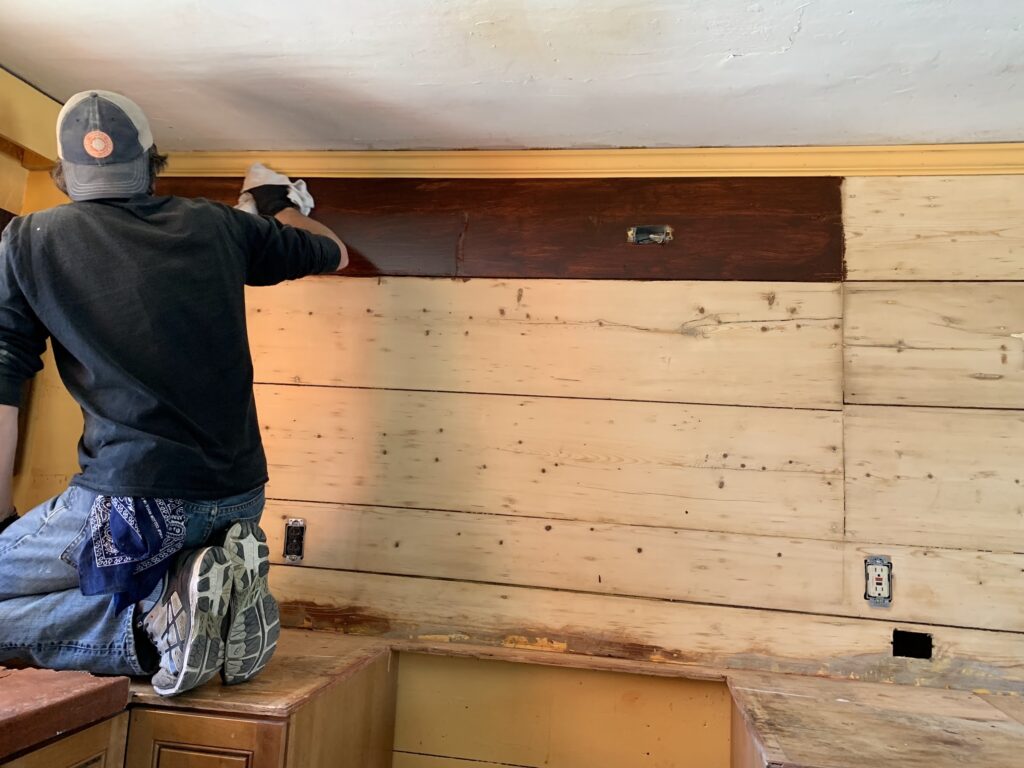
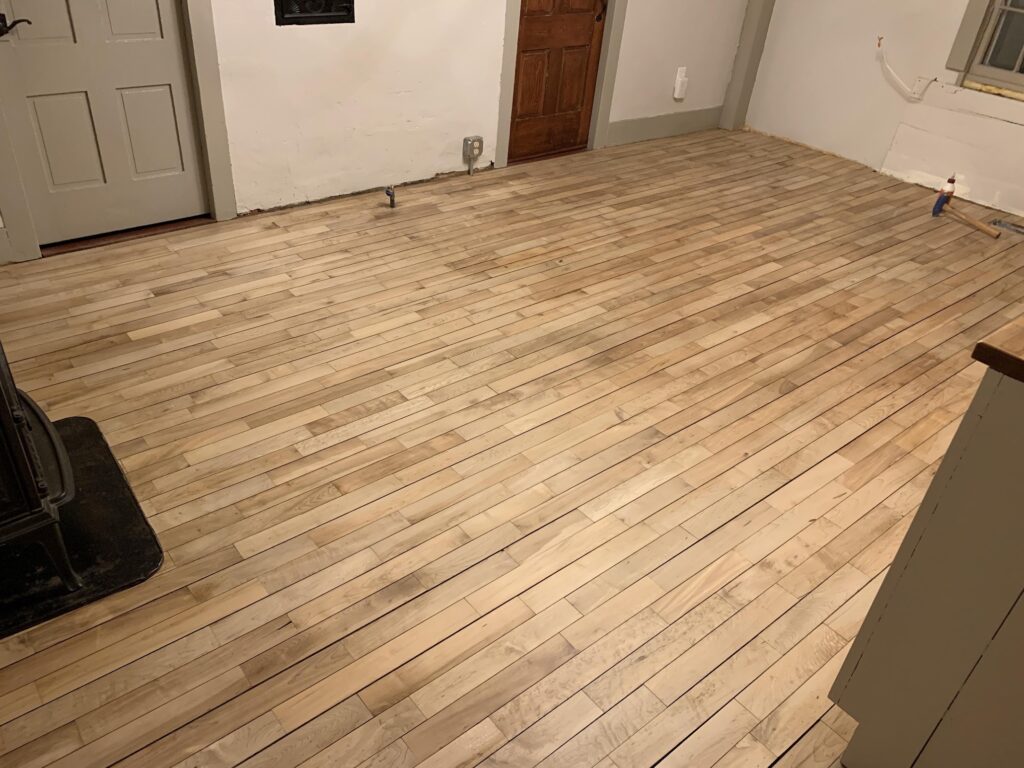
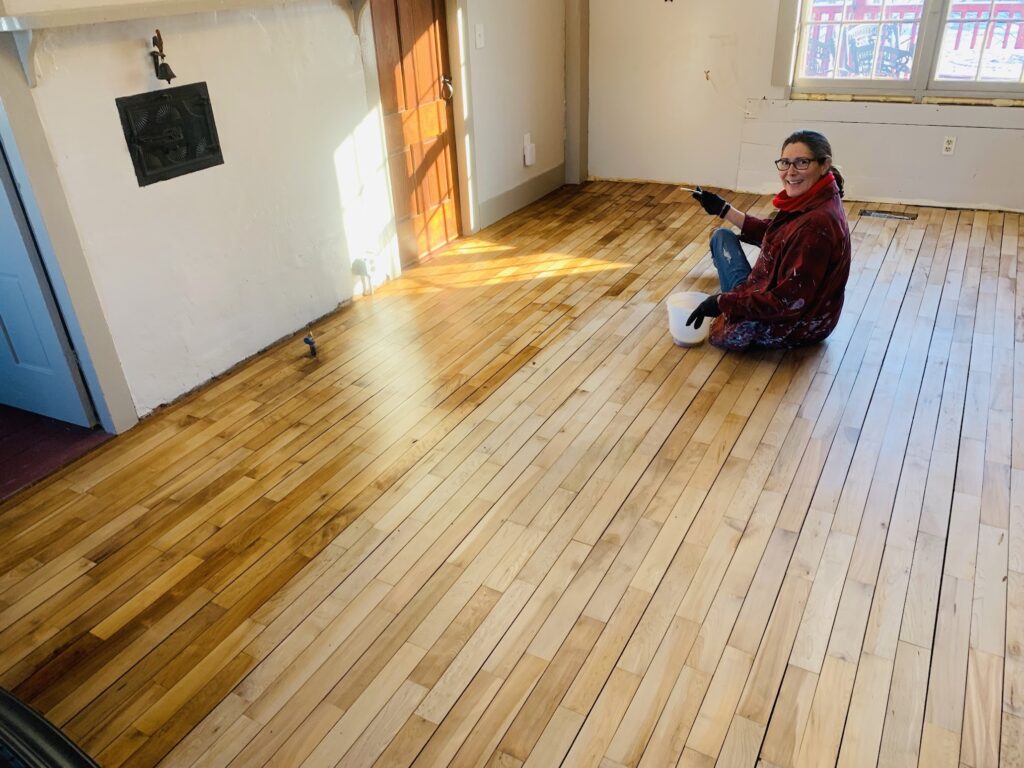
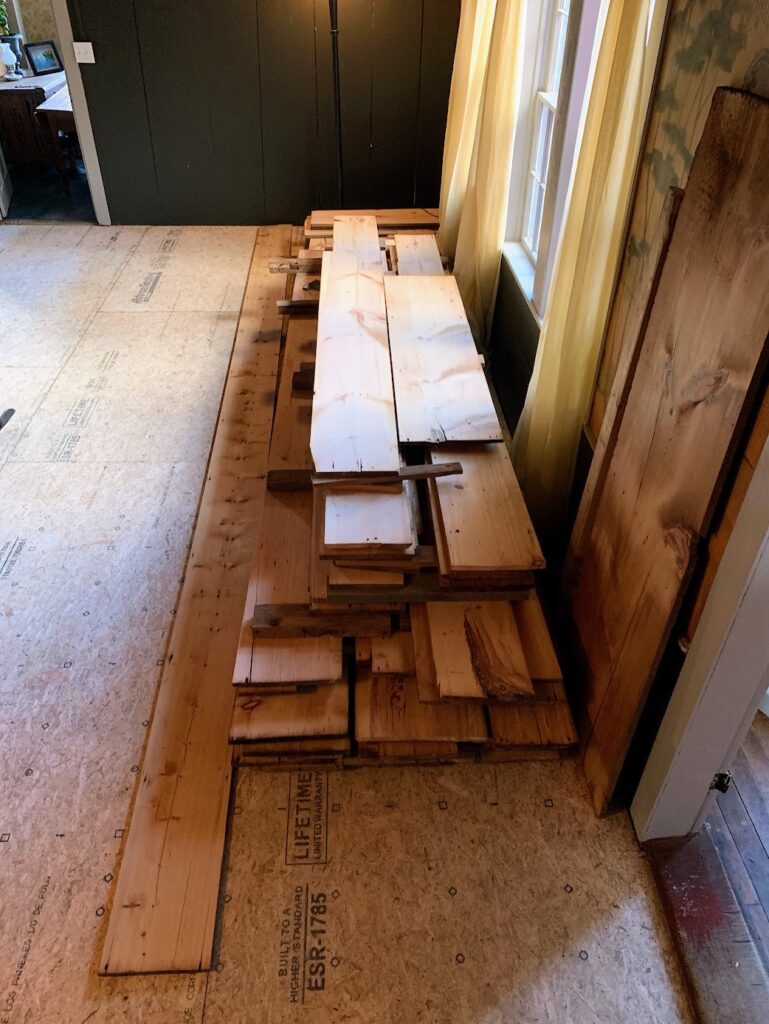
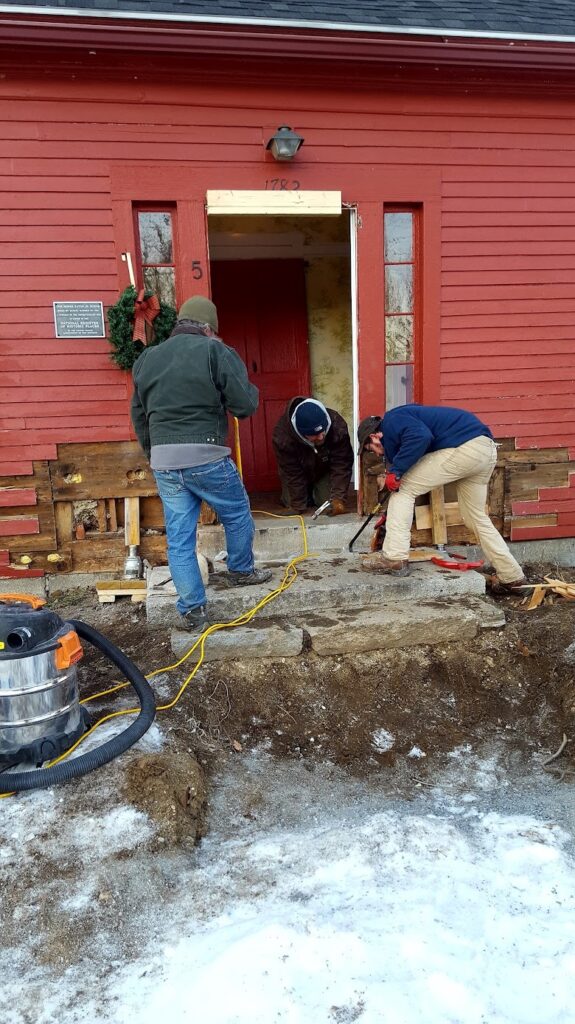
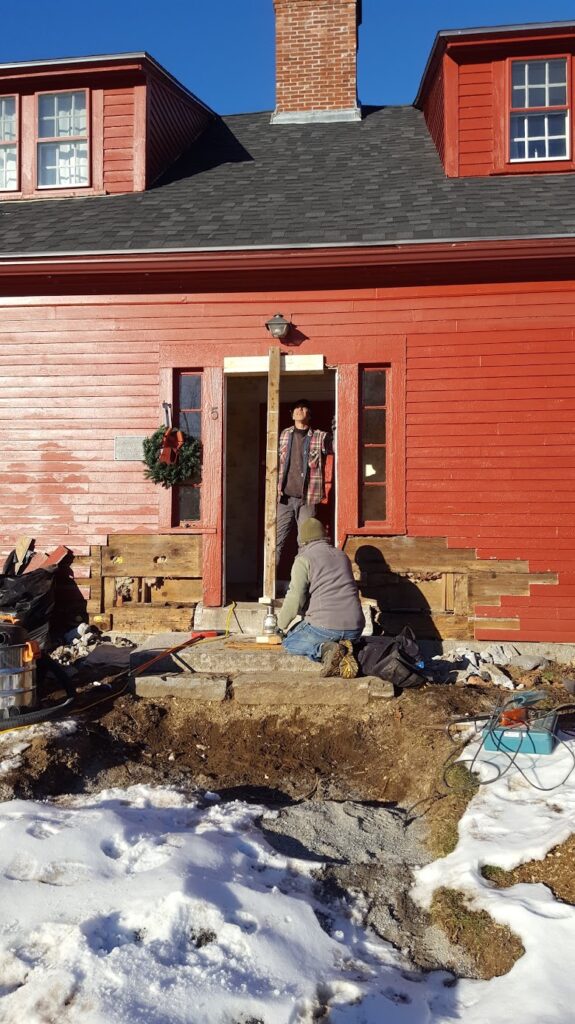
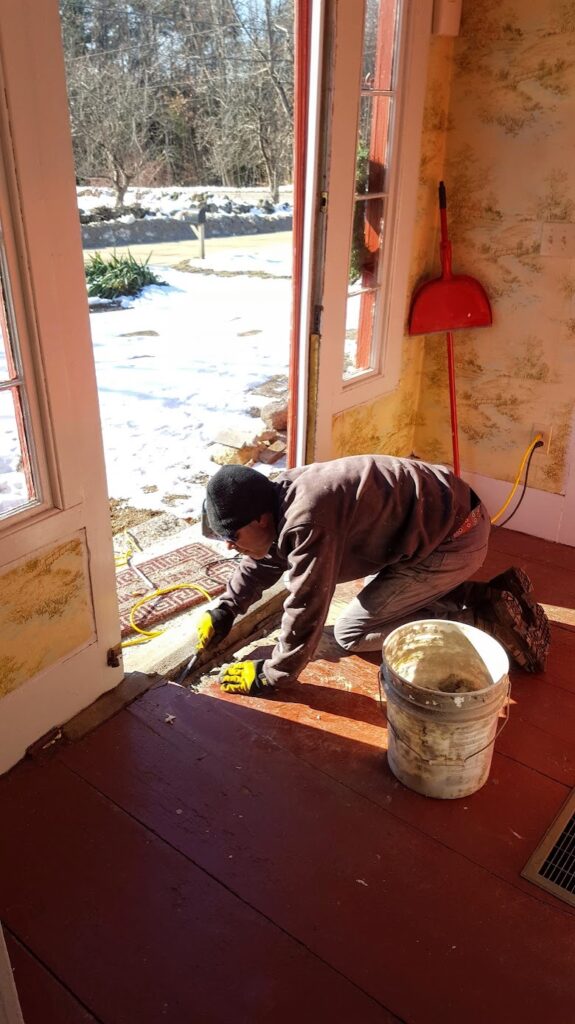
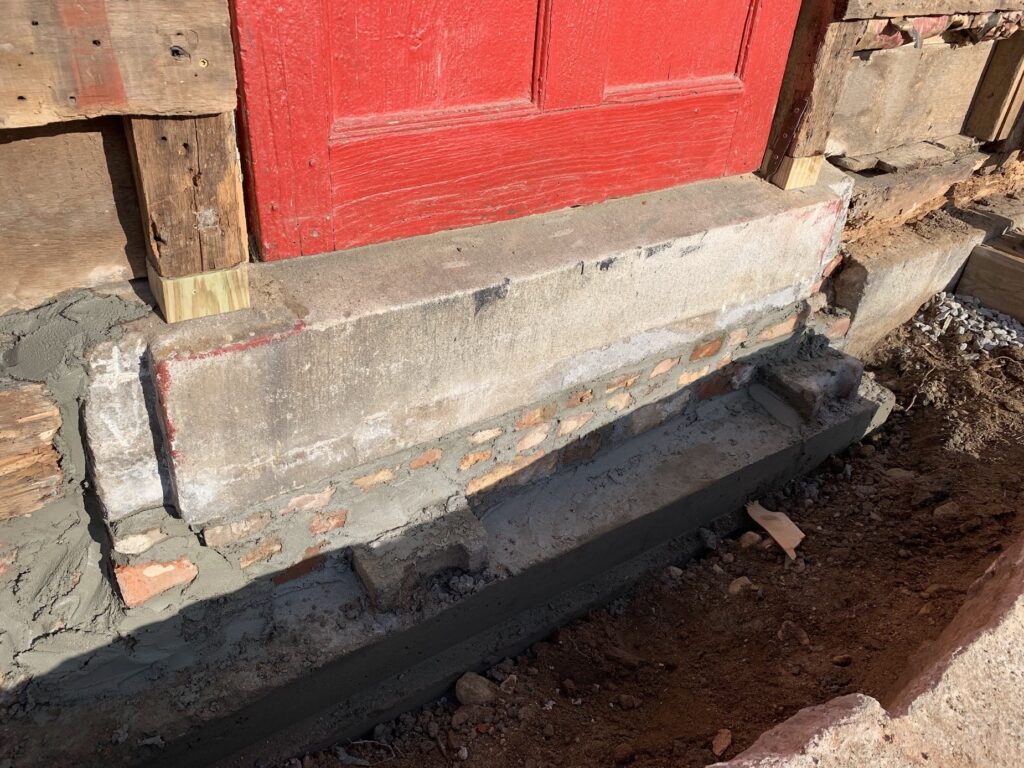
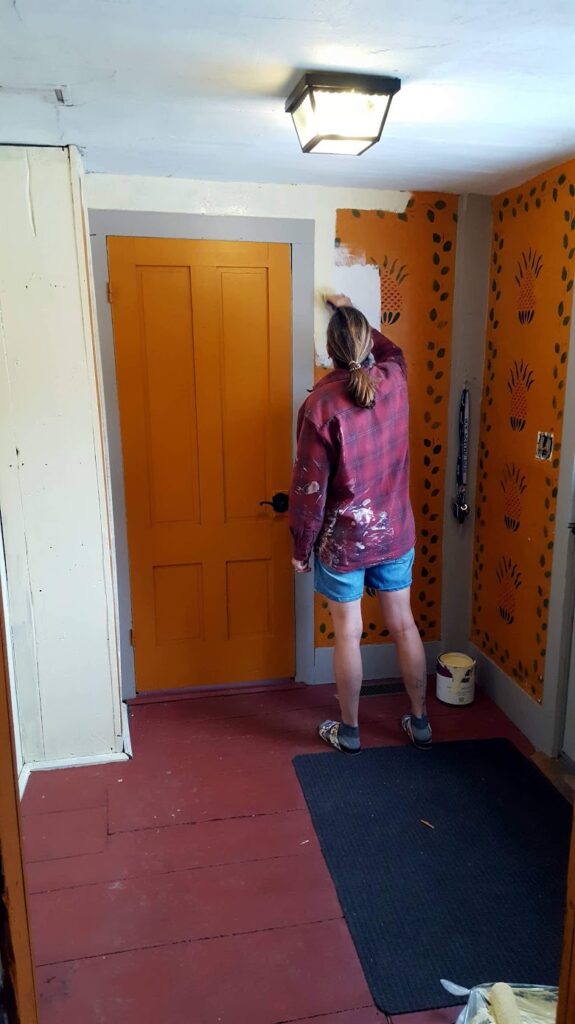
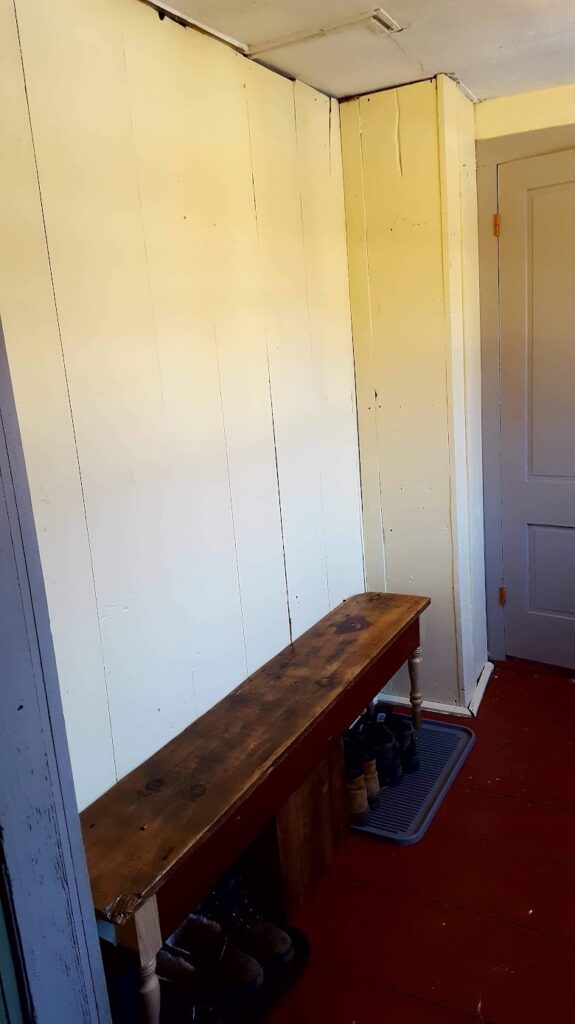
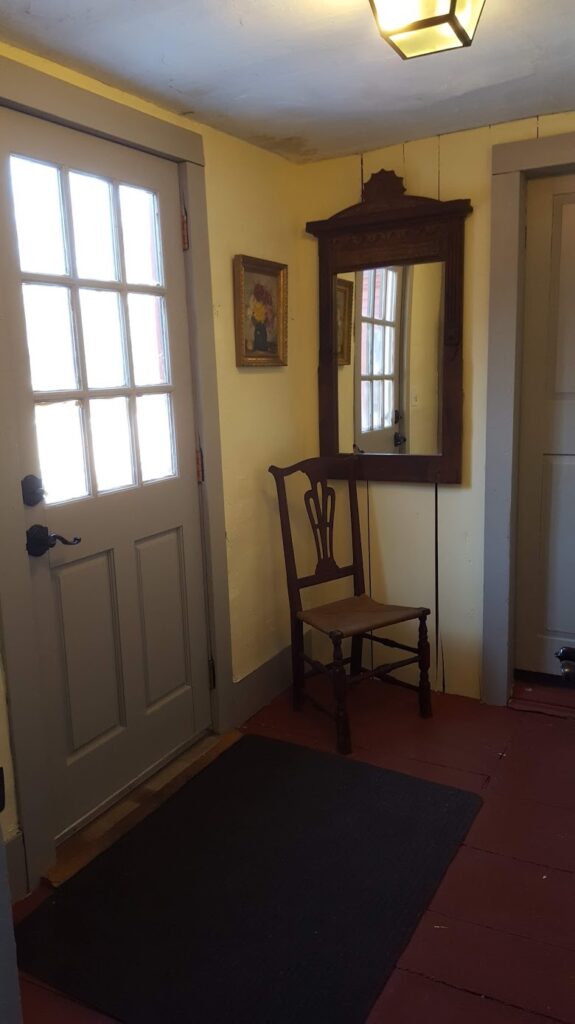
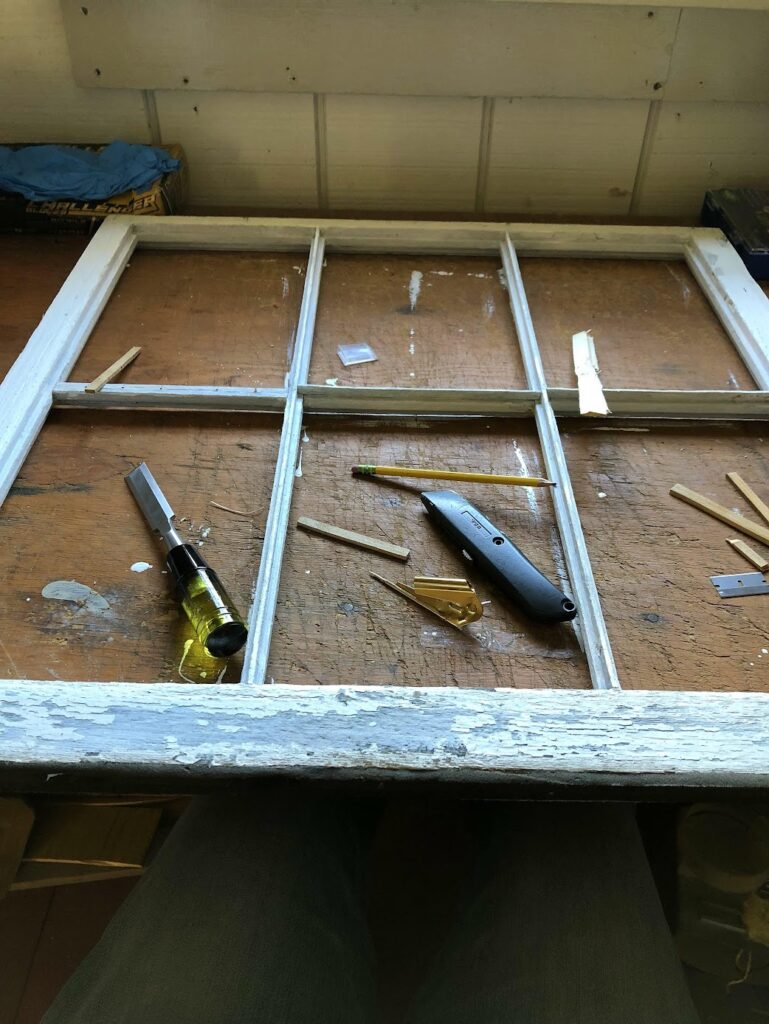
We’ve also done some not-so-exciting renovations, like replacing mudroom floors, but these are so necessary. Rural farmlife needs mop-able mudroom floors. Both our front and back mudrooms had old rotted plank floors, with huge gaps, and several layers of old flaking paint. We’re currently replacing our deck (which was horrifically rotten and unsafe- more to come about that in your next visit!), and we’re putting down new (level!) floors in the upstairs of the ell. We hope to clean up this space soon, as it’s visible to Jenny’s studio, which she will be opening to the public this summer.
There will be a lot of exciting things happening here this summer, so come back often, and we’ll keep up with the blogs. I hope you enjoyed your visit, and I hope to see you again soon. Be well, and God bless!
We’ll leave you with some memories of Toby and Tennessee, the last image is a painting by Jenny…..