
Hello there, and welcome back to the farm! It’s been a relatively quiet time here the past several weeks, but we’ve been keeping busy ticking off some smaller projects, such as cleaning, organizing, planning, etc. Once the warm weather hits, we’ll be back to working long days re-siding the ell and front of the barn, so we’re trying to enjoy these slower-paced days.
One thing we’ve recently spent some time on was cleaning out the old root cellar under our kitchen. It appears that there has always been a structure built off the back of the house, and looks to have always been two stories- a summer kitchen above ground with a root cellar below. Before we talk about our root cellar renovations, let’s take a step back and talk about the evolution of our house, as near as we can tell.
Our house is a typical late-18th/early-19th century Cape Cod design, as seen in this image from Thomas Hubka’s book “Big House, Little House, Back House, Barn”-

With the center chimney and all its fireplaces in use, this thermal mass was used to keep the house “warmish” in the winter. On the flip side, the early residents wouldn’t have wanted to light a large hearth fire to cook in the summer, so there was often a “summer kitchen” built off the back of the house, or connected by a small shed roof. You can see this in the image above- note the structure built off the “kitchen”. This seems to be where the original summer kitchen would have been on our home, and is now where our modern kitchen is located. Behind the back wall of our kitchen (opposite the house common wall) there are remnants of an old fireplace, and while most of the firebox has been dismantled, the flue was turned into just a chimney- which we use for our exhaust fan. We did line the chimney, and cap it, so that when we move our antique wood-burning cookstove into the kitchen this summer, the stove will hook right up and the smoke will go up the chimney.
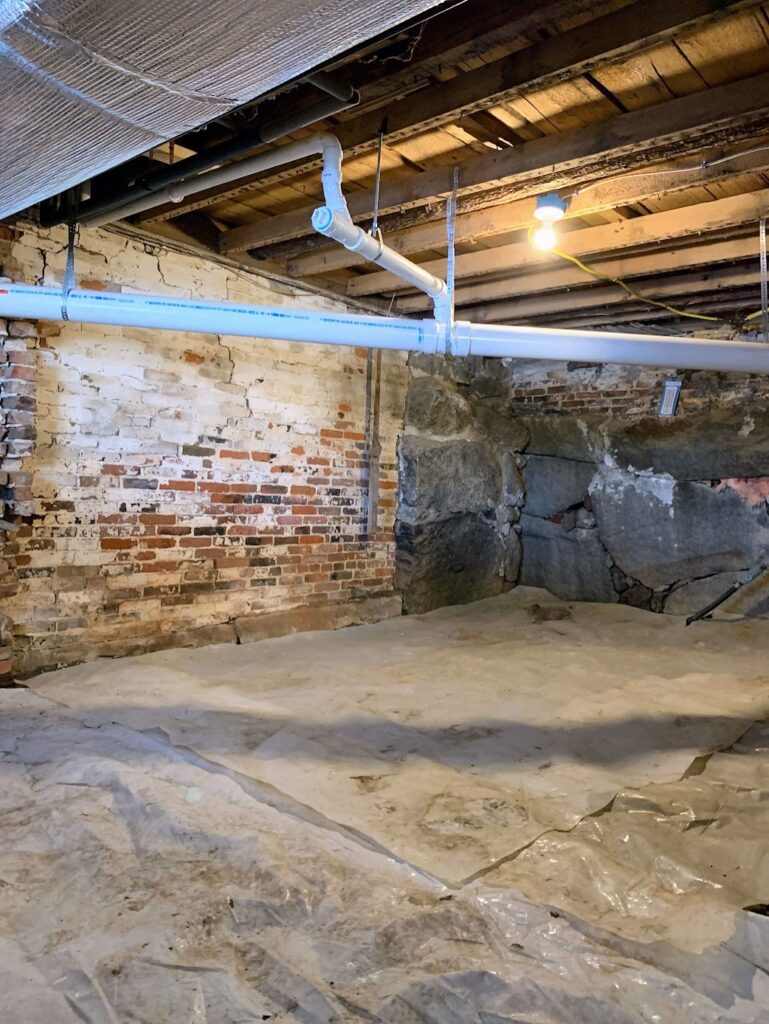
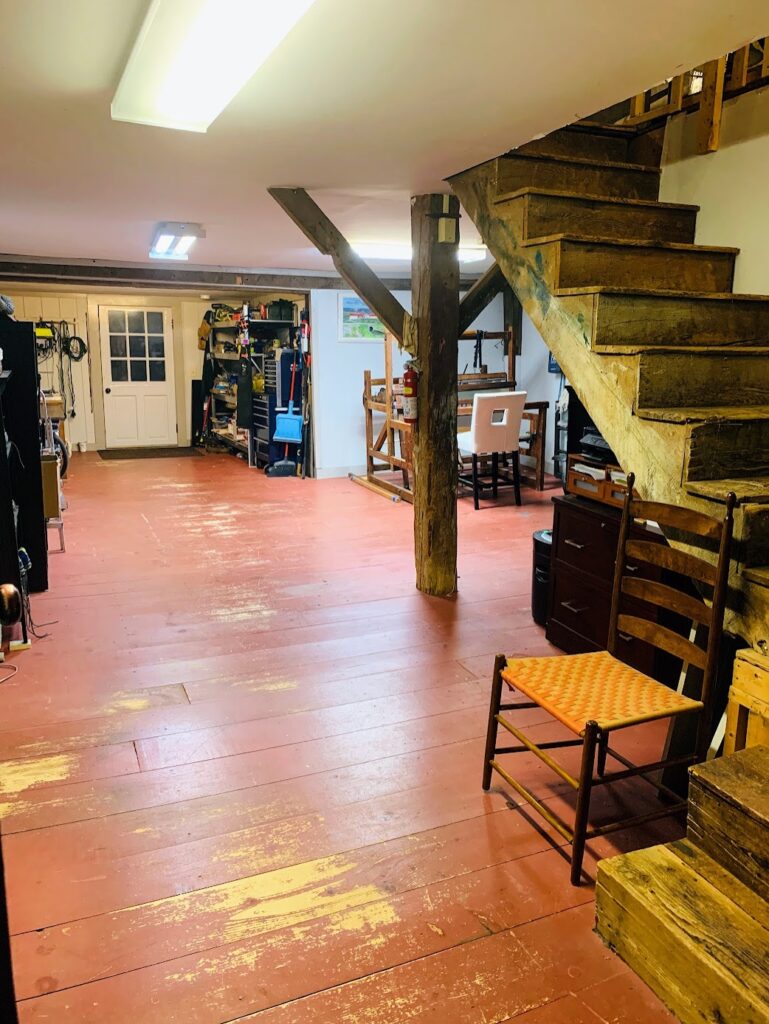
Back in the early 20th century, around 1916 we think, the ell was built to link the house to the barn, and also enclose the old hand-dug well. This may have been when the old summer kitchen’s hearth was modified, and the structure of this old kitchen was incorporated into the new ell structure. Since our home is built into a slope- the driveway side (the left side of image “C” above) of the root cellar is below grade, while the other side (the right side of image “C” above) is open to the back yard. There also appears to be remnants of a doorway next to the old hearth base in the basement, next to the root cellar, that would have led outside to the well. The walls of the root cellar are stacked stone/boulder, and need a bit of mortar repair and patching, which we’ll be doing shortly. The root cellar ceiling still had some old lath and plaster remaining- it was split lath (pre-1850), and lime plaster, but it was in bad shape. The lath was attached to some framing that was installed some time after the original build, as it was suspended below the original beams and structure of the floor above, which is basically trees (with the bark) that were notched to fit into the sill beams.


We began by pulling up the plastic moisture barrier (the floor is dirt), then we removed the boulders and rocks sticking up from the floor- using a pickax and rake to level it as much as possible. We pulled down what was left of the old lath and plaster (leaving a small section preserved), and cleaned the ceiling structure of nails, extra wires, lines, or plumbing. The main water/sewer drain for the house does go through this room- there isn’t anything we can really do about that but work around it. We noticed a few old large iron hooks in the ceiling, but we think they were either added later, or moved when the plaster ceiling was added. These hooks, historically, would have been aligned longitudinally so that a long rod could be hung from them, from which meats and herbs could be hung to dry. The hooks in our root cellar are orientated ninety degrees off (they face the same way), and they’re installed into the later ceiling structure rather than the original.


Once we got everything cleaned up and the floor raked level, we laid the plastic moisture barrier back down. We may need to take up some of the plastic to keep the humidity high enough to preserve root veggies, but we’ll see. We will need to cover the window that shines into the cellar (behind you in the first picture below), so the sun won’t be shining in there. We’ll build some shelves and benches along the brick and stone wall for storage, and add some lighting. It’s going to be a great place for a cellar though- keeps around 40 degrees in there!

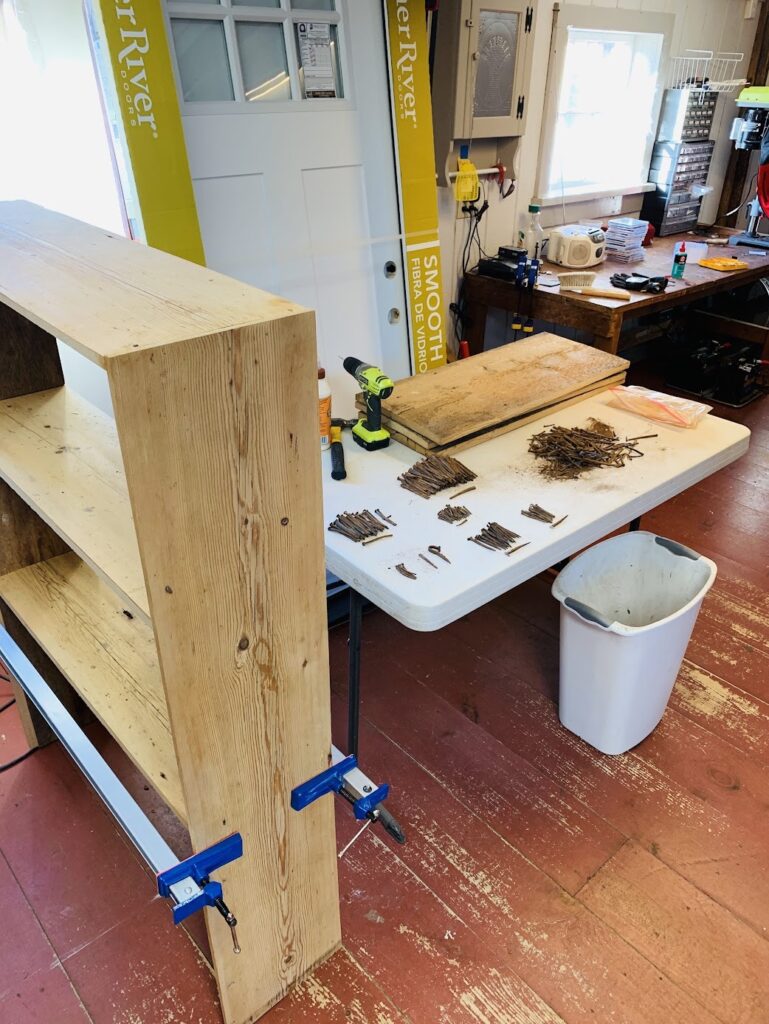
For the pantry in our back mudroom, we built a shelf unit to fit on the table we built to hold the old microwave, which we removed when we remodeled the kitchen. When this old guy finally gives up, we’ll pick up a newer, smaller model, and maybe add another shelf. For lumber to make the shelf unit, we used some salvaged floorboards from our hearth room restoration. There’s truly nothing like re-utilizing antique boards to create something new and useful. We also picked up a curio we found on Craigslist to use as a pantry for canned and dry goods. We couldn’t pass up the price- it was free provided we carry it out of the house it was in!


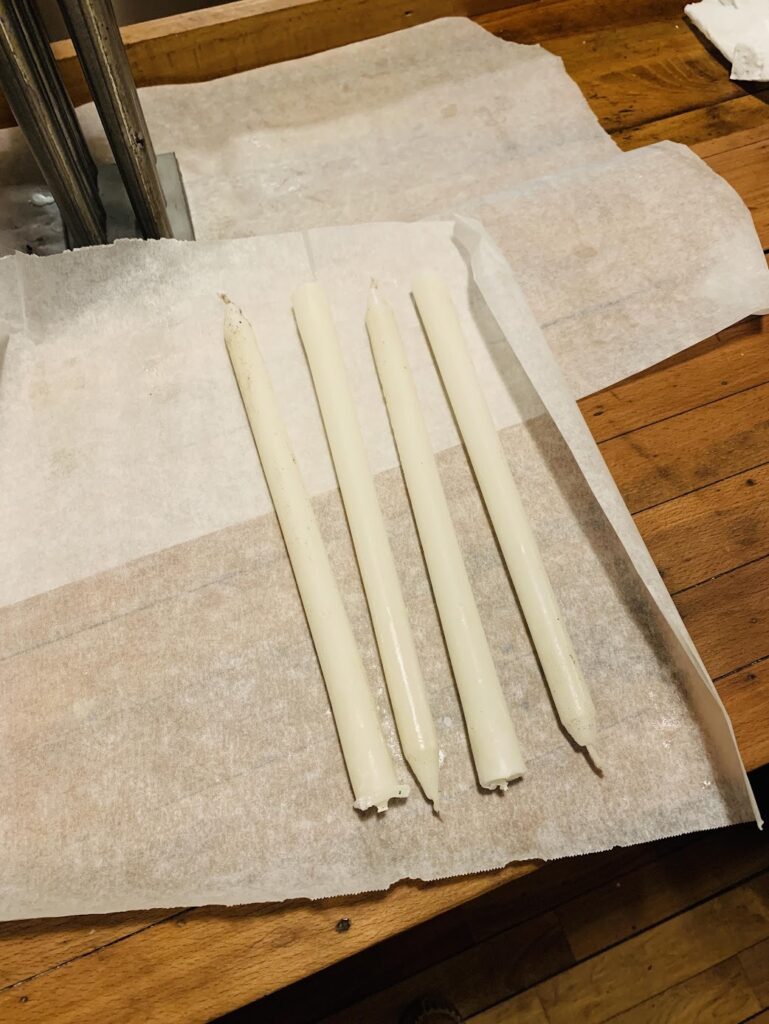
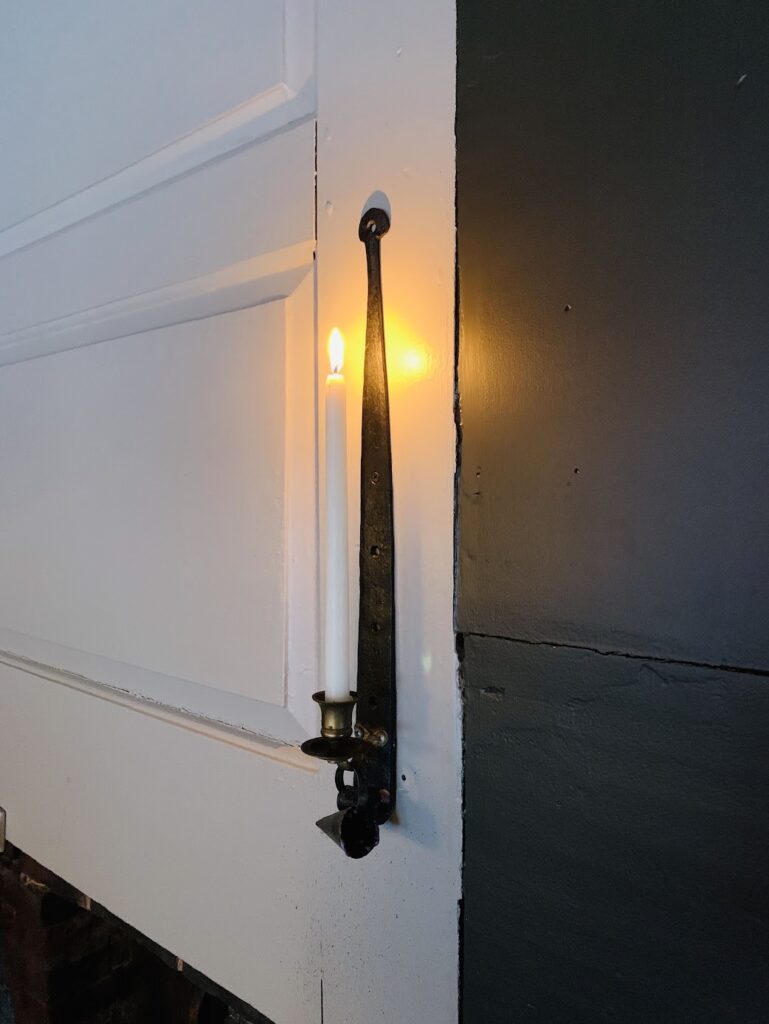
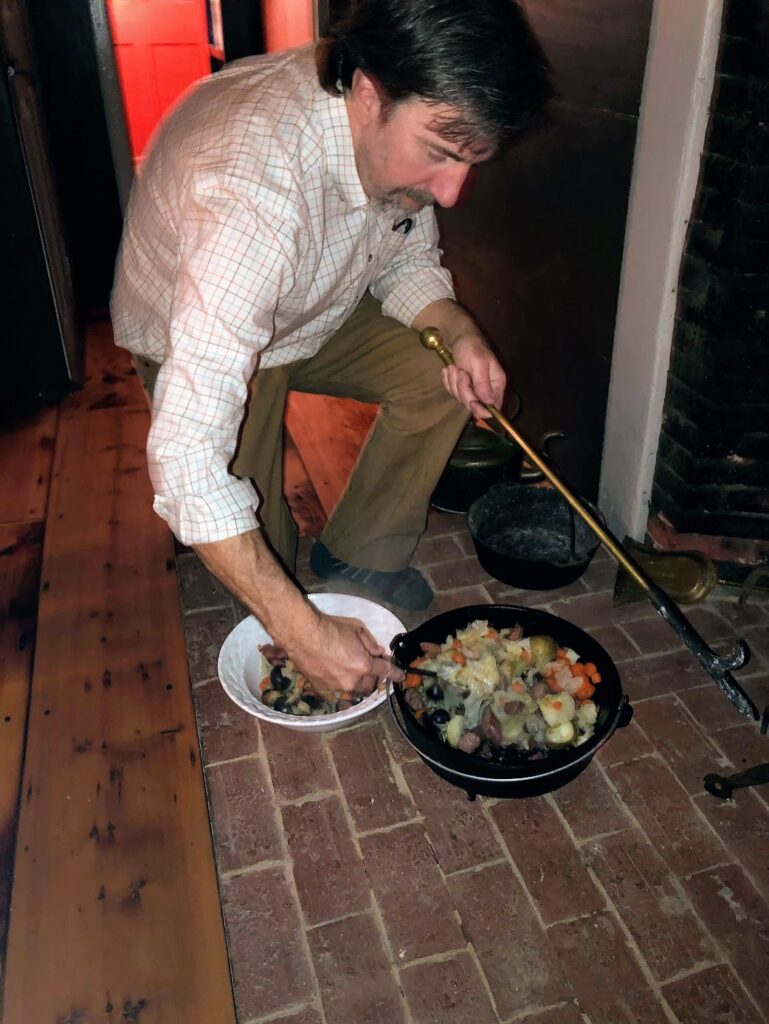
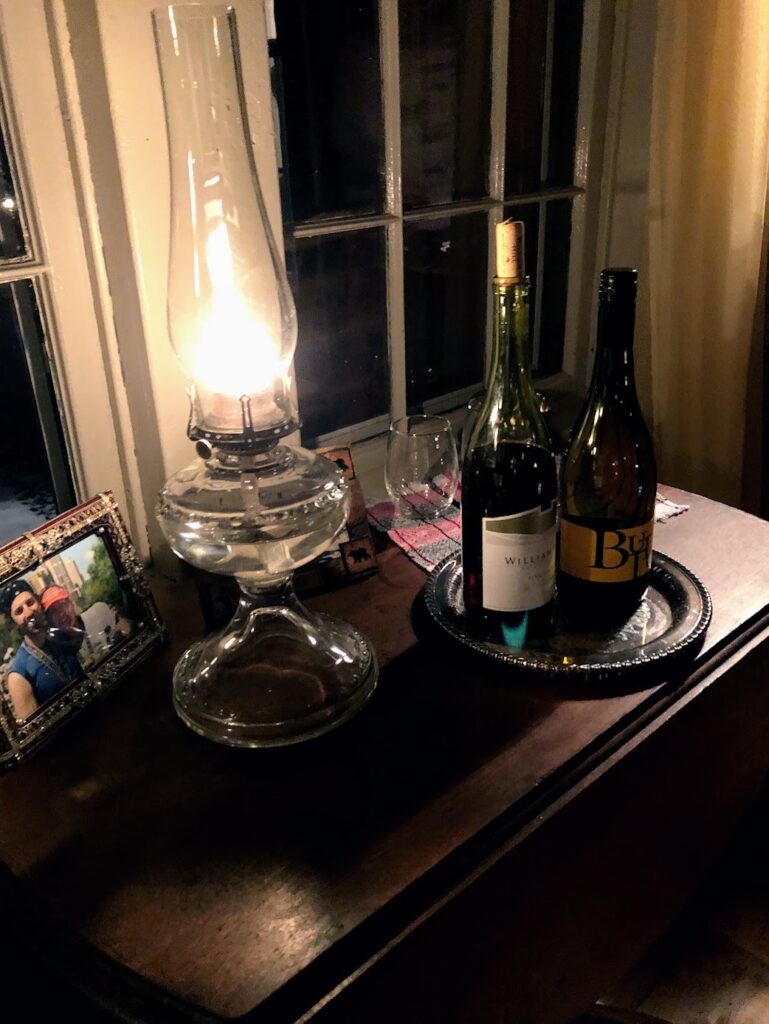
One of our favorite things about living in an historic house is embracing the life that Daniel and Abigail experienced here, albeit with plumbing and climate control. We’ve found that this truly feeds our souls. Outside of things like making our own laundry detergent, washing dishes by hand (we left a dishwasher out of our kitchen remodel), weaving our own napkins and wash towels, or living by oil lamp and wood heat, we’ve tried making our own beeswax candles, cooking dinner for friends on the hearth, and this year we hope to grow as much of our own food as possible.


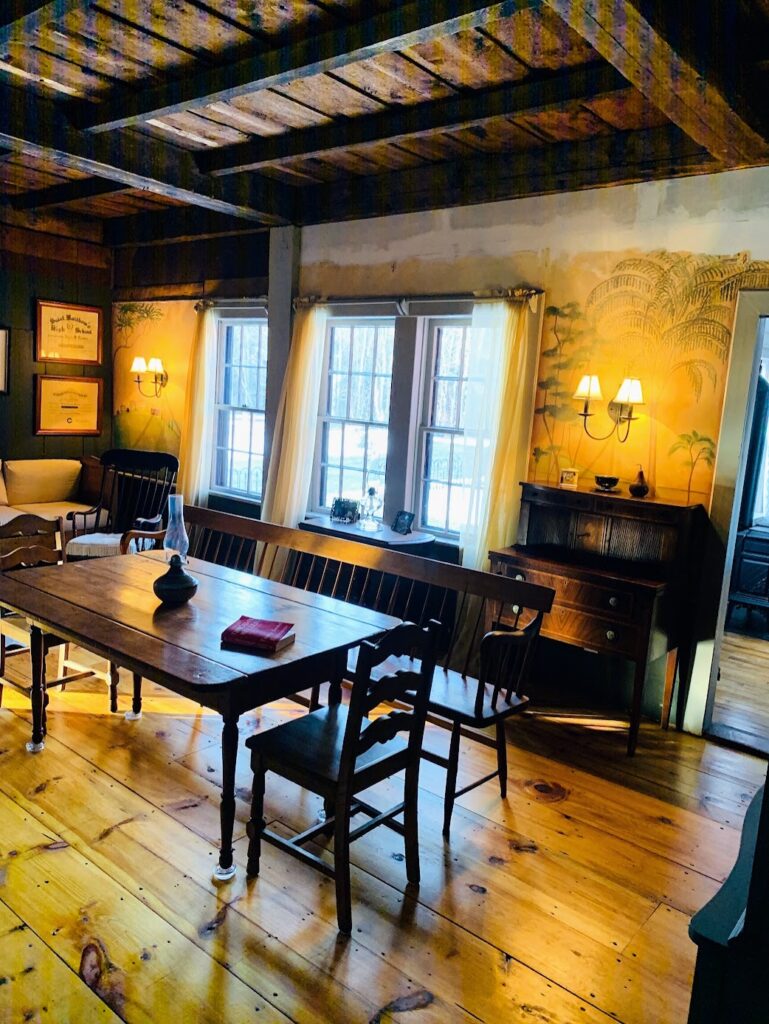
We’ve also used this quiet time to work on patching the upper walls in the hearth room. When we took down the dropped ceiling last year, there were a lot of gaps and holes in the wall planks that needed to be patched. Most of the holes were from electrical systems, insulation, and plumbing being installed, removed, or altered. There was also a lot of rodent damage to the old planks, as the drop ceiling gave them a cozy home for many years. We patched the wood plank walls with salvaged ones, but one of the wall sections is later sheet rock over lath, so we picked up some free leftover pieces of sheet rock from a nearby remodeling project- again, Craigslist is a wonderful resource! Once complete, Jenny will be painting a new mural in the style of Jonathan Poor- a muralist from this area. Jonathan was a student and nephew to Moses Eaton Jr’s friend Rufus Porter. It’s feasible they all walked through this house at some point after Moses purchased the homestead from Daniel’s estate. The current mural was painted in the early 2000’s, and unfortunately sustained some damage during the structural restoration.


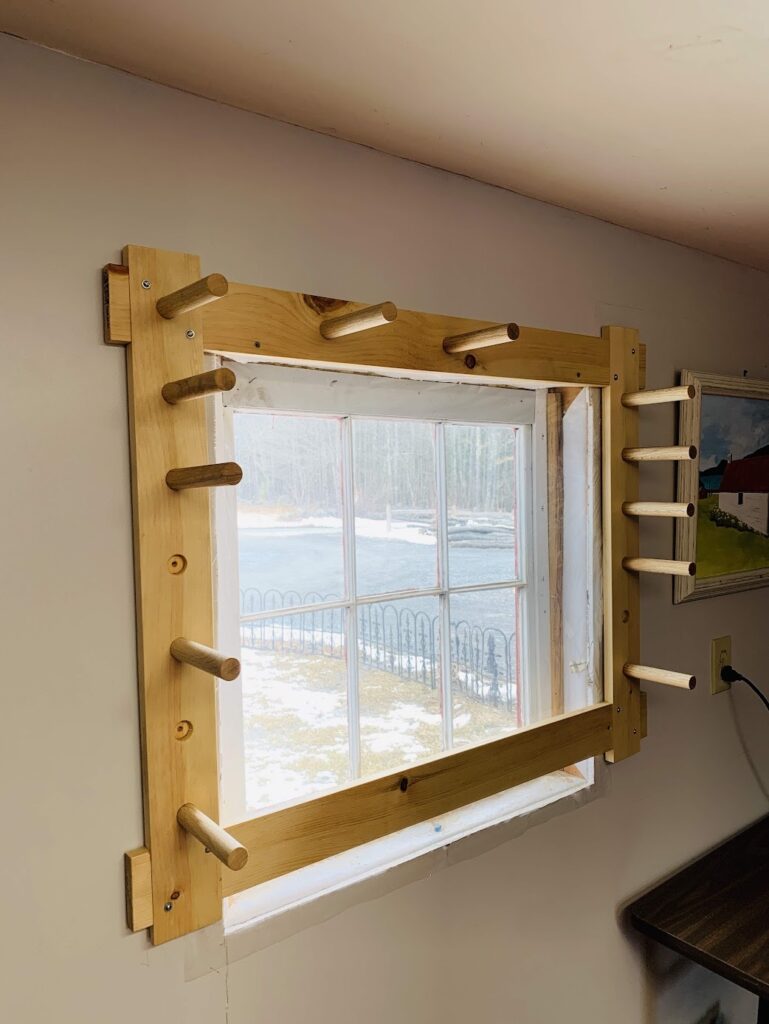
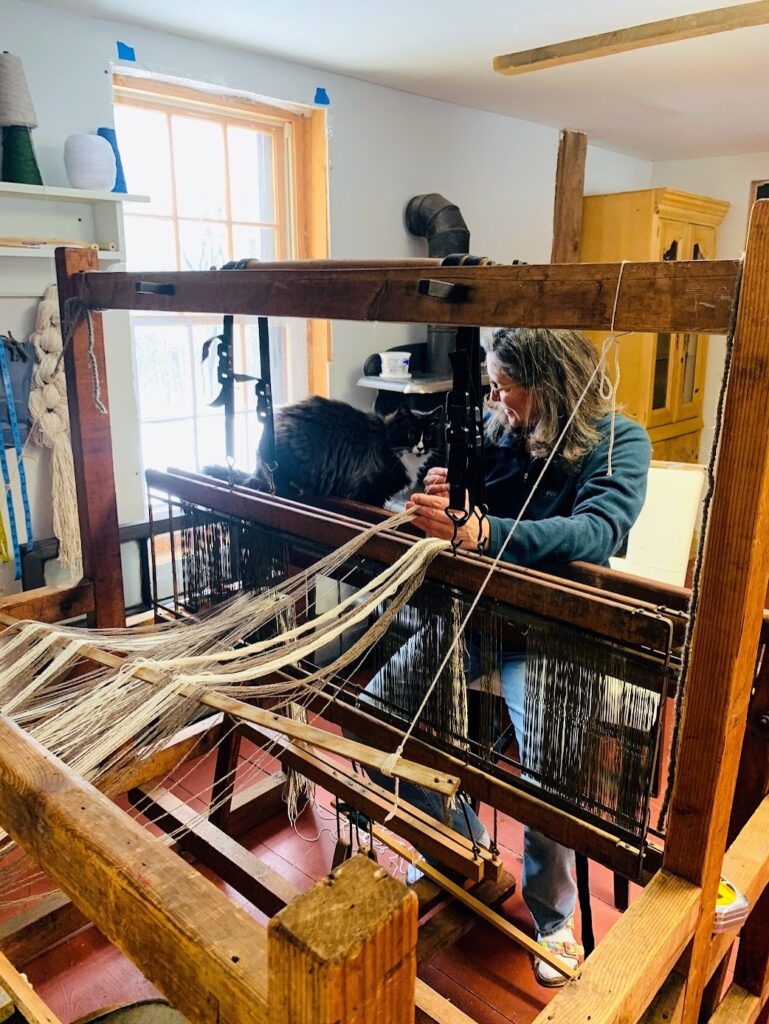
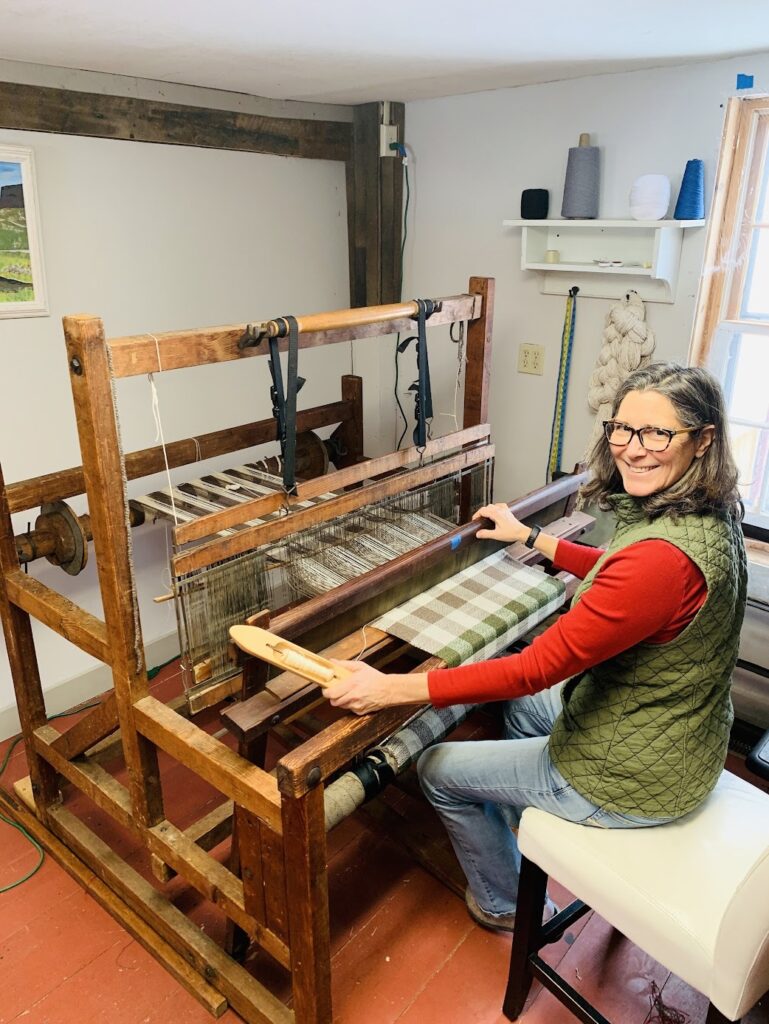
While Jenny loves using the old loom, setting up the warp (the longitudinal threads) has been such a hassle, so I built a warping board for her to wind the warp onto. This measures the threads (the pegs are exactly 36″ apart), and winding them onto the pegs creates a cross-over, which keeps them in order when you string them onto the loom. While Jenny weaves, I putter about in the workshop, cleaning and organizing tools.


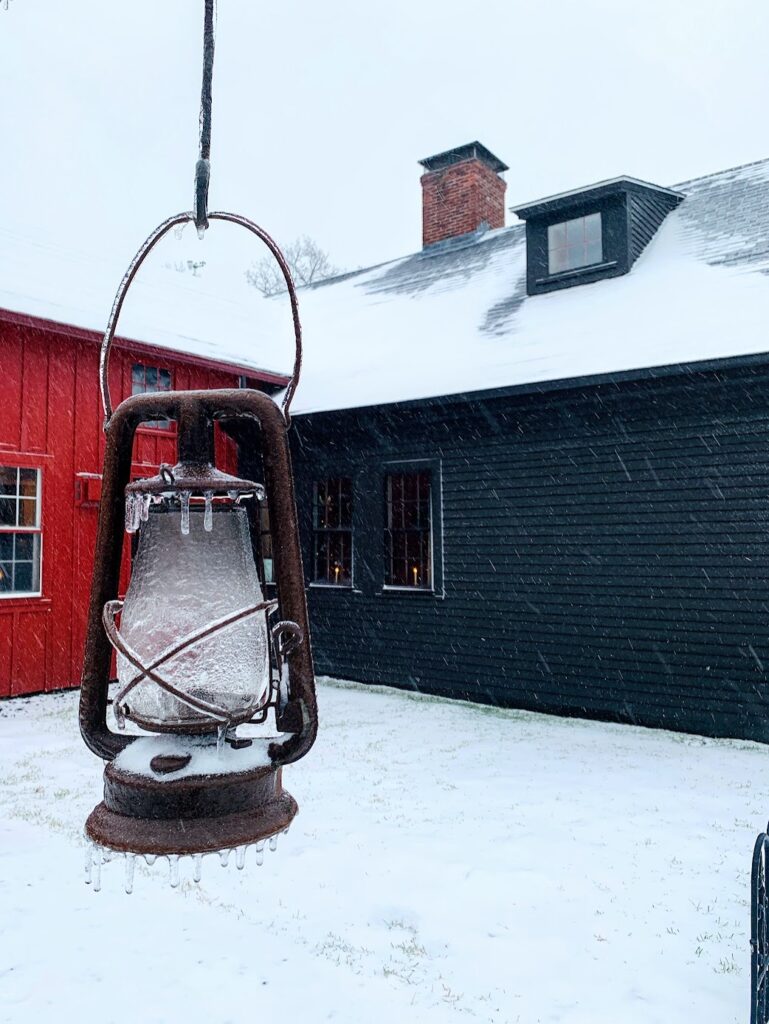
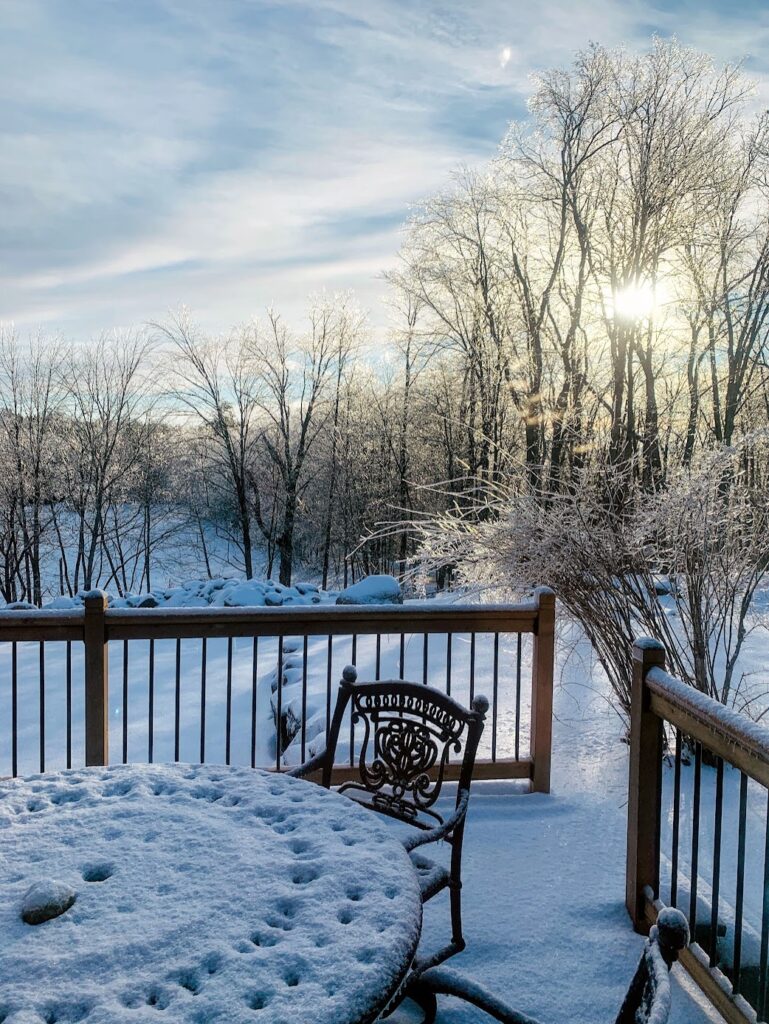
It’s time to get the pup out for an afternoon walk, so we’ll leave you with some pretty pictures. For those not familiar, the air in northern New England is exceptionally clear, so when the moon is full, it’s very much like daytime. Here are a few illustrative shots, as well as some photos from a recent ice storm. Yeah, it’s really pretty here.


Thanks for stopping by! We love seeing you all, and treasure your visits. Let us know if you have any questions, and feel free to share.
Take care, and God Bless!
Leave a Reply