
More on that a bit later….
To catch you up on the barn restoration: everyone has packed up and gone home for the winter, but will be back in spring to finish up this first phase of saving and restoring the barn. Phase One was to address the foundation and major structure, and install drainage to take care of the main issue, which is water. The next phase will take care of further structural issues, such as the snapped studs and bowing beams under the back barn addition, and the flooring, siding, and upper structure in the main barn. Now that the barn has been leveled out for the most part, past repairs, patches, and fixes can be cleaned up or removed altogether.
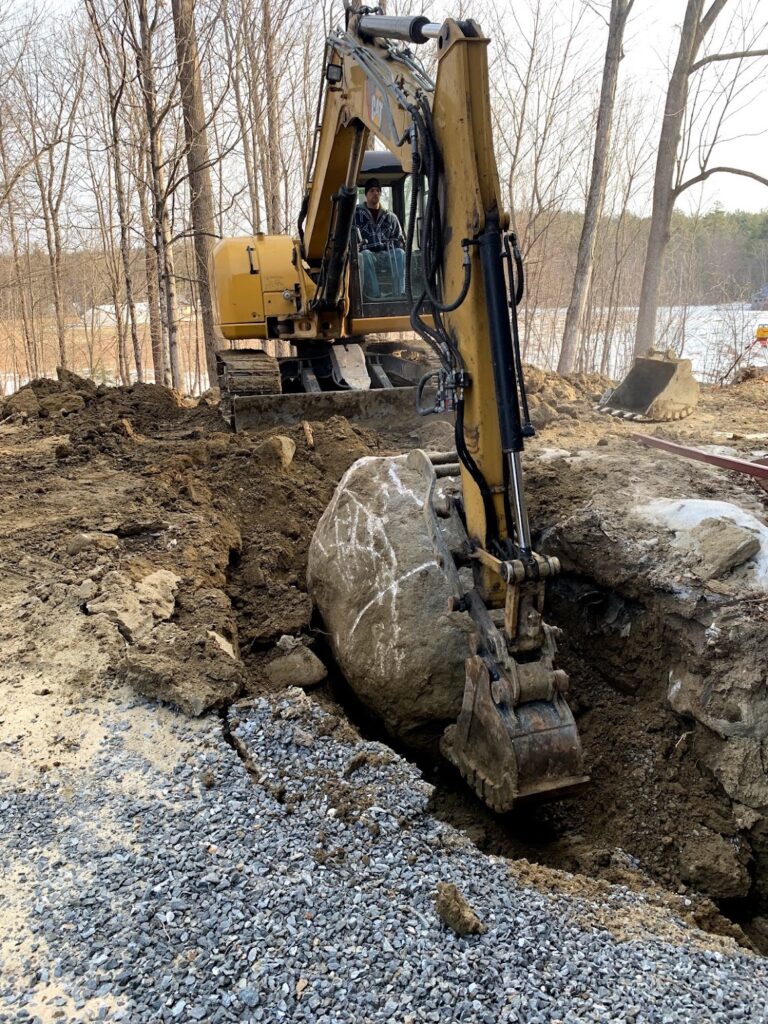
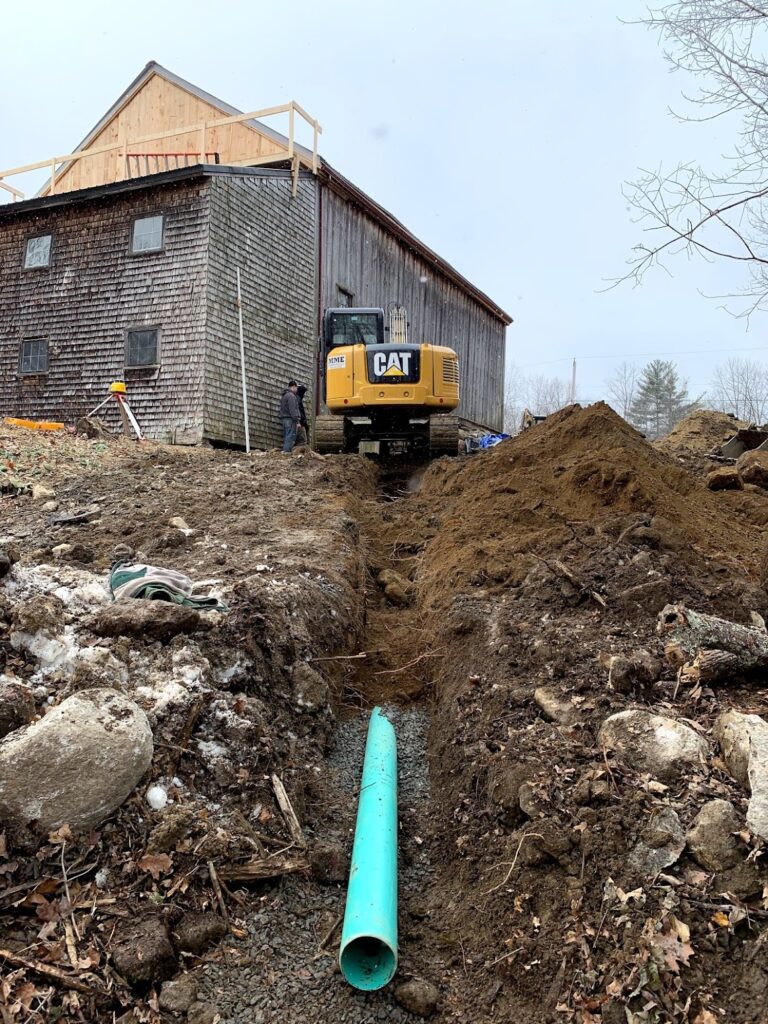
Mike’s team finished up the poured concrete wall under the barn, backfilled, and finished up the drainage. While installing the outlet of the drainage system, they only came across a couple of “nuggets” that were in the way.


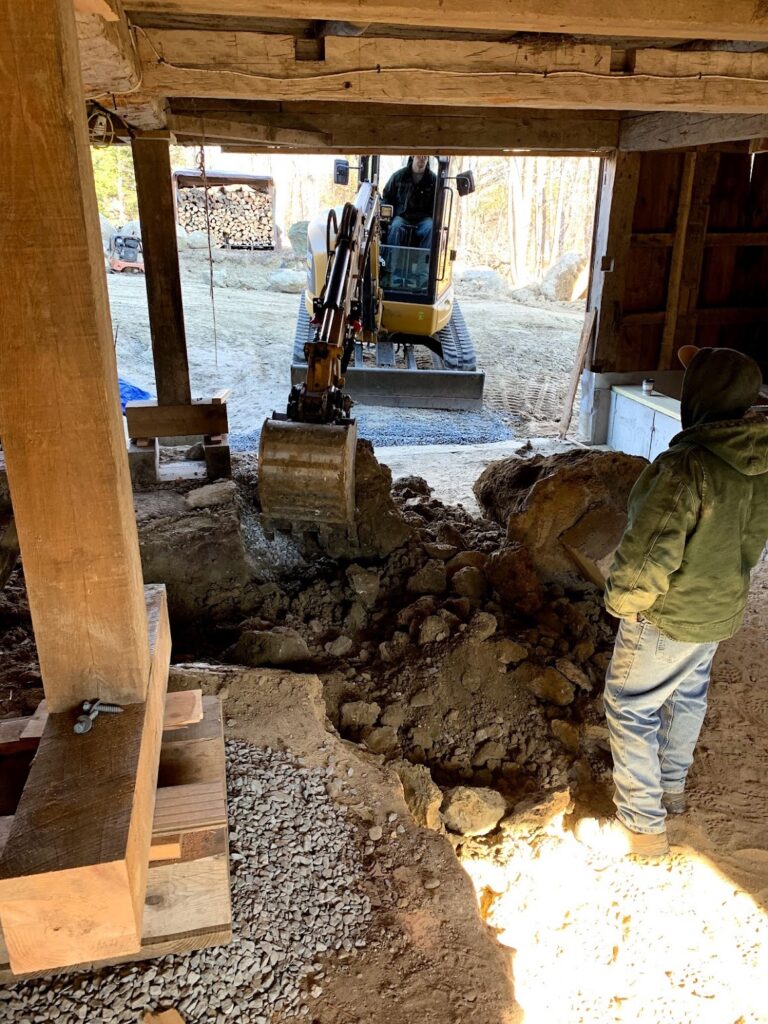
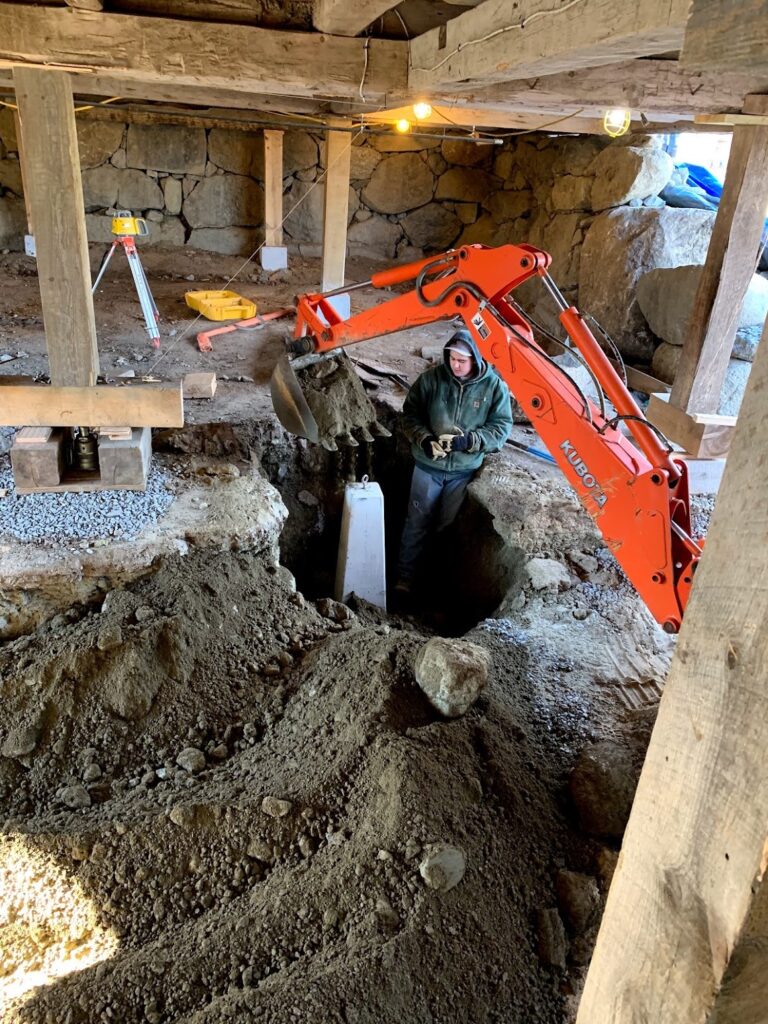
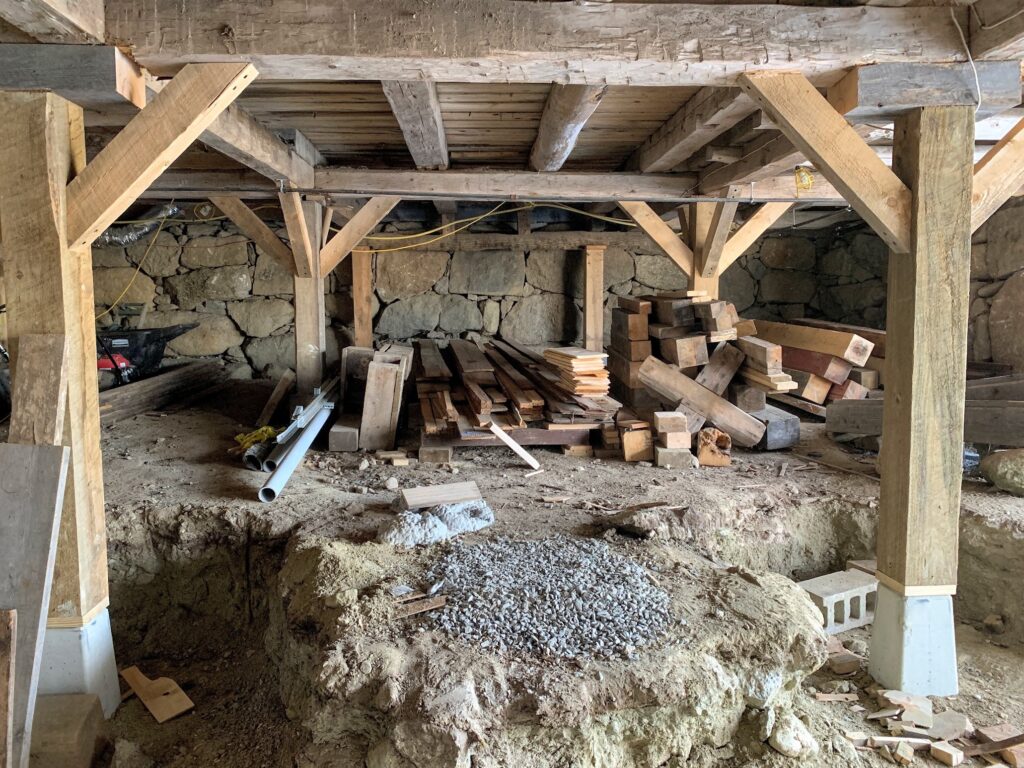
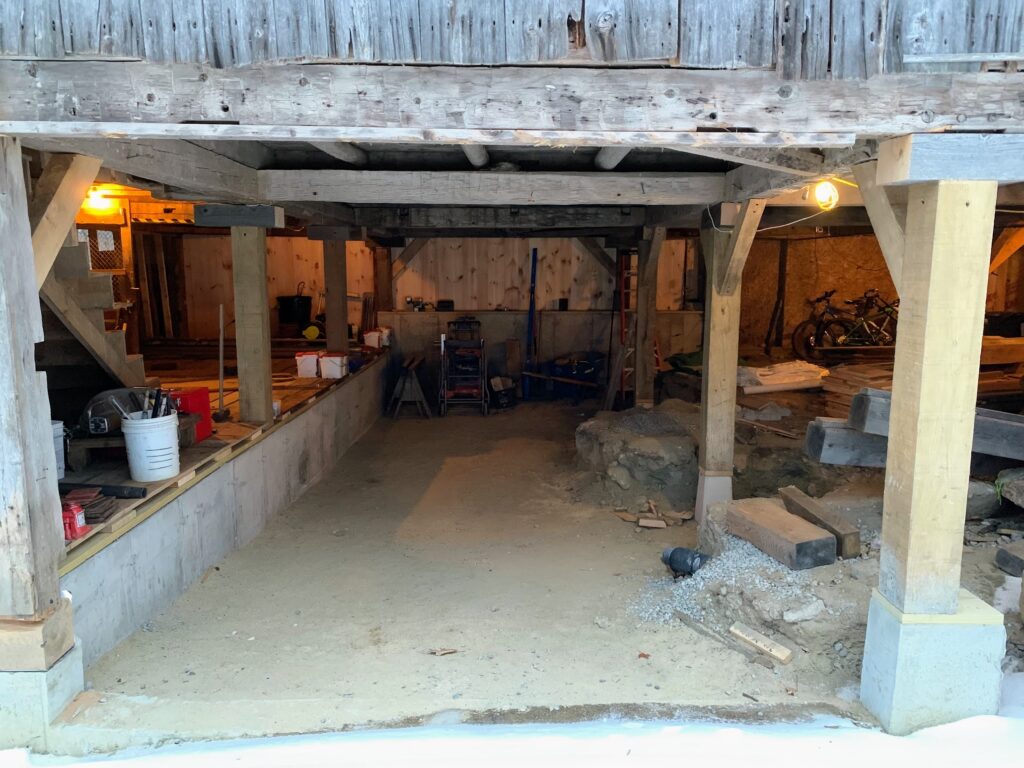
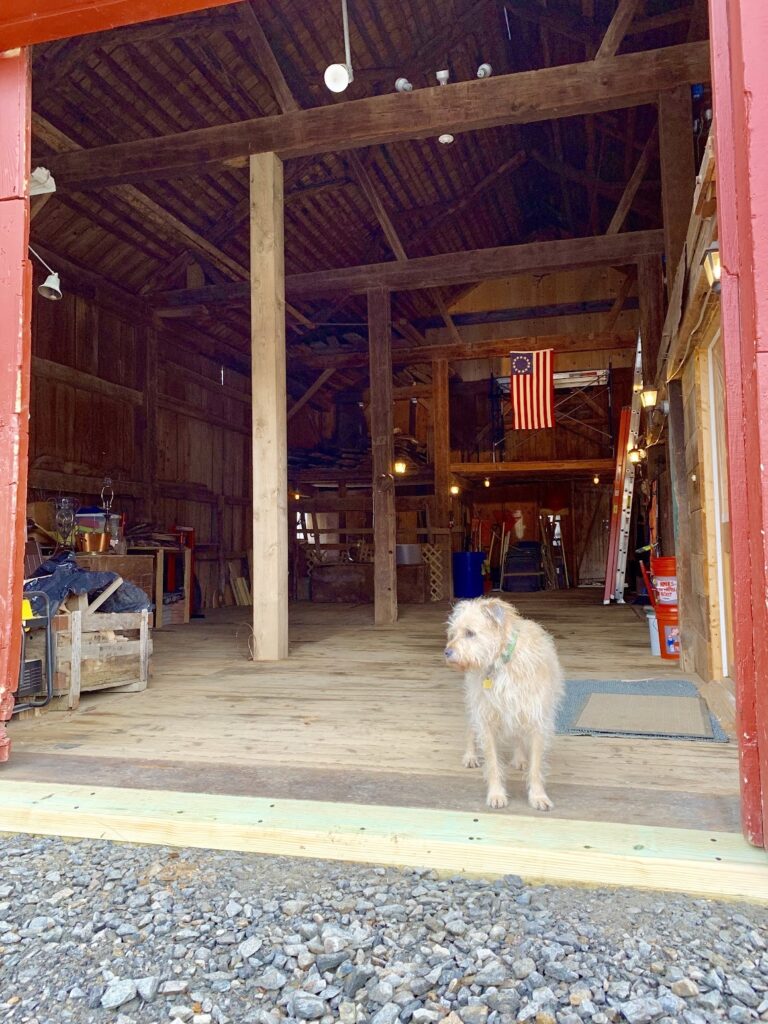
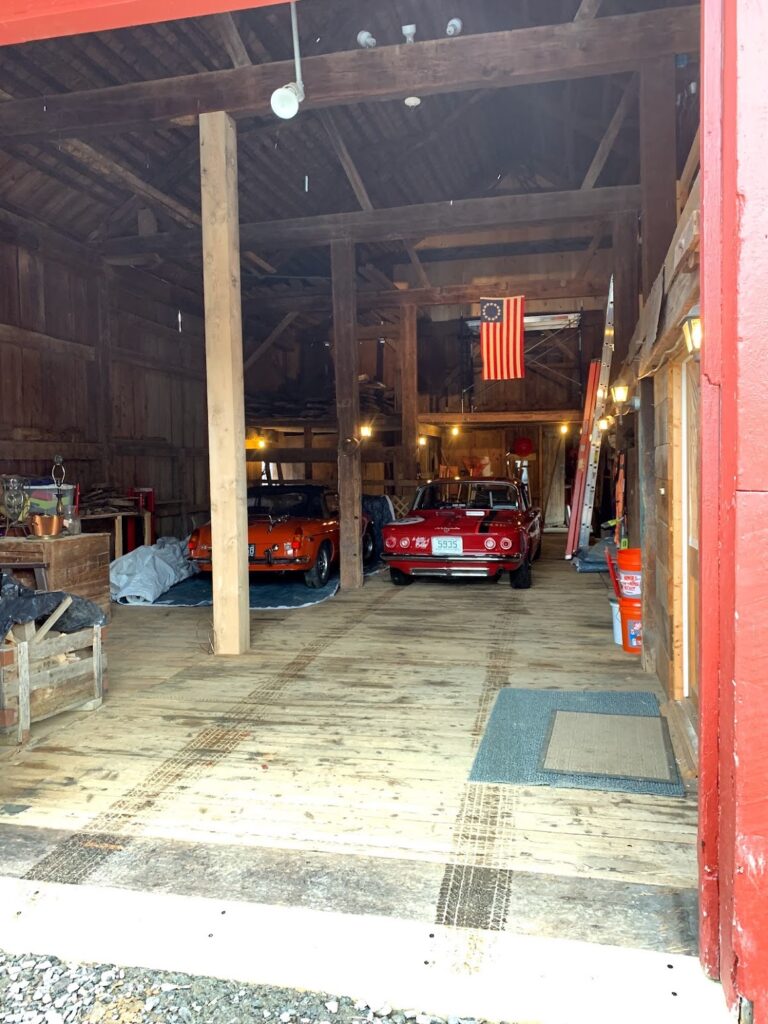
They also dug out the footings under the first two posts inside the lower opening (to the right in the lower right photo above), as the grade is being lowered here to allow us to drive into the lower barn. They installed new lower piers and posts, which John and Seth were able to brace. Come spring, when they finish up lowering the grade under the barn, we’ll put up partition walls, closing off the “garage” from the under-barn storage area. If you look at the lower-left photo below, you’ll get an idea of what the garage will look like once we put up the partition walls. We hope to use the old sliding door to access the space to the right, towards the front of the barn, where we can keep the mower, snowblower, wheelbarrow, etc. We’ll also build some racking to hold some of the lumber we’ve collected during all this renovation (we save pretty much everything).


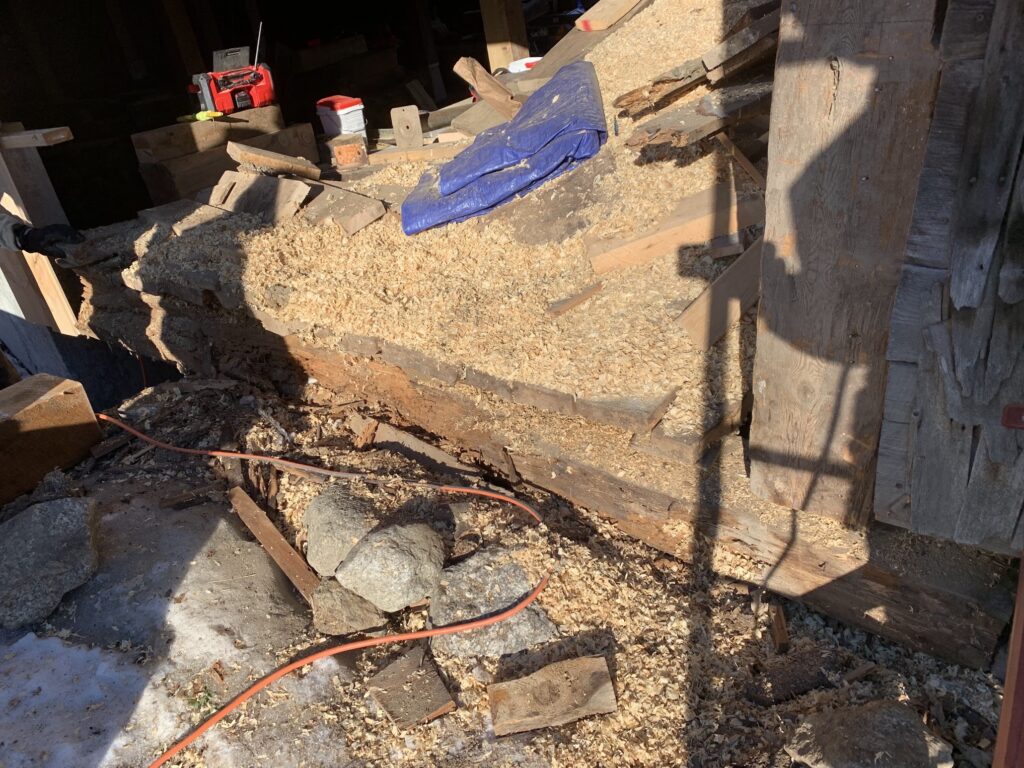
Before John and Seth left for the winter, they finished the structure under the main barn so that we could bring our old cars home and tuck them in for the season. In doing so, they discovered yet one more rotted sill beam, which they replaced. This one was under the old chicken coop, so this gave us the chance to clean out the old bedding material, leftover eggs (long dehydrated), and whatever else was carefully hidden under the wood shavings, like the big hole in the floor. Thank God no one was hurt. Once the sill was replaced, they were able to install siding to seal off the lower level.
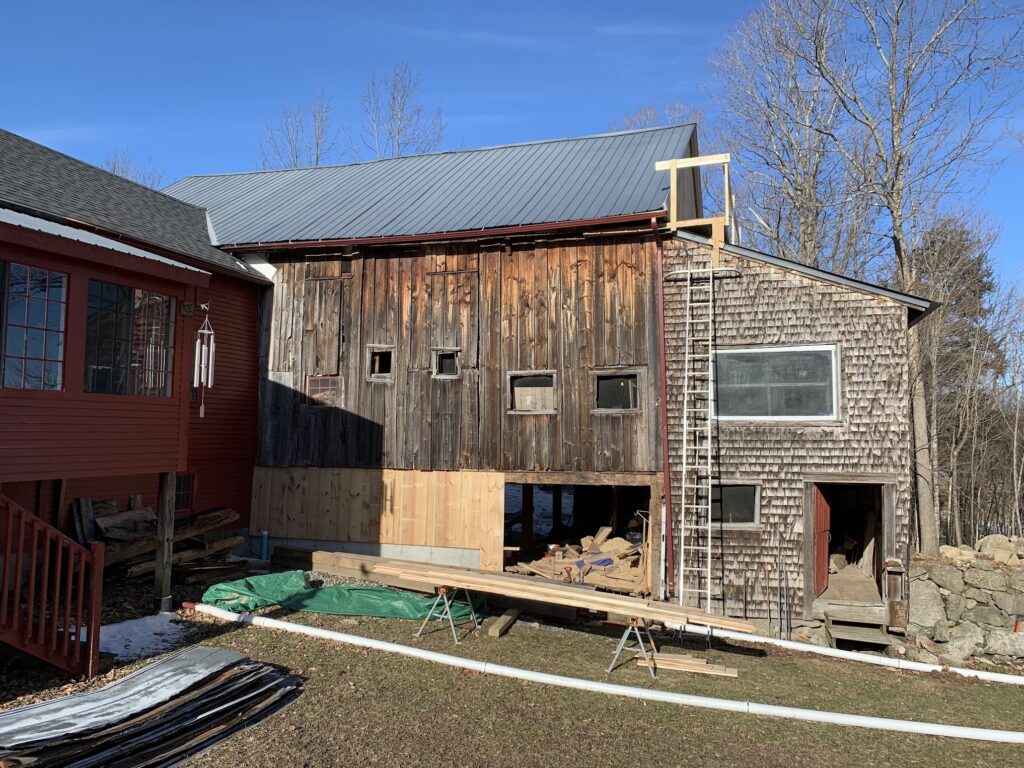


With the barn level, and the foundation and floor structure solid, we were able to bring our old cars home, and have room for our other car inside as well. Eventually, we’ll have room for all the vehicles to be inside.

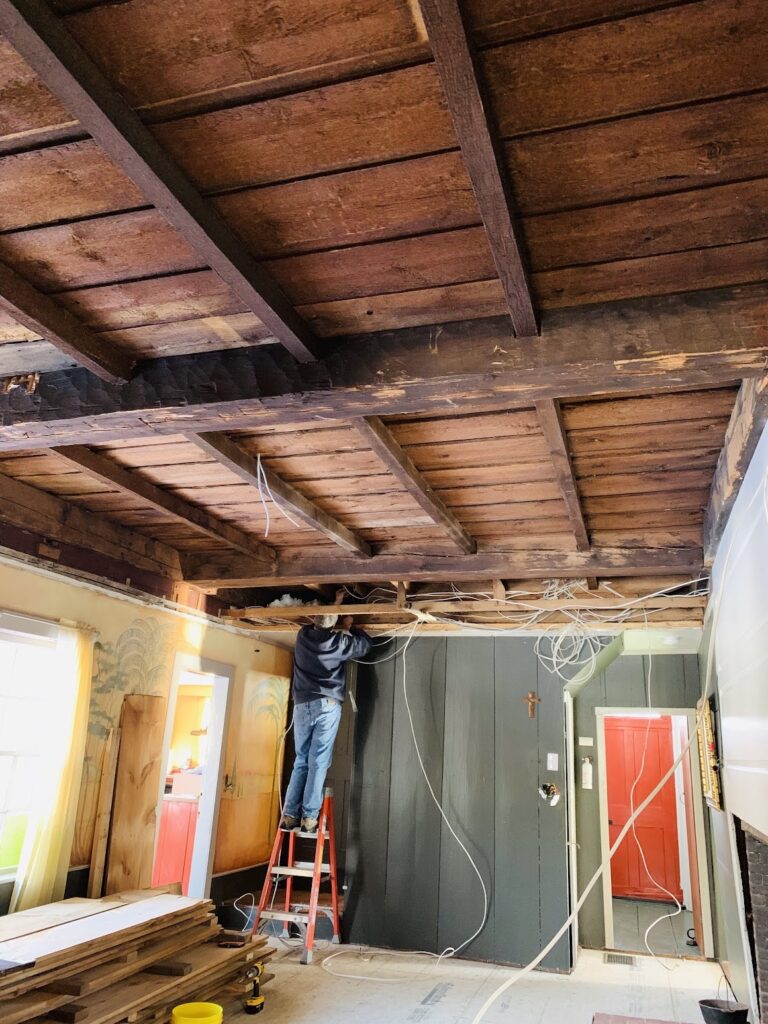
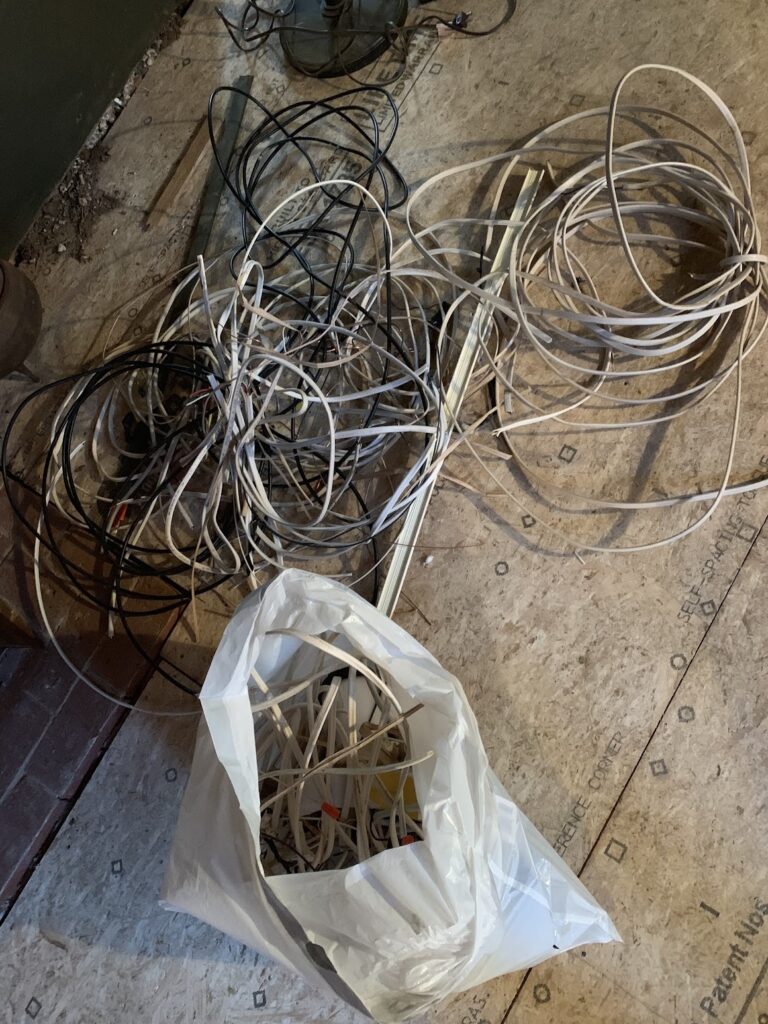
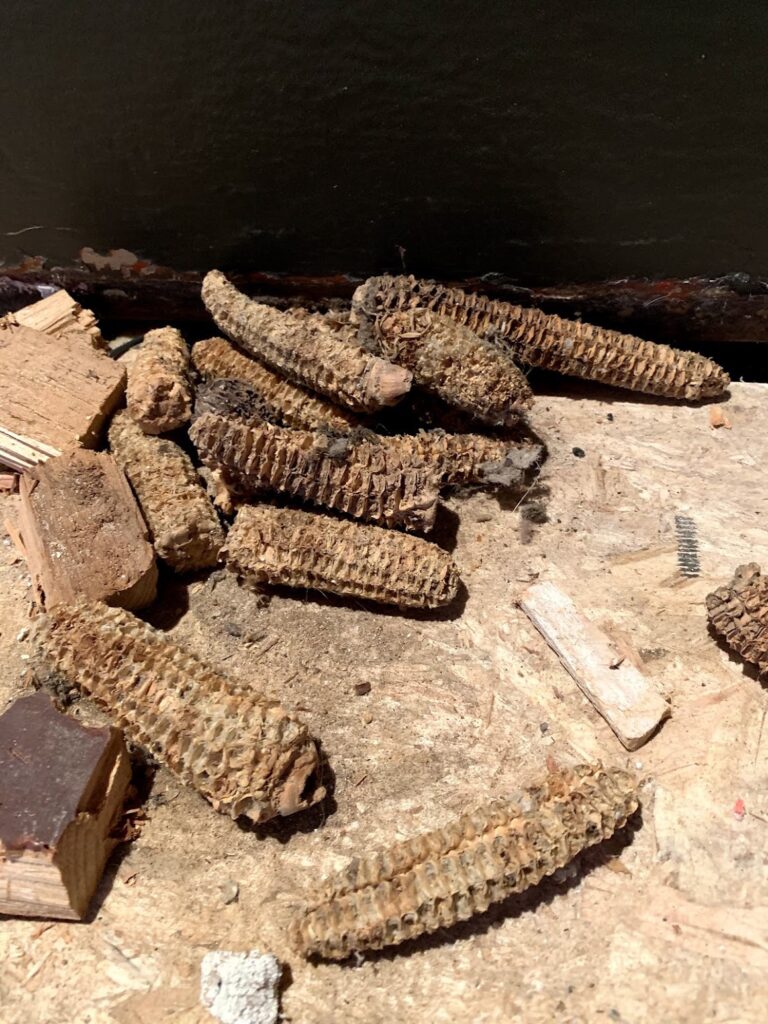
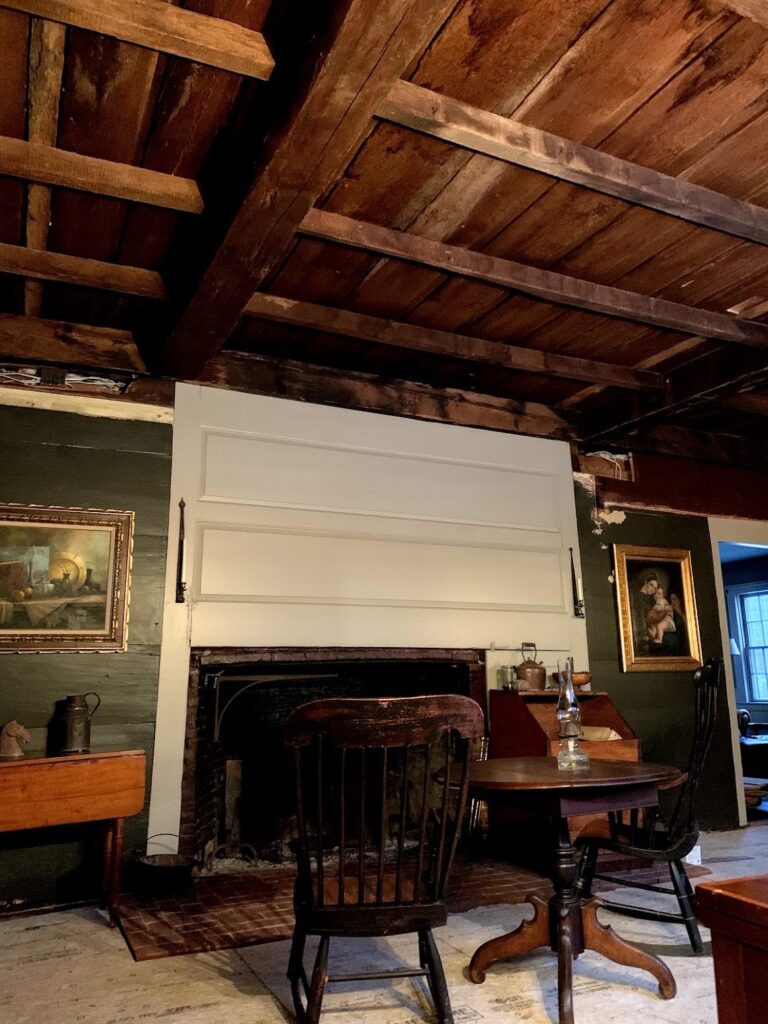
Once Jenny and I exposed the beams and ceiling in the hearth room, we had an electrician (Todd) come by to re-route needed wiring, remove unnecessary and redundant wiring, and add some wiring for wall sconces and a couple of outlets. In adding an outlet, it was revealed what Daniel and Abigail used for insulation in the walls: corn cobs! Interestingly, the corn cobs were about half the size of the ones we’re used to today. Todd was able to move or eliminate everything above the hearth room, so once we patch and build up a small soffit on the wall by the staircase, there will be no visible wiring in the hearth room ceiling! We also uncovered signs that there used to be a cupboard along the birthing room wall that went all the way to the ceiling, so it was roughly ten feet tall. It was installed before the room was painted, so maybe Daniel and Abigail installed it, or maybe it was built into the wall when the house was built? We’re definitely going to preserve the outline of it when we finish painting the room.


Now, about the title of this post- we are well underway with a full kitchen renovation. The old kitchen, while functional for the most part, wasn’t our style, had too many appliances, and the sink and counter were in front of the windows, covering almost half the window and blocking a lot of light and views. Since we first saw this home, we imagined sitting at a small table enjoying breakfast and coffee in front of the windows while watching the sun come up. We were going to hold off on the renovation for a while, while focusing on other projects, but in draining pasta while making lunch for the construction crews working on the barn one day, our sink cracked in half, so we took it as a sign the house wanted a new kitchen.
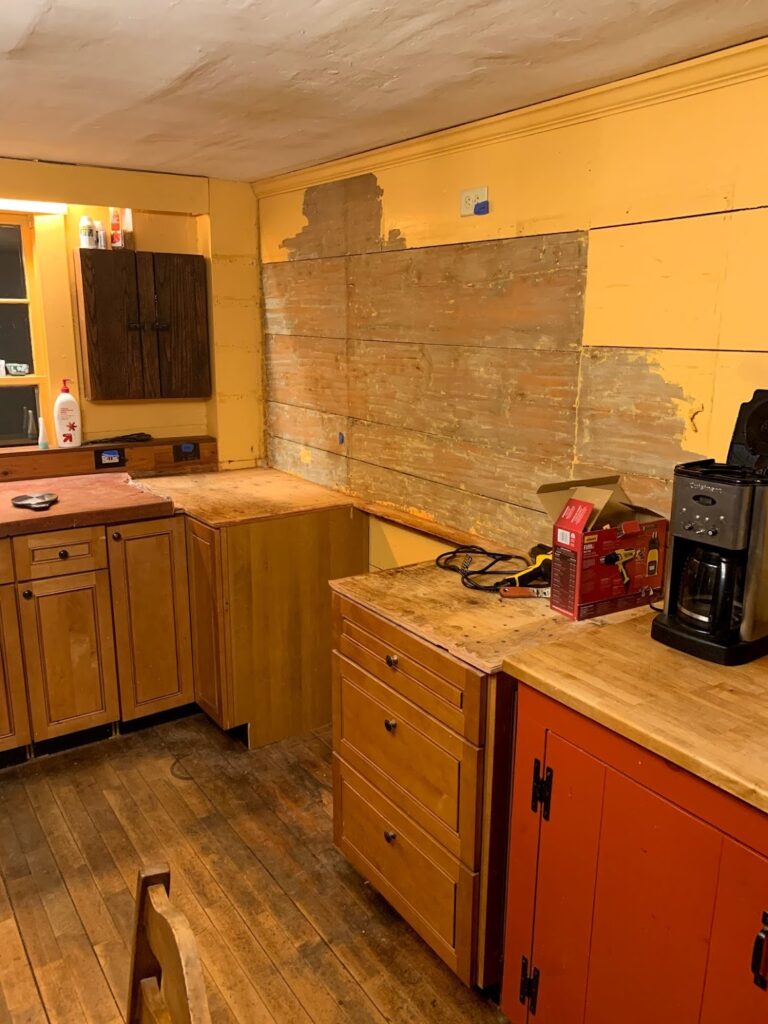
Here is what we started with:

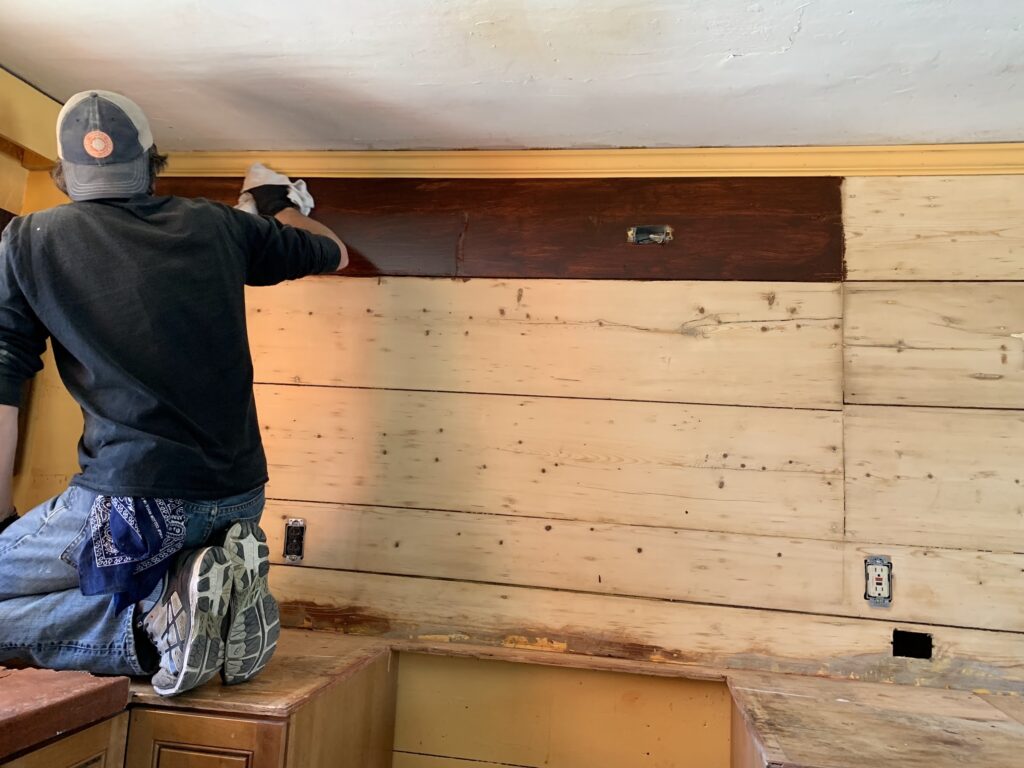
We began by taking out the fridge, electric range, and dishwasher, removing the wall shelving and microwave, and taking out the pink concrete counter tops. We also stripped the paneled wall between the kitchen, which is actually in the ell, and the house:

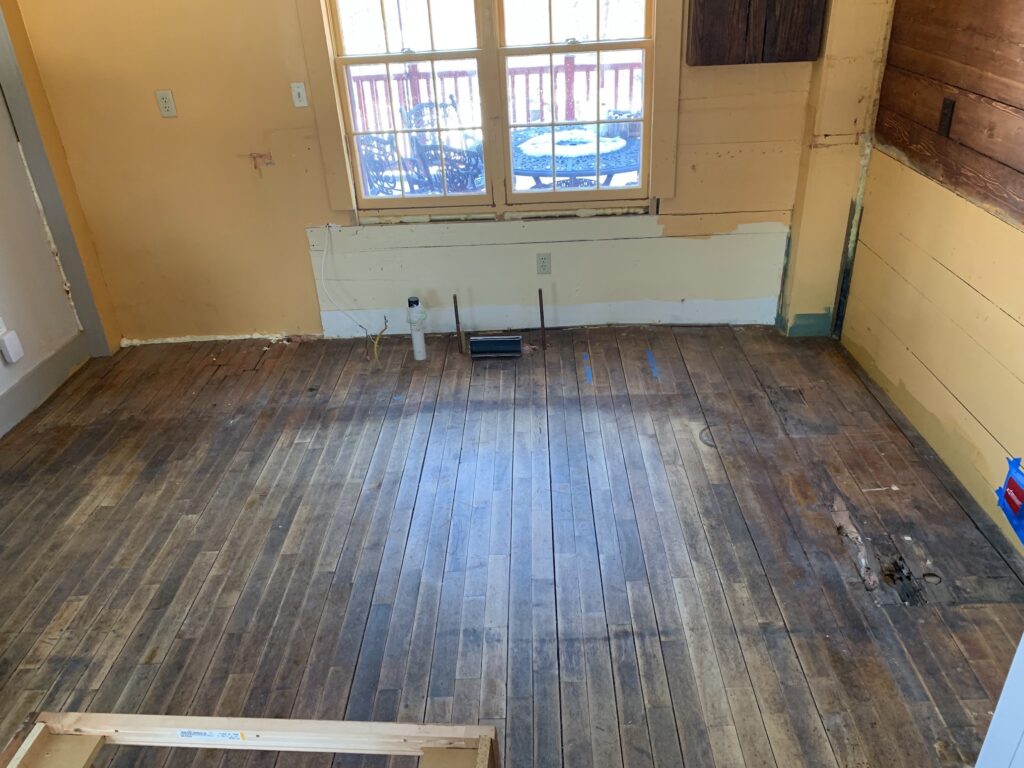
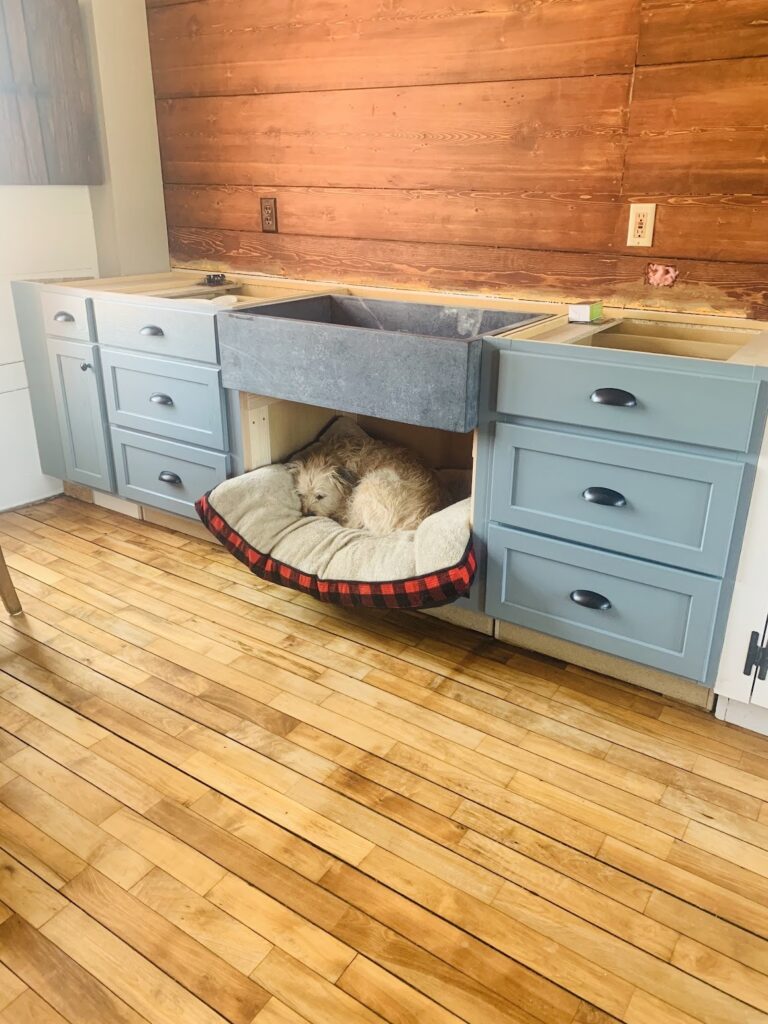
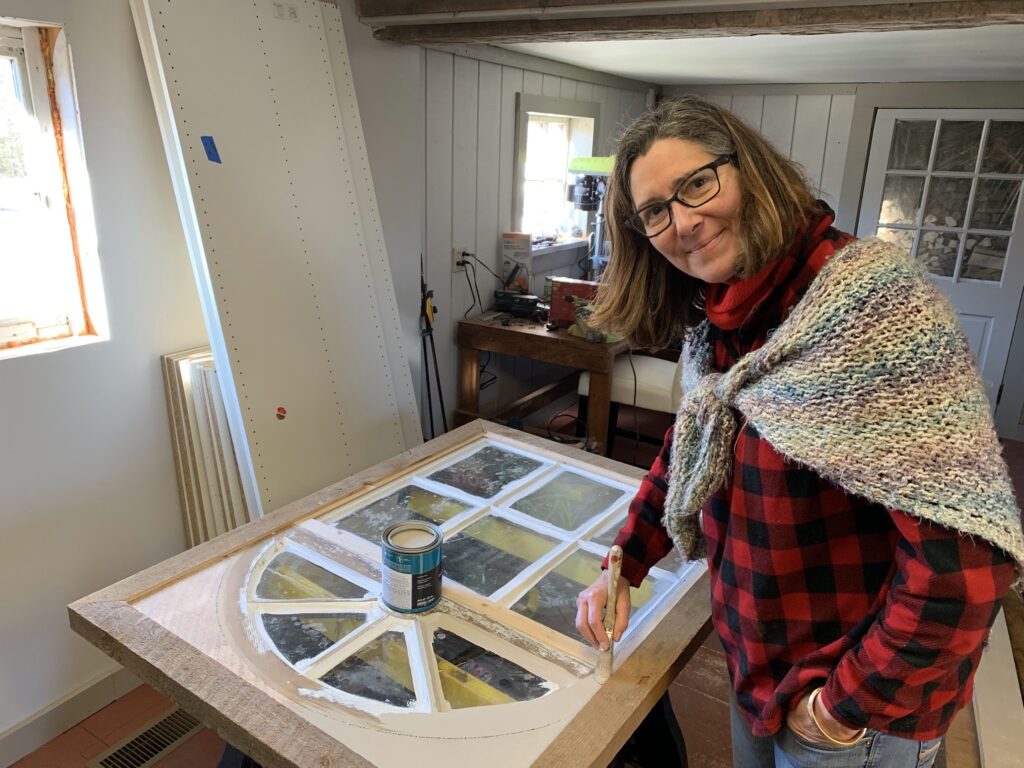
We stripped and stained the paneled wall, and painted the back wall, then we took up some of the floorboards where the new cabinets were going, so we could patch where the old plumbing and heat duct was. We also painted the back wall where the windows are.


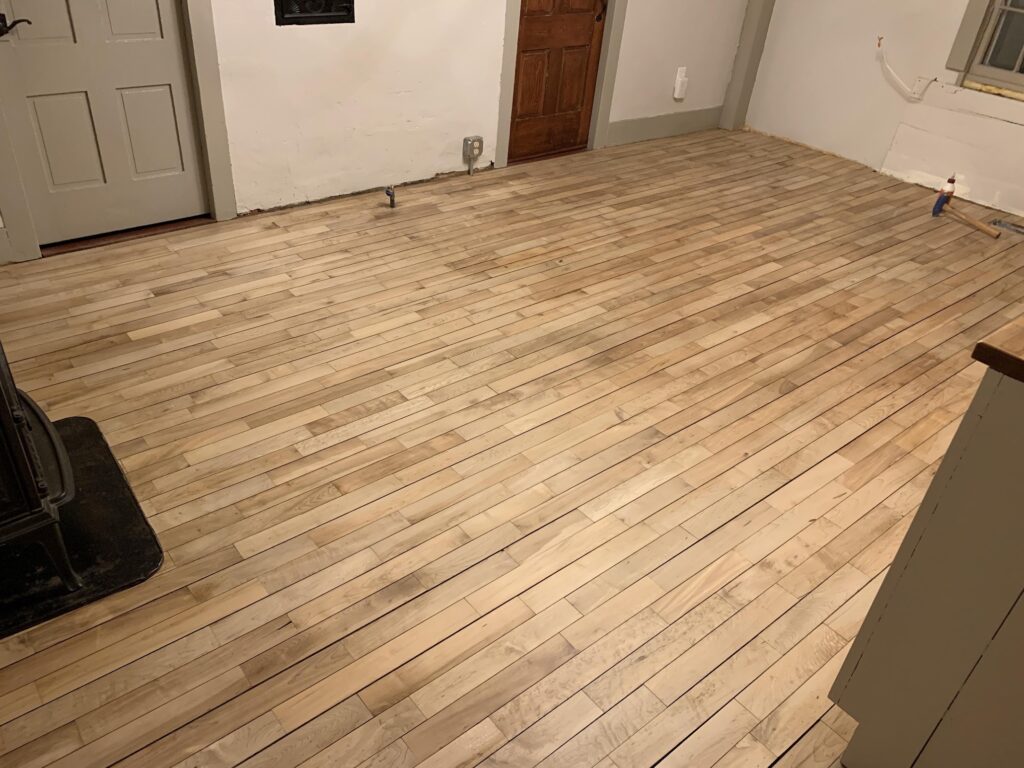
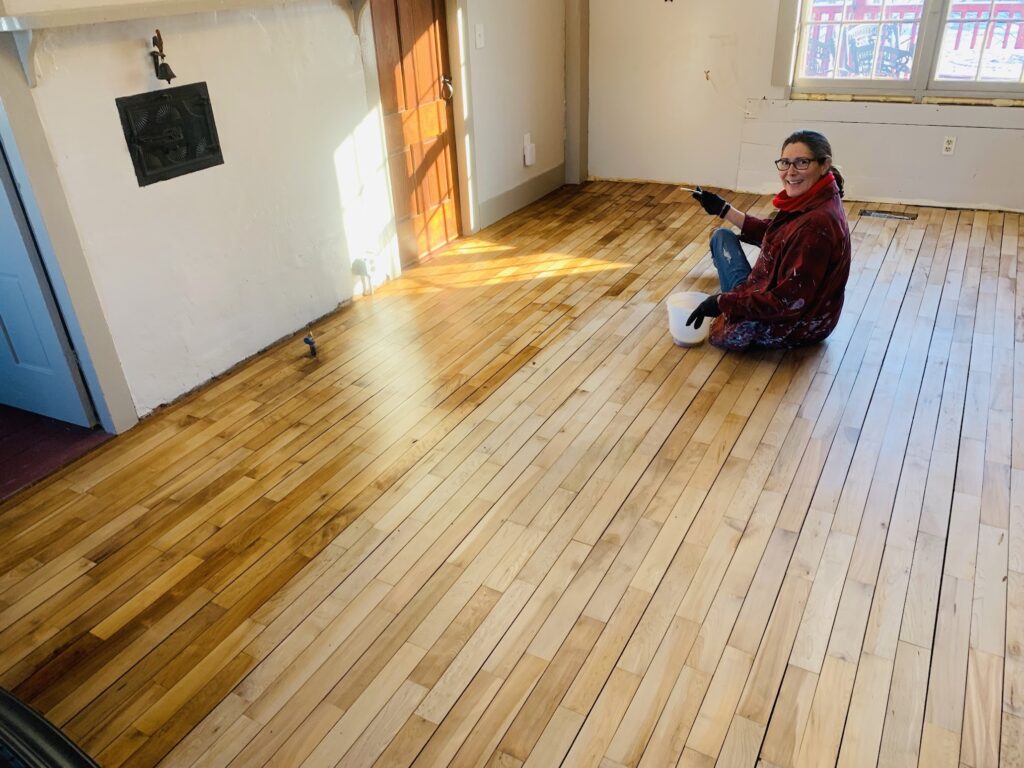
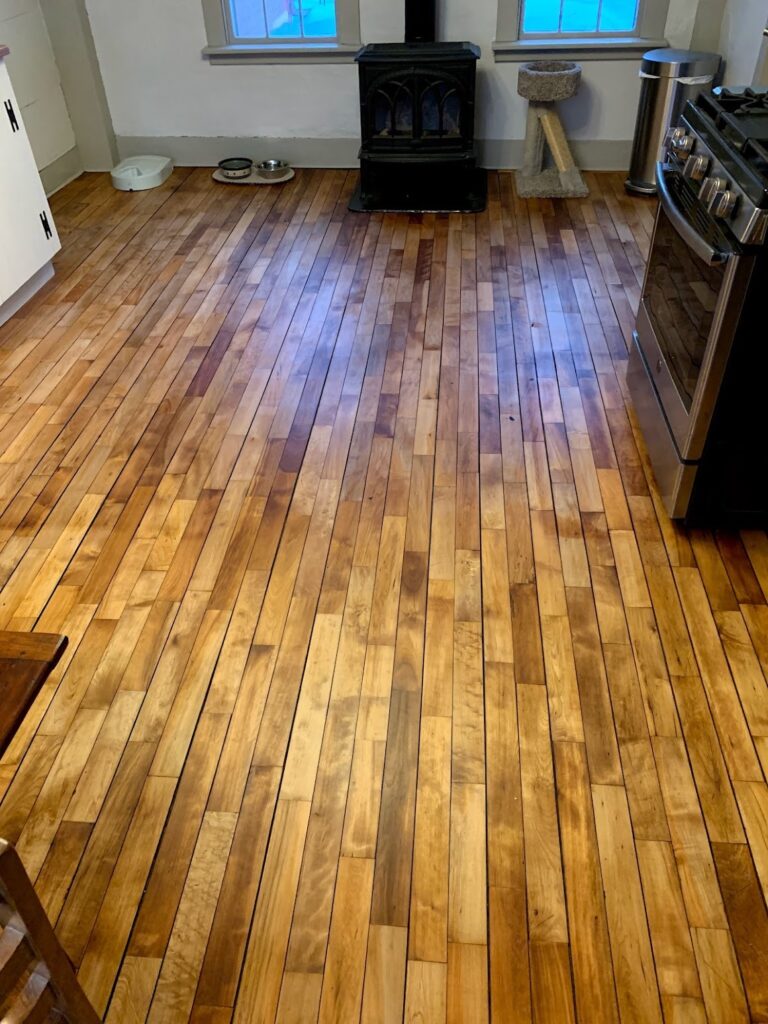
Then we had the floors sanded, after which Jenny and I applied two coats of boiled linseed oil/turpentine. This is likely what Daniel and Abigail would have used, so it’s appropriate, plus once a year we can just give it a good scrub and apply another coat to freshen it up.
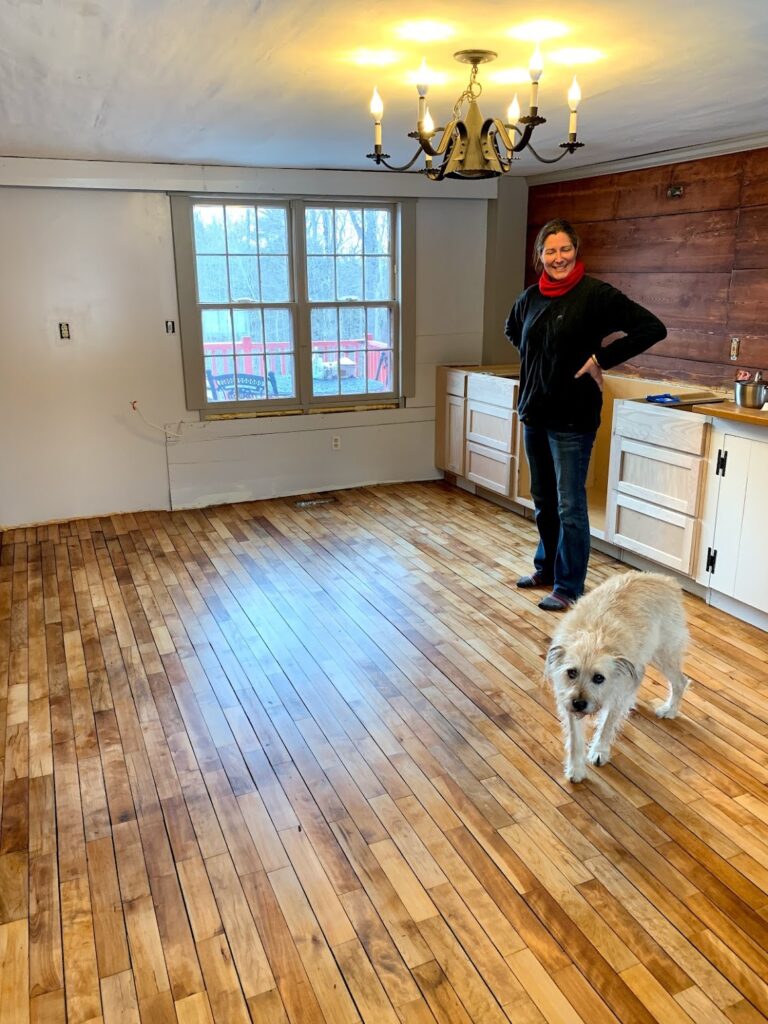
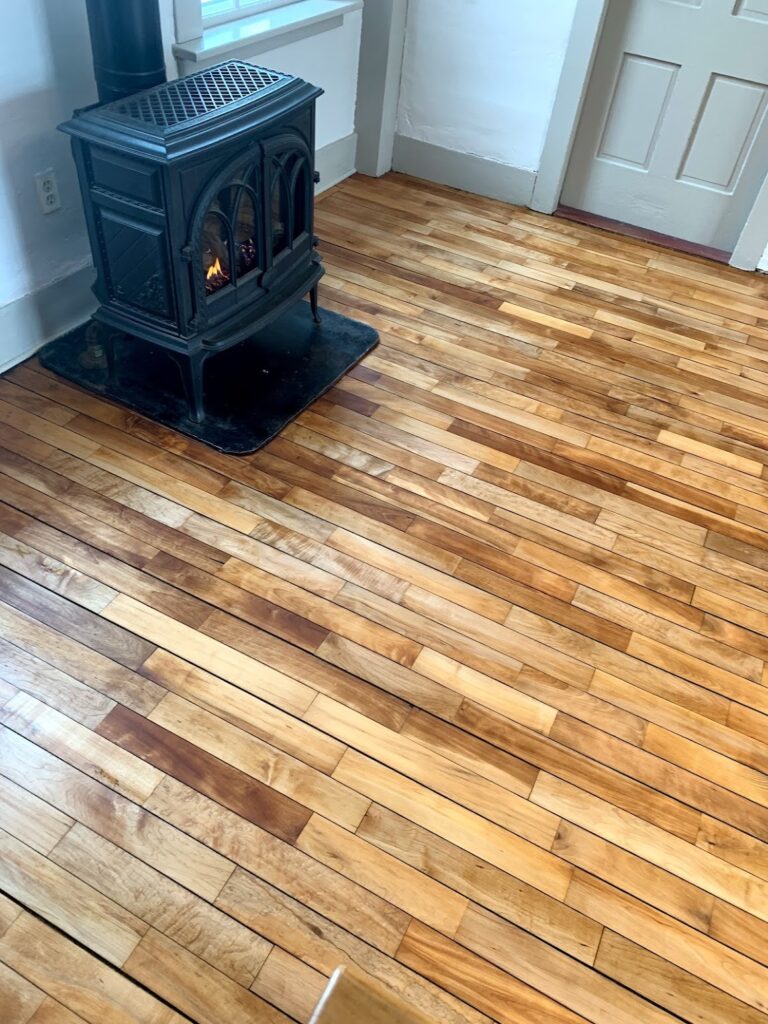
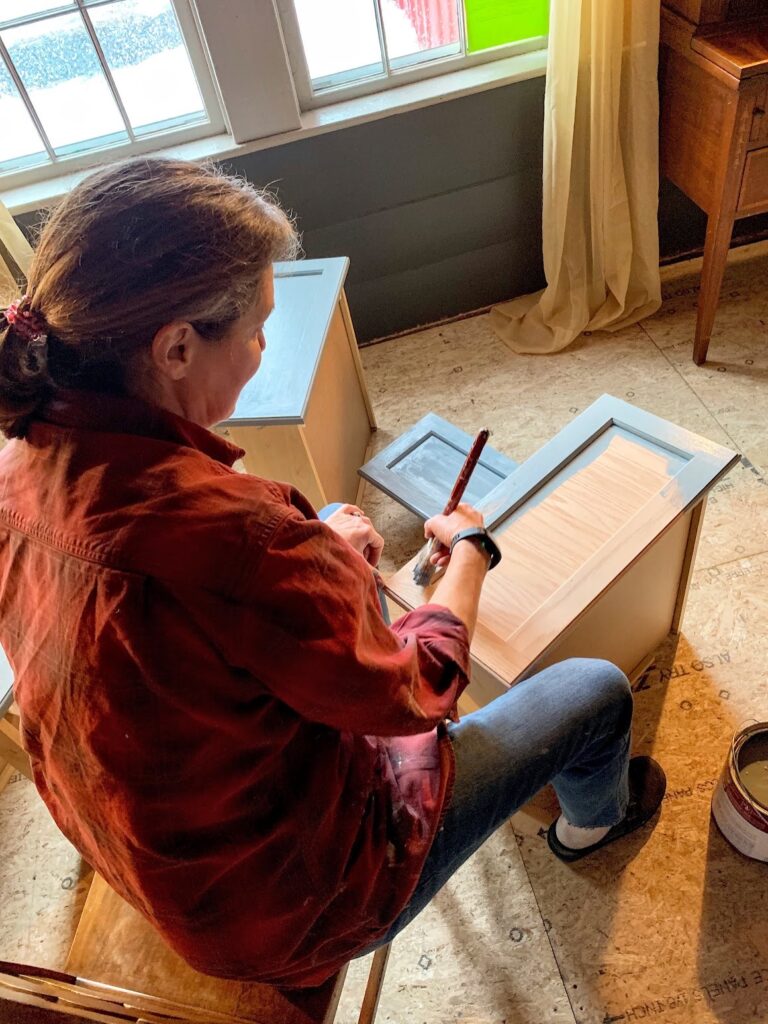
Once the floor was dry, we were able to bring the stove and fridge back in, paint the cabinets, install the hardware, and install the soapstone farmer’s sink. Tomorrow, the countertop folks will be out to measure, so they can cut the granite remnant we picked up. After that, we’ll just need the plumber to come move the water lines and drain, and we’ll have a fully-functioning kitchen again! No more cooking on the hearth. Well, not really, we love cooking on the hearth! But no more washing our dishes in the bathroom!

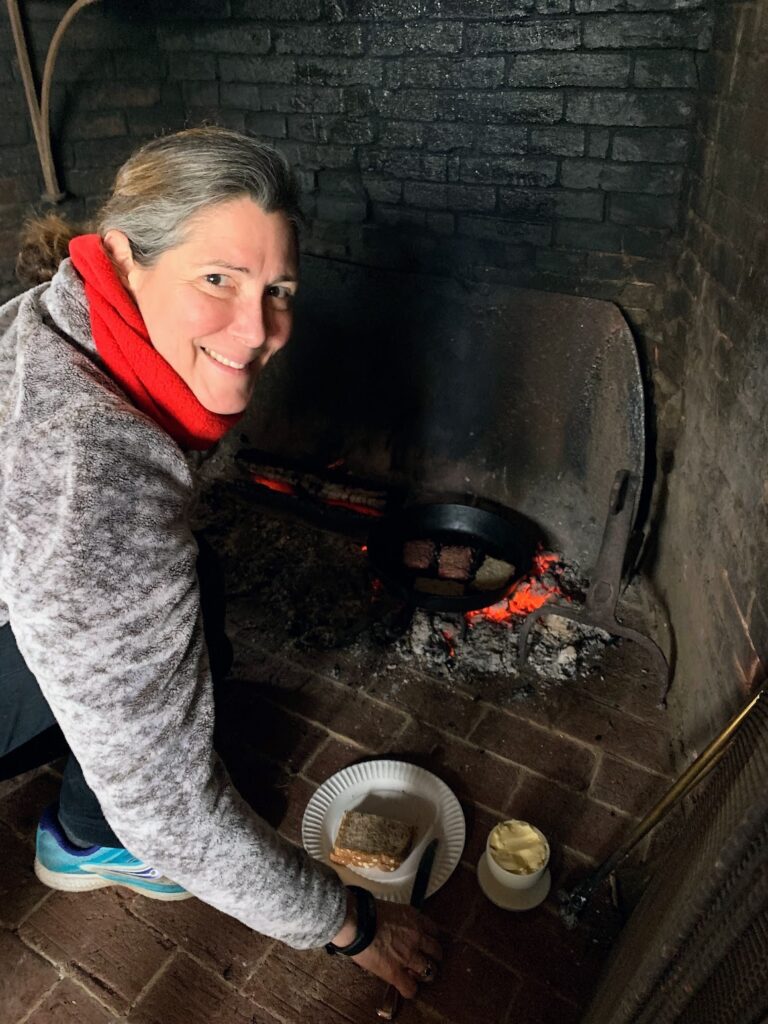
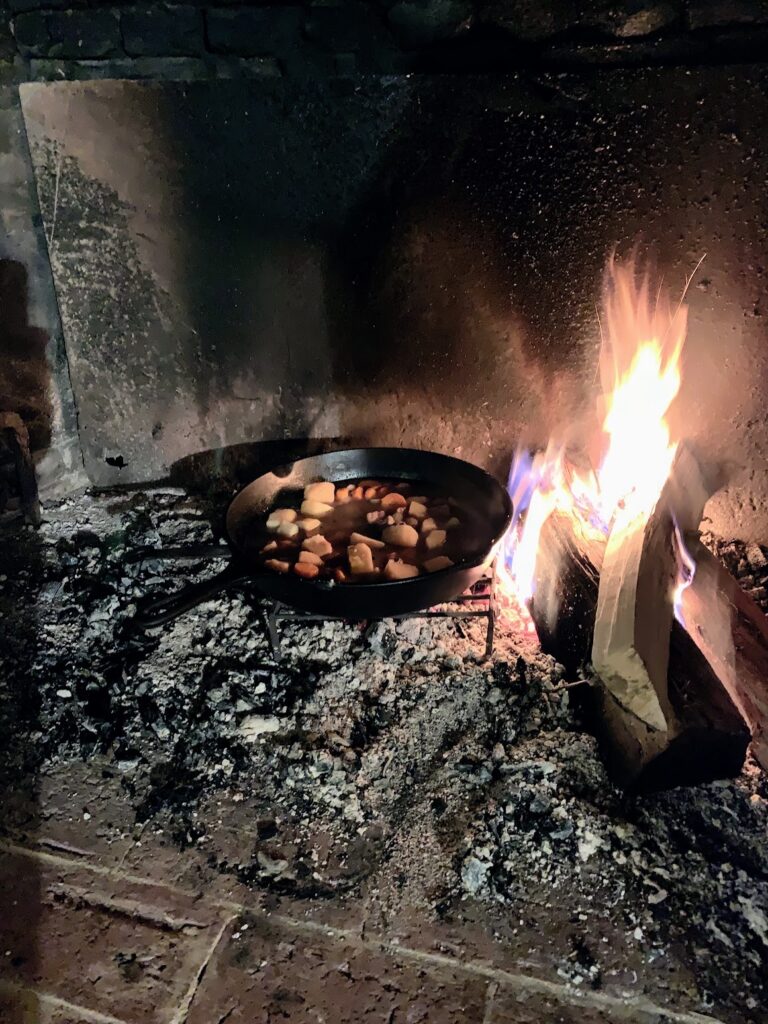


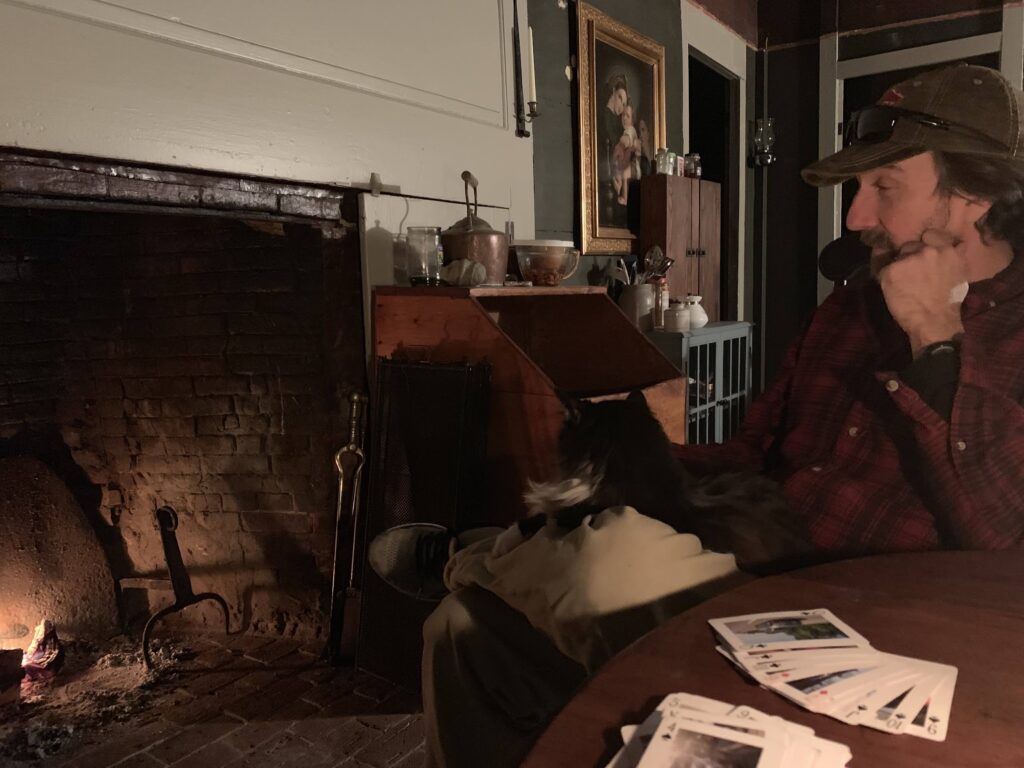
Now that you’re all caught up in the goings on here at the farm, let us know if you have any questions. We’re looking forward to wrapping up these last couple of projects we’re working on, so we can take some time off to enjoy some fires in the hearth, and some books that have piled up on the table. Thanks for following along on our adventure, and God bless!


Leave a Reply